Master How to Take Photos at Night Without Losing Any Detail in 2026
Night photography doesn't have to mean blurry or grainy shots. Learn the exact camera settings, lighting techniques, and framing tricks to capture stunning low-light images. Enhance them with Vmake Labs!

Shooting after sunset usually turns gorgeous views into a blurry, grainy mess. Figuring out how to take photos at night boils down to dialing in the right exposure and keeping the lens perfectly still. Let's break down the exact low-light workflows working best in 2026.
10 settings and tips on how to take a good photo at night
Taking pictures after dark basically starves your camera of the light, it desperately needs to build a clean image. However, once you take charge of your manual settings and rely on a few practical field habits, getting those crisp, grain-free nighttime shots is actually pretty straightforward in 2026.
-
Aperture: Open the aperture wider (e.g., f/1.8 or f/2.8) when you need more light.
-
Shutter speed: Use a slower shutter speed for stationary scenes when you can keep the camera steady.
-
ISO: Increase ISO when you need additional brightness, but avoid pushing it unnecessarily because higher ISO introduces noise.
|
Tip |
What to do |
Why it helps |
|---|---|---|
|
1. Use a tripod |
Stabilize the camera for longer exposures. |
Reduces camera shake and motion blur. |
|
2. Find available light |
Use streetlights, signs, or illuminated windows. |
Adds detail, visual depth, and mood. |
|
3. Focus carefully |
Use manual focus and zoom in on the LCD to check. |
Prevents soft subjects in dark conditions. |
|
4. Protect highlights |
Check exposure around bright signs and lamps. |
Prevents unrecoverable blown-out areas. |
|
5. Shoot multiple exposures |
Take several versions with different settings. |
Makes it easier to find the perfect exposure. |
|
6. Use a remote/timer |
Trigger the shutter without touching the camera. |
Further reduces micro-vibrations. |
|
7. Shoot in RAW |
Set your camera format to RAW instead of JPEG. |
Retains maximum data for shadow recovery. |
|
8. Adjust white balance |
Manually tweak settings or use a preset like "Tungsten." |
Prevents streetlights from creating unnatural color casts. |
|
9. Experiment with motion |
Try slow shutter speeds near traffic for light trails. |
Creates more dynamic and energetic night images. |
|
10. Use a lens hood |
Attach the hood even at night. |
Blocks stray ambient light from causing lens flare. |
Applying these foundational adjustments immediately elevates image quality. Consistently testing these configurations allows for precise control over low-light environments, reducing the immediate need to enhance images with AI in post-production.
How to take iPhone photos at night
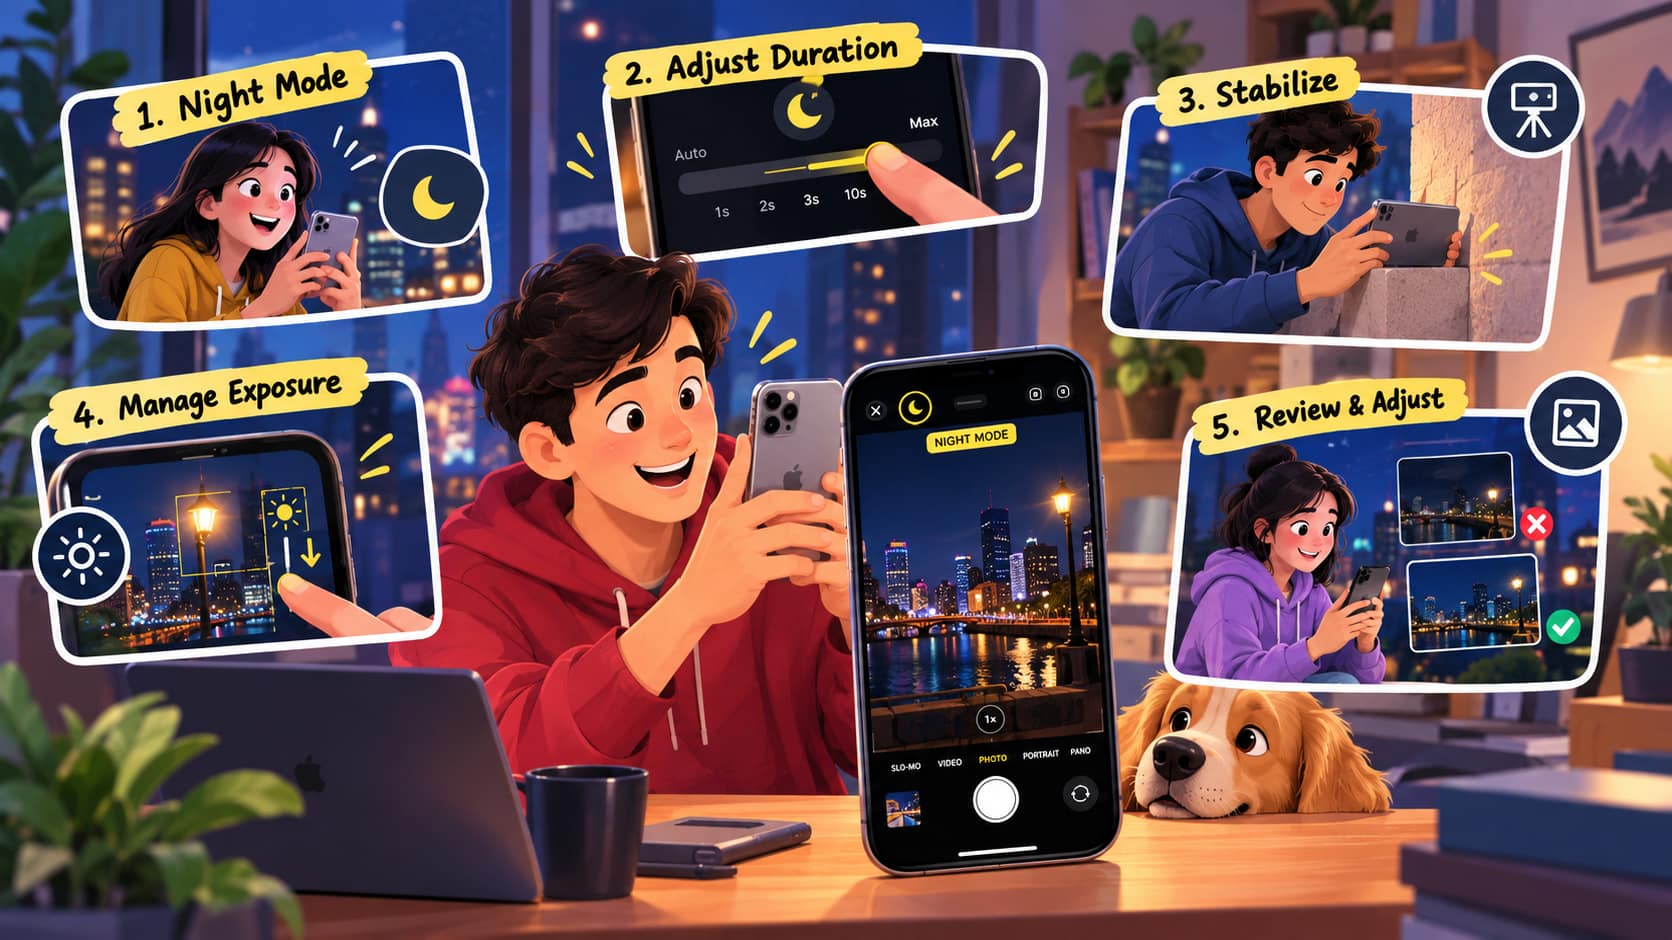
A heavy DSLR is not always required for evening shoots. Modern smartphones feature advanced computational photography that handles complex processing, provided the operator keeps the device completely steady and manually adjusts the exposure to reduce blur.
-
Activate Night mode: Open the Camera app in a dim environment to let the built-in Night mode trigger on its own. This automated feature instantly optimizes the sensor to gather as much ambient light as possible.
-
Adjust capture duration: Tap the small moon icon near the top of the screen to manually extend the exposure time. Sliding that dial allows the digital sensor to soak in additional details when the default setting feels too brief.
-
Stabilize the device: Keep the smartphone completely motionless while the shutter counts down, ideally by leaning it against a solid wall. Eliminating tiny hand vibrations guarantees a much crisper result when shooting in near darkness.
-
Manage exposure: Tap the main subject on the screen, then drag the tiny sun slider downward if harsh streetlamps wash out the frame. Taming those intense bright spots preserves vital textures that would otherwise disappear into pure white.
-
Review and adjust: Check the resulting image immediately to verify whether the shadows carry enough detail or if unexpected motion blur ruined the shot. Catching those slight errors right away makes it incredibly easy to simply snap another, cleaner version.
How to compose and capture different night scenes
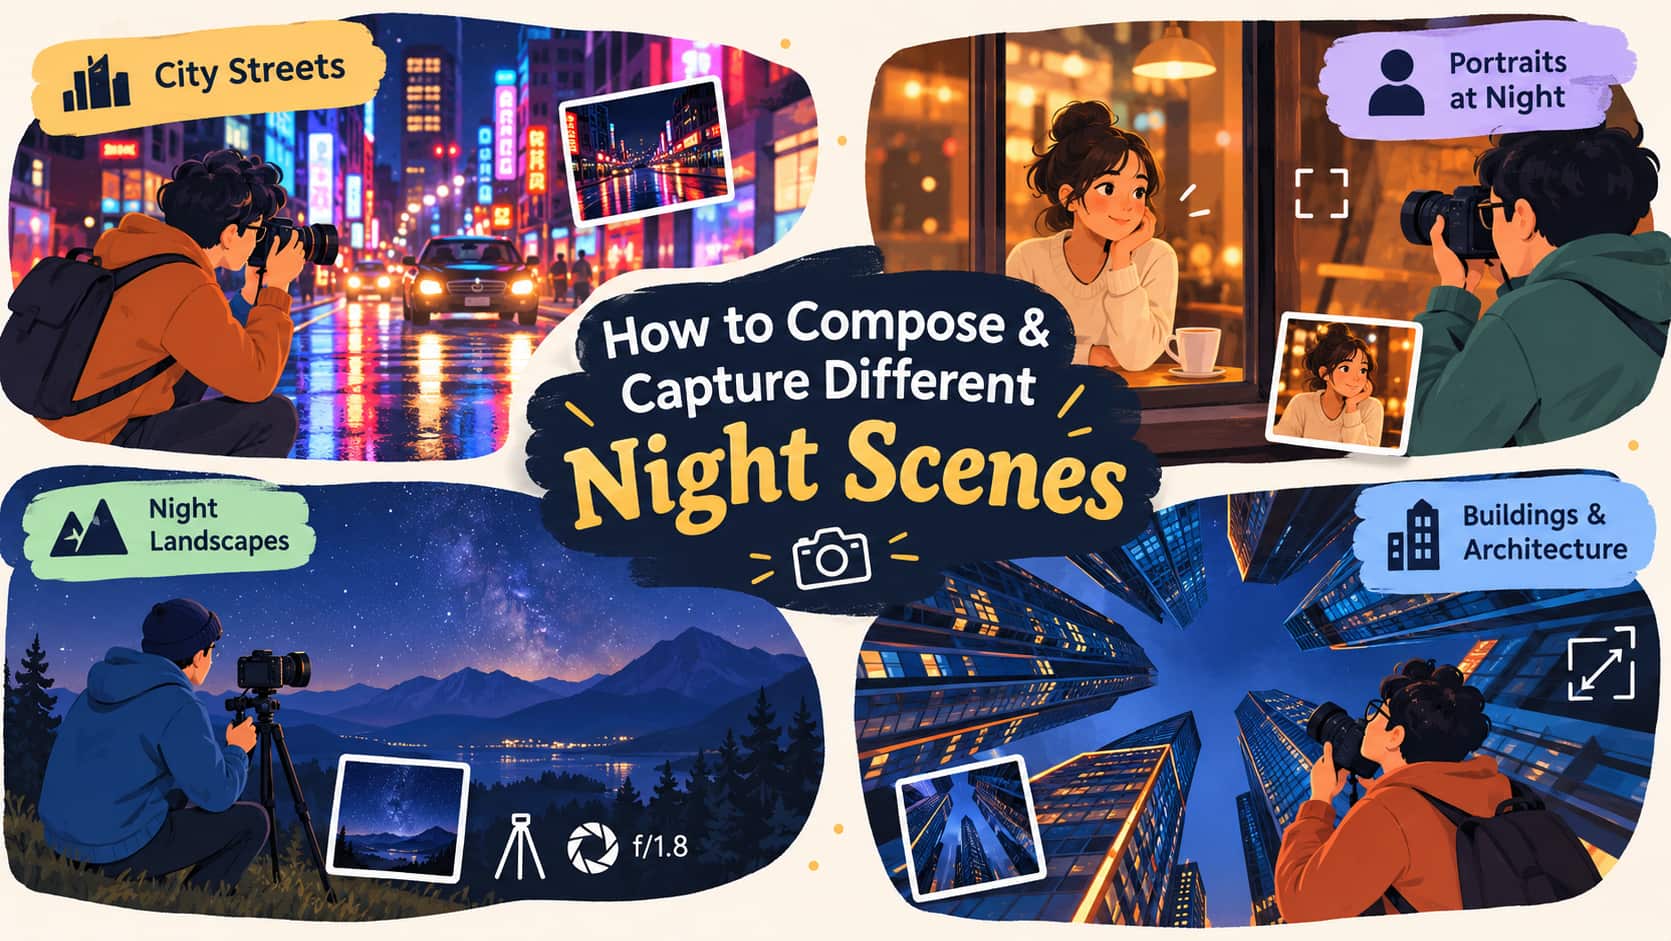
Photographing a neon-soaked downtown avenue requires a completely different mindset than shooting a quiet forest. Discovering how to take a photo at night means reading the available light and letting the environment's natural contrast dictate your frame.
-
City streets: Use passing headlights or wet pavement reflections as your primary visual anchors. Heavy shadows naturally frame the scene while glowing storefronts steal the spotlight.
-
Portraits at night: Guide your subject toward a steady ambient glow, like a cafe window, before carefully dialing in the manual focus. Bathing someone in this gentle illumination separates them perfectly from a chaotic background without ever needing a flash.
-
Night landscapes: Mount your gear on a tripod and open the aperture wide to soak up faint ambient light. An extended exposure slowly reveals distant ridges and drifting clouds that the naked eye usually misses.
-
Buildings and architecture: Hunt for geometric patterns and strong leading lines slicing through the dark sky. Shooting straight up from street level instantly turns an ordinary high-rise into a bold structural masterpiece.
Common night photography mistakes to avoid
Packing expensive camera gear does not automatically guarantee flawless results once the sun finally sets. Fixing minor workflow errors directly on location prevents the sheer frustration of bringing back a memory card full of unusable, soft files, though a dedicated photo restoration utility can occasionally salvage minor mistakes.
|
Common mistake |
What happens |
Better approach |
|---|---|---|
|
Shooting handheld with a slow shutter |
Severe motion blur across the image. |
Use a tripod or select a faster shutter speed. |
|
Raising ISO too far |
Heavy, destructive digital noise. |
Balance ISO with a wider aperture and slower shutter. |
|
Ignoring bright light sources |
Blown highlights that cannot be recovered. |
Check exposure specifically around signs and lamps. |
|
Focusing too quickly |
Soft, out-of-focus subjects. |
Confirm focus manually before shooting. |
|
Making the image too bright |
The night scene loses its moody atmosphere. |
Preserve some natural darkness in the shadows. |
Minimizing these errors heavily reduces post-processing time. Capturing the cleanest possible file in-camera serves as the best foundation for any successful low-light workflow.
While capturing a perfect exposure in-camera remains the ultimate goal, even seasoned professionals occasionally end up with grainy or slightly soft files due to unpredictable lighting. When environmental conditions fail, advanced processing utilities offer a reliable way to salvage those imperfect captures.
Enhancing Your Low-Light Shots with Vmake Labs Image Enhancer
Finding effective ways regarding how to edit a photo taken at night often leads to modern software solutions, with Vmake Labs emerging as a highly capable platform in 2026. Even a well-executed low-light shot sometimes suffers from minor sensor noise. The Vmake Labs image enhancer combines resolution upscaling and intelligent artifact elimination into a single automated process. This utility helps improve apparent clarity and reduce visible noise in dark files, though creators should always review the final output to ensure the original, authentic details remain intact.
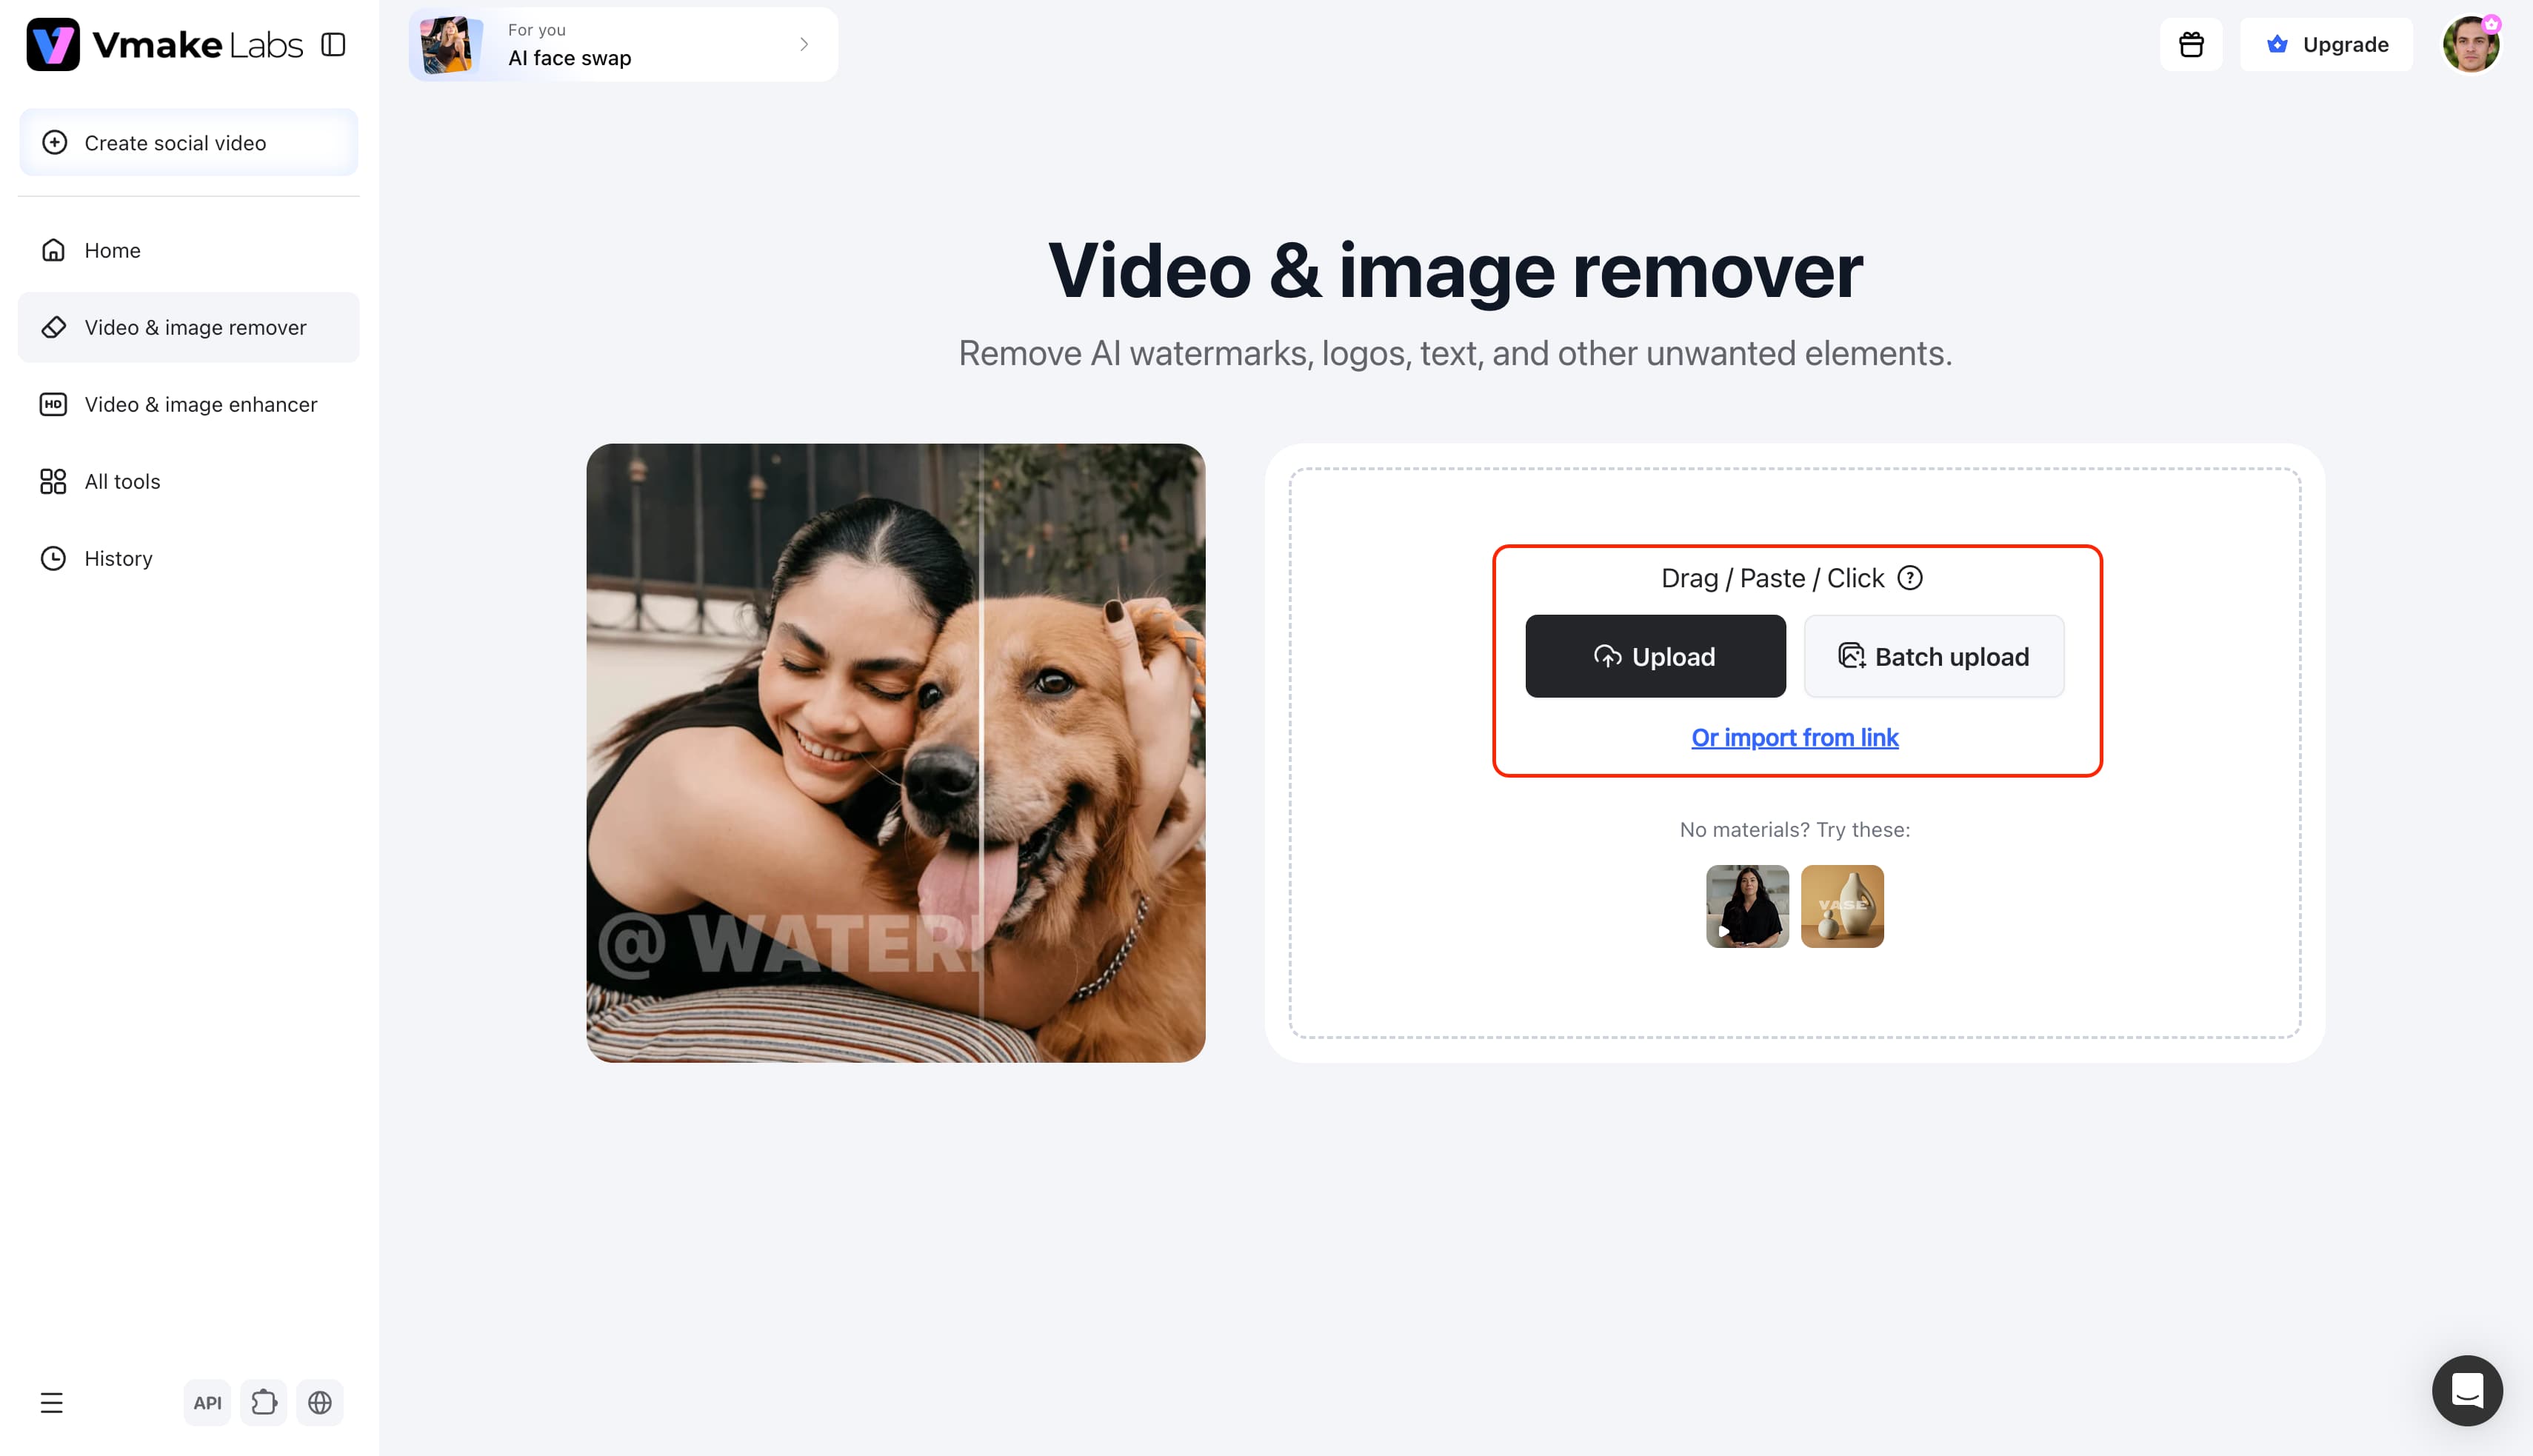
Key features of Vmake Labs Image Enhancer
The platform provides several specialized capabilities tailored for recovering dark, noisy files. These functions work together to output exceptionally clean visuals.
-
AI image enhancement: This function intelligently improves clarity, reduces grain, and fixes blockiness common in high-ISO night photography. It effectively balances contrast while keeping the darkest shadows rich and noise-free, functioning similarly to an advanced HD photo converter.
-
Stable upscaling: This feature boosts resolution, supporting 4K Pro, 8K, and 16K options, while keeping fine edges and architectural structures consistent. Expanding the pixel count allows for larger printing formats without sacrificing sharpness.
-
Generative detail recovery: The system helps recover visual details lost in low-quality or heavily compressed low-light images. It accurately rebuilds textures on buildings or clothing that sensor noise previously obscured, serving as a highly reliable AI image fixer.
-
Portrait Pro enhancement: This option is specially designed to refine unclear facial features, hair, and skin textures in night portraits. Applying this setting ensures human subjects remain the crisp focal point against darker backgrounds.
-
Efficient batch enhancement: Creators can process and repair up to 30 night photos simultaneously with a single click. This streamlines the editing workflow significantly for large batches of event or street photography.
How to enhance a night photo with Vmake Labs
Step 1: Access the Enhancement Tool
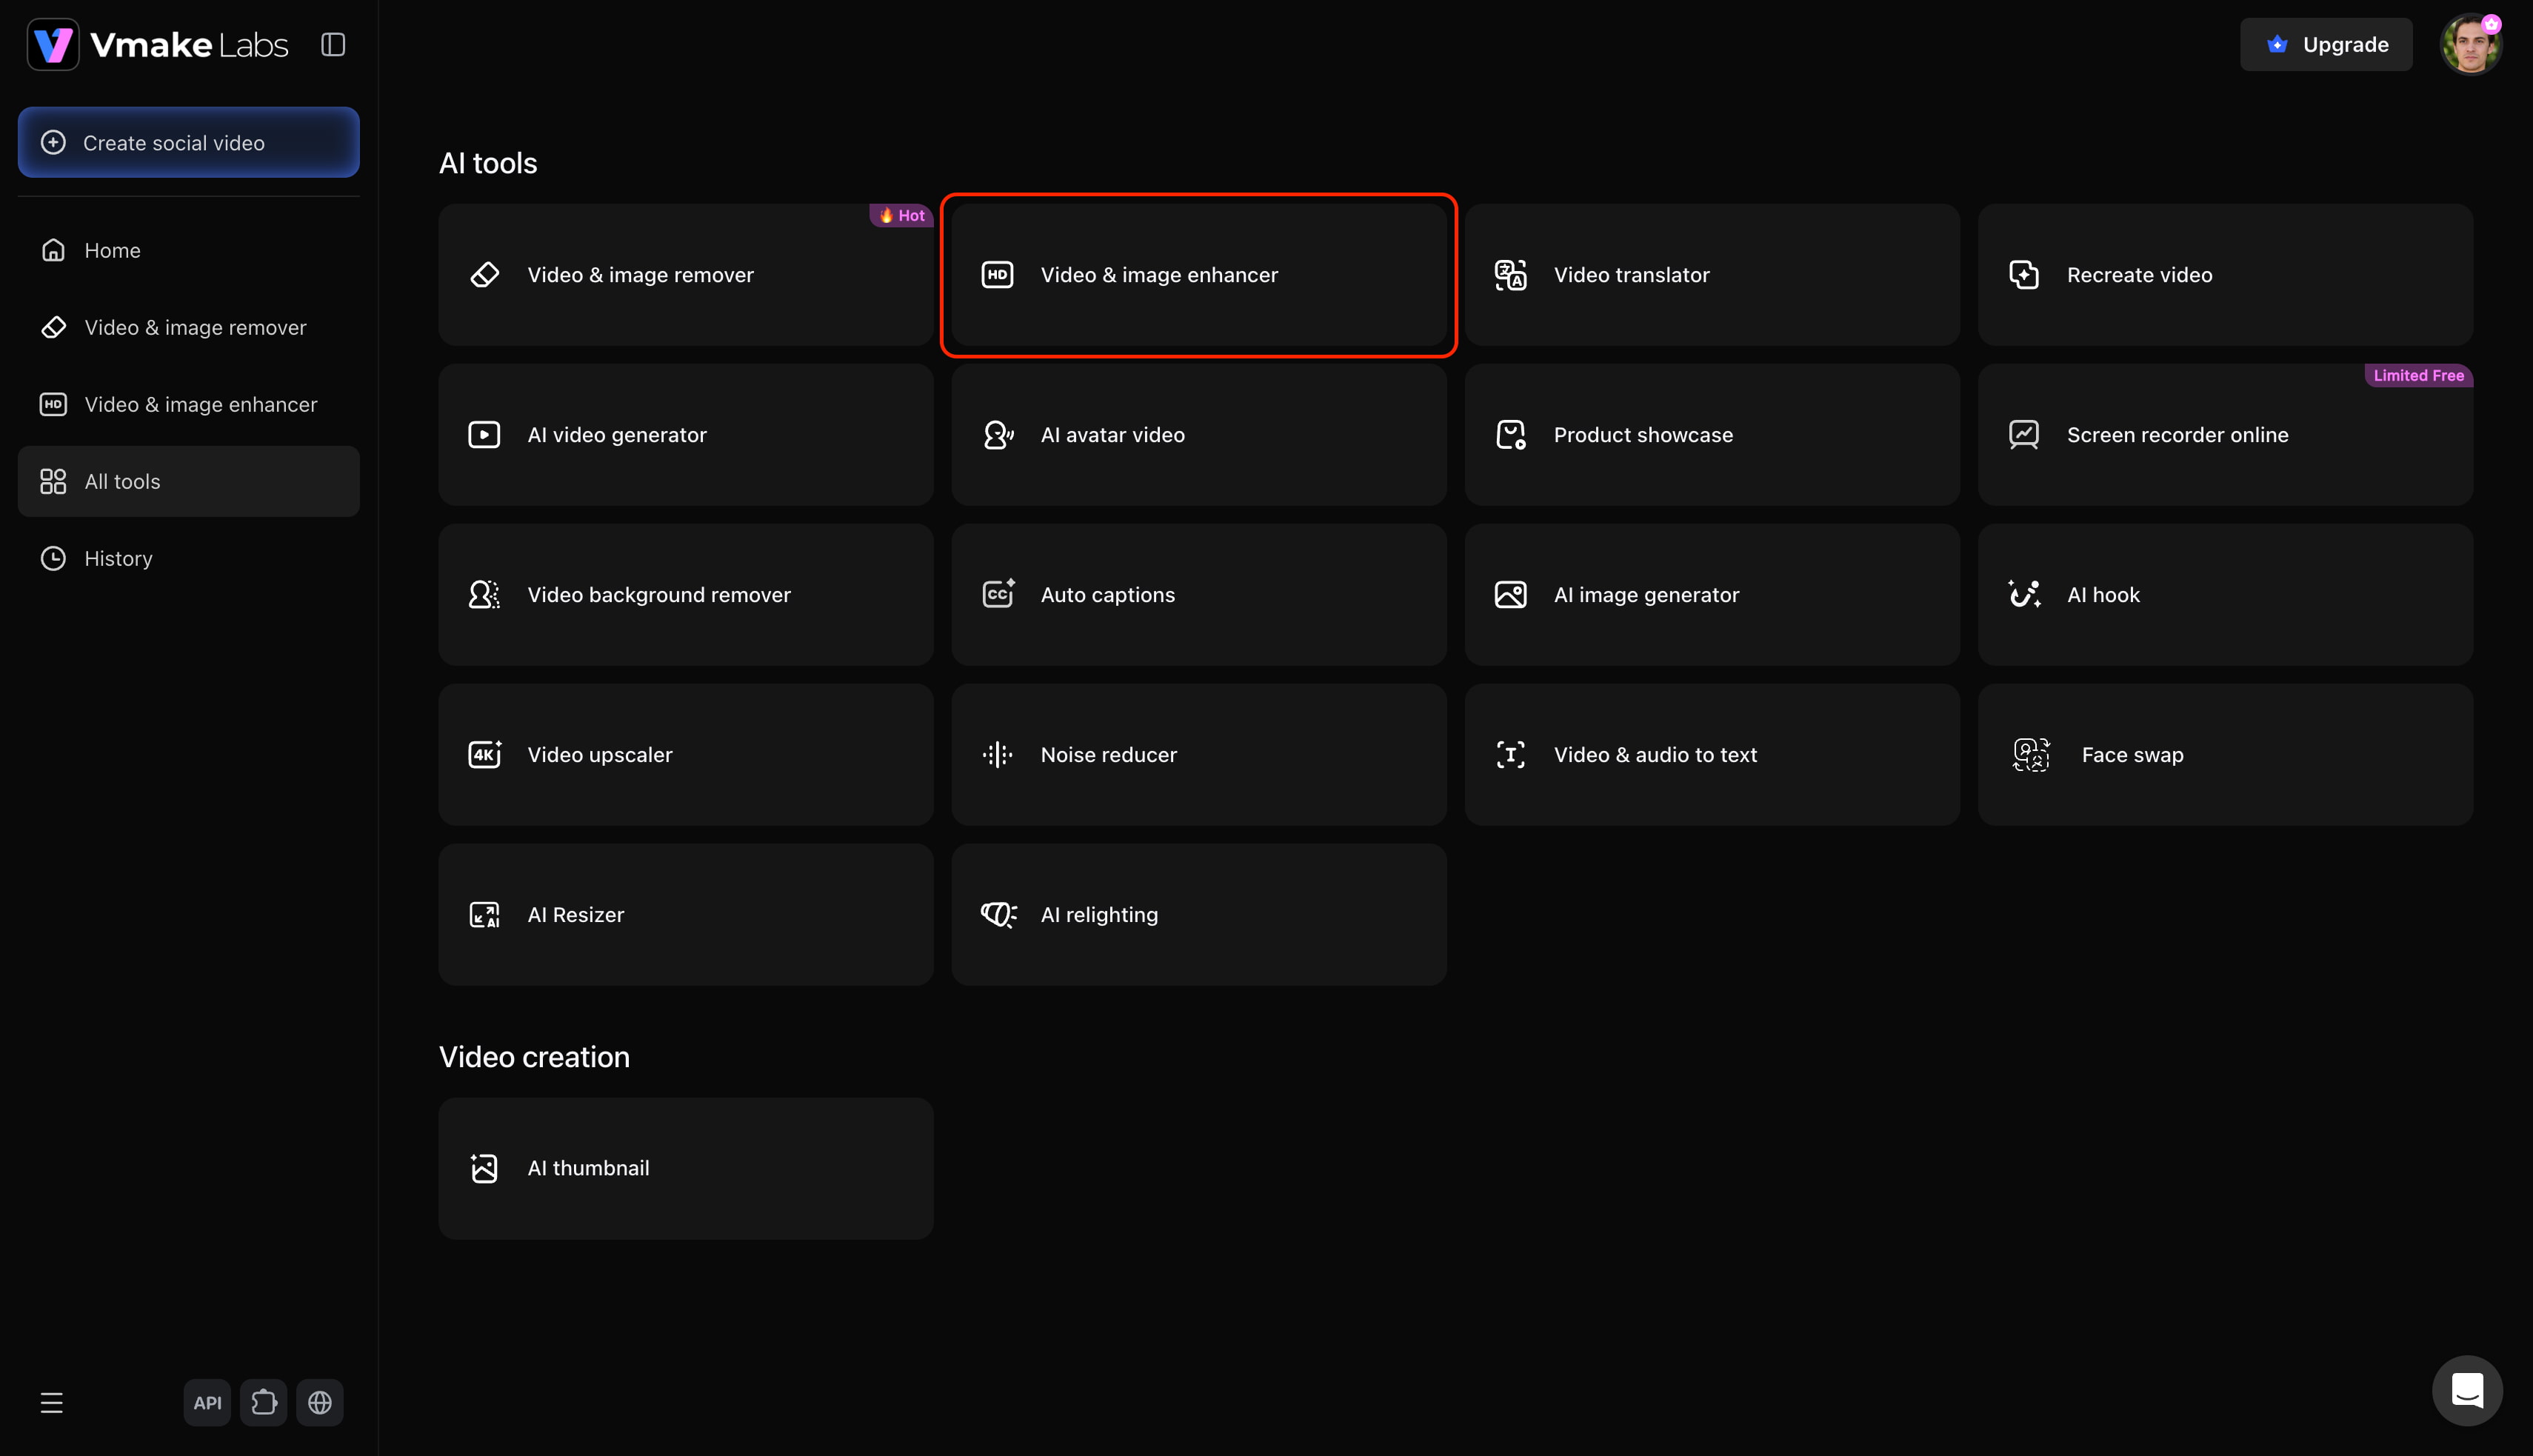
Begin the journey by first accessing the official website of Vmake Labs. After that, sign-in to an existing account or create a new account, and then from the main dashboard, select the "All tools" option. From there, choose the "Video & image enhancer" tool and the system will redirect to a new web page.
Step 2: Upload Your Night Photo
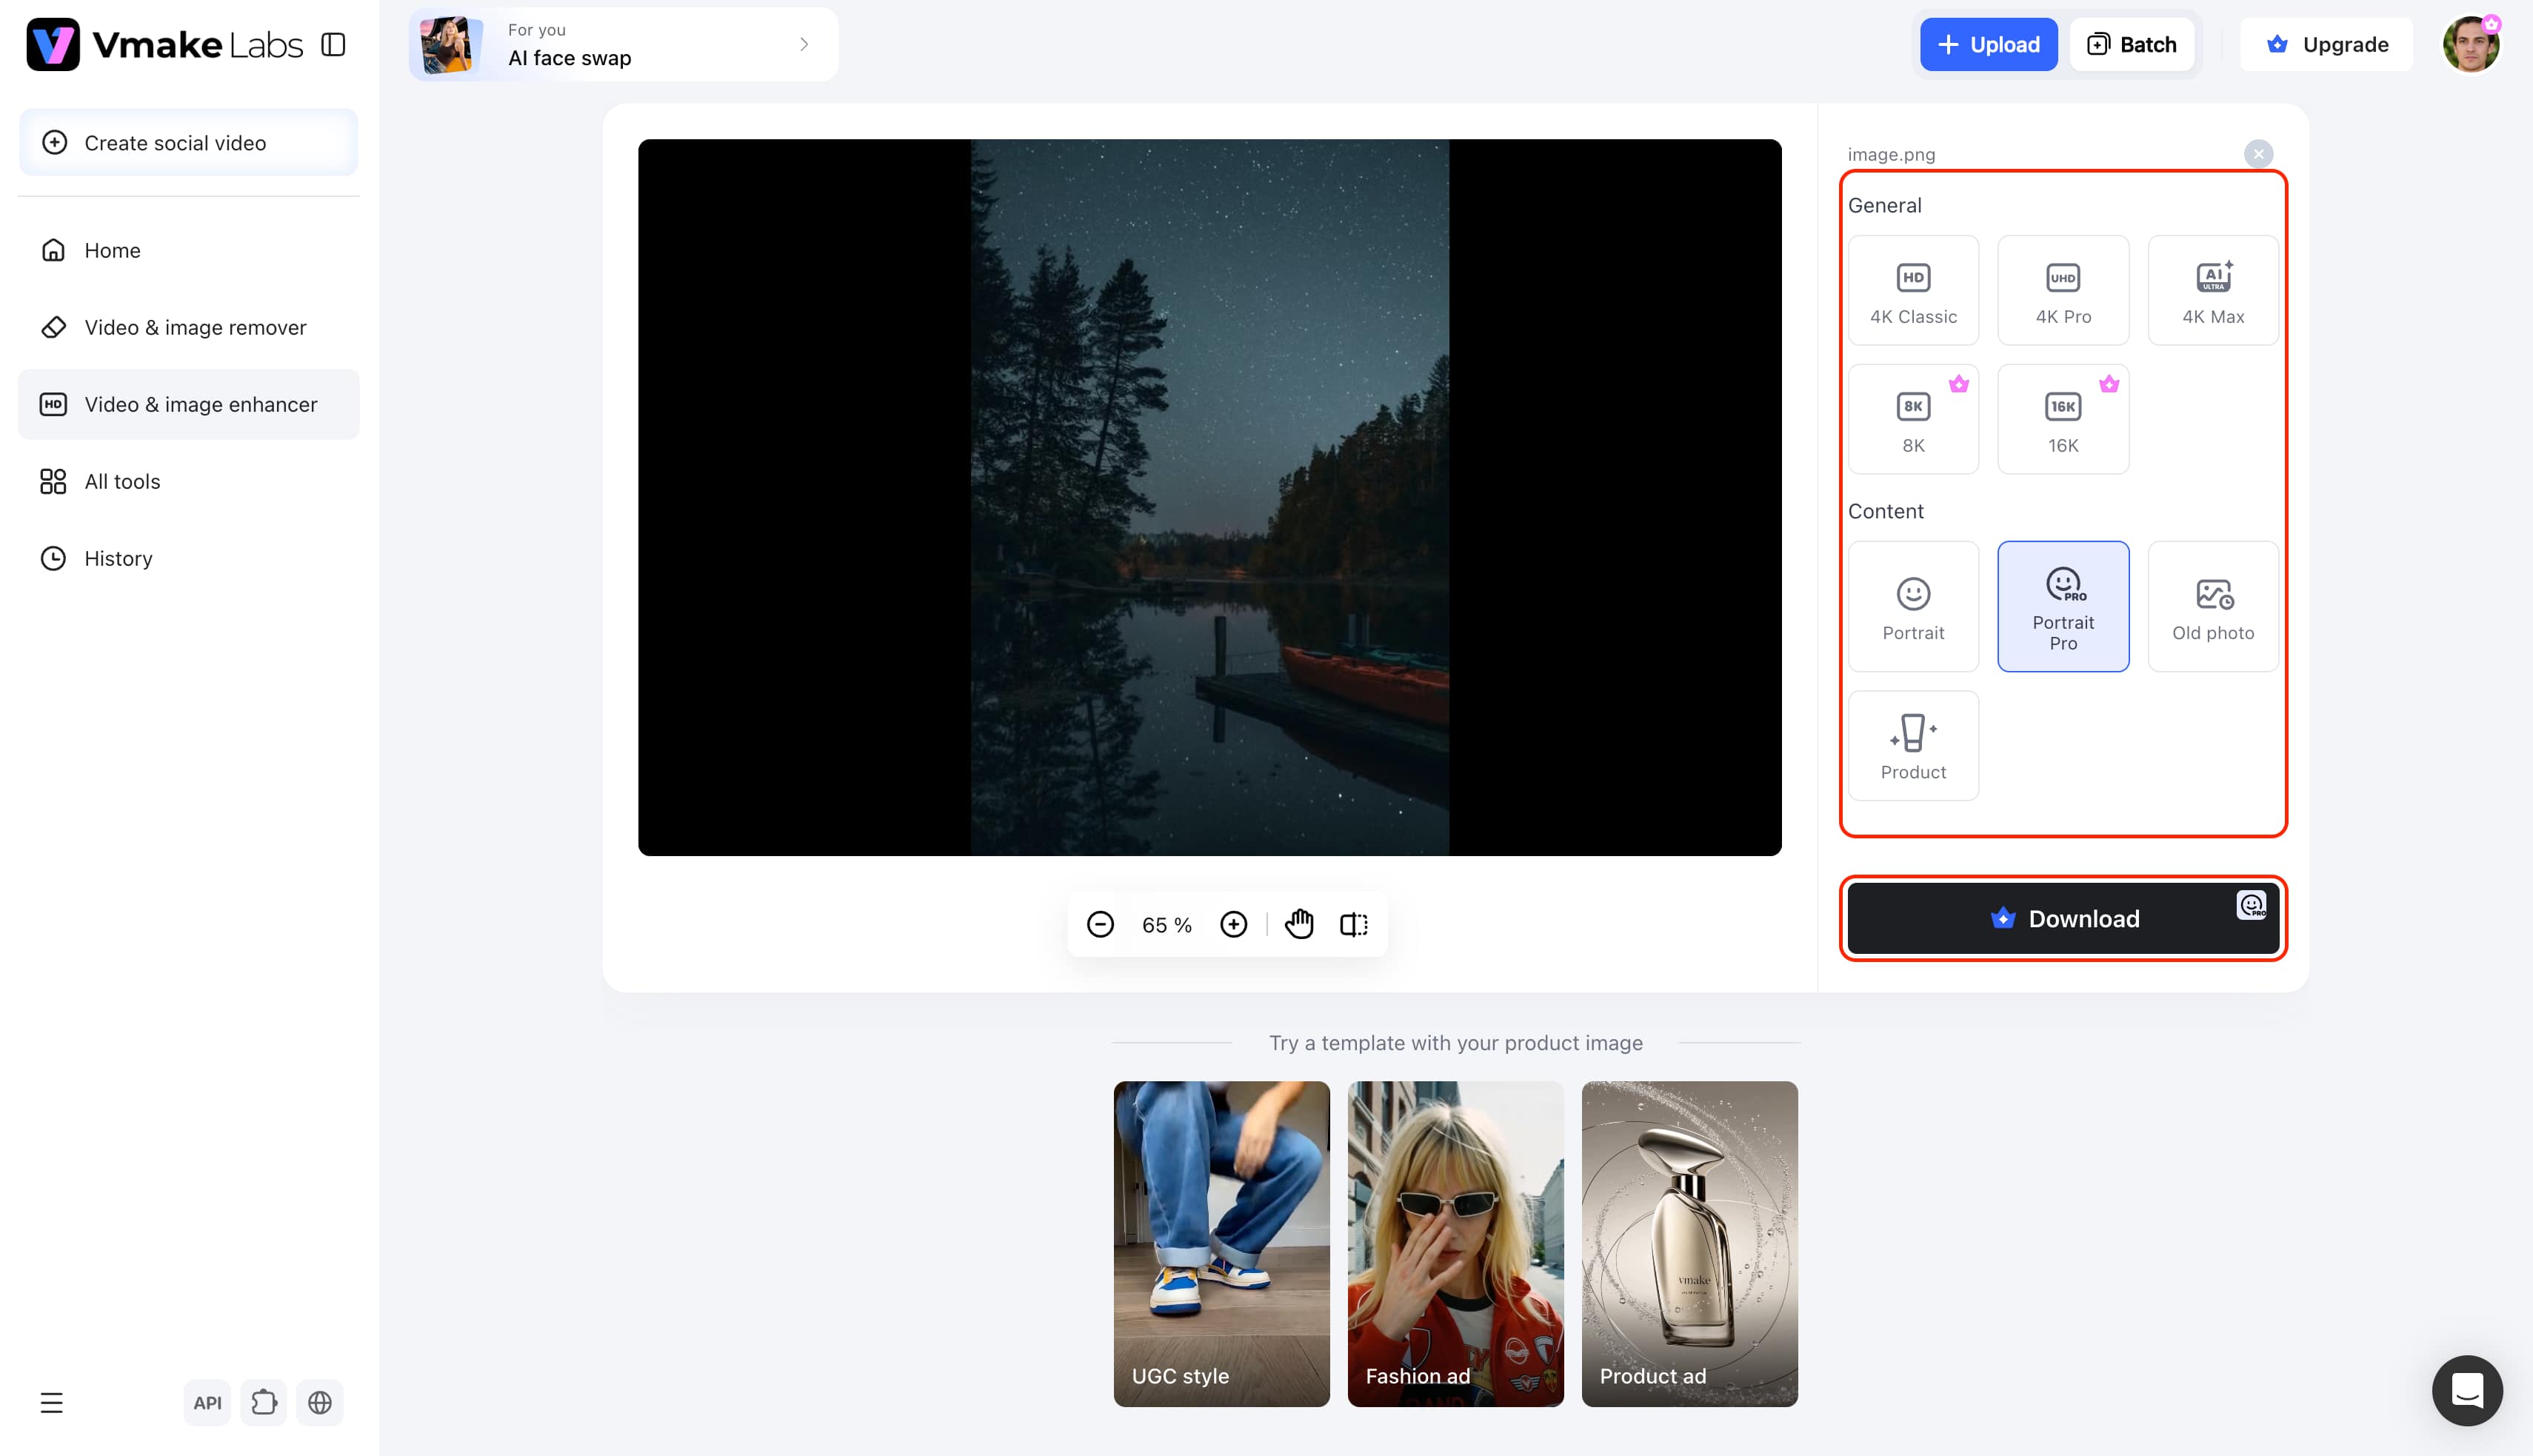
In the next step, proceed to upload the night photo requiring enhancement into the workspace. Additionally, Vmake Labs provides the option to batch upload more than one photo at a time for faster processing.

Step 3: Select the Enhancement Options and Export
Choose your preferred enhancement settings to suit the image. Under the "General" tab, select the desired output resolution, while the "Content" tab provides options tailored to specific needs, such as "Portrait" or "Old photo". Once the selection is applied, the tool processes the enhancements, allowing the final image to be downloaded immediately for sharing.
Conclusion
Good low-light photography is never an accident, it comes down to steady hands and knowing how to exploit faint ambient light without overcooking your exposure. Aperture, shutter speed, and ISO give you creative reins on location. If a tricky shot still ends up a bit noisy, modern upscaling software cleans up whatever the sensor misses. With a little patience behind the glass, capturing clean, atmospheric nighttime shots will feel second nature throughout 2026.
FAQs
What is the best camera setting for night photography?
Setting a wide aperture like f/1.8 is an excellent starting point since it floods the sensor with light without requiring a noisy ISO bump. You only need to match the shutter speed to your physical setup, keeping it brief for handheld work or dragging it out on a stable mount.
How do you take a good photo at night?
Finding practical light sources like a glowing storefront or a streetlamp helps build strong visual contrast against a pitch-black sky. You also need to keep the lens absolutely motionless during the capture so building edges and fine details do not turn into a smeared mess.
How do you take photos at night without a tripod?
Scanning your surroundings for a flat ledge or a bench gives you a solid makeshift base to rest the camera on while the shutter fires. If the area is totally bare, leaning firmly against a wall while bumping the ISO gives you enough of an edge to freeze the shot by hand.
Why are my night photos blurry?
Blurriness mostly occurs when the exposure takes just a second too long while someone attempts to hold heavy gear perfectly still by hand. An autofocus system struggling to find a clean edge in dim lighting is the other major culprit behind a ruined, out-of-focus frame.
How to edit photos taken at night?
Lifting the exposure and contrast sliders in a basic editing app effortlessly pulls hidden background elements right out of the shadows. Running a quick noise reduction pass right after that sweeps away the heavy digital static caused by pushing a camera to its limits.
You May Be Interested

Airbrush Photo Restoration Review: Is It the Best Way to Fix Old Photos?
Clean Up Pixelated Photo with AI: Enhance Photos Easily

How to Face Swap in Photoshop vs. AI Face Swap Tools
How to Fix Blurry Photos in 2026: Best Tools to Sharpen Blurry Images