How to Remove Seedream 5.0 (Dreamina) Watermark with Vmake
Learn how to remove the Dreamina watermark from Seedream 5.0 images using Vmake’s Image Watermark Remover for clean, professional marketing visuals.


Seedream 5.0 from Dreamina AI is a powerful image model for generating stunning, high-quality images in seconds. However, a common limitation is the presence of a noticeable Dreamina watermark on many generated images. While minor, this branding element can divert attention and diminish the polished, high-end impression of your visuals—particularly when they are intended for advertising materials, website headers, or product presentation assets.
This tutorial outlines a straightforward and efficient process for eliminating the Dreamina watermark from Seedream 5.0 images with Vmake’s Image Watermark Remover. It also includes several practical recommendations to ensure the finished image appears seamless, natural, and professionally refined.
Why it's important to remove the Dreamina watermark
A watermark may seem small, but it can significantly impact how your visual assets perform in real-world marketing:
Unprofessional brand image: Watermarked images look less professional when used as hero banners on landing pages or product detail pages (PDPs).
Lower ad conversion: In display ads or social media static posts, an obvious AI platform watermark can break the aesthetic and reduce click-through rates.
Design limitations: A watermark restricts your ability to freely crop, edit, or seamlessly blend the generated artwork into larger graphic design projects.
If you're generating visual content with Seedream 5 for commercial use, removing the watermark is one of the quickest quality upgrades you can make.
What to prepare before getting started
A Seedream 5.0 image export from Dreamina: The watermark is typically located in the corner of the image.
Access to Vmake's Image Watermark Remover
Step-by-Step Guide to Removing the Seedream 5.0 (Dreamina AI) Watermark with Vmake
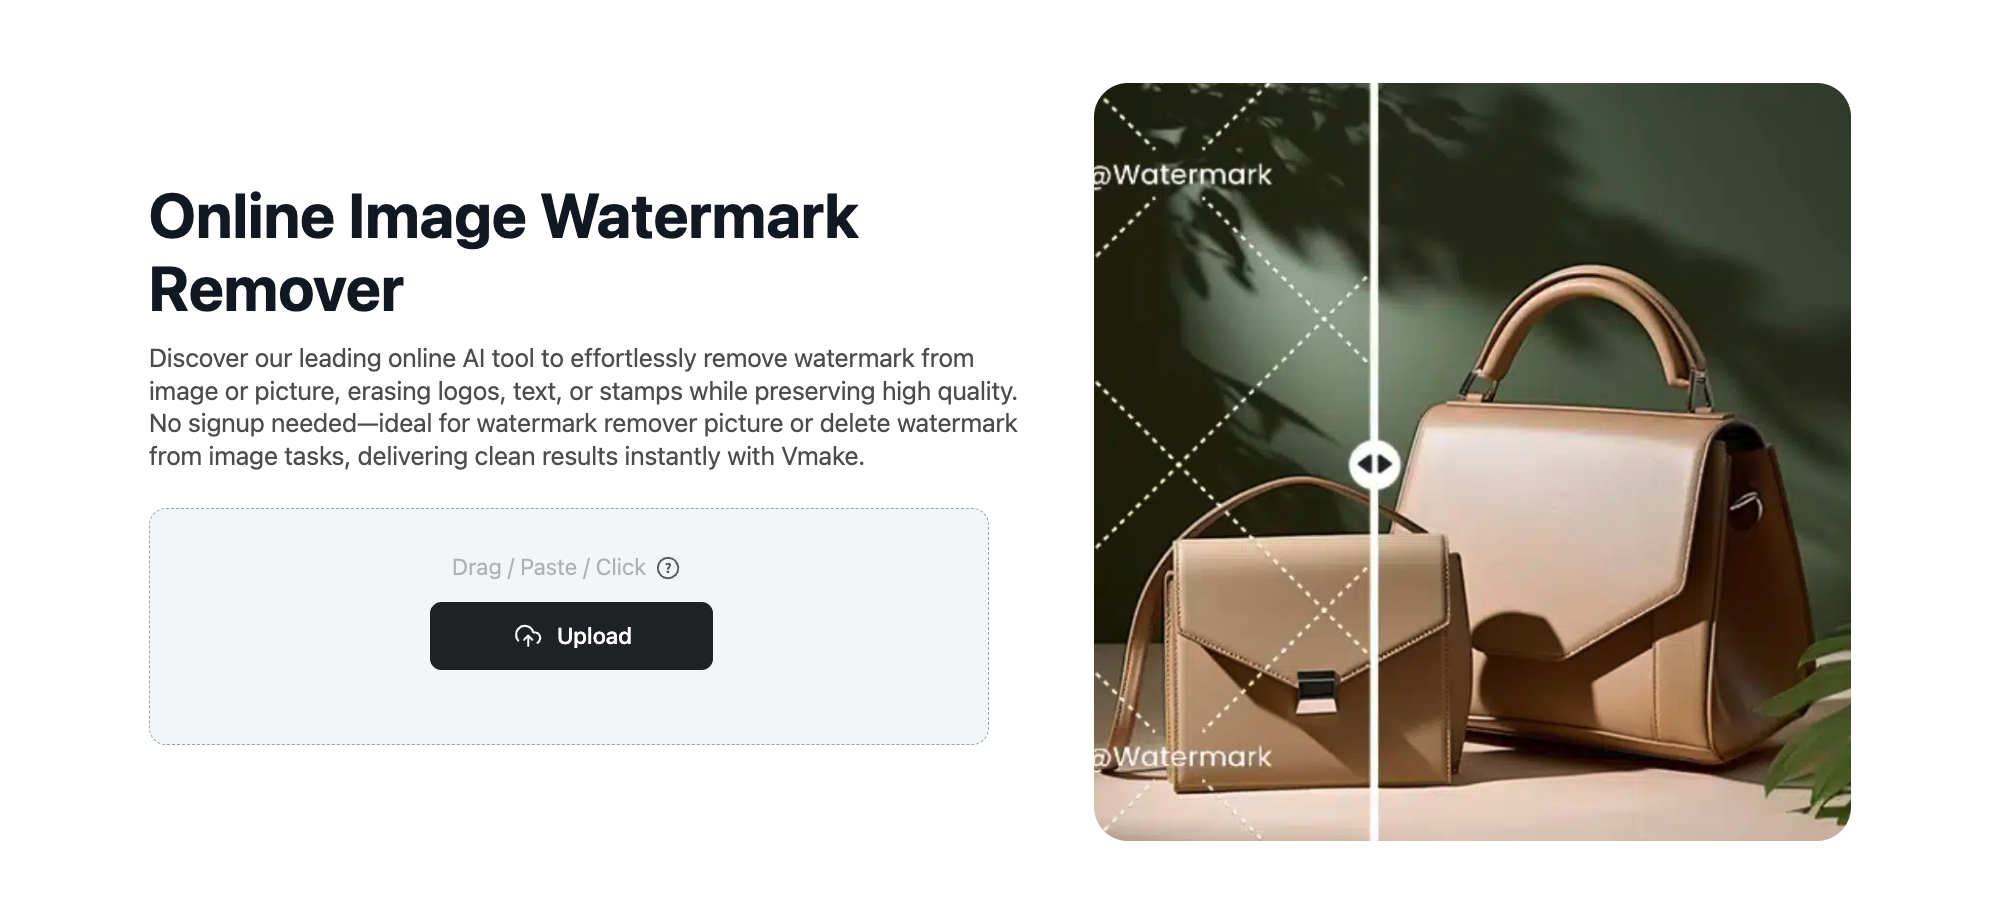
Step 1: Open Vmake's Image Watermark Remover
Go to Vmake's Image Watermark Remover.
Step 2: Upload your Seedream 5.0 image
Upload your image file into Vmake.
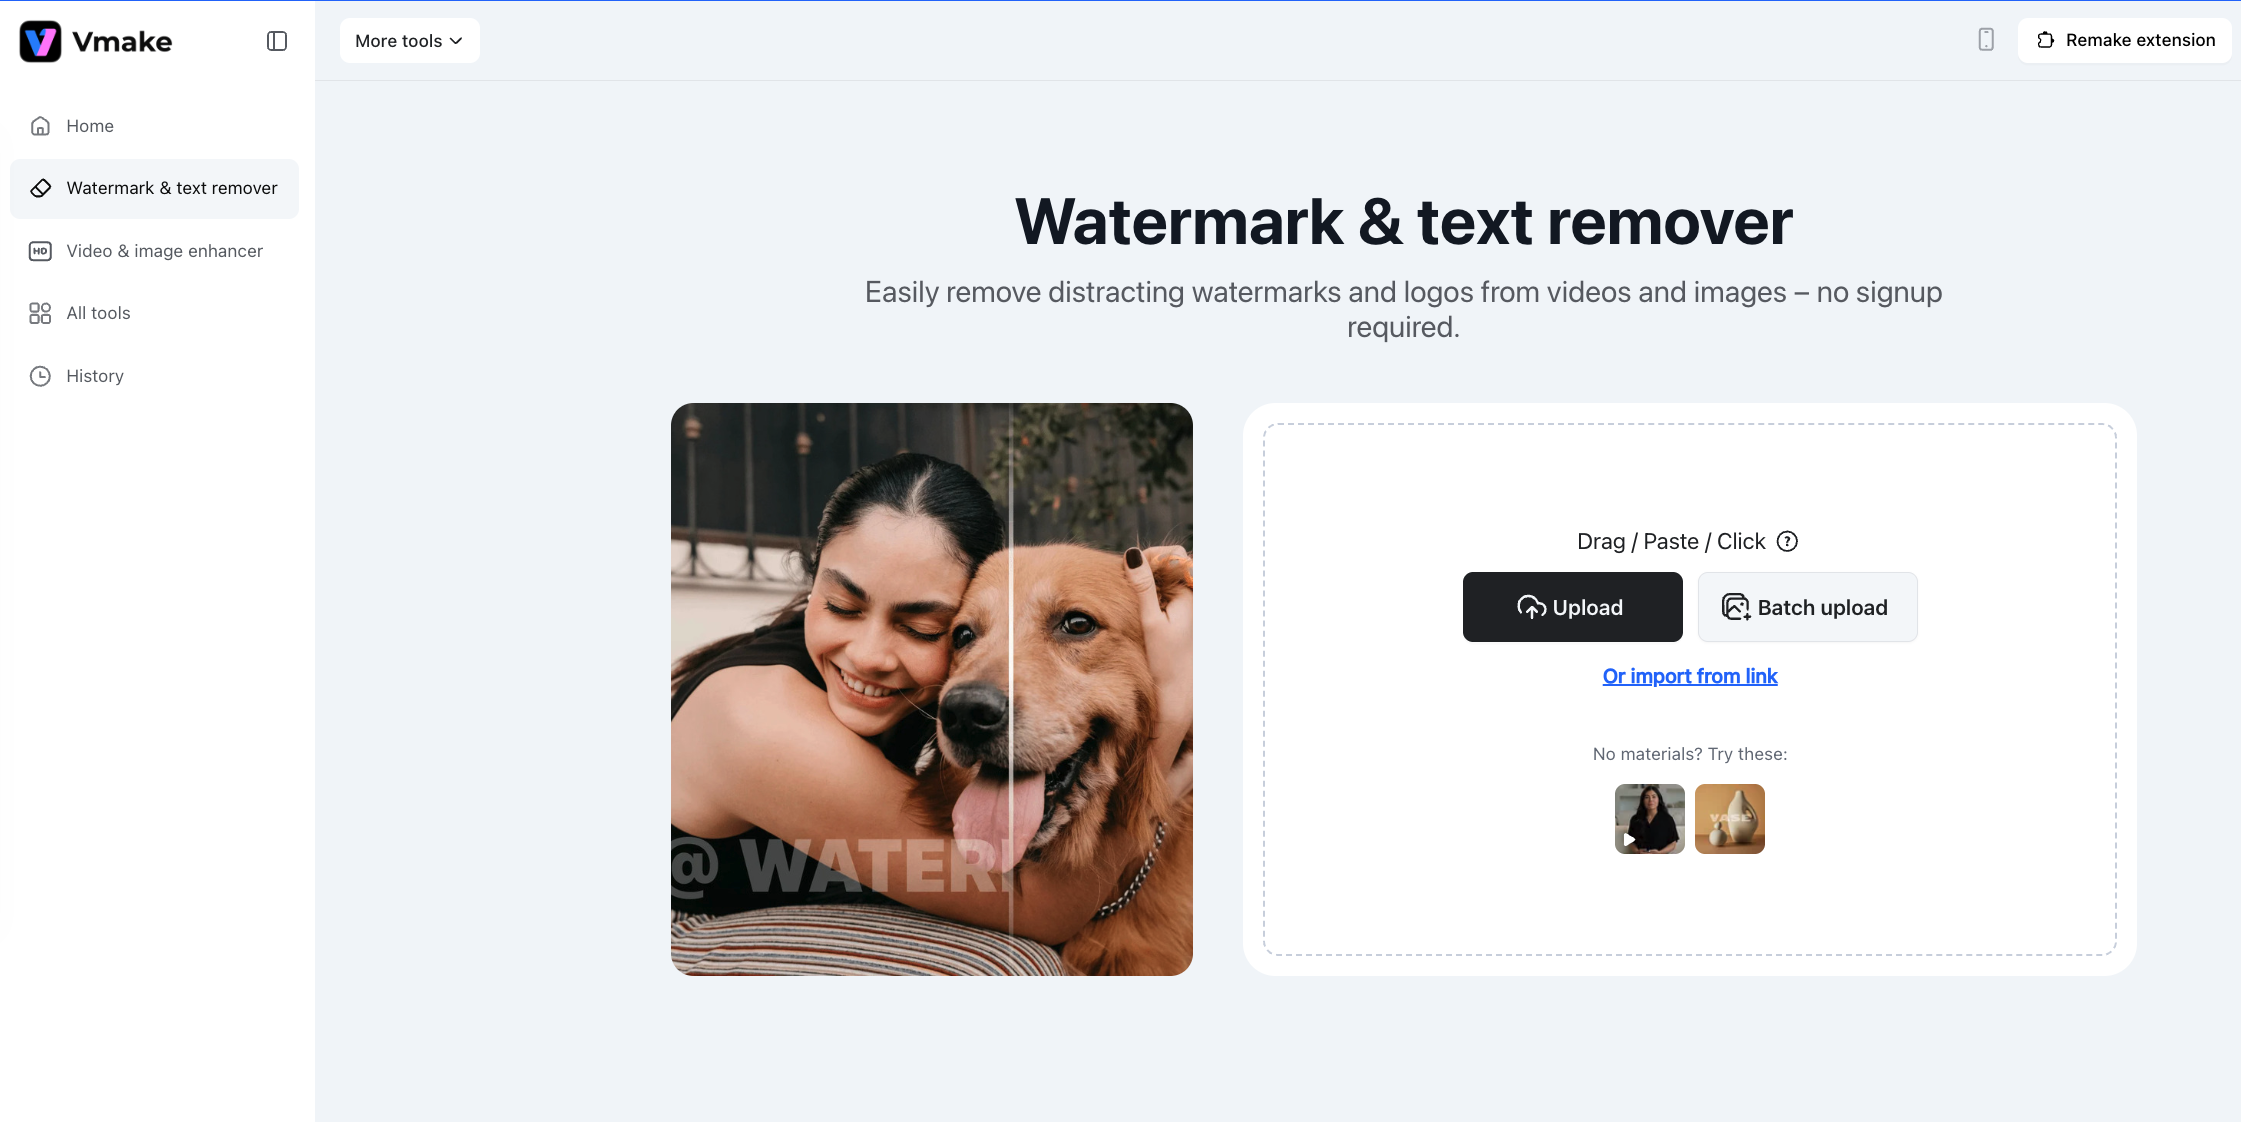
Pro Tip: If you have an entire campaign's worth of images, you can use the Batch Upload feature to process them in bulk, saving you a massive amount of time.
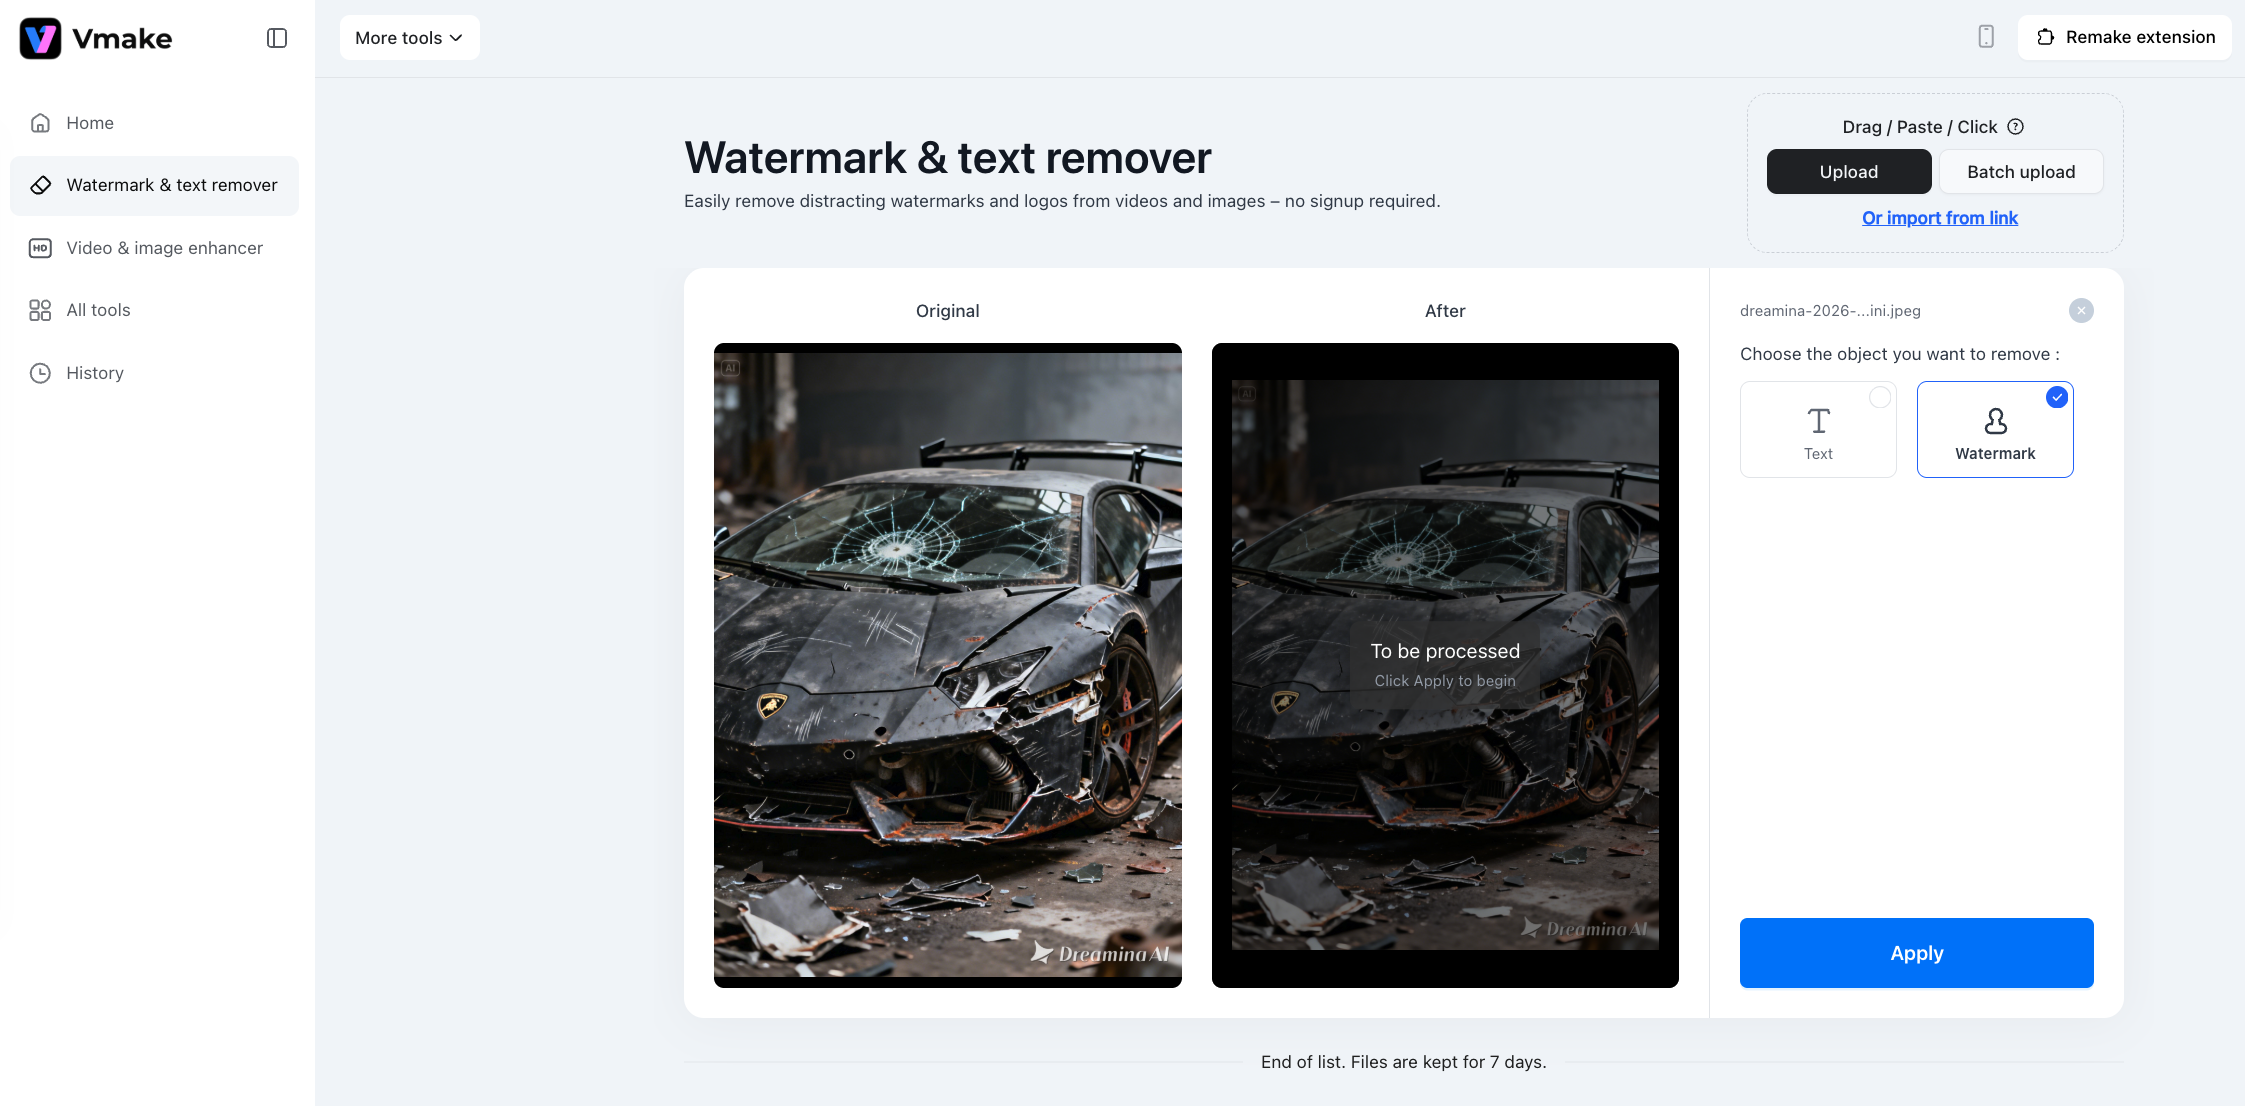
Step 3: Choose Watermark Mode
After uploading your image, simply select Watermark Mode. Vmake will automatically detect and remove the Dreamina watermark, intelligently reconstructing the surrounding area to ensure a smooth and natural-looking result.
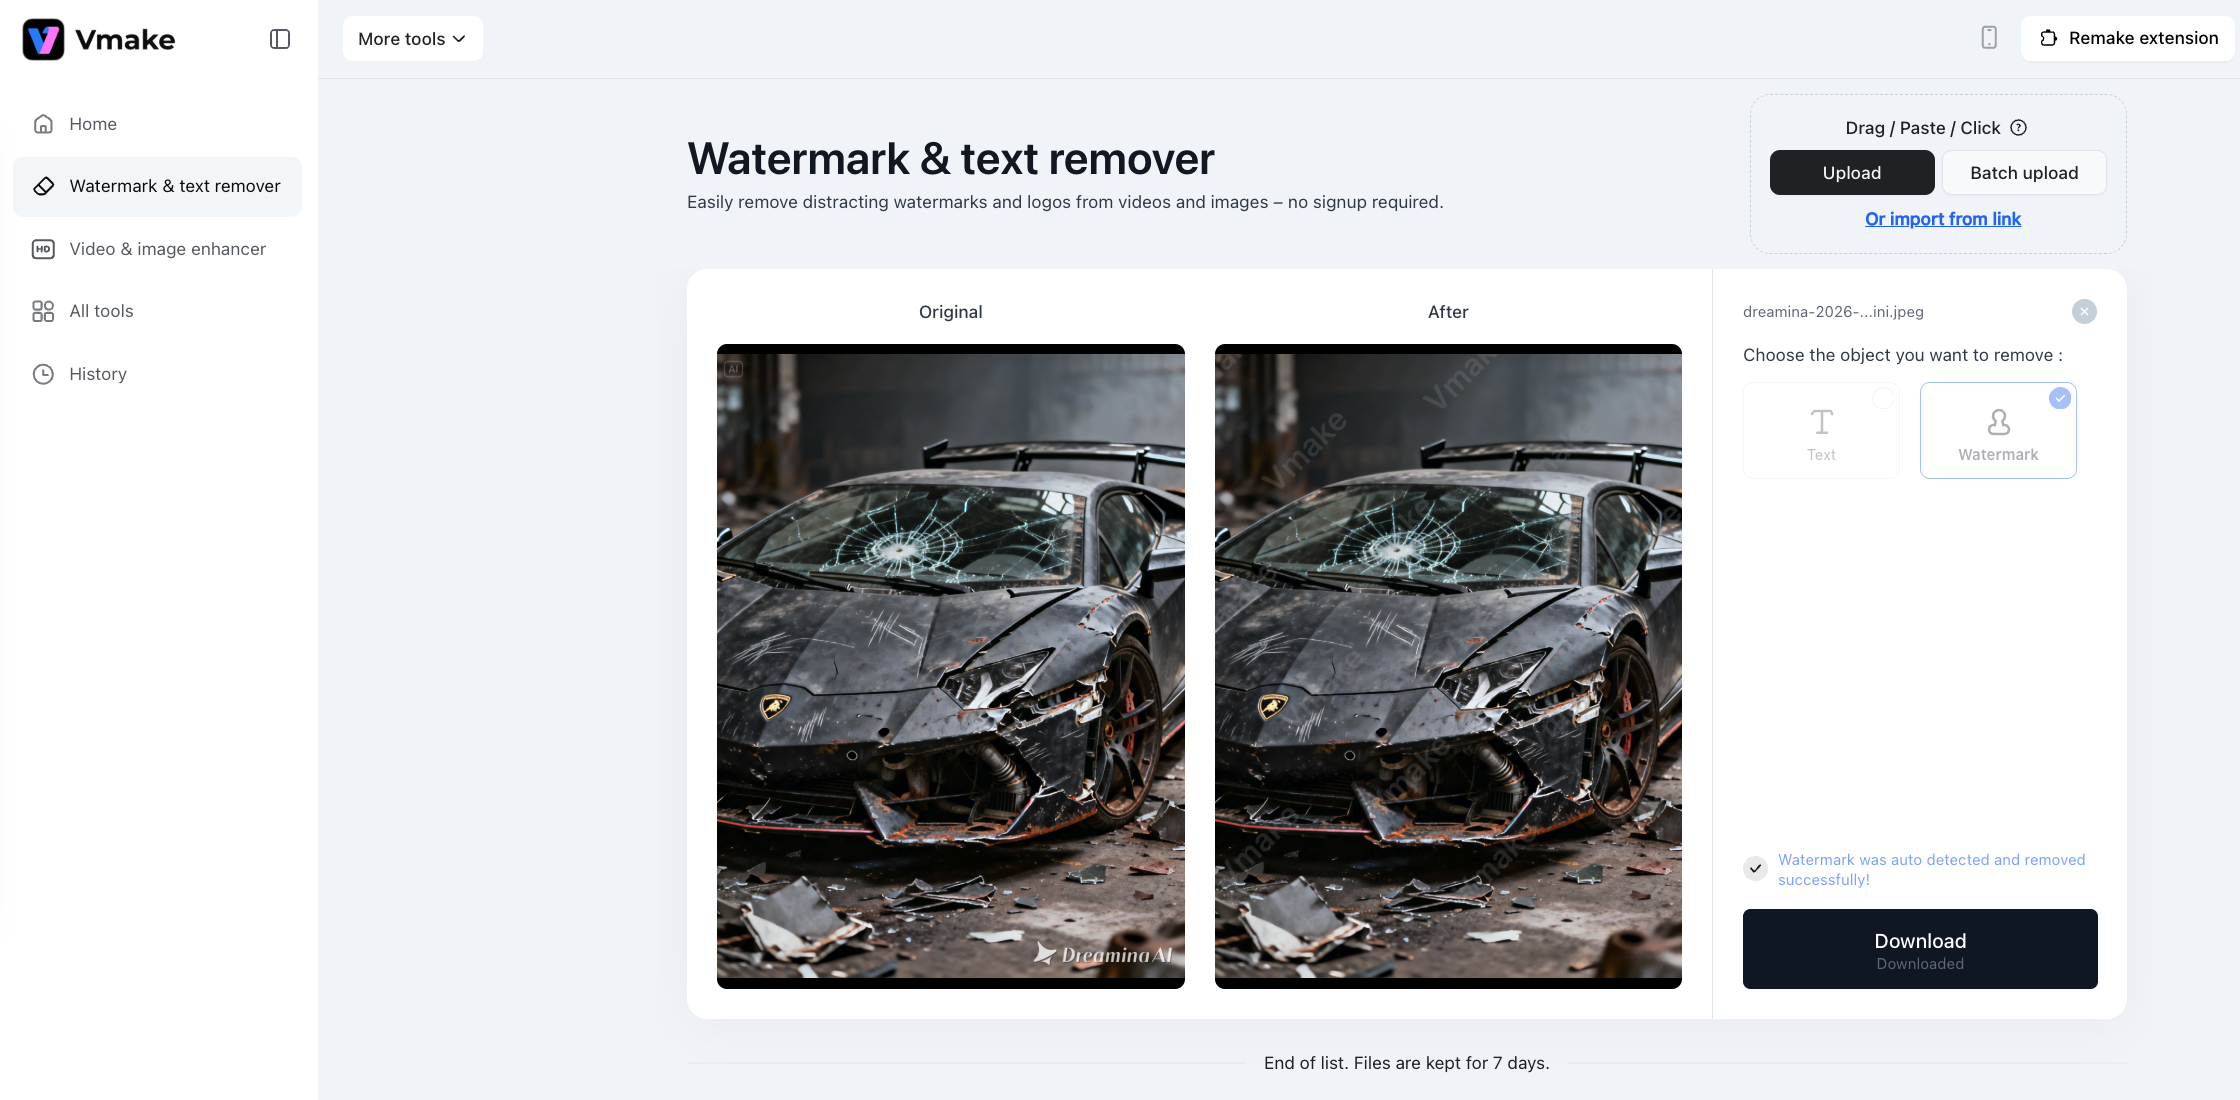
Step 4: Export the clean image
Once the watermark is gone and the background looks natural, export your final image.
Bonus: What About Seedance 2.0 Video Watermarks?
While Seedream 5 handles your static visuals, you might also be exploring the Dreamina ecosystem for dynamic content. If you're generating AI videos with Seedance 2.0 for your marketing campaigns or social media channels, you'll likely run into the same watermark issue.
Fortunately, Vmake's toolset includes a dedicated Video Watermark Remover that handles moving footage just as seamlessly.
For a complete, step-by-step walkthrough on cleaning up your AI-generated videos, check out our dedicated guide here: How to Remove Seedance 2.0 (Dreamina) Watermark with Vmake
Final Thoughts
By stripping away the Dreamina watermark and layering on Vmake's visual enhancements, you're doing more than just editing—you're brand-building. You're taking a fast AI image output from Seedream 5.0 and turning it into a professional, high-fidelity asset that builds trust, commands attention, and scales your visual marketing effortlessly.

You May Be Interested

123APPS Watermark Remover Review (2026): Pros, Cons, and Pricing

Seedance 2.0 vs Sora 2: Which AI Video Generator Wins in 2026?

Top 20 Captions to Make Your YouTube Shorts Go Viral

Google Gemini|Copy Paste This Simple Prompts to Create “Hug my younger self ” Photos
