Why Does Instagram Ruin Photo Quality? (And How to Fix It)
Wondering why does Instagram ruin photo quality? Learn why photos become blurry on posts and Stories, discover how Instagram compression works, and enhance resolution and fix blurry uploads instantly with our AI-powered tool designed for creators.

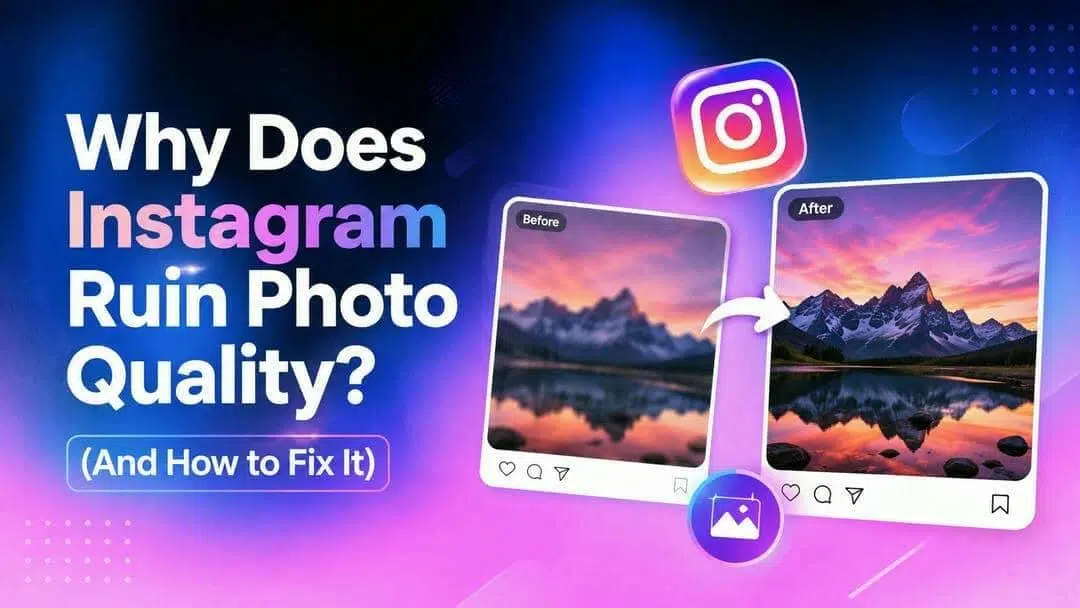
You capture a crisp, stunning photo, hit publish, and watch Instagram flatten it into a soft, pixelated mess. If you're wondering, "Why does Instagram ruin photo quality?", you aren't alone. Here is the truth behind the platform's compression engine and how to keep your uploads looking tack-sharp.
What happens when you upload a photo to Instagram
Instagram doesn't just store your photo as-is. Every image you upload goes through a processing pipeline before it ever reaches a follower's feed, and that pipeline is built for speed, not for preserving every last pixel.
Broadly, it works in four stages:
-
Resize: Your photo is scaled to fit Instagram's preferred dimensions, no matter how large the original file was.
-
Convert: The file is converted into a web-friendly format (almost always JPEG), even if you uploaded a PNG or HEIC.
-
Compress: The image is compressed to cut file size dramatically, so it loads quickly on any connection.
-
Serve: The compressed version is distributed through Instagram's content delivery network (CDN) so it loads fast for millions of viewers, everywhere.
That last point is really the whole story. Instagram has to serve billions of images a day to people on slow mobile data, patchy Wi-Fi and older phones. A small compressed file loads immediately, a large, pristine one does not. Then Instagram's servers are optimized for speed and efficiency, not for keeping every pixel of your original image. The quality of your photos isn't collateral damage from a bug, but an intentional trade-off, baked into how the platform works at scale.
Why does Instagram ruin my photo quality
Instagram doesn't reduce image quality because of a single process. Every photo goes through a series of optimization steps during upload, with each stage designed to reduce file size, improve loading speed, and deliver content efficiently across different devices and network conditions. Together, these optimizations can gradually reduce image clarity and fine detail.
-
Lossy compression (Permanent data loss): Instagram uses lossy compression to significantly reduce file size by permanently removing image data that is less noticeable to the human eye, such as subtle color variations and fine textures. This is the primary reason uploaded photos appear softer than the originals.
-
Instagram resizes large images: Instagram's preferred upload width is around 1080 pixels. Photos with higher resolutions are automatically downscaled, removing excess pixels and reducing fine detail, especially in high-resolution images.
-
Automatic JPEG conversion: Photos uploaded in formats such as PNG or HEIC are typically converted and then re-encoded as JPEG before being delivered. JPEG itself is not the problem. The quality loss mainly occurs because Instagram applies its own compression settings during the re-encoding process, which further reduces image detail to create smaller files.
-
Significant file size reduction: After resizing and re-encoding, Instagram further optimizes the file for fast delivery. For example, a 1.6 MB image may be reduced to around 125 KB, resulting in visual quality similar to a JPEG saved at approximately 70–75% quality.
Why does Instagram ruin photo quality on iPhone
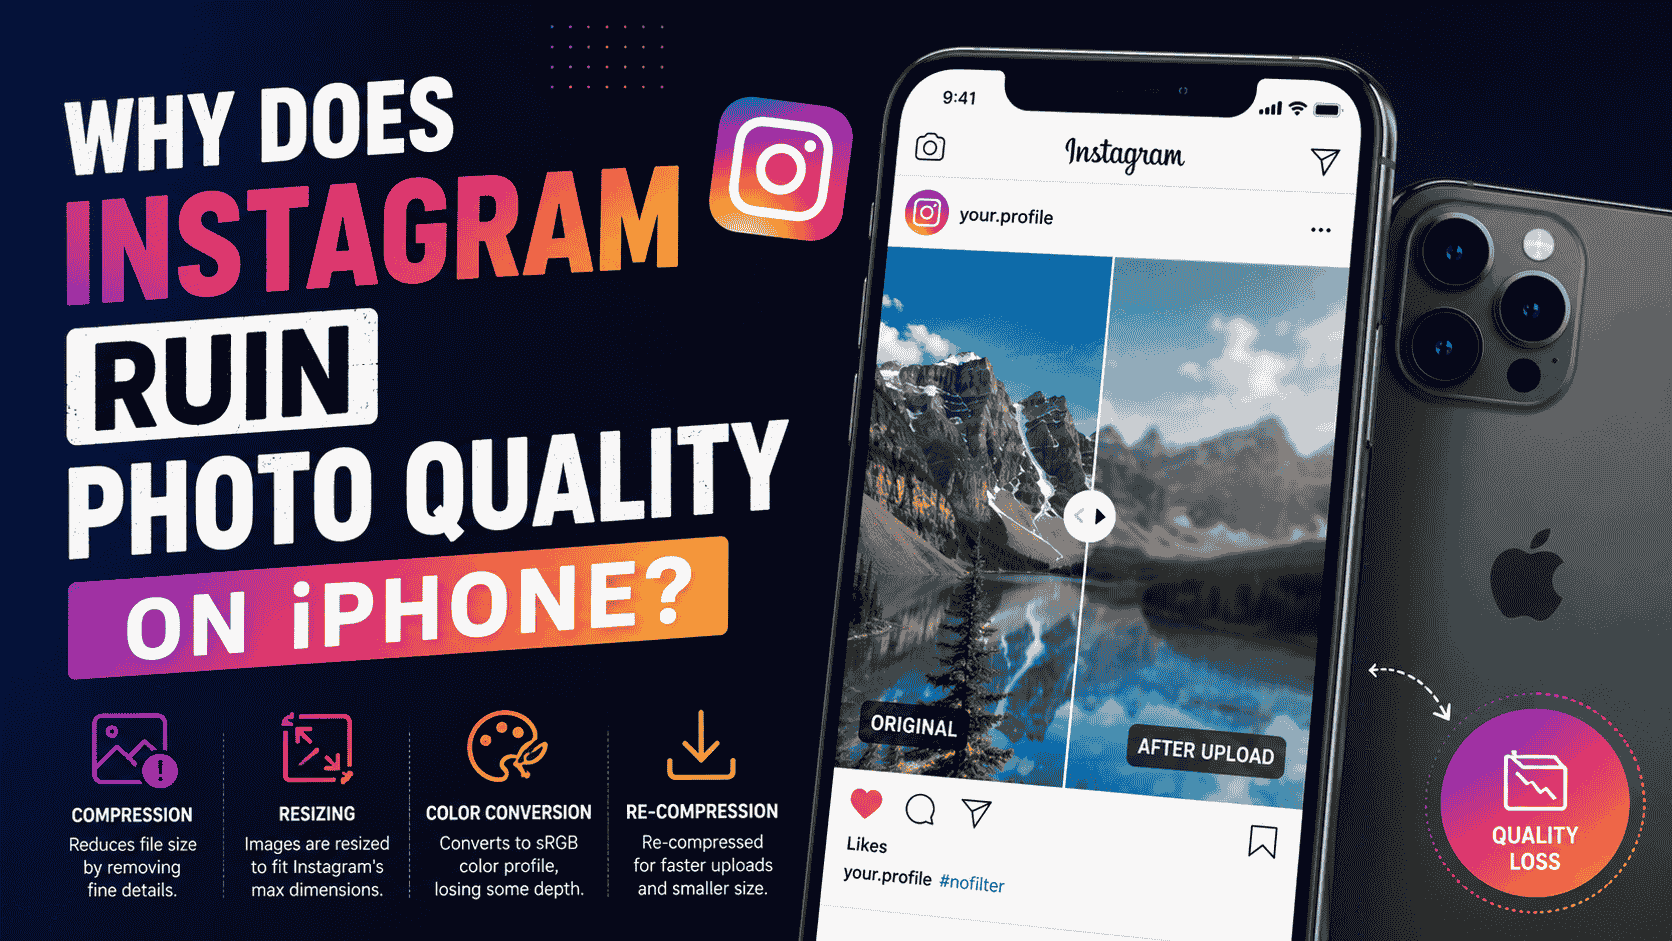
If you use an iPhone, you've probably noticed the quality drop feels even worse than on other devices. There are a few iPhone-specific reasons why Instagram seems to ruin your photos more noticeably.
-
HEIC conversion before uploading: Photos captured by modern-day iPhones are saved in the HEIC format. Although HEIC provides very good results, there is an additional conversion from HEIC to JPEG by Instagram when the user uploads a photo. This extra conversion step can introduce compression artifacts before Instagram applies its own image compression.
-
Live Photos are converted to still images: Live Photos contain multiple frames and motion data, but Instagram uploads only a static image for standard photo posts. During this conversion, the selected frame is processed and compressed, which can slightly reduce image quality compared to the original.
-
ProRAW images are downsampled: iPhone Pro models can capture ProRAW images with significantly higher resolution and dynamic range than Instagram supports. Before or during upload, these large files are downsampled and compressed to fit Instagram's preferred dimensions, reducing some of the extra detail captured by the camera.
-
Export workflow can affect quality: The method you use to transfer or export photos can also influence upload quality. For example, AirDrop typically preserves the original file, while some iCloud sharing or messaging workflows may convert or compress images before they reach Instagram. Uploading the highest-quality original file helps minimize unnecessary quality loss.
-
Higher camera resolution than Instagram supports: Recent iPhone models capture photos at resolutions much larger than Instagram's preferred width of around 1080 pixels. Instagram automatically downsizes these images, removing extra pixels and reducing fine details.
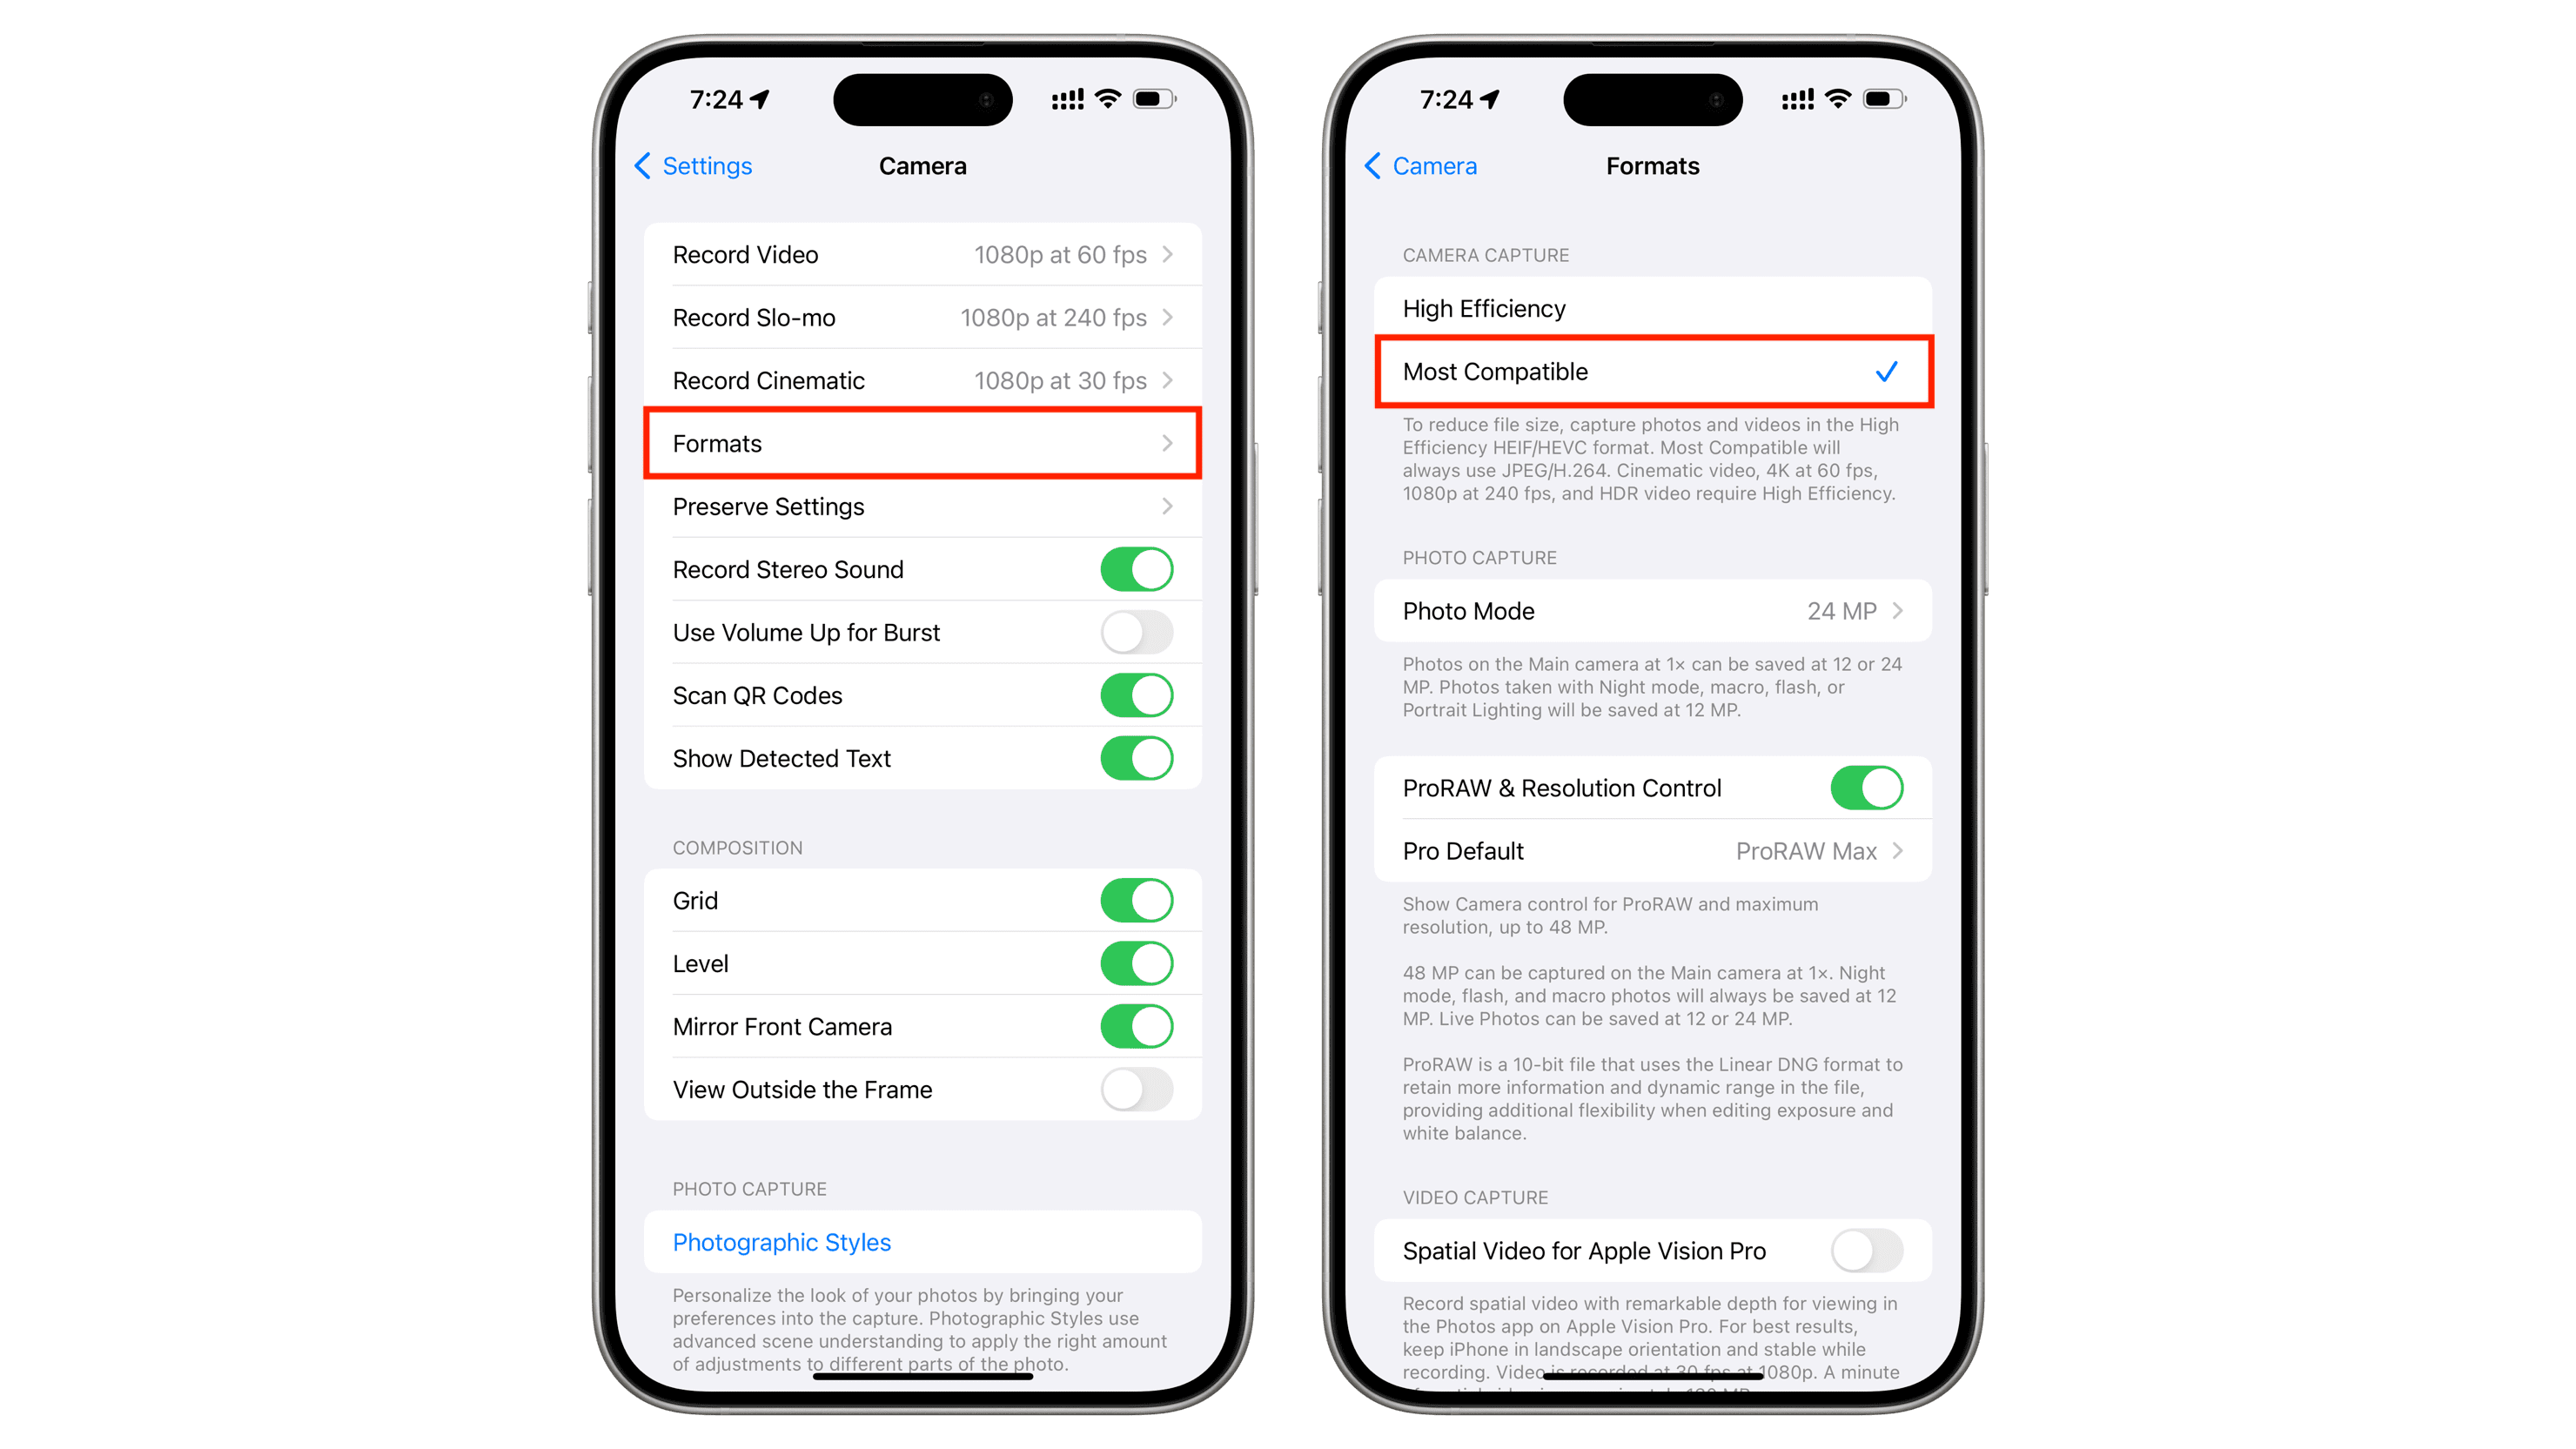
The fix: Before uploading, convert your HEIC photo to JPEG yourself (most iPhones let you do this by changing the camera format to "Most Compatible" in Settings > Camera > Formats, or by exporting as JPEG when you share the file). Uploading a JPEG you control the quality of, rather than letting Instagram convert HEIC for you, generally gives you a cleaner result.
Why does Instagram ruin photo quality on Posts vs. Stories
Not all Instagram formats handle media the same way. The platform applies distinct compression rules depending on where your image appears.
|
Format |
Recommended Dimensions |
Compression Level |
|---|---|---|
|
Feed Post |
1080 × 1350 px (portrait) or 1080 × 1080 px (square) |
Moderate |
|
Story |
1080 × 1920 px |
Higher |
|
Reel |
1080 × 1920 px |
Moderate to High |
Stories often look worse than feed posts because they are designed to be consumed quickly and disappear within 24 hours, so Instagram tends to process them at a lower bitrate and prioritize fast loading over image fidelity. Combined with the vertical crop and full-screen display (which stretches images more than a feed post would), quality loss on Stories is often more visible than on a standard post.
Reels are compressed differently because they are video-first content. While the video itself is encoded at a bitrate that varies based on factors such as resolution, length, and network optimization, Instagram still compresses it to balance quality with streaming performance. In addition, the Reel cover image (thumbnail) is processed separately from the video. Even if the video looks sharp, the thumbnail may be resized and compressed independently, making it appear softer in the Reels grid or on your profile.
How to upload photos without losing quality
You can easily bypass heavy algorithmic downscaling by prepping your files to match Instagram's exact preferences.
-
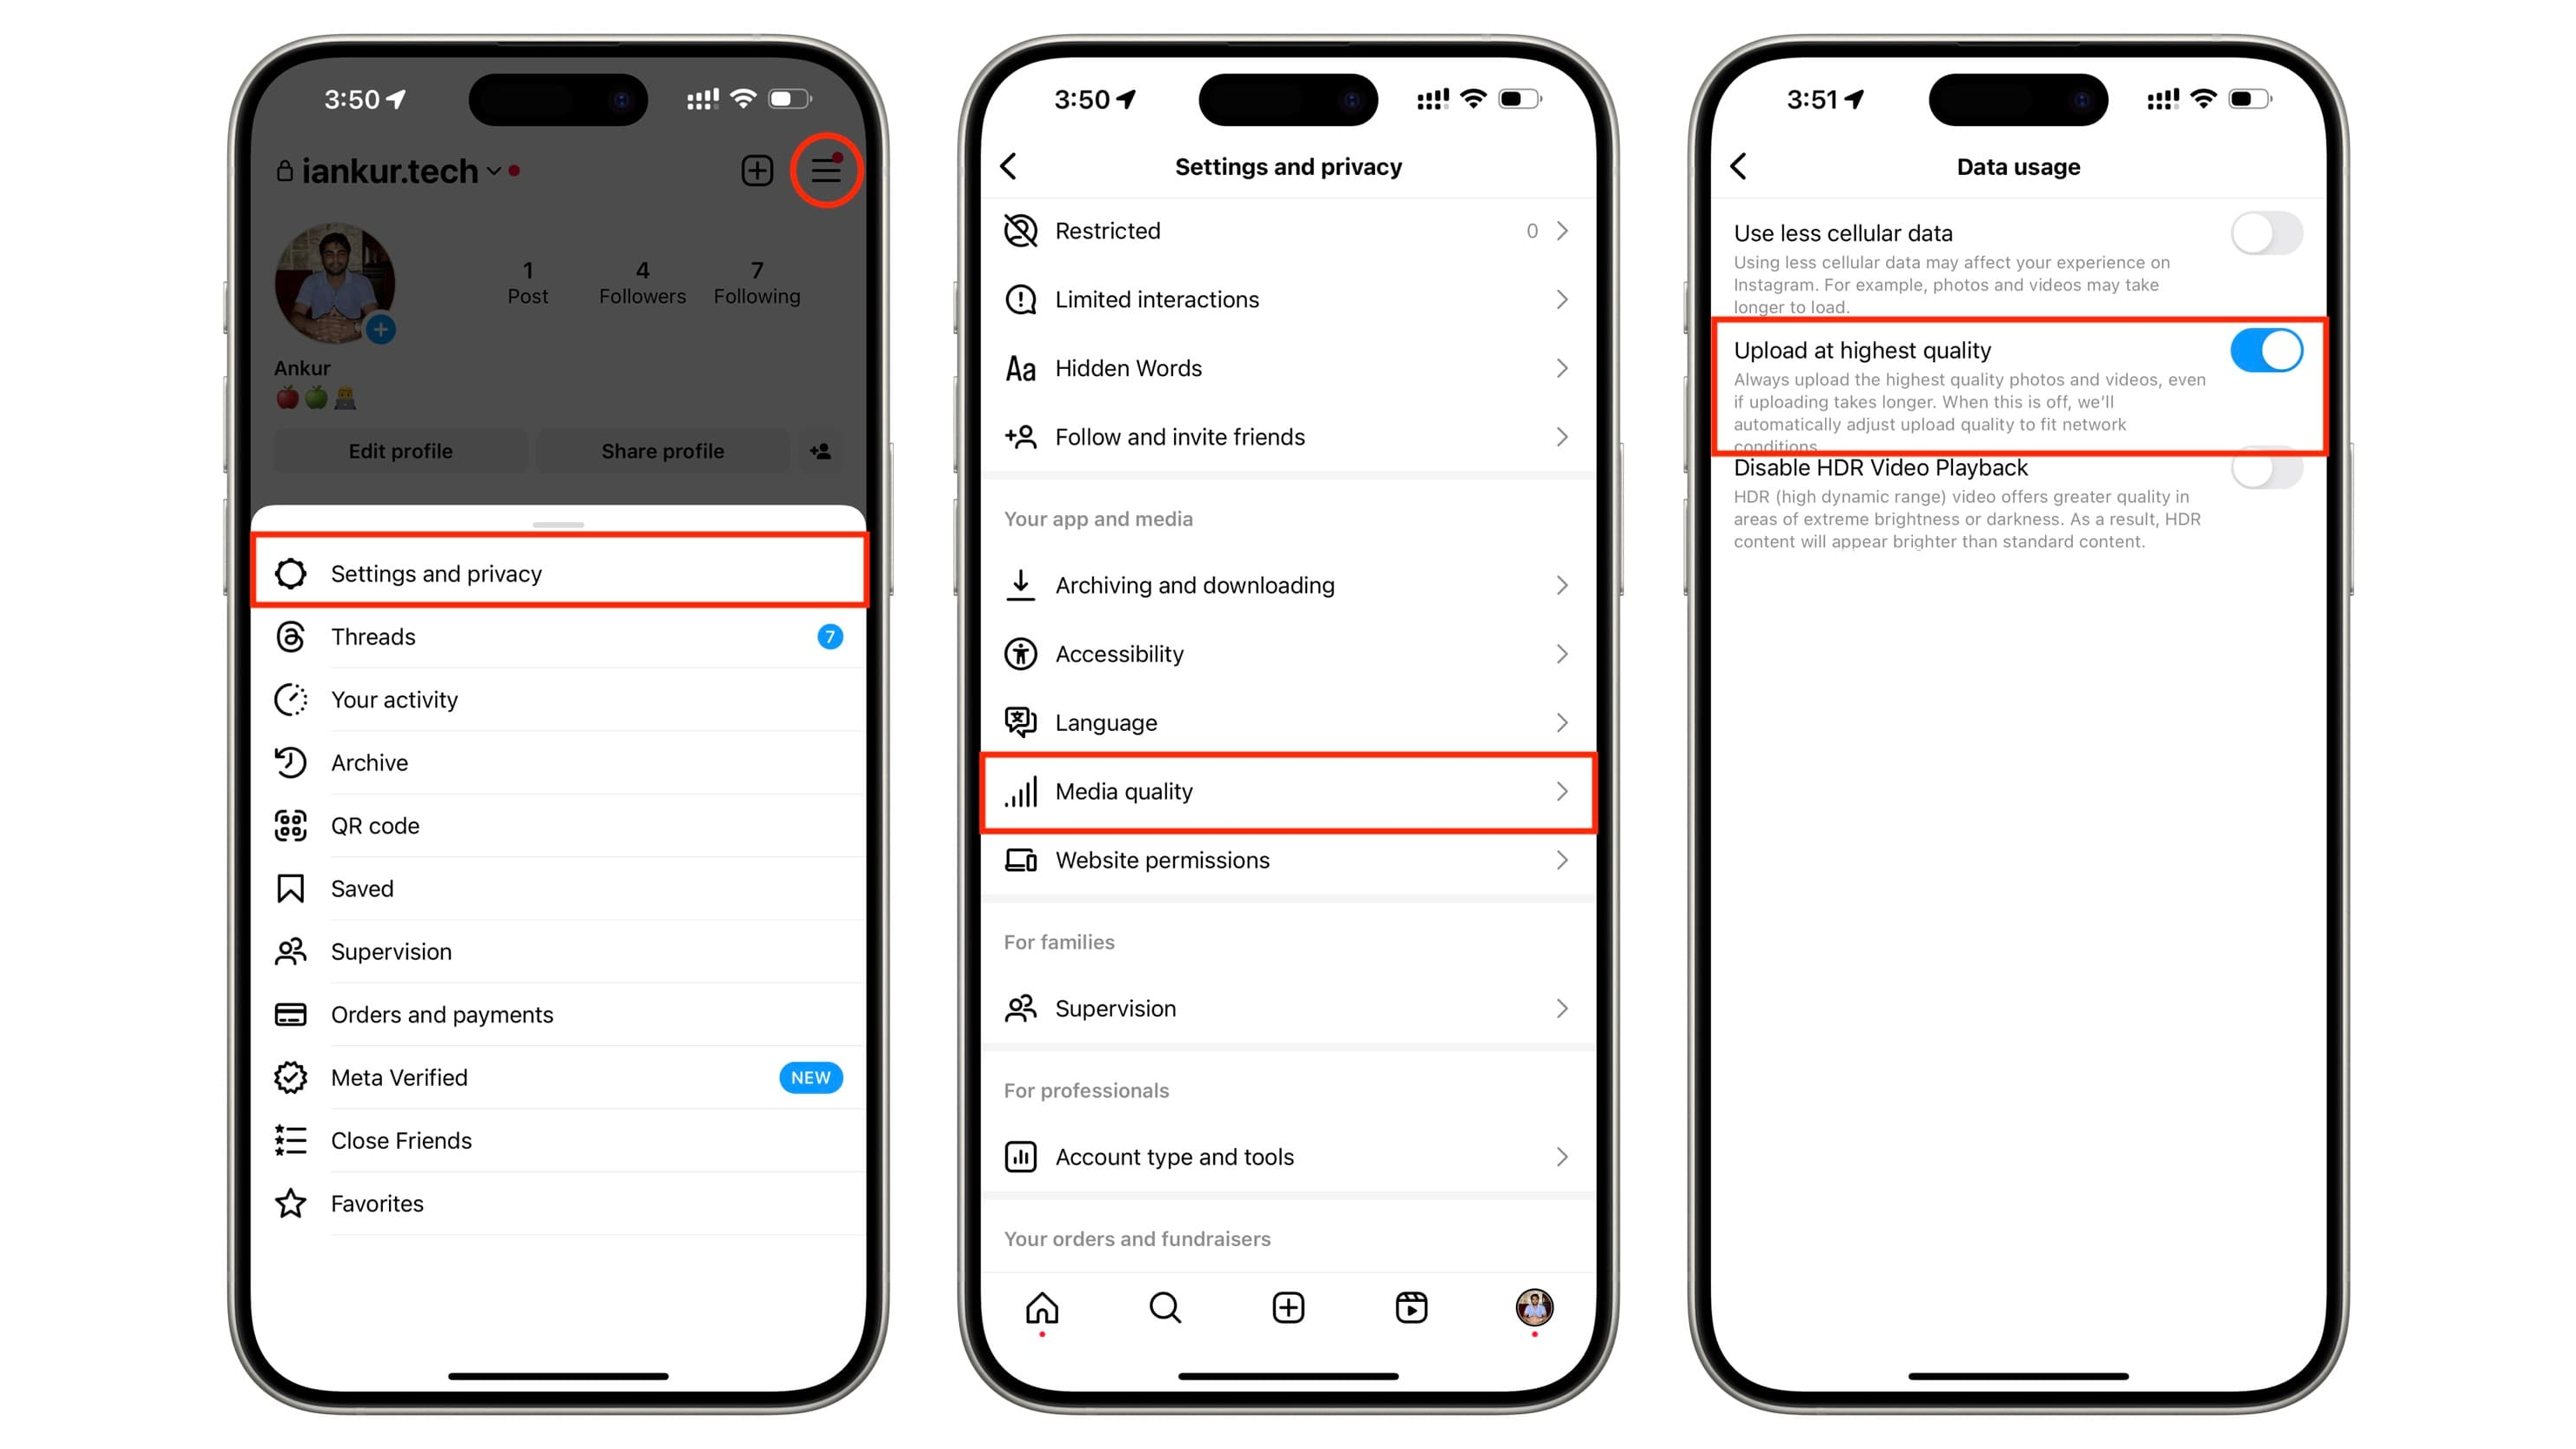
Enable high-quality uploads in Instagram: Open Instagram, navigate to Settings and privacy $$\rightarro$$ Data usage and media quality, and toggle on "Upload at highest quality."
-
Resize images before uploading: Export your photo to Instagram's recommended dimensions (1080px width for posts, 1080 x 1920px for Stories) instead of letting Instagram resize a much larger file for you.
-
Keep file size optimized: A properly sized JPEG at around 90% quality should land comfortably under 1MB. If it's much larger than that, Instagram will compress it hard regardless of how you configured your export.
-
Use JPEG with sensible compression settings: Rather than exporting in PNG or HEIC format, opt to export your images as JPEG files with a quality parameter of about 80-90%. So you're controlling compression instead of letting an automatic conversion do it.
-
Upload over a stable Wi-Fi connection: A weak or fluctuating connection can cause Instagram to apply more aggressive compression to keep the upload from failing.
-
Use the right format and quality settings: Export photos using sRGB color space and high-quality JPEG settings. If you're uploading from an iPhone, consider converting HEIC images to JPEG before uploading to avoid an extra conversion step within Instagram.
Fix blurry Instagram photos instantly with Vmake Labs
When Instagram's compression algorithm has already removed fine details from your favorite photo, or when older, low-resolution images appear soft on modern screens, basic editing tools can only improve them to a limited extent. Instead of spending time manually adjusting sharpening, noise reduction, and contrast, you can use Vmake Labs image enhancer to improve clarity, sharpen edges, and enhance compressed images in just a few clicks. Whether you're enhancing portraits, product photos, or an entire batch of Instagram content, it helps prepare images for better-looking uploads.
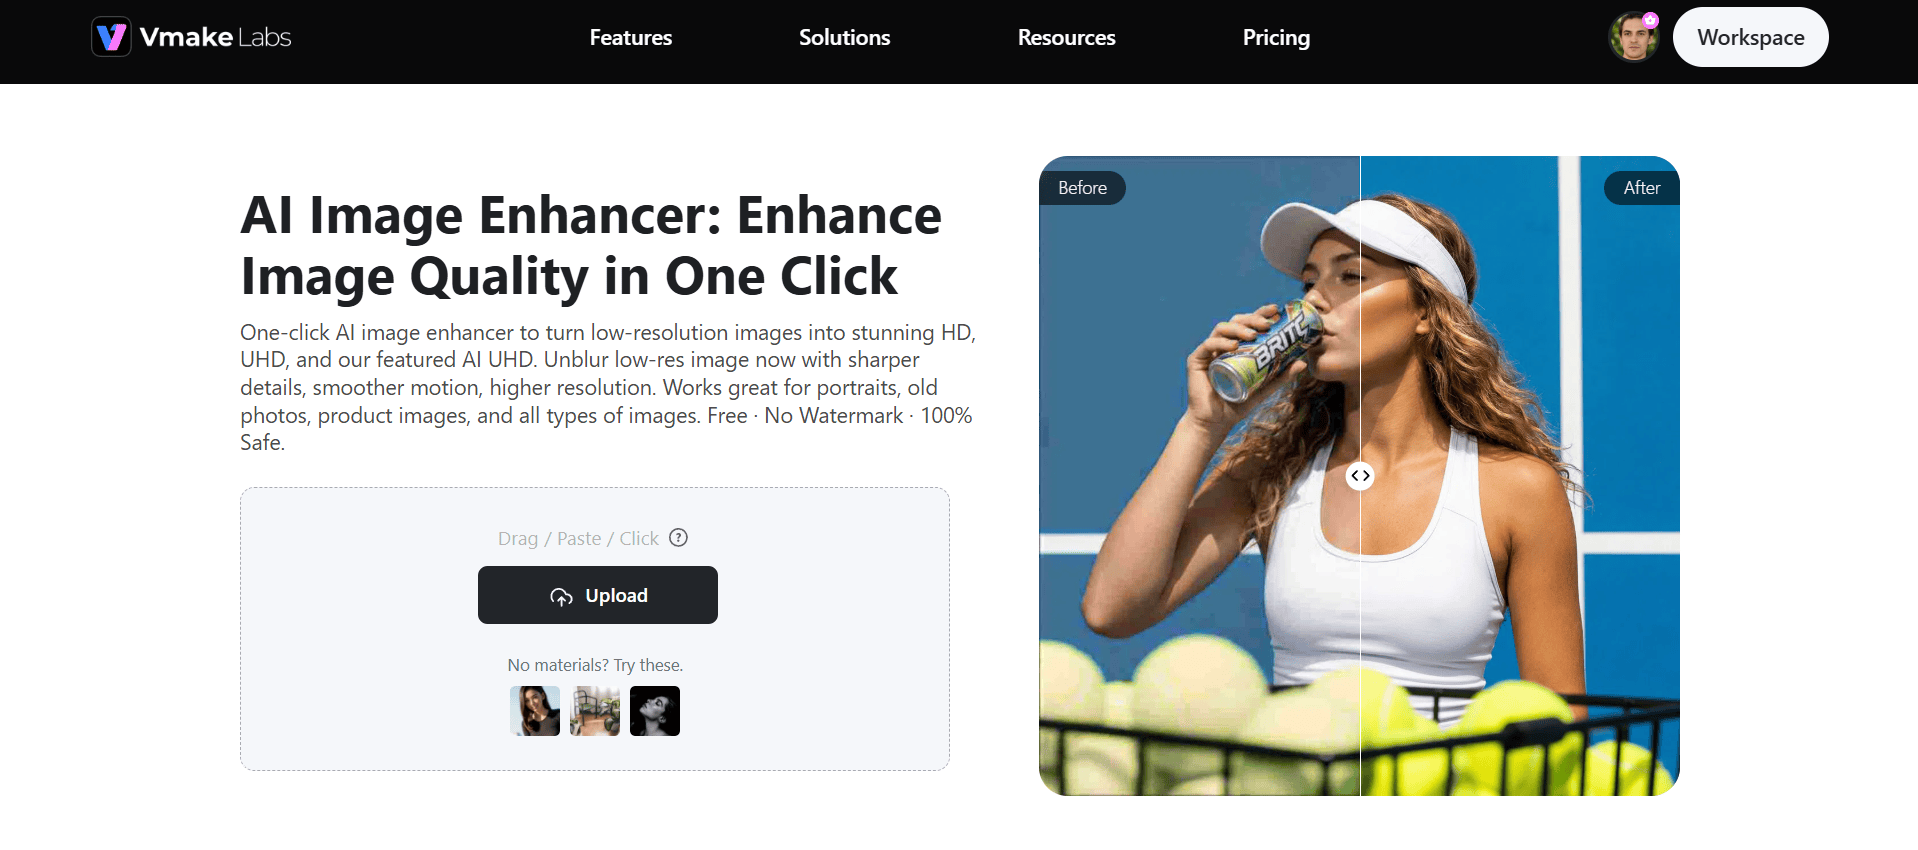
Steps to enhance photo quality using Vmake Labs
Follow these simple steps enhance photo quality with Vmake Labs.
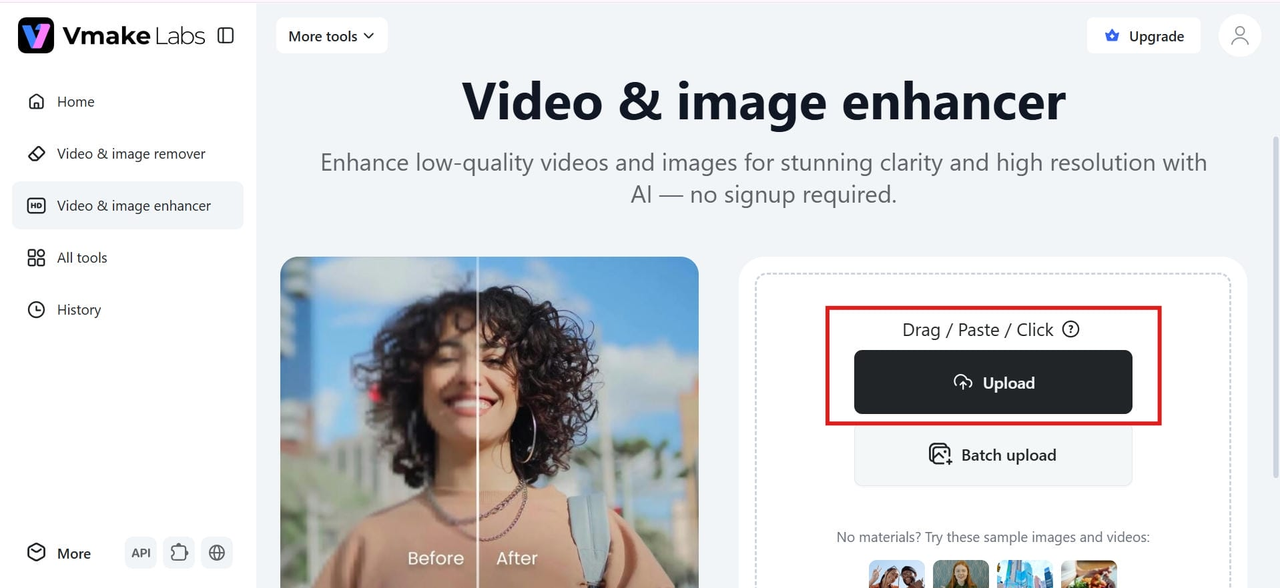
Step 1: Upload image
Open Vmake Labs "Video & image enhancer" and upload the blurry or compressed Instagram photo. You can drag and drop your image, click "Upload" to select a file from your device, paste an image, or paste an image URL (link) directly into the upload area. If you're enhancing multiple photos, use the "Batch Upload" option to upload them all at once.
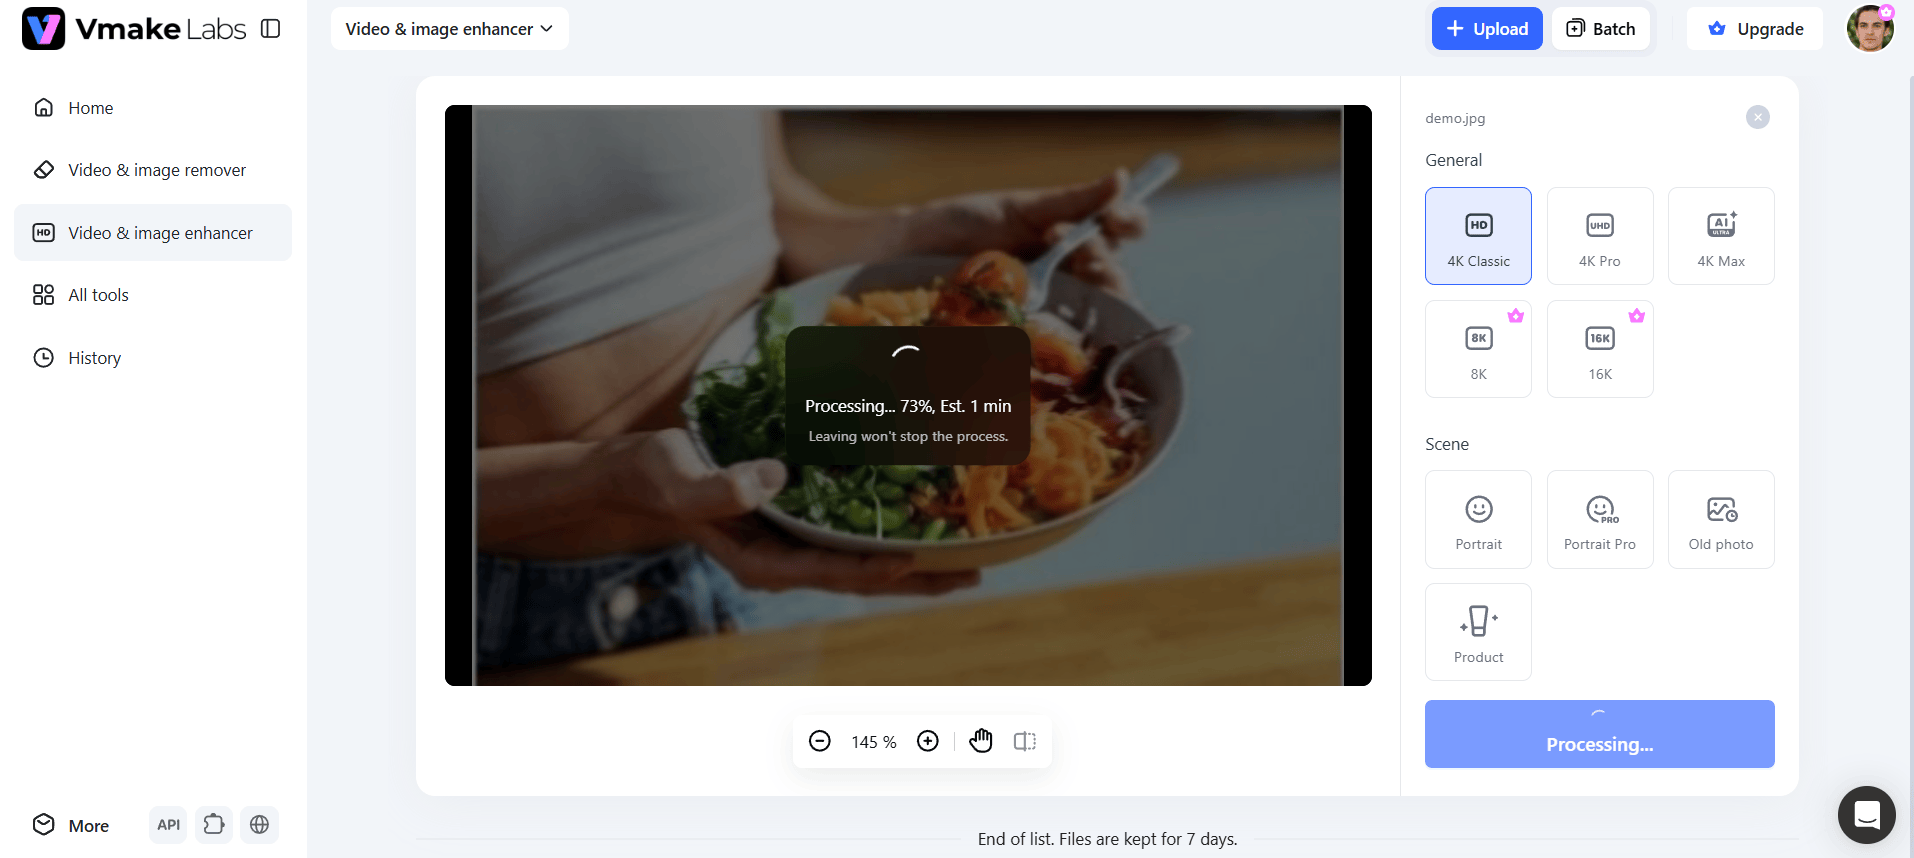
Step 2: Let AI enhance automatically
After you upload your image, Vmake Labs automatically analyzes its content and selects the most suitable AI enhancement model. It then improves sharpness, reduces blur, enhances clarity, and refines existing details to produce a cleaner, higher-quality image.
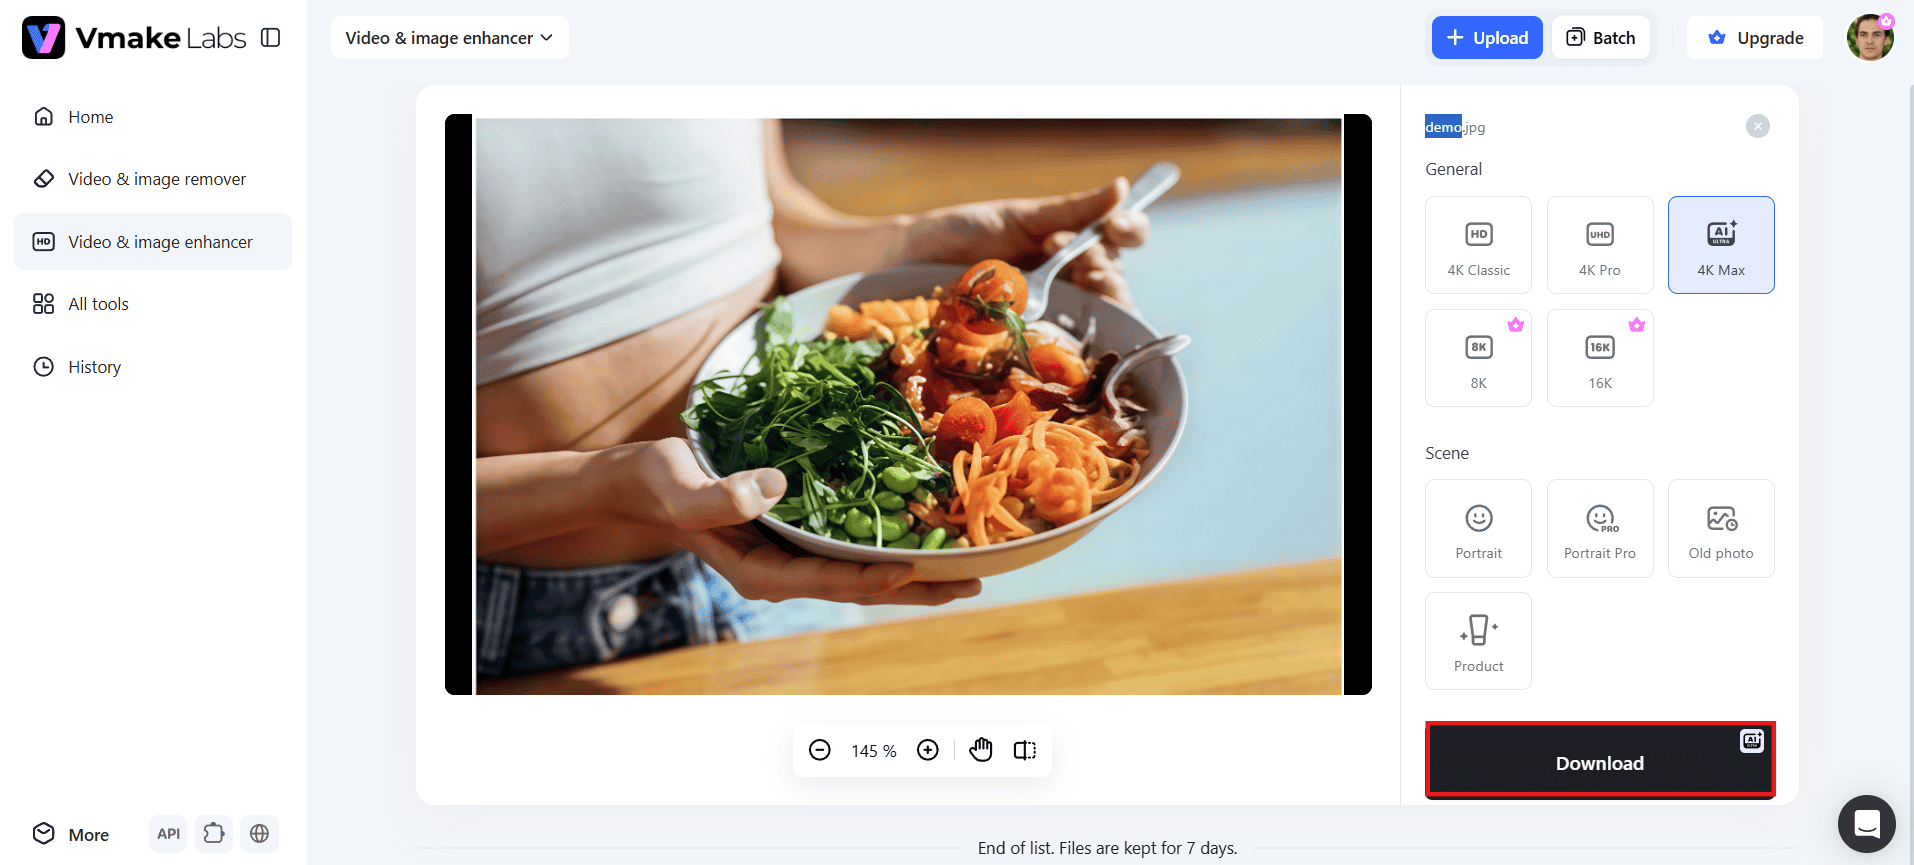
Step 3: Download the image
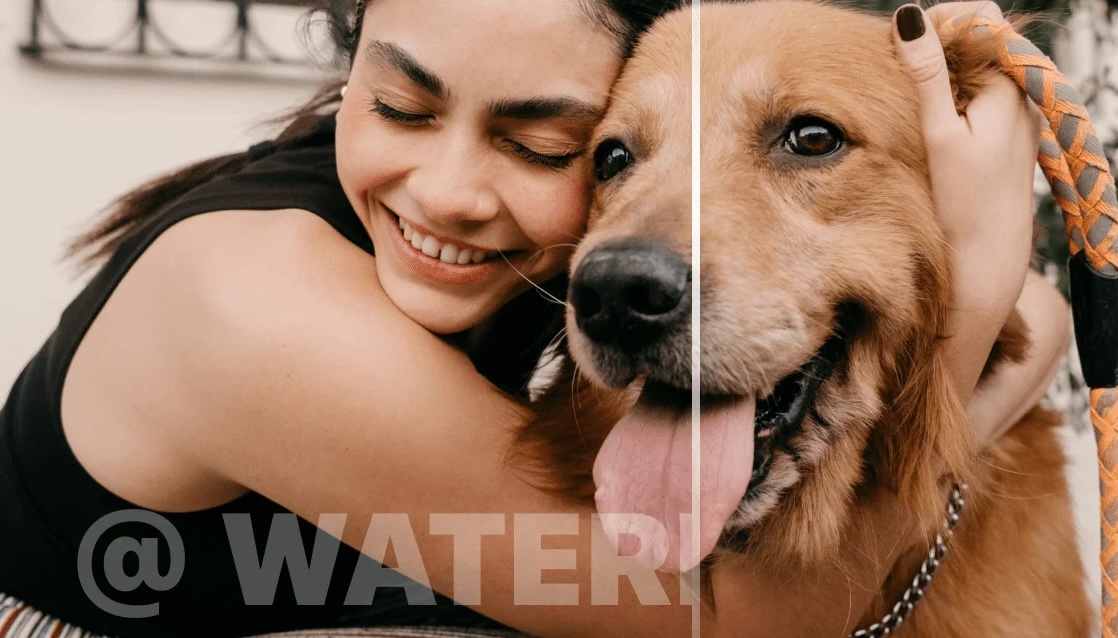
Review the enhanced image and compare it with the original to ensure you're happy with the results. Once satisfied, click "Download" to save the improved photo in high quality. Your enhanced image is now ready to upload to Instagram with sharper details and better overall clarity.
Key features of Vmake Labs
-
One-click AI enhancement: Reduces the visible impact of Instagram's compression without requiring manual retouching. It instantly cleans up noise, restores lost edge definition, and sharpens soft focus across your image, so you don't need manual masking, selective sharpening layers, or complex retouching setups to counteract what Instagram's algorithm strips away.
-
Multiple AI enhancement modes: Lets you match the enhancement strength to how much detail you actually need to recover. Choose from options like 4K Classic, 4K Pro, 4K Max, 8K, and 16K depending on your desired output, whether you're preparing a quick post or a print-quality image.
-
Scene-aware enhancement: Automatically detects and applies the best enhancements for different photo types using dedicated modes for Portrait, Portrait Pro, Old Photo, and Product. This ensures every image in your feed looks its best, whether restoring cherished family memories or polishing product shots for sales.
-
Batch processing: Helps creators prepare multiple Instagram posts consistently, so an entire feed or carousel doesn't end up with mismatched sharpness after compression. Vmake Labs supports batch runs of around 30 images at once, letting you fix an entire photoshoot, align the visual quality of a multi-slide carousel, or refresh a whole Instagram feed in a single operation.
Conclusion
Instagram lowers the photo quality by resizing, converting, and compressing every picture to improve the loading speed and reduce the storage needs. You can't entirely get around this process, but using the correct dimensions, allowing high-quality uploads, and exporting optimized JPEG files can cut down on quality loss. Still blurry photos after compression? Use Vmake Labs image enhancer to improve clarity, sharpen details, and improve overall image quality in few clicks. Upload sharper, more professional-looking photos to Instagram for free with Vmake Labs.
FAQs
How do I stop Instagram from lowering photo quality?
You can't stop it entirely, but enabling "Upload at Highest Quality," exporting at 1080px width, and keeping your file size reasonable before uploading all reduce how much detail Instagram's compression removes. You can also use Vmake Labs to enhance photos before uploading for sharper results.
How to upload a photo on Instagram without losing quality?
Crop your photo to standard dimensions (1080px wide) before uploading. Export as an 8-bit sRGB JPEG under 1 MB, ensure "Upload at highest quality" is enabled, and post over a strong Wi-Fi connection.
Why does Instagram ruin photo quality in DMs?
Direct Messages prioritize speed and low bandwidth over visual clarity. Instagram applies an aggressive compression algorithm to DM attachments, so media sends instantly, heavily reducing resolution and stripping fine image details.
Does Instagram always compress photos?
Yes. Instagram compresses nearly every uploaded image, including feed posts, Stories, Reels, and photos shared in Direct Messages. The amount of compression varies by content type, but some quality loss is generally unavoidable.
Why do my photos look sharp before uploading but blurry afterward?
Your original image file is likely too large or saved in an unoptimized format (like HEIC or PNG). Instagram forcefully downscales it to 1080px and converts it to JPEG, creating heavy compression artifacts.
You May Be Interested

Best Instagram Hook Generator Tools in 2025
How to Download Audio from Instagram: Quick Guide for 2025