How to take better travel photos: 15 tips for capturing memorable shots
Learn how to take better travel photos with 15 practical tips covering composition, lighting, color, framing, camera settings, gear, and photo enhancement. Make the most out of your memorable travelling experience.

Travel photography is about more than documenting where you have been. The best images capture atmosphere, details, people, colors, and moments that communicate what a destination feels like. Whether you use a smartphone or a dedicated camera, understanding a few photography fundamentals can make your travel images more intentional. From lighting and composition to perspective and framing, these practical tips can help you photograph your next journey with greater confidence.
Understand the basics of travel photography
Good travel photography starts with understanding how your camera responds to light.
Shutter speed controls how motion appears, aperture affects depth of field, and ISO adjusts the camera’s sensitivity to available light. Together, these settings form the exposure triangle and determine how bright or dark an image looks.
You should also consider white balance, focus, and exposure compensation when photographing changing scenes. Learning these controls helps you adapt to landscapes, moving subjects, dim interiors, and bright outdoor locations instead of relying on one setting for every situation.
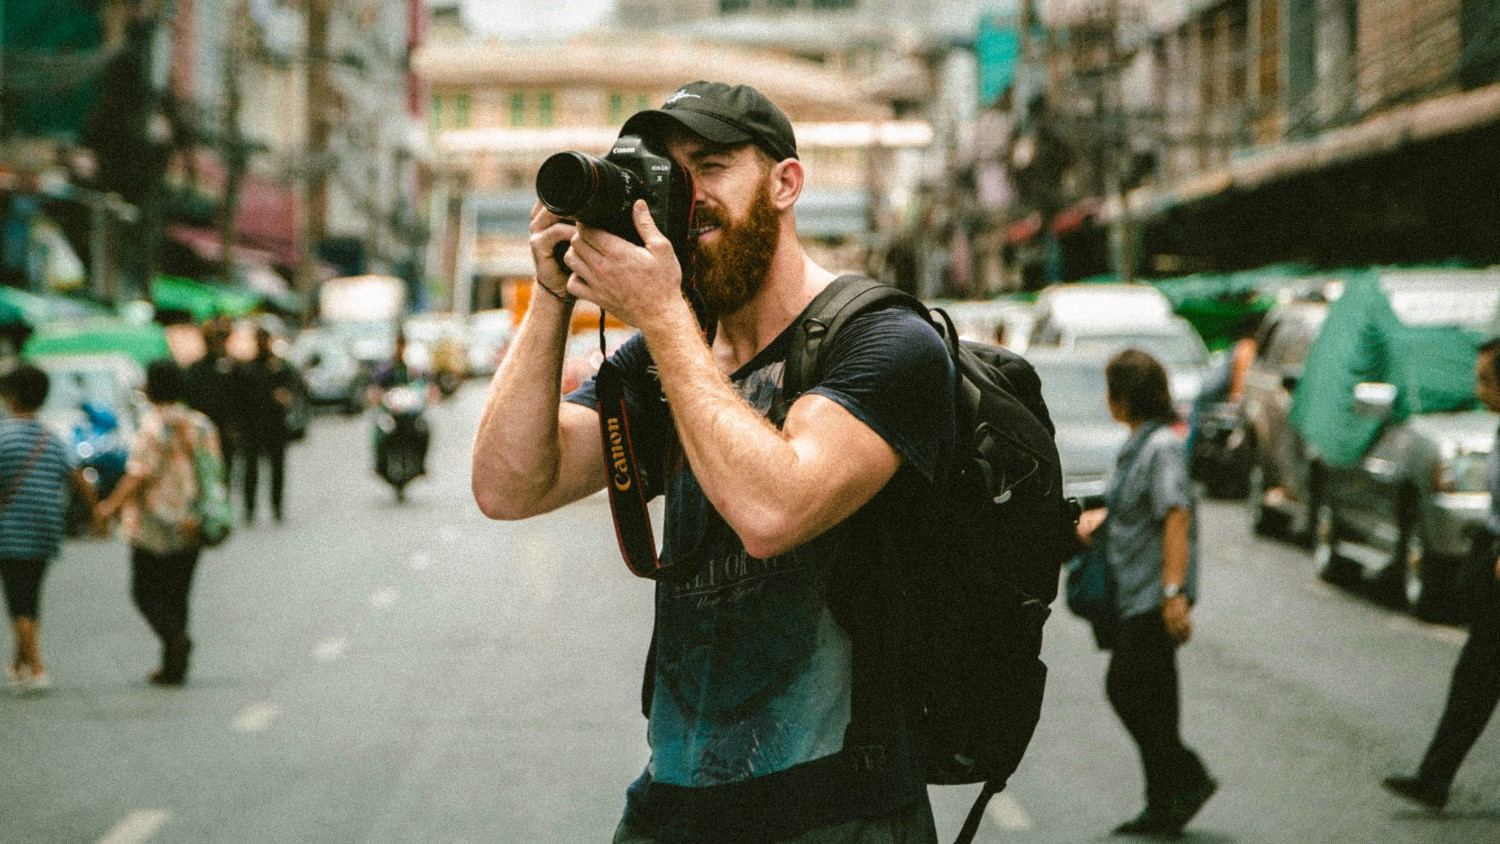
Top 15 tips & tricks for taking better travel photos
The right technique can make ordinary traveling photos more compelling. These 15 tips cover planning, lighting, color, composition, perspective, and storytelling to help you approach different destinations more thoughtfully.
-
Plan your shots before you start exploring
Before heading out, research your destination and identify locations, viewpoints, and interesting subjects. Having a rough shot list can help you notice opportunities while still leaving room for spontaneous moments.
-
Photograph during the best light
Light can dramatically change the appearance of a scene. Whenever possible, photograph during golden hour for softer illumination, while overcast conditions can provide even light for portraits, architecture, and street scenes.
-
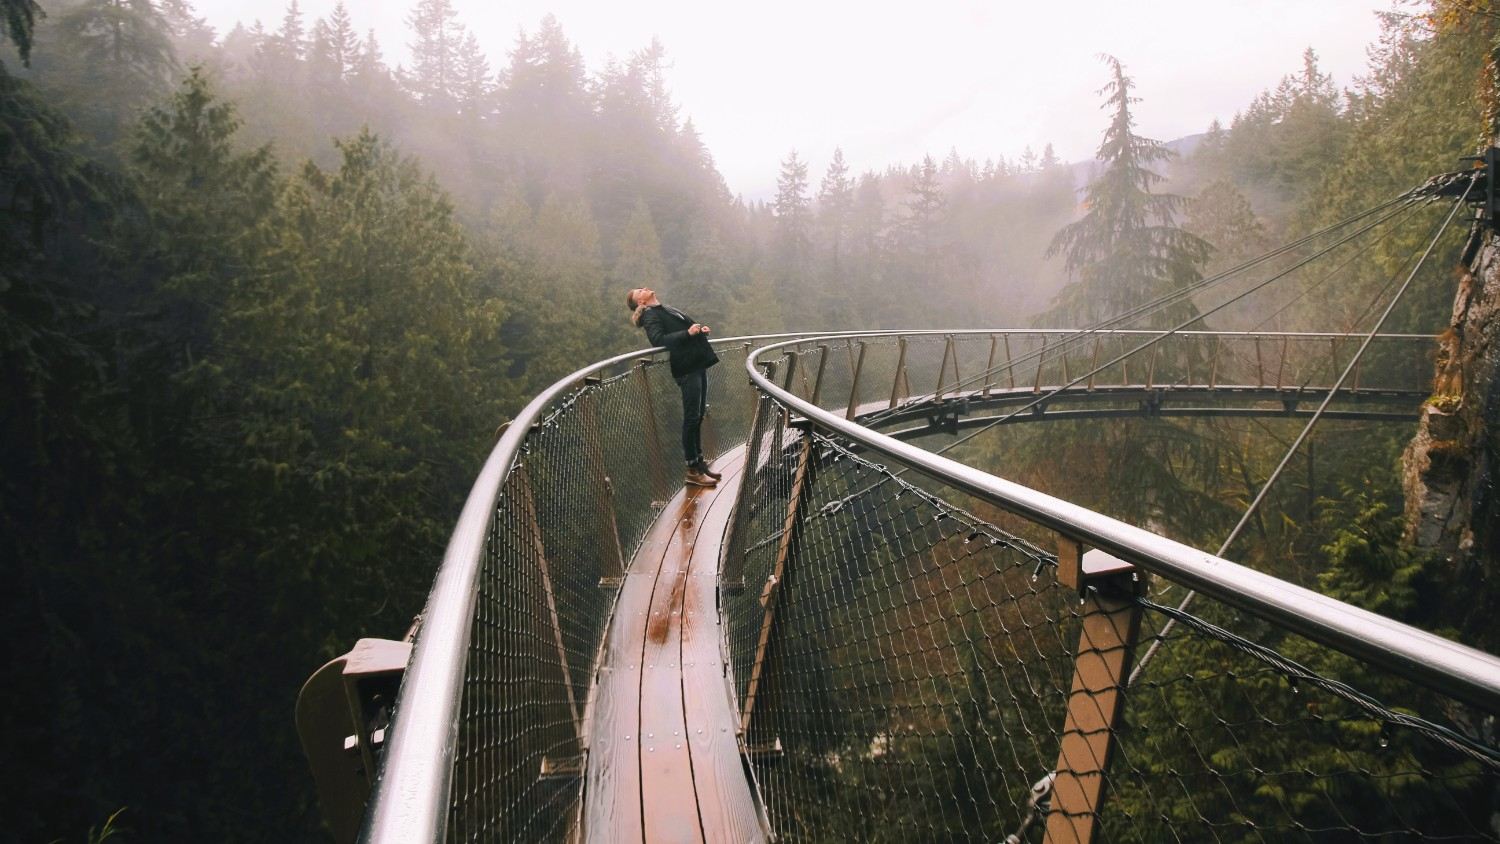
Pay attention to the direction of light
Notice where the light is coming from before pressing the shutter. Front lighting can reveal details clearly, side lighting adds texture and dimension, and backlighting can create silhouettes or atmospheric images.
-
Use color to make travel photos more engaging
Color can help establish mood and draw attention to important subjects. Look for complementary colors, repeated hues, or a single bright element against a more neutral background to create visual contrast.
-
Be clear about your main subject
Every photograph should have a clear point of interest. Before composing the shot, identify what you want viewers to notice and remove or reposition distracting objects that compete with the subject.
-
Apply the rule of thirds
The rule of thirds provides a simple way to organize your composition. Place important subjects near the gridlines or intersections, particularly when photographing landscapes, people, buildings, or expansive surroundings.
-
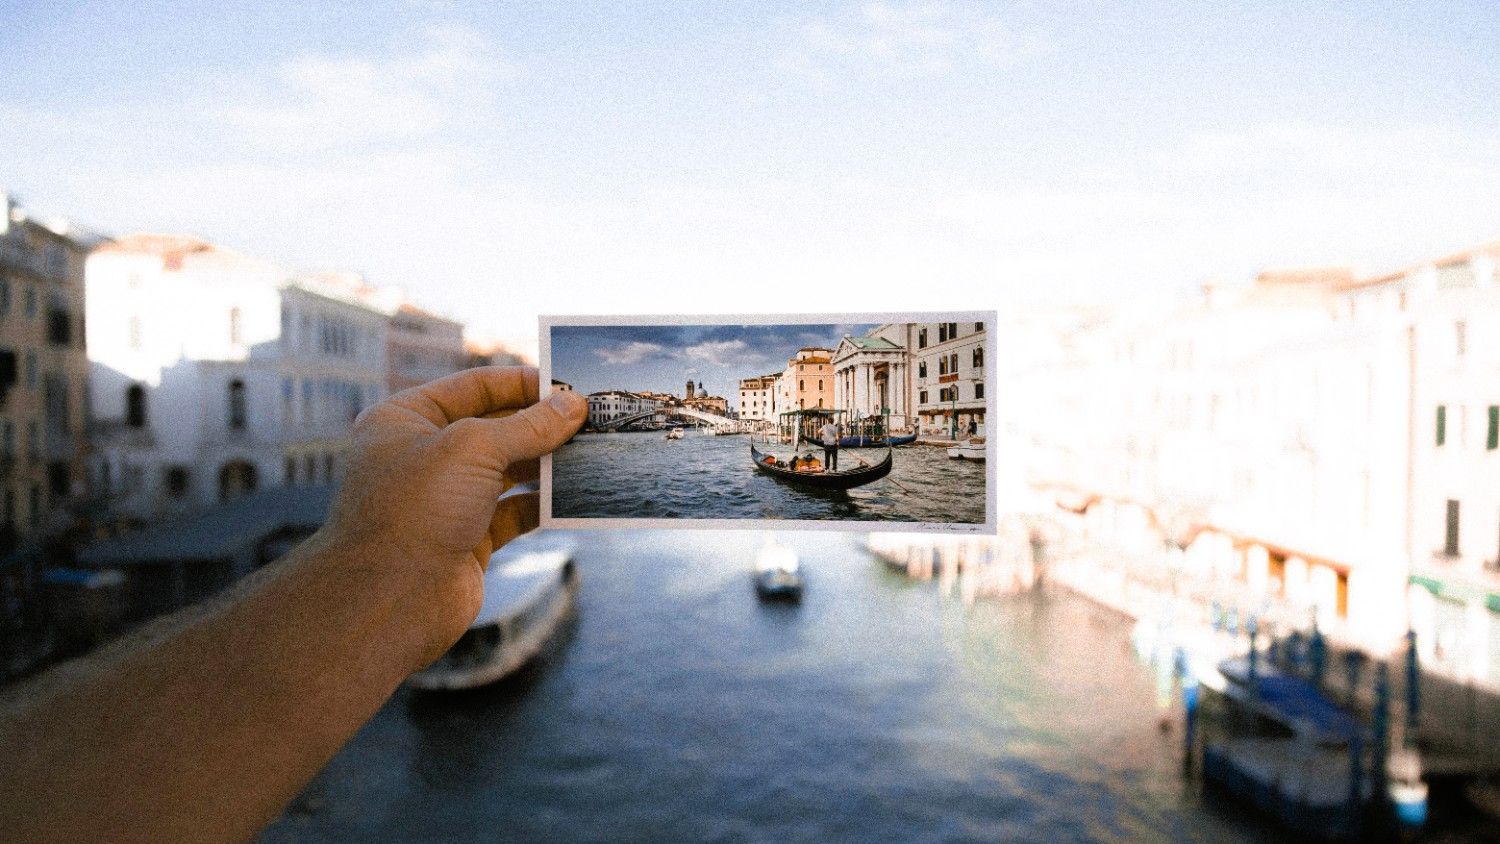
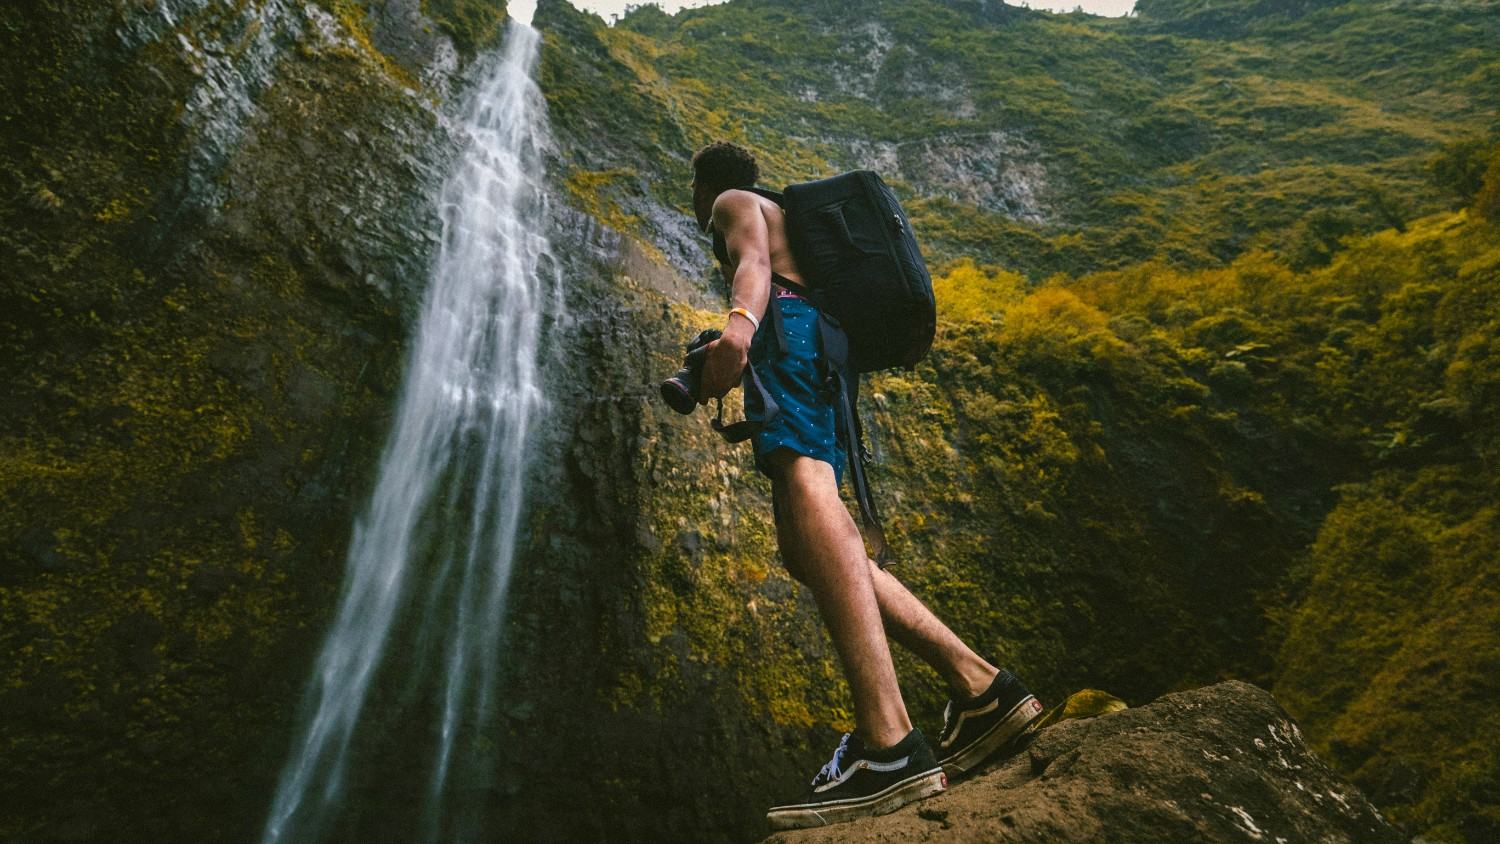
Experiment with different angles and perspectives
If you are wondering "how to take better travel photos", then changing your viewpoint can make familiar locations look different. Try photographing from low or elevated positions, moving closer to the ground, or finding alternative viewpoints instead of relying on eye-level shots.
-
Look for interesting foreground elements
Foreground objects can add depth and context to travel photographs. Rocks, plants, architecture, signs, or everyday objects can create another visual layer while helping lead the viewer toward the main subject.
-
Frame your subject naturally
Look around for natural frames such as windows, doorways, arches, branches, or architectural openings. Positioning your subject within these elements can focus attention and add structure to the photograph.
-
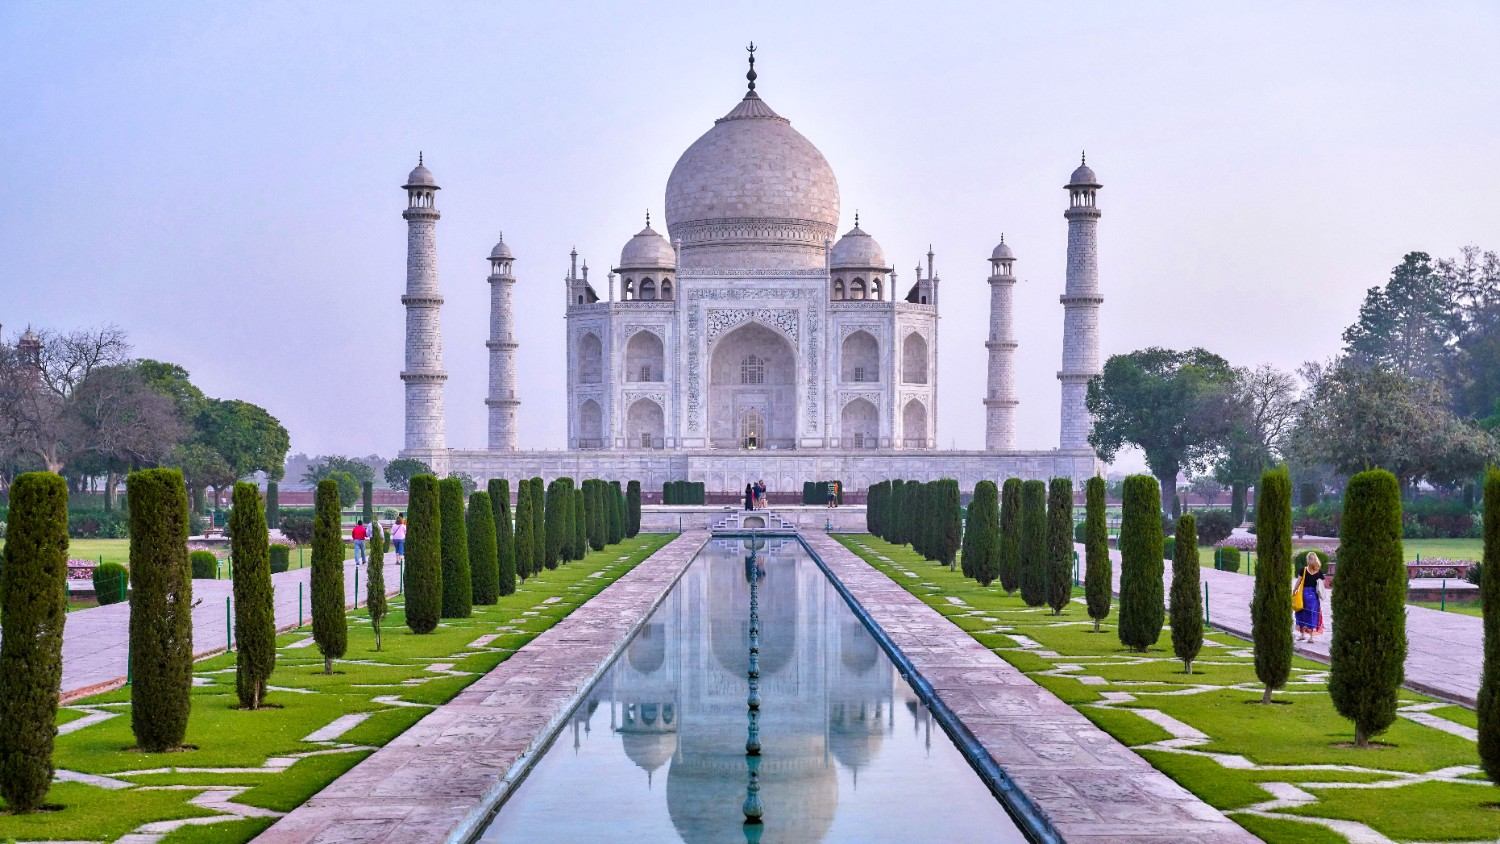
Use leading lines to guide the viewer
Roads, pathways, railings, rivers, bridges, and architectural details can create lines that direct attention through an image. Use them deliberately to connect different parts of the scene and strengthen composition.
-
Look for reflections
Reflections can introduce symmetry, repetition, and additional visual interest. Search for them in lakes, puddles, glass windows, mirrors, and polished surfaces, especially when photographing architecture or landscapes.
-
Get closer to your subject
Moving closer can eliminate unnecessary background elements and reveal details that might otherwise be overlooked. Try filling the frame with local food, textures, crafts, architecture, or people when appropriate.
-
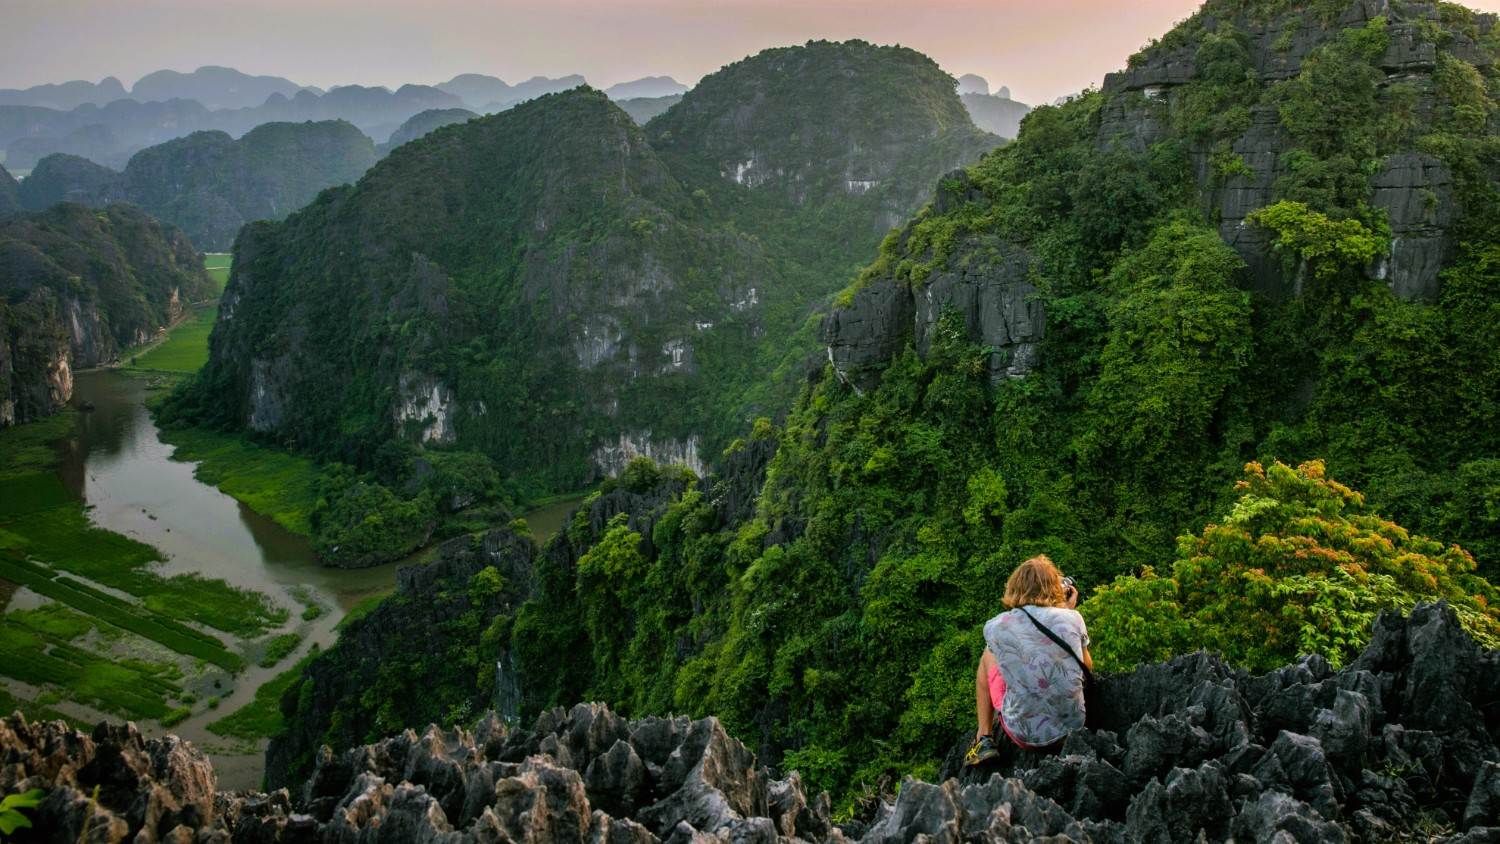
Create depth and a sense of scale
Layering different elements gives travel photographs a stronger sense of space. Include foreground, middle ground, and background details, or photograph people and familiar objects to show the scale of a landscape or landmark.
-
Keep compositions simple and intentional
Avoid filling every part of the frame with competing elements. Simplify the scene by changing your position, adjusting your focal length, or waiting for distractions to move before taking the photograph.
-
Capture the character and story of a destination
Travel photography becomes more meaningful when it documents everyday life alongside famous sights. Photograph local details, people, food, architecture, traditions, and spontaneous moments that help communicate the atmosphere of a place.
What gear and equipment should you carry for travel photography?
The right equipment should support your photography without making your travels unnecessarily difficult. Prioritize versatile, lightweight gear that suits your destination and shooting style.
-
Choose a camera and lenses for your travel style: Select a camera and versatile lens combination based on the subjects, locations, and shooting conditions you expect to encounter.
-
Carry spare batteries and memory cards: Extra batteries and memory cards help you continue photographing for long days without worrying about limited power or storage.
-
Pack a lightweight tripod or compact support: A compact tripod can provide stability for landscapes, night photography, long exposures, and self-portraits without adding excessive weight to your luggage.
-
Bring lens cleaning cloth and weather protection: A microfiber cloth helps remove dust, fingerprints, and moisture, while weather protection can safeguard equipment during unpredictable travel conditions.
-
Consider polarizing and neutral density filters: Polarizing filters can manage reflections and enhance skies, while neutral density filters reduce incoming light for controlled exposures in bright conditions.
-
Keep a reliable photo backup option: Back up important images regularly using a portable storage device, laptop, or secure cloud service to reduce the risk of losing travel memories.
How to enhance travel photos with Vmake Labs AI image enhancer
Travel photos can sometimes contain noise, soft details, compression artifacts, or limited resolution, especially when captured in challenging conditions. Vmake Labs AI Image Enhancer provides an AI-based way to refine images after your trip without requiring advanced editing knowledge. You can upload a travel photo and use automated enhancement to improve its overall visual quality.
This can be useful for photos taken in low light, images that need additional detail, or older travel pictures that you want to prepare for digital sharing. It provides a straightforward enhancement workflow for photographers who want to make basic improvements without manually adjusting multiple editing controls.

Vmake Labs AI image enhancer features worth using
-
Noise reduction and visual cleanup: Travel photography often involves high ISO settings, dim interiors, or difficult lighting. Noise reduction can help clean up visible grain and unwanted image artifacts while maintaining important details.
-
Generative detail recovery: When a travel image appears soft or lacks fine details, generative enhancement can help reconstruct visual information and produce a clearer-looking image while retaining the photograph's overall appearance.
-
Stable upscaling at higher resolutions: Upscaling can be useful when you need a larger version of a travel photograph. Vmake Labs can increase image resolution while refining details for larger digital displays or other applications.
-
Natural portrait enhancement: Travel photographs frequently include friends, family, or people encountered during a journey. Portrait enhancement can refine facial details while keeping the image's appearance natural rather than heavily stylized.
-
Batch enhancement for multiple travel photos: When you return from a trip with many images, batch processing can simplify the enhancement workflow. You can work with multiple photos instead of processing every image individually.
How to enhance a travel photo with Vmake Labs?
Step 1: Access Vmake Labs AI image enhancer
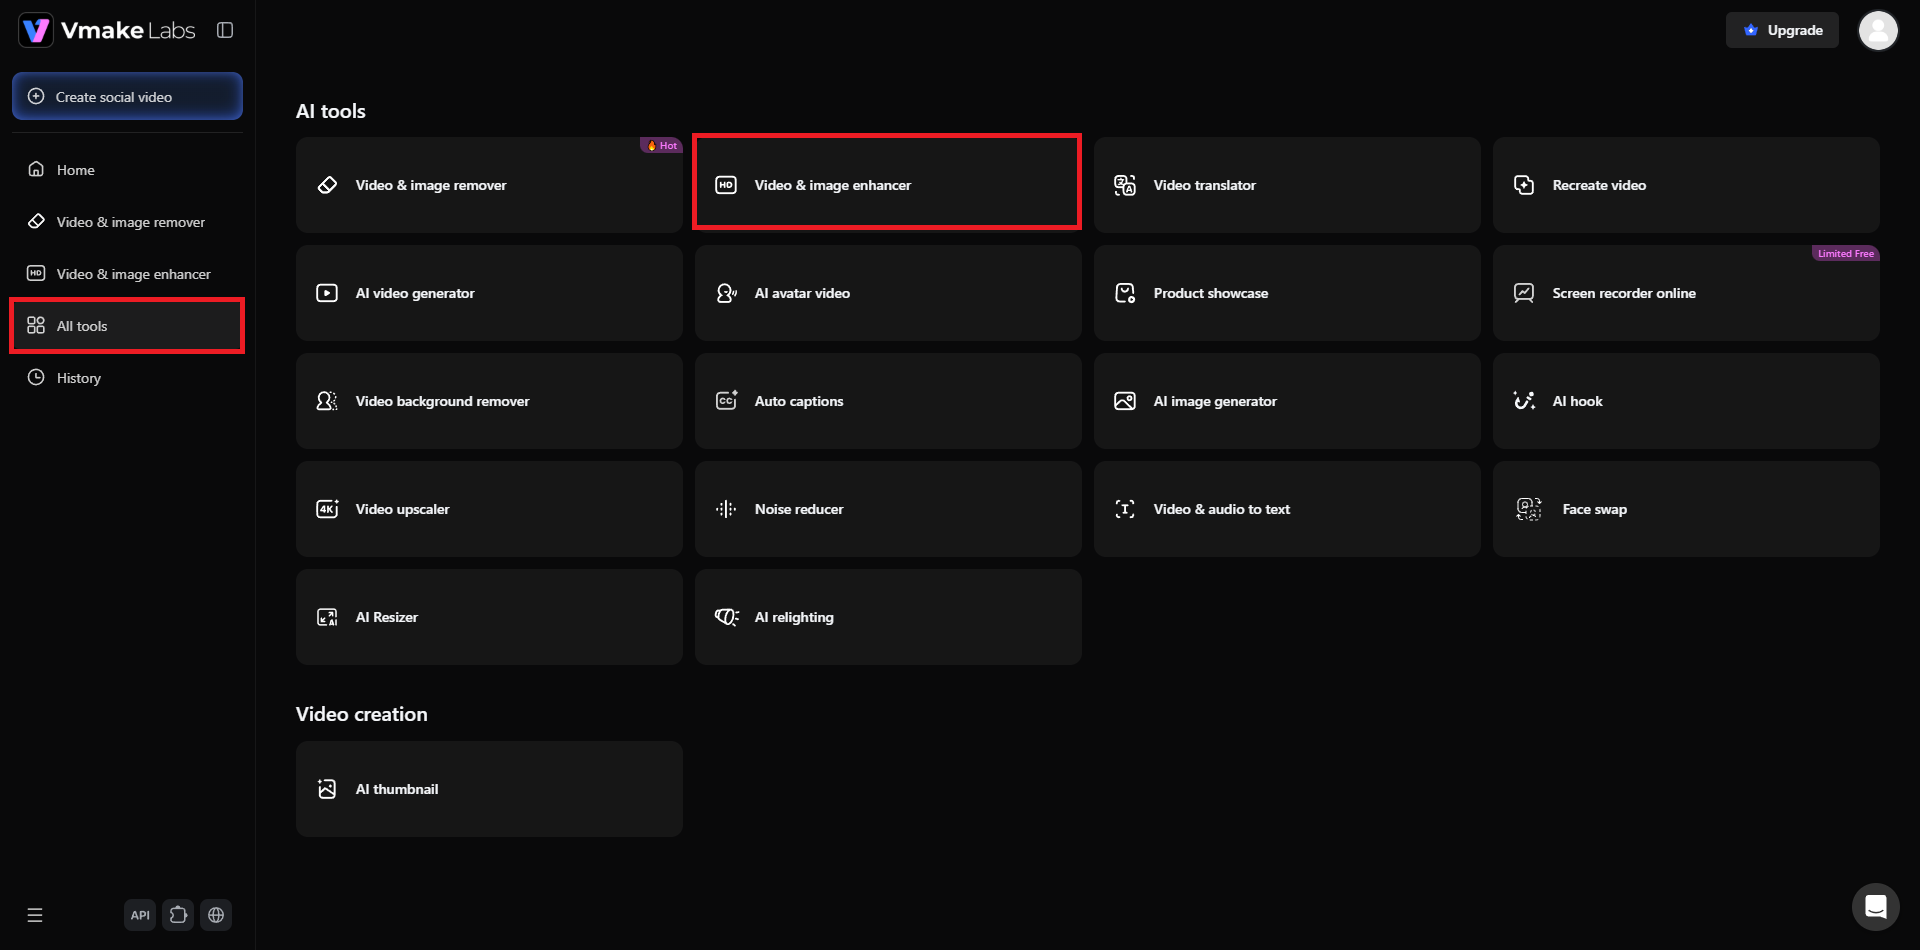
Begin your journey by first accessing the official website of Vmake Labs. After that, sign-in to your existing account or create a new account, and then from the main dashboard, select the "All tools" option. From there, choose the "Video & image enhancer" tool and you will then be redirected to a new web page.
Step 2: Upload your travel photo
In the next step, proceed to upload the travel photo that you would like to enhance. Additionally, Vmake Labs also provide you with the option to batch upload more than one photo at a time.

Step 3: Finalize and export your enhanced travel photograph
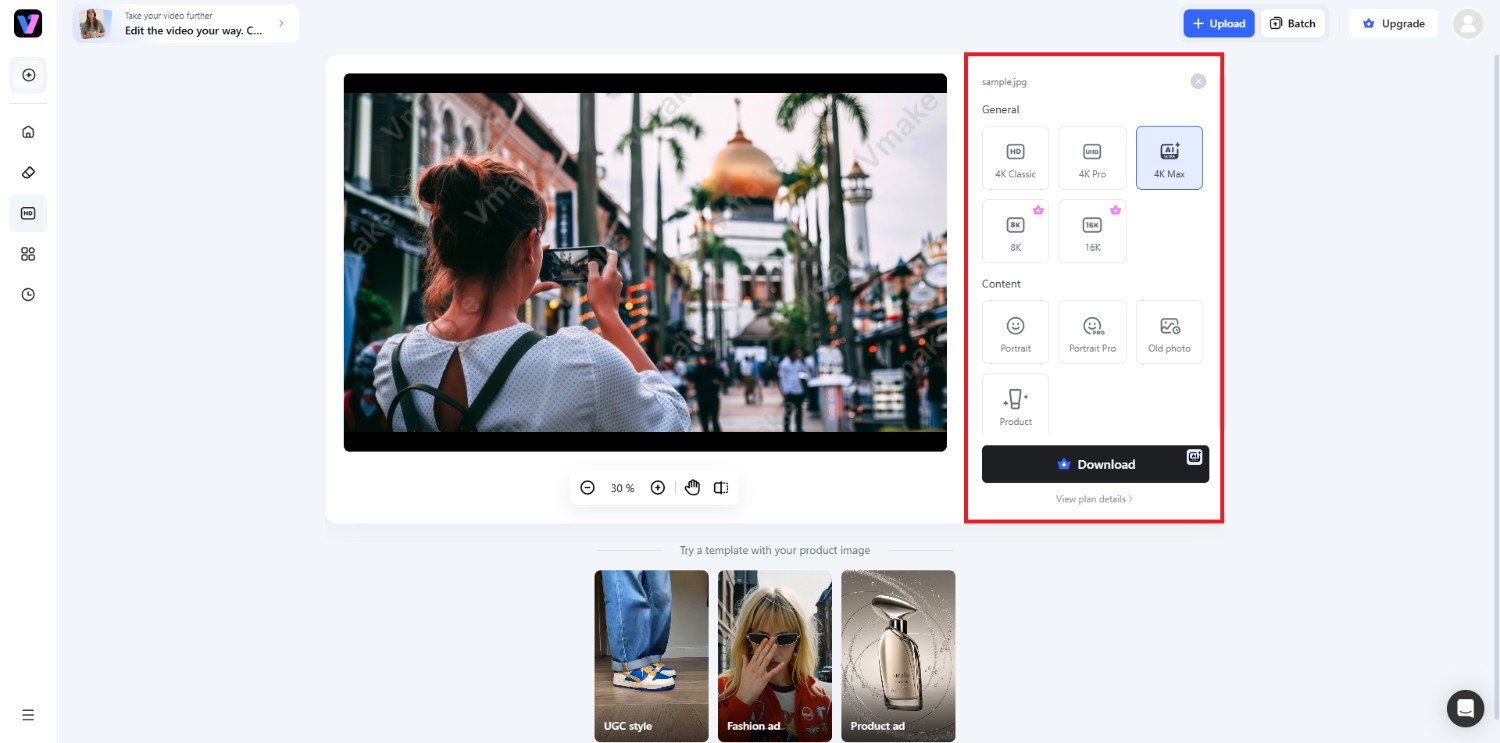
After uploading the photo, you need to select the correct option for the enhancement process. Under "General", select your preferred photo resolution, and then under "Content", choose your preferred enhancement effect. Once done, click on "Apply" and then "Download". After downloading, you can share the same on your social media channels.
How to take better travel photos: common travel photography mistakes to avoid
Many travel photography problems come from overlooking basic photography principles rather than lacking expensive equipment. Avoid these common mistakes to make your shooting process more deliberate.
-
Relying on automatic settings for every scene
Automatic settings are convenient, but they may not always suit changing travel conditions. Learning to adjust exposure, focus, shutter speed, or aperture gives you greater control over challenging scenes.
-
Ignoring light and weather conditions
Light and weather strongly influence travel photographs. Ignoring them can lead to flat colors, harsh shadows, blown highlights, or poorly exposed images. Observe conditions and adjust your approach accordingly.
-
Including too many distracting elements
Busy backgrounds can pull attention away from your subject. Before taking a photograph, check the edges and background of your frame and reposition yourself when unnecessary objects interfere with the composition.
-
Taking every photo from the same angle
Photographing everything from eye level can make a collection feel repetitive. Explore different heights, distances, directions, and viewpoints to discover more interesting ways of presenting familiar locations.
-
Forgetting to back up your photos
Travel photographs can be difficult or impossible to recreate after returning home. Back up important images regularly using reliable storage, so equipment failure, loss, or accidental deletion does not erase your photographs.
Conclusion
Concluding our topic of "how to take better travel photos", it should be noted that taking better travel photos is less about having the most expensive camera and more about understanding how to work with your surroundings.
Pay attention to light, color, composition, perspective, and the story behind each scene. Experiment with framing, leading lines, reflections, foreground elements, and different viewpoints instead of photographing everything the same way. Carry practical equipment that supports your shooting style without creating unnecessary weight.
After your trip, tools such as Vmake Labs AI Image Enhancer can help refine selected images. With regular practice and careful observation, you can develop a more consistent approach to documenting destinations and experiences.
FAQs
-
What camera settings are best for travel photography?
There is no single setting for every trip. Use faster shutter speeds for movement, wider apertures for subject separation, and lower ISO when sufficient light is available.
-
What is the best time of day to take travel photos?
Golden hour is popular because the sunlight is softer and warmer. However, overcast mornings, blue hours, and changing weather can also create distinctive travel photography opportunities.
-
How can I make my travel photos look more professional?
Focus on composition, lighting, color, perspective, and a clear subject. Avoid distracting backgrounds, experiment with viewpoints, and learn basic camera controls rather than relying entirely on automatic settings.
-
What equipment should I carry for travel photography?
A suitable camera, versatile lens, spare batteries, memory cards, cleaning cloth, weather protection, and compact tripod are useful. Choose equipment based on your destination and photography requirements.
-
Can AI improve blurry or low-quality travel photos?
AI image enhancement can refine certain low-quality images by improving details, reducing visible noise, and increasing resolution. However, the quality of the original photograph still affects the available results.
You May Be Interested

Airbrush Photo Restoration Review: Is It the Best Way to Fix Old Photos?

Best AI Photo Enhancer Tools in 2026 (Free & Online): Improve Image Quality Instantly

Best App for Photo Enhancing: 8 Top Picks for 2026
How to Animate a Photo: Bring Your Still Images to Life
How to Add a Watermark to Photos (Easy Guide 2026)