How Do You Use a Green Screen?
Learn how to use a green screen for photos and videos, from backdrop setup and lighting to easy background removal and replacement with Vmake Labs.

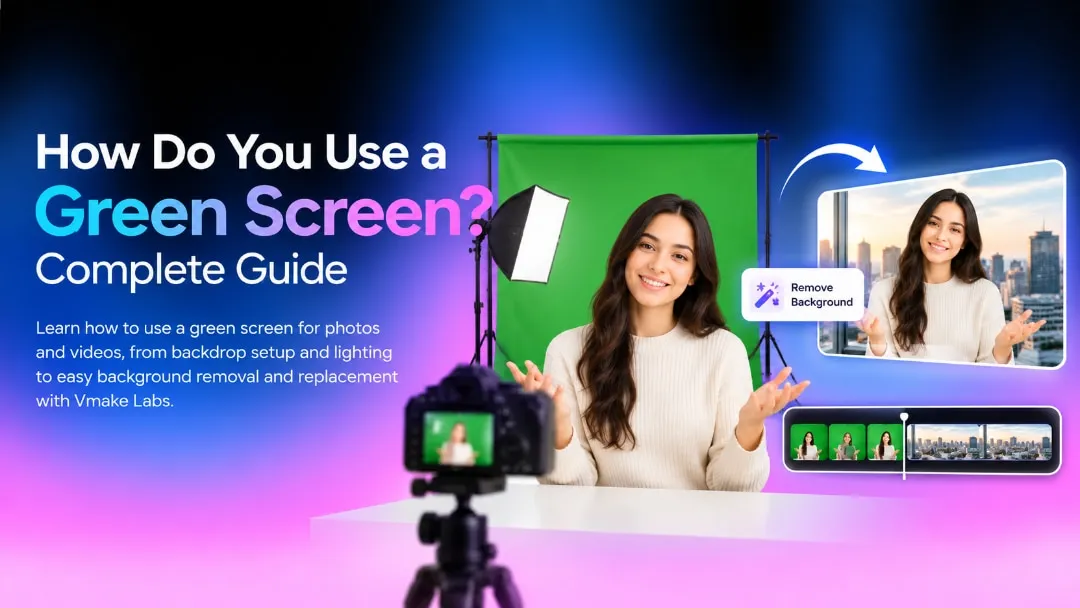
A green screen lets you replace a plain green backdrop with another image, video, or scene during editing. The basic process is simple: set up the screen, light it evenly, record your subject, then remove the green background. This guide explains how to use a green screen for photos and videos, including CapCut and AI-based options.
What do you need to use a green screen?
You can put together a green-screen setup without turning a room into a full production studio. You only need a green background, a camera or smartphone, enough light to illuminate the scene, and an editing tool to remove the background. Where you place each item matters just as much as the equipment itself. A poorly positioned screen or uneven lighting can leave shadows, color variations, and other problems that become visible when you remove the background.
Choosing the right green screen backdrop
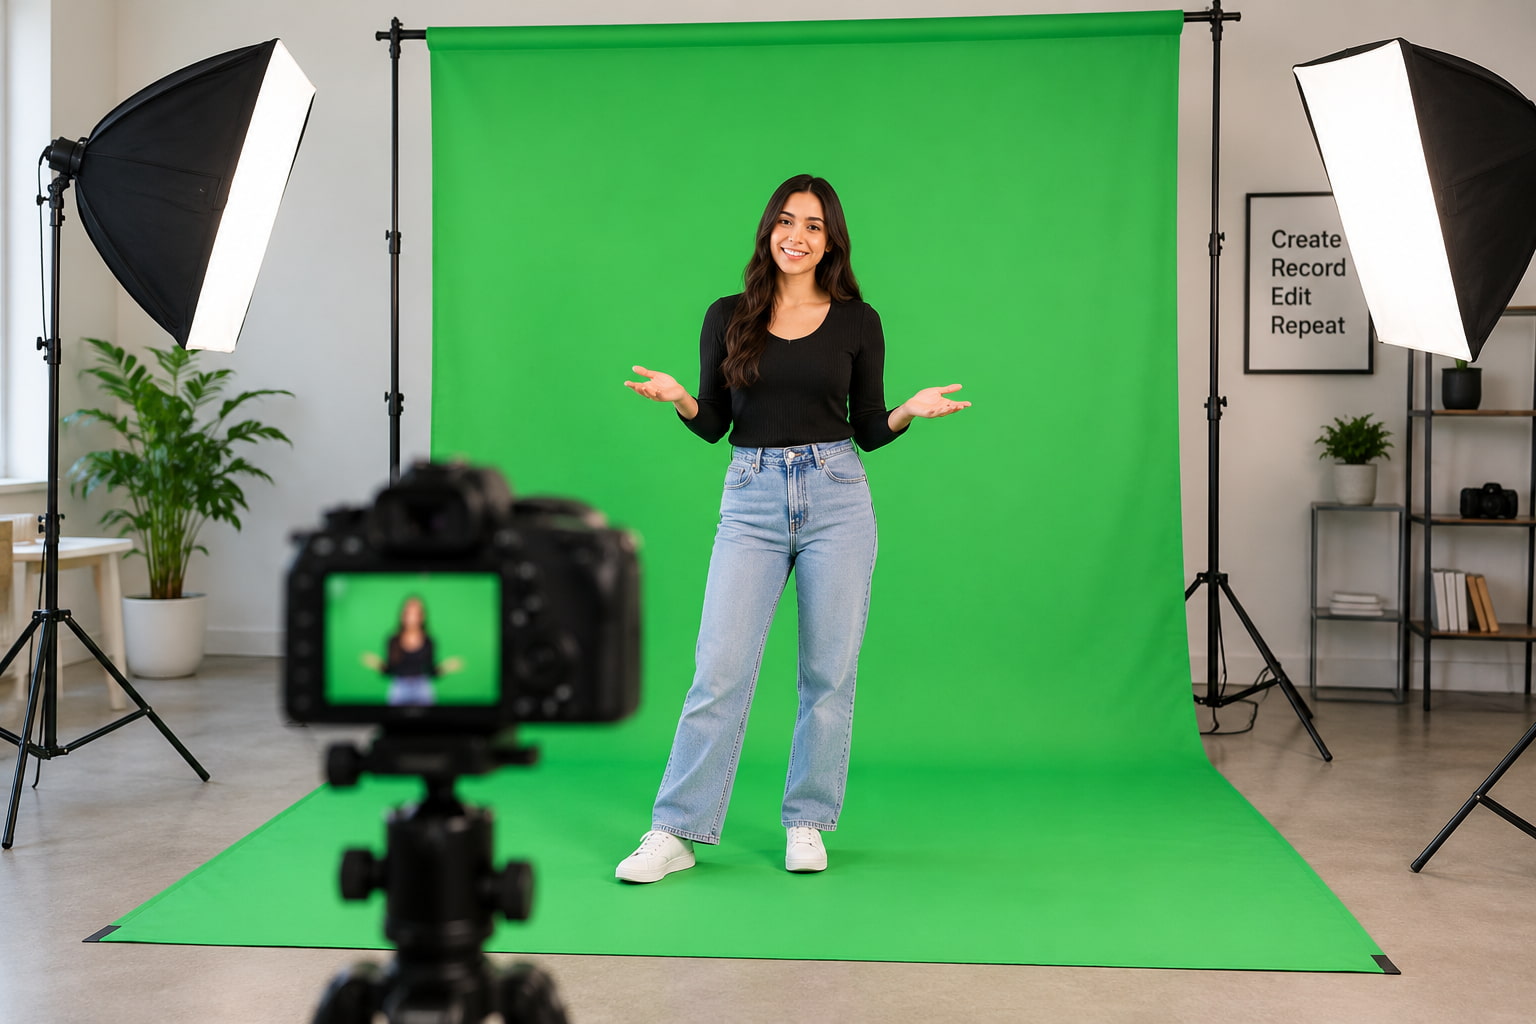
The backdrop should cover everything the camera sees behind the subject. A matte green fabric is a practical choice for a home setup as it's easy to hang, fold and store when it's not in use. Collapsible screens are another option if you want something portable between locations. Avoid shiny or reflective surfaces if you can. Reflections on the material can cause patches of various shades of green that can make the background less uniform for editing. A flat, evenly colored screen gives you a better starting point.
Setting up your camera and lighting
A smartphone can handle a basic green-screen shoot, although a webcam or dedicated camera can work just as well. The important thing is to frame the subject properly and keep the camera steady while recording. The green screen should fill the visible background, with no pieces of the room showing around its edges. Lighting deserves the same attention. Light the background evenly, not one side much brighter than the other. Make sure the subject is well exposed, too. Consistent lighting means the green doesn't change noticeably across the shot and preserves details around the subject.
Positioning your subject
Give the subject some space between themselves and the green screen. Standing directly against the backdrop makes it easier for shadows to fall behind the person and can also cause green light to reflect onto their skin, hair, or clothes. Clothing that closely matches the screen can create another problem because those areas may disappear during background removal. For video, leave enough room for the person to move naturally without stepping outside the green area. A little planning here can save you from fixing avoidable problems later.
How do you use a green screen backdrop?
The backdrop needs to stay consistent from the first frame to the last. Secure it firmly, smooth out visible folds, and check the entire surface through the camera rather than judging it only from where you are standing. If the camera can see a wall, piece of furniture, or gap beside the screen, that area will remain part of the original background. Even lighting matters too. Dark patches and bright spots can make the green appear uneven and give the background-removal tool a less consistent area to work with.
How to set up a green screen backdrop
Start by hanging or positioning the screen so it does not shift while you are shooting. Fabric backdrops often develop folds during storage, so smooth those out before setting up the camera. The screen should extend far enough behind and below the subject to cover the area that will appear in the final frame. Once everything is in place, look at the camera preview from the actual shooting position. This is the easiest way to see exposed walls, furniture, gaps or edges of the backdrop that you may not see from across the room.
How far should you stand from a green screen?
There is no single distance that works for every green-screen setup. In a room with enough space, keeping the subject several feet away from the backdrop is a good starting point. That separation gives shadows less chance of falling directly onto the screen and reduces the green reflection that can appear around the subject. The right position will depend on the size of your backdrop, camera framing, lighting, and how much movement the shot requires. Move the subject while watching the camera preview until the backdrop remains clean behind them.
How to avoid shadows and green spill
The green screen and the subject should receive balanced lighting rather than relying on one strong light to illuminate everything. Place the lights so the backdrop is evenly covered, then check the subject separately for harsh shadows or overly bright areas. Green spill is more likely when the subject stands close to the screen or when reflective surfaces bounce green light back toward the camera. Pay particular attention to hair, glasses, shiny clothing, and exposed skin. If you see a green tint around the edges, increasing the distance from the screen is often a useful first adjustment.
How do you use a green screen for photography and video?
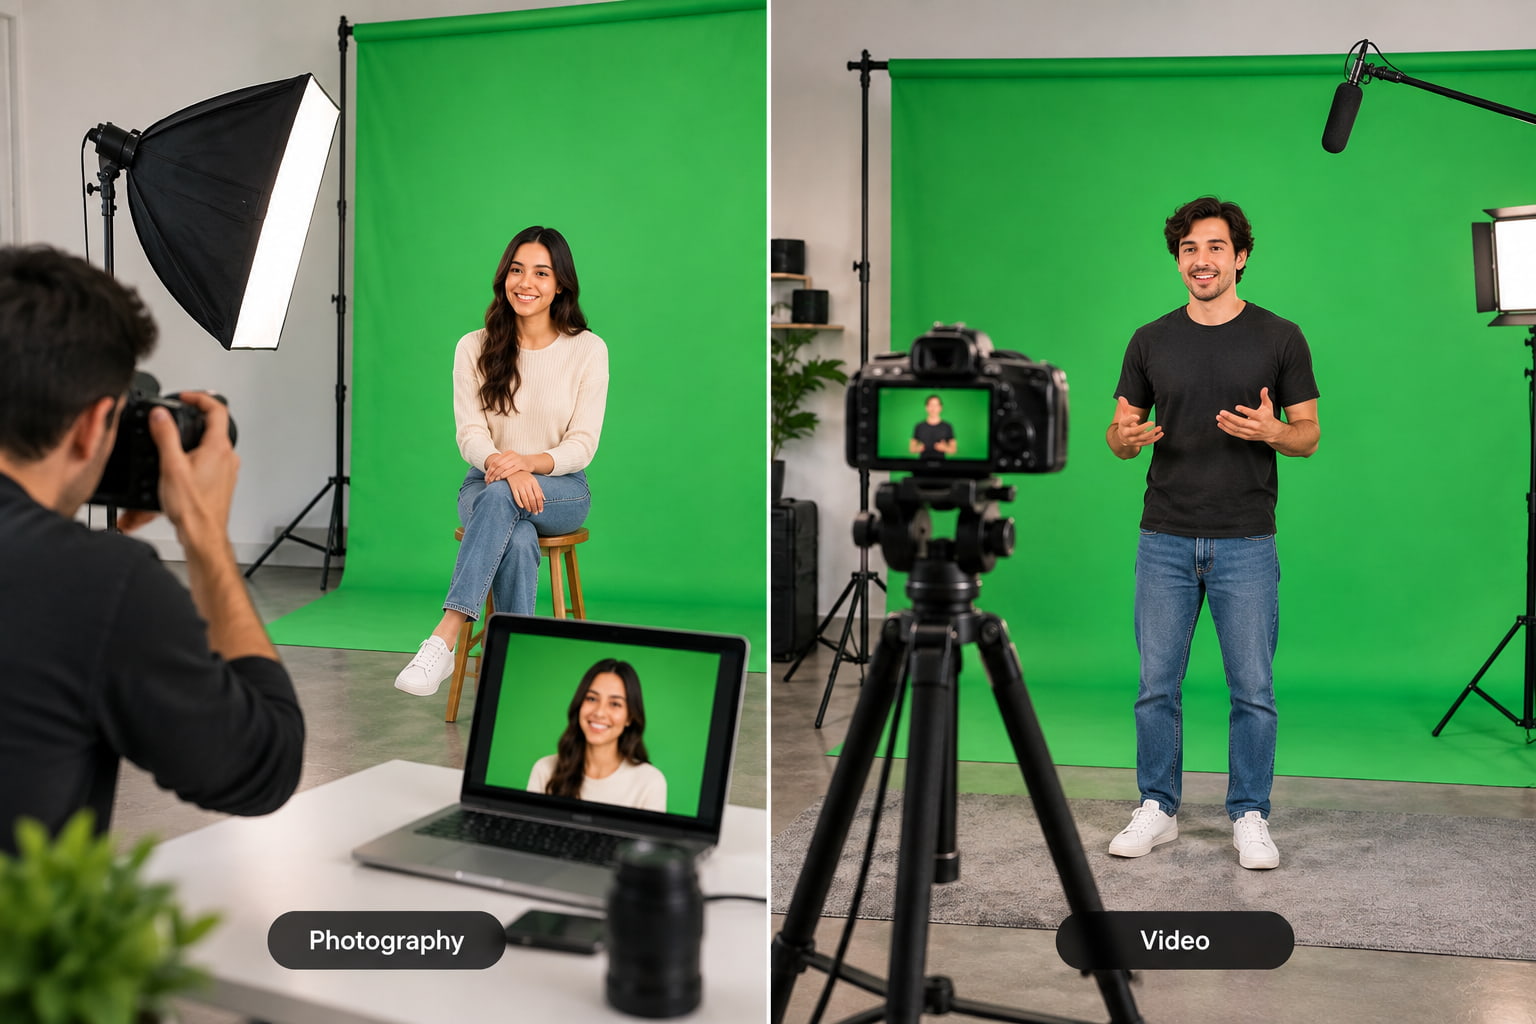
The same basic setup works for both formats, but video requires more consistency because the subject and camera remain in motion for longer. With photography, you are mainly concerned with getting one well-lit, well-framed image. The video introduces additional issues such as motion blur, changing shadows, and a subject moving outside the green area. Either way, background removal works better when the original image or footage has clear subject edges and a consistent green backdrop.
How do you use a green screen in photography?
For a green-screen photo, stage the subject so the background fills the whole frame behind them. Before you take the picture, check the screen for wrinkles and uneven lighting, and check the position of your subject to make sure no shadows are falling across the green surface. Pay extra attention to fine details such as hair, fingers, glasses, and reflective clothing, as they can be harder to separate from the background during editing. Once you have taken the picture, you can use a background remover or photo editor to take out the green and place your subject in front of a new picture.
How do you use a green screen for video?
Green-screen video requires a bit more prep work because conditions must remain constant throughout the clip. Hold the camera steady and leave enough room around the subject to move without running off the background. Fast movements can cause motion blur and changing lighting can cause the green background to appear different in different parts of the video. Before you shoot the whole thing, do a short test and look at the edges of your subject, at his clothes, hair and hands. Then in your video editor, take out the green background and add the scene or footage you want behind the subject.
How to use Vmake Labs to remove a green screen
After recording your green-screen footage, Vmake Labs can handle the background-removal stage without requiring a traditional chroma-key workflow. Its Green Screen Video Editor works with green-screen footage, while the Green Screen Remover provides a dedicated background-removal option. Vmake Labs supports common video formats such as MP4, MOV, M4V, 3GP, and AVI, so you can work with footage from different cameras and devices.

How to remove a green screen with Vmake Labs
Vmake Labs offers several background-removal entry points for video. Green Screen Video Editor is designed for green-screen editing, while Green Screen Remover provides a dedicated option for removing a green background. The step-by-step workflow below uses the Video Background Remover upload page to process the footage and remove the original background.
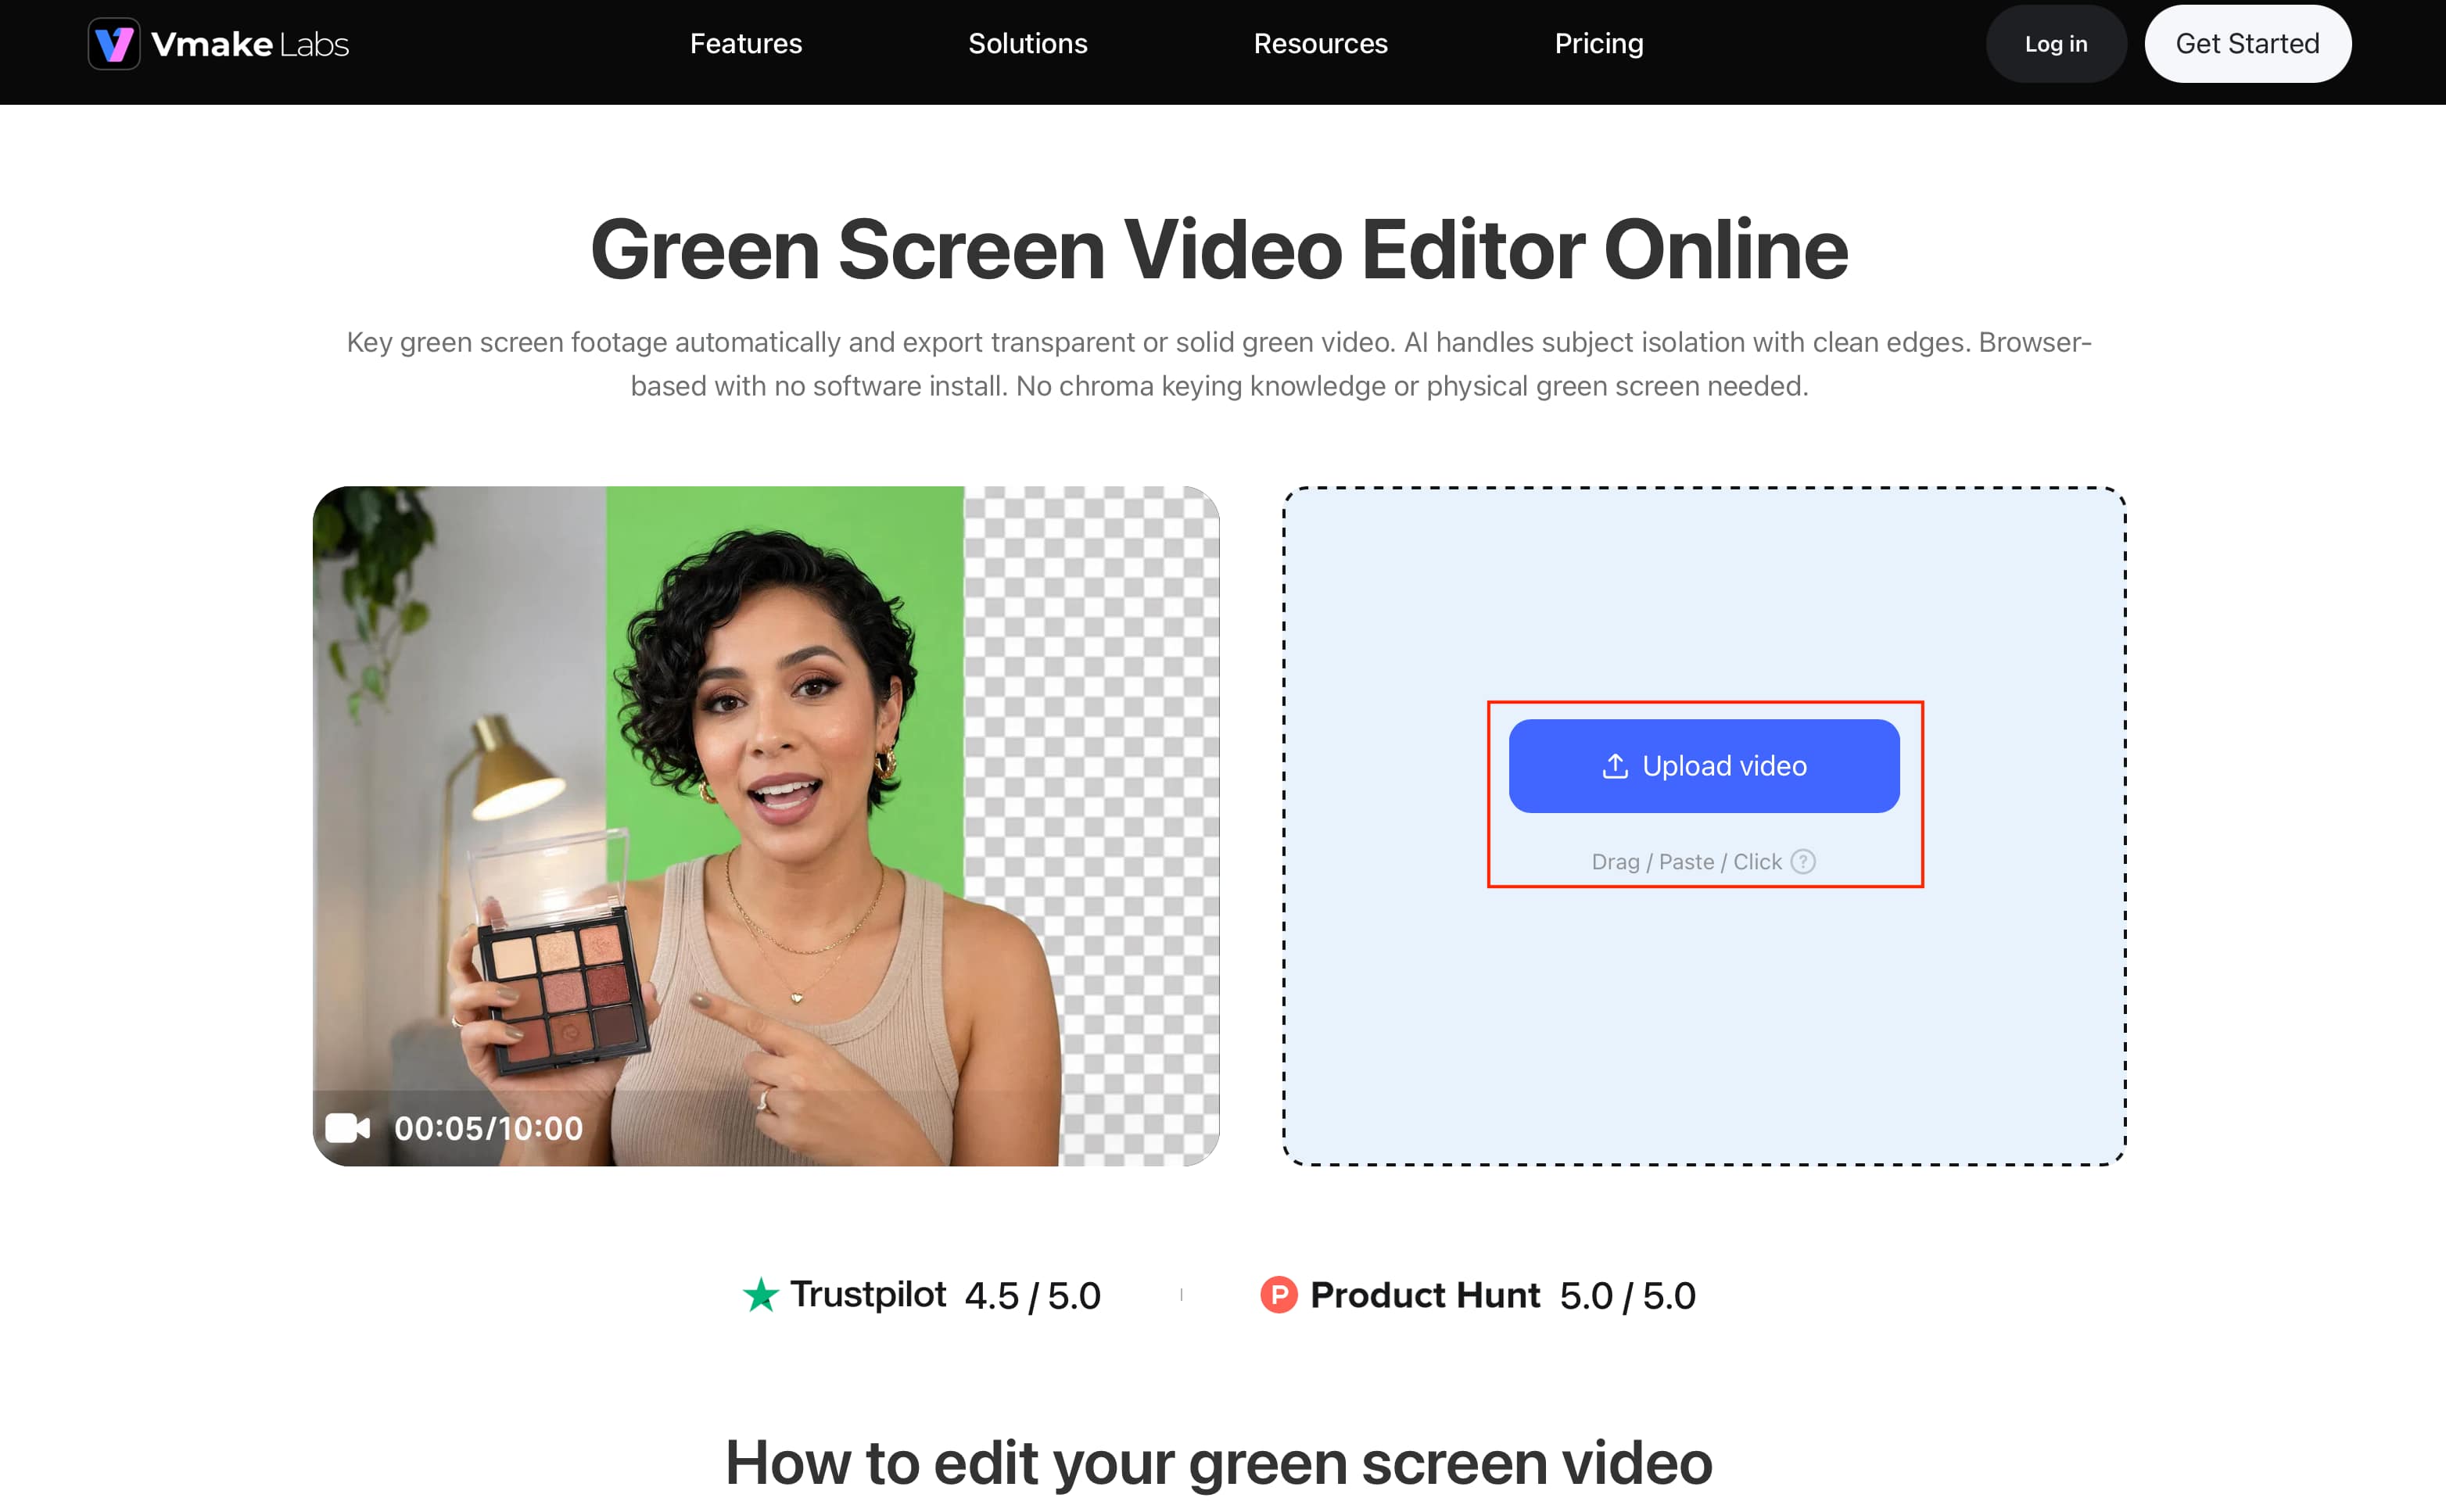
Step 1: Upload your video
Open the Vmake Labs Video Background Remover and upload your green-screen footage by clicking, dragging, or pasting the file into the upload area. The tool supports common formats including MP4, MOV, M4V, 3GP, and AVI, so you can start with footage you have already recorded.
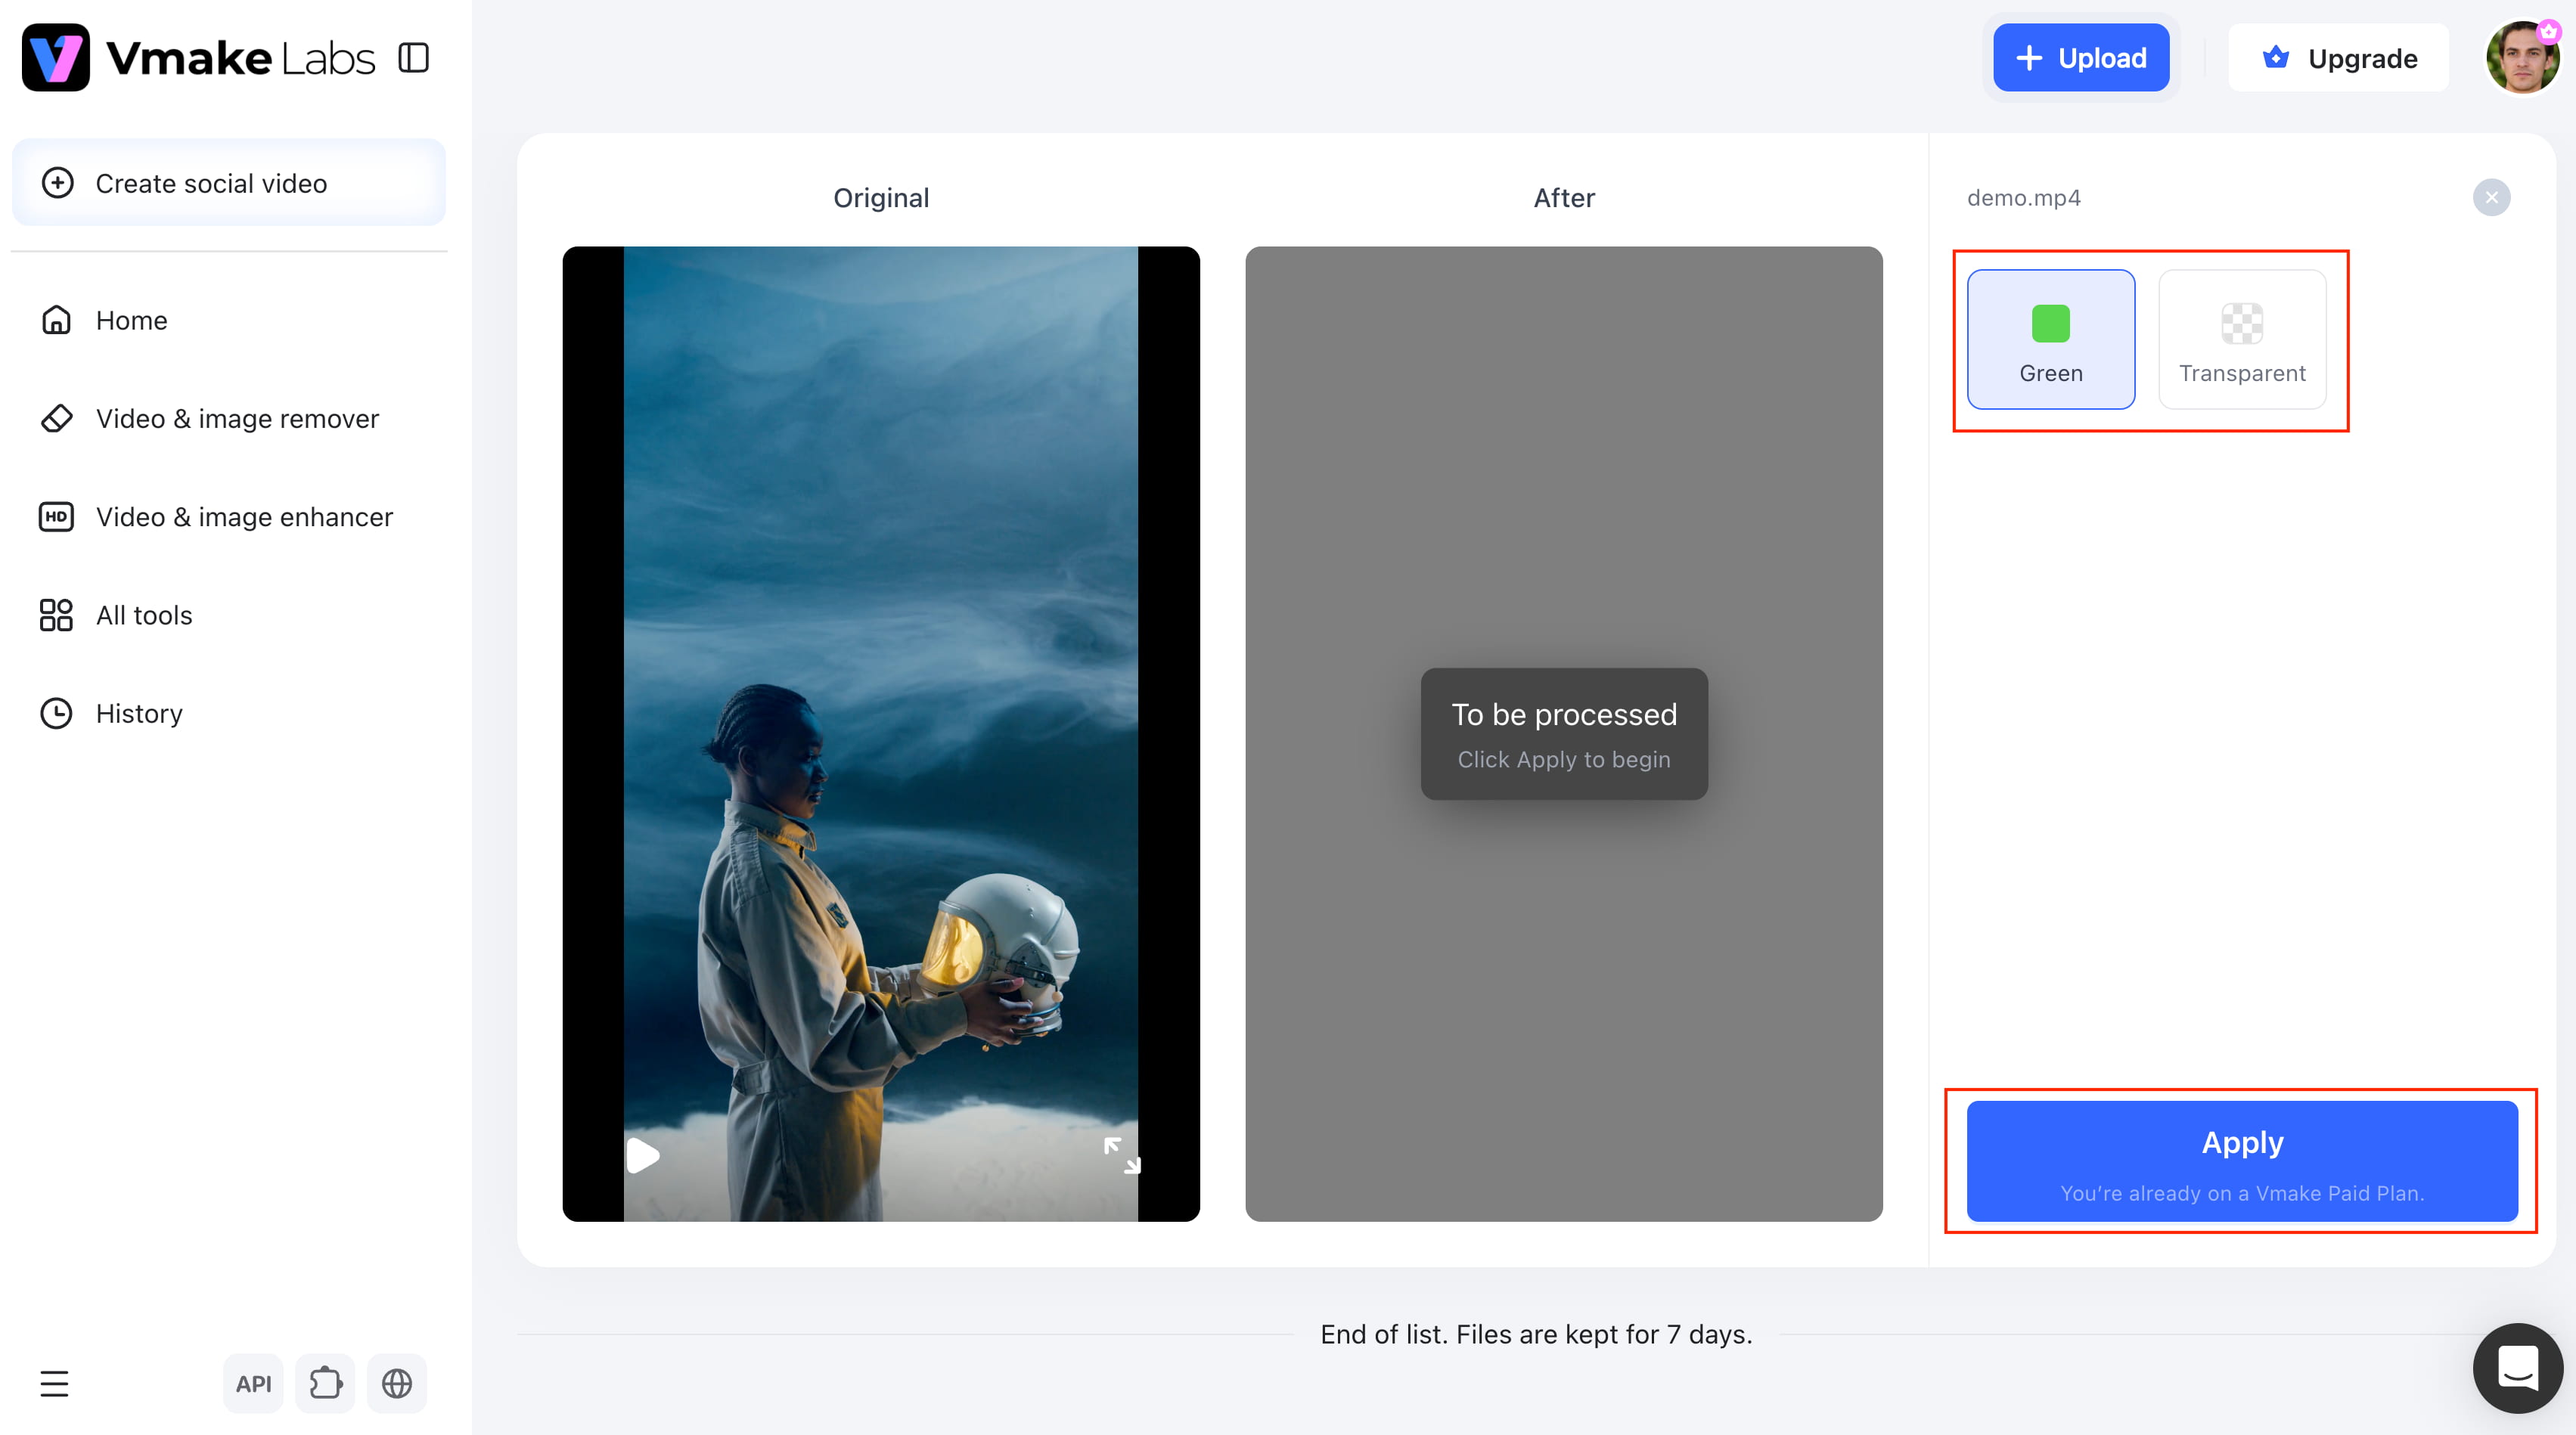
Step 2: Let AI process the video
After the upload, Vmake Labs automatically processes the video and removes its background. You can select a green-screen or transparent background and preview a five-second effect before downloading the finished clip. If the result needs another pass, Vmake Labs also provides options to reprocess the video.
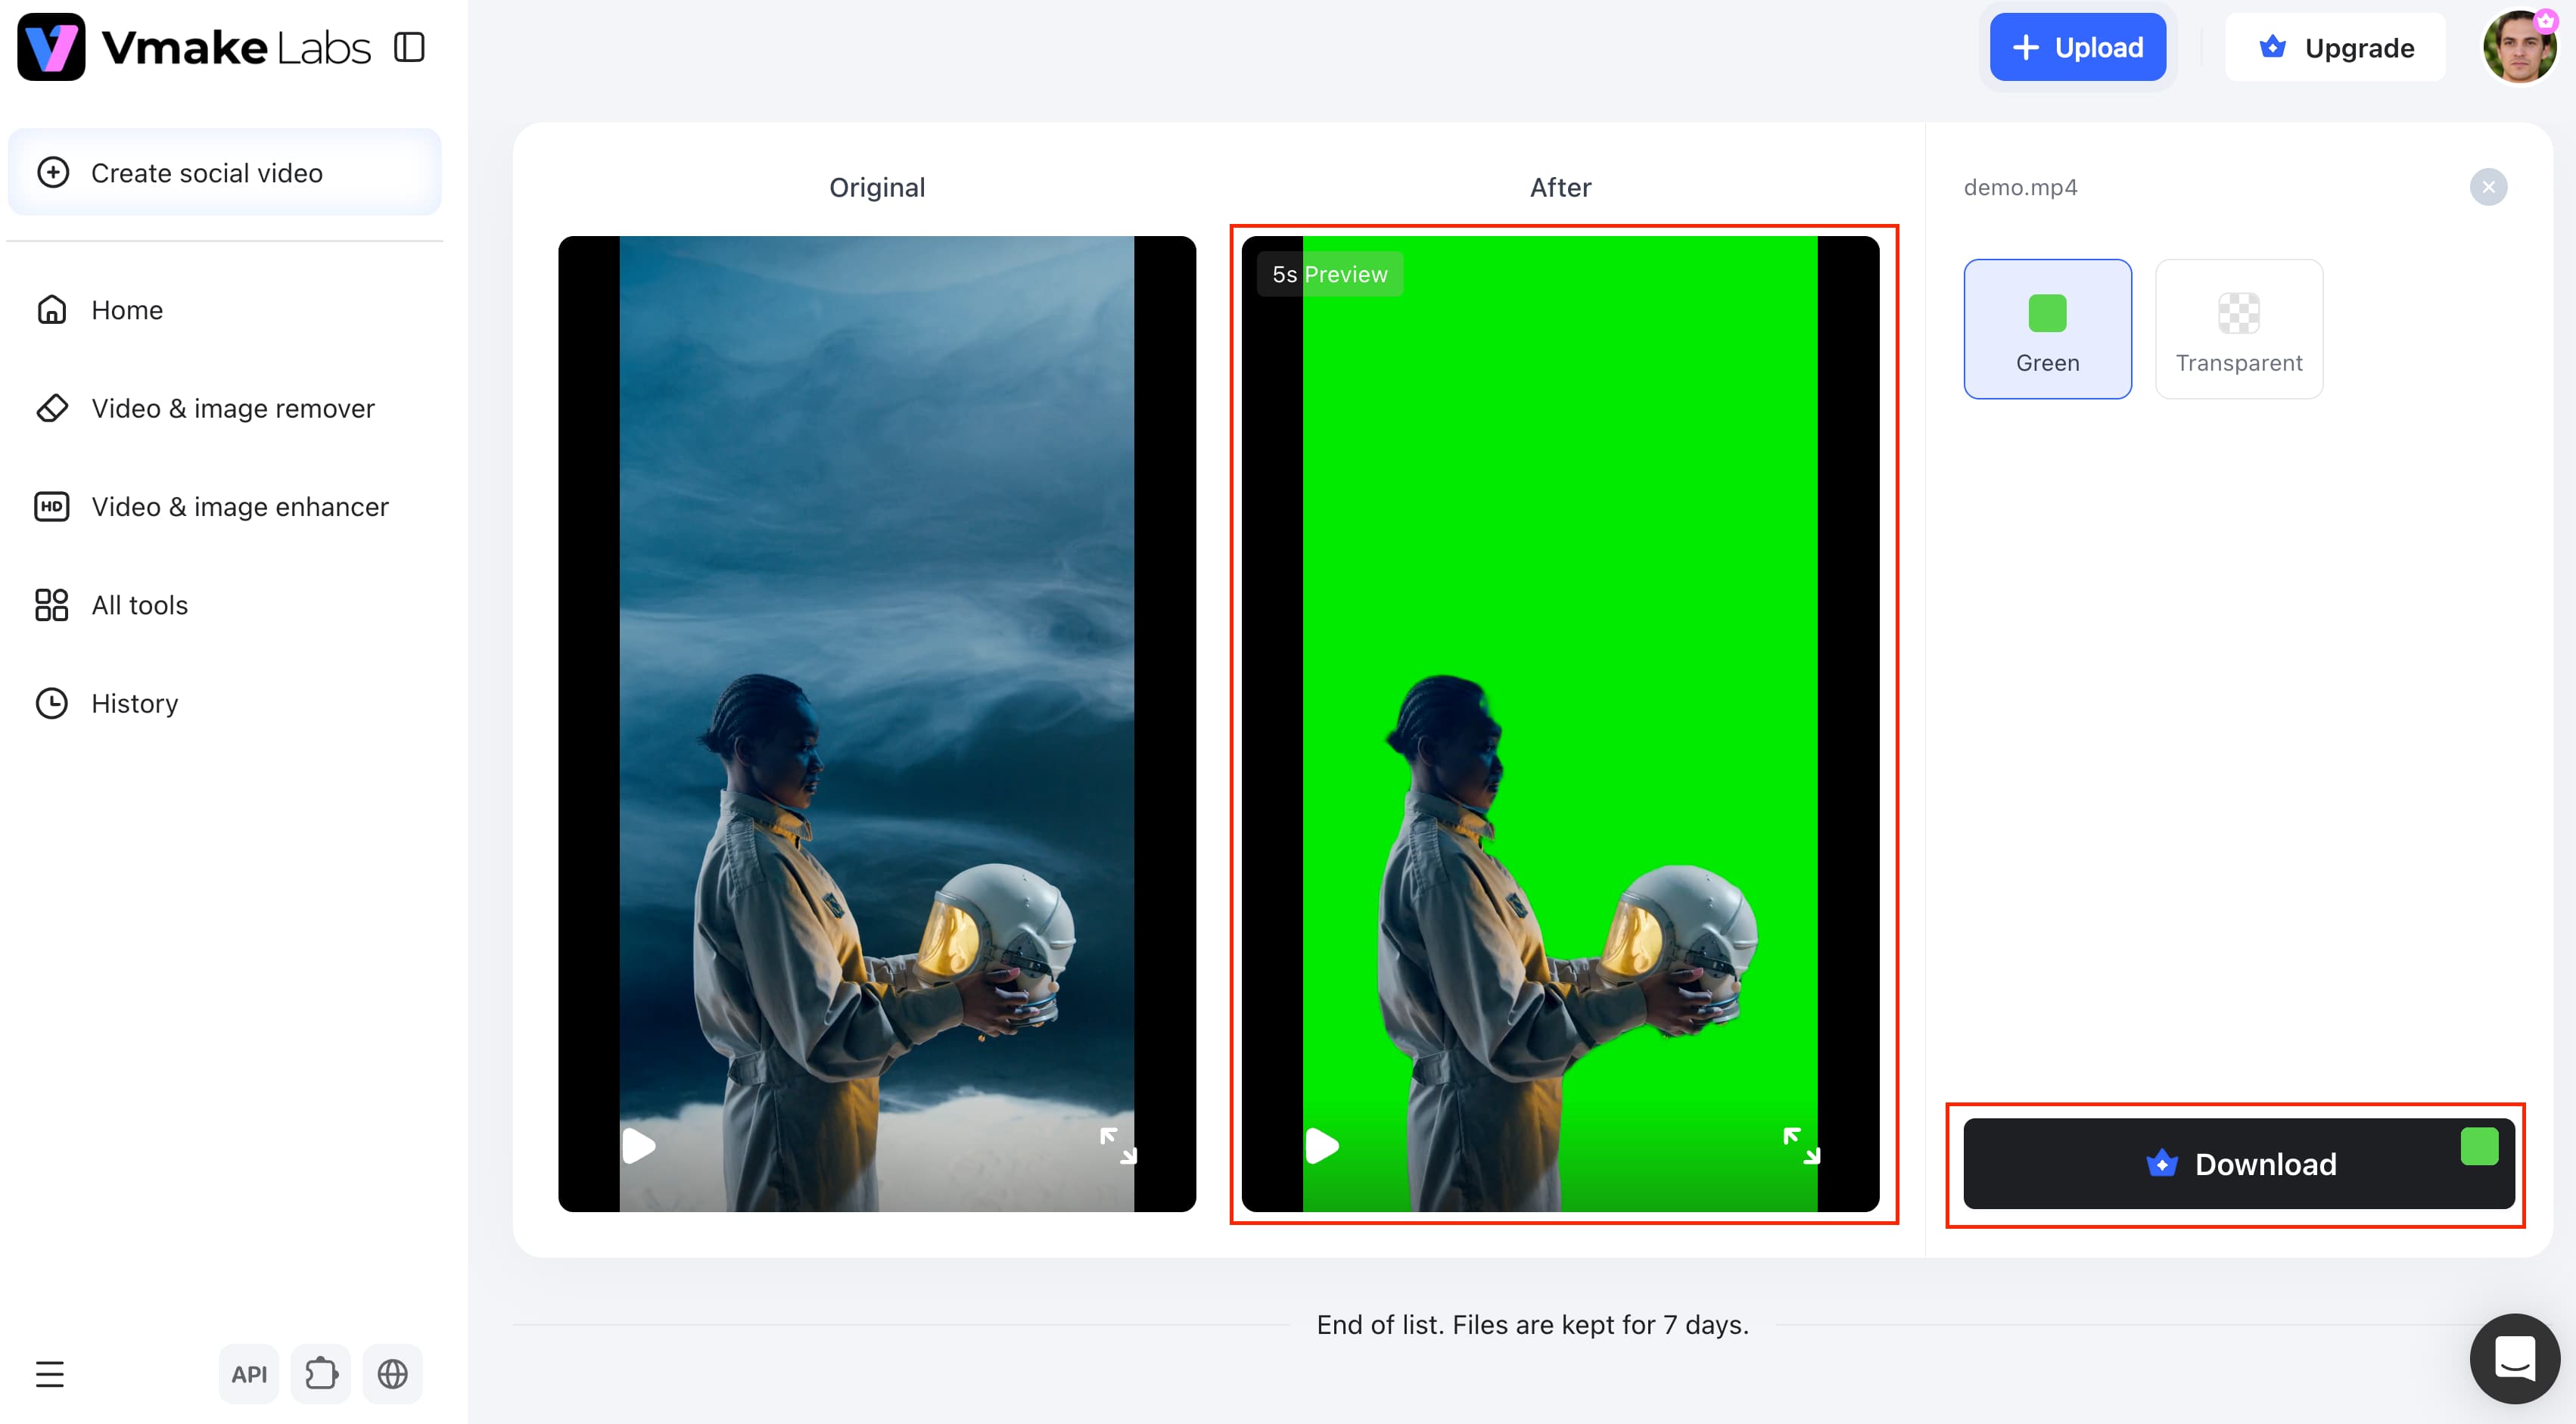
Step 3: Review and download the result
Check the processed video before saving it, paying particular attention to the subject's edges, hair, hands, and clothing. If everything looks right against the selected background, use the download option to save the finished video. This keeps the background-removal stage separate from the rest of your editing workflow.
Vmake Labs green screen and background removal features
Vmake Labs includes several functions that are useful when you need to remove or replace backgrounds from video:
-
Video background removal: Remove the existing background from uploaded video footage through an automatic processing workflow, without manually selecting the subject frame by frame.
-
Green-screen or transparent output: Choose a green-screen or transparent background after the original background has been removed, depending on how you plan to use the clip.
-
Automatic subject detection: The processing identifies the main subject and separates it from the existing background, reducing the need for manual selection.
-
Preview before download: Review a five-second preview of the processed effect before downloading the finished video.
-
Batch processing: The Video Background Remover supports up to 3 videos per upload for non-members and 8 videos per upload for members, making it useful when you need to process several clips at once.
-
Multiple video workflows: The tool supports use cases such as e-commerce product videos, workplace meetings and online courses, and social media or short-form content.
For more background-editing guidance, see Vmake Labs guide to editing videos with green-screen backgrounds. It covers related editing workflows without repeating the physical setup steps explained above.
What are the best green screen tips for cleaner results?
Most green-screen problems are easier to prevent during filming than to correct afterward. A backdrop with visible folds, a subject standing too close to the screen, or lighting that changes across the frame can all create extra work during editing. Before you begin the main shoot, look through the camera and check the entire scene as one setup. That quick check can reveal problems that are difficult to notice when you inspect the equipment separately.
-
Keep the backdrop smooth: Flatten out any obvious folds and creases so that the green surface is free from unwanted shade variations.
-
Use even lighting: The light should be even across the backdrop, without obvious bright areas, dark corners, or hard shadows.
-
Isolate the subject from the green screen. Keep some space between the person or item and the backdrop to minimize shadows and reflected green light.
-
Avoid green clothing and reflective materials: Green clothing can blend into the background and shiny surfaces can catch reflections from the screen.
-
Use good exposure and focus: Keep the subject sharp and properly exposed so the edges remain visible when the background is removed.
-
Check hair, hands, and fine edges: Look closely at loose hair, fingers, glasses, and similar details before recording the full piece.
-
Match the replacement background: Think about the lighting and perspective of the new background so the finished composite does not look mismatched.
Common green screen problems and how to fix them
Even a good setup can run into problems during filming. The useful thing is that most of them have fairly obvious causes once you know what to look for. If a test clip shows a shadow, uneven green, or unwanted color around the subject, fix the setup before recording the rest of the footage.
-
Shadows on the backdrop: Move the subject farther from the screen and adjust the lights so the shadow is less pronounced.
-
Uneven green color: Check the backdrop lighting and iron out any folds that could be creating darker spots.
-
Green spill around subject: Move the subject farther away from the screen and think about the angle or intensity of the lighting.
-
Green clothing disappearing: Try changing the clothing or removing accessories that are too close in color to the background.
-
Rough edges around hair and hands: Check the camera focus and lighting, and avoid motion blur when recording small or fast movements.
-
Motion blur: Add sufficient light and slow down unnecessary fast movements so the camera can capture the subject more clearly.
Green screen for beginners checklist
Do a run-through of the setup from the camera's point of view before the main recording. A short test clip is worth shooting because it shows how the lighting, backdrop and subject look on camera, not just how they look to the naked eye.
-
Smooth, wrinkle-free backdrop: Examine the green area you can see for folds, creases or areas that have come unglued.
-
Even lighting: The background should be relatively evenly lit across the frame from one side to the other.
-
Good subject distance: Allow enough space between subject and screen to control shadows and green reflections.
-
No green clothing: Always check clothing and accessories before shooting, especially those that match your background closely.
-
Stable camera: Ensure the camera is steady and the subject is comfortably framed.
-
Good exposure and focus: Ensure the subject is in focus and visible without being too dark or bright.
-
Clean test footage: Shoot a short sample and check edges, lighting, movement and background before you do the entire shoot.
-
Appropriate editing tool: Pick a background-removal or editing tool that supports the type of background and final output you need.
Conclusion
There is no need for a complex studio to learn to use a green screen, but the recording stage needs some attention. Nice smooth background, good lighting, some room away from the screen, steady camera will make editing your footage easier later. The same principles apply to photography and video, but video takes a bit more care when the subject starts moving. Once the footage is complete, the green background can be removed and replaced with a different scene using a photo or video editor. For video projects, Vmake Labs offers an AI background-removal workflow that handles this stage after you upload the footage.
FAQs
Can you use a green screen for photography?
Yes, green screens work for photography as well as video. The subject should be in front of a large well lit background with enough space between the subject and the background to minimize shadows and green reflections. When you take the photo, you can use a photo editor or a background remover to remove the green background. This will allow you to put the subject in another image.
Can you use a green screen without professional lighting?
Yes. You don't need expensive studio lights to begin with, as long as the green background and subject are reasonably lit evenly. Natural light or simple lights are good as long as they don't create harsh shadows or big differences in brightness across the screen. Just be sure to shoot a test photo or short clip to see if the lighting is consistent enough before the real shoot.
Can you remove a green screen without editing software?
Yes, you can use an online background remover tool instead of desktop editing software. Just upload the video and let the tool do the job of extracting the subject from the original background. No more manual adjusting of chroma-key controls. Vmake Labs offers automatic video background removal and lets you choose a green-screen or transparent background for the processed video.
What is the easiest way to remove a green screen?
An automatic background-removal tool is generally the most straightforward option if you do not want to adjust chroma-key settings yourself. The quality still depends on the footage you recorded, so good lighting and subject separation remain important. With Vmake Labs, you can upload the video, let the tool process the background, preview part of the result, and download the finished clip.
Can you use a green screen with a phone?
Keep the phone steady, get the subject framed correctly, and make sure the green backdrop is visually filling up the background. Give a little space between the subject and the screen to cut down on shadows and green spill. After you've recorded, the next step is to load the footage into a background remover tool or video editor.
How do you use a green screen in CapCut?
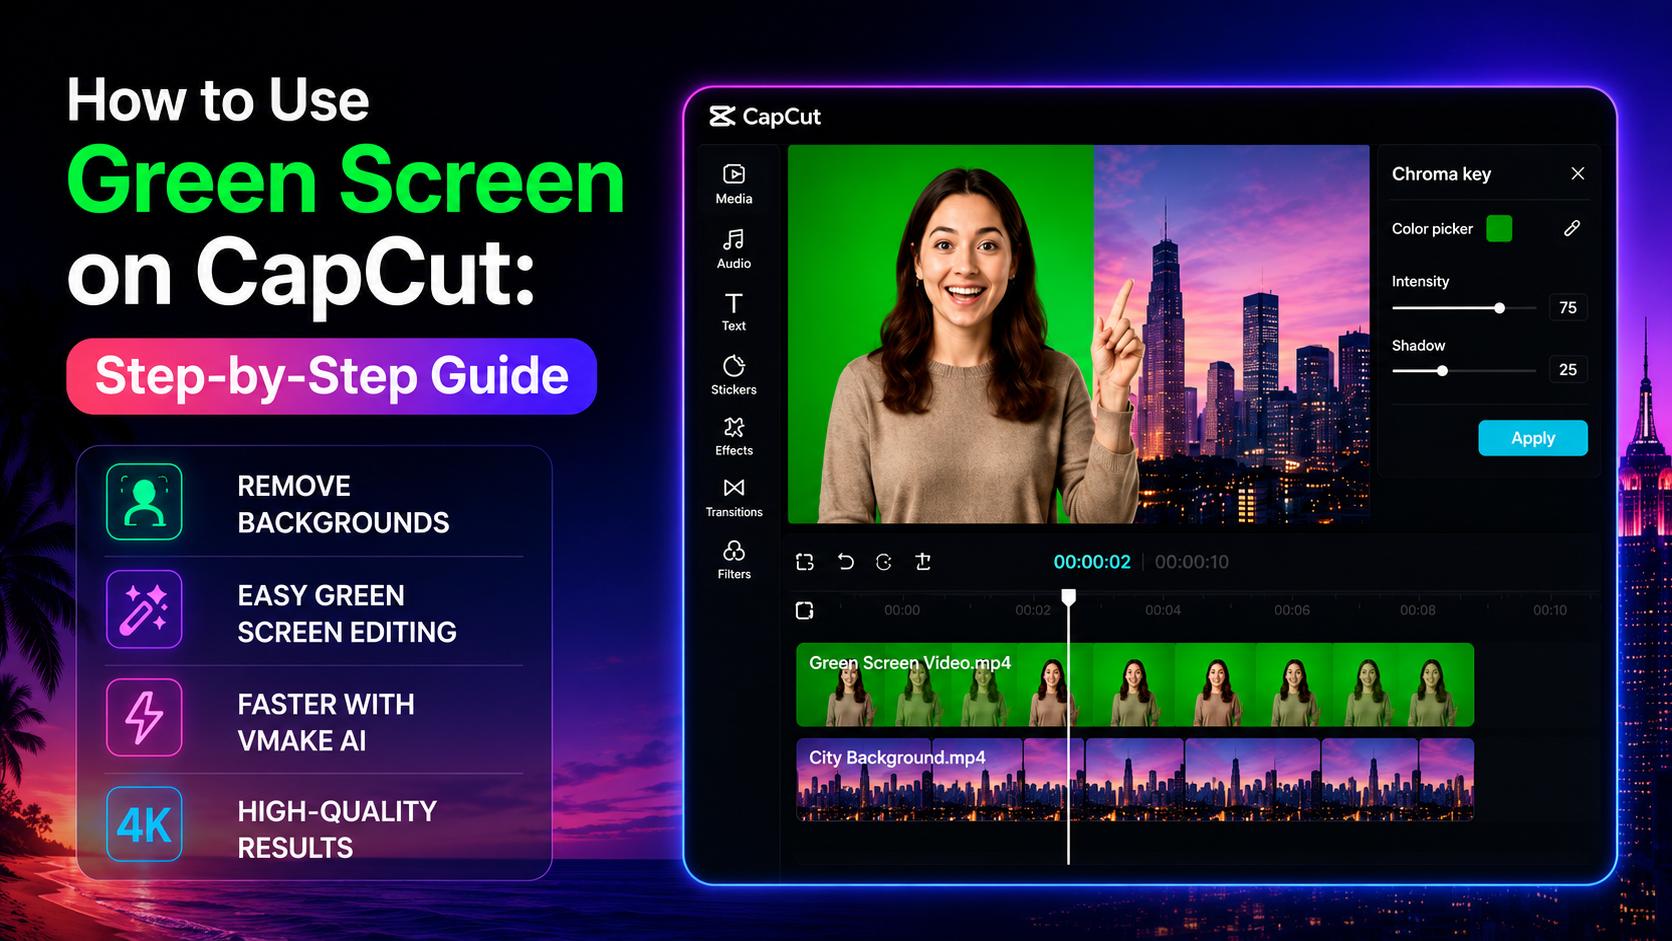
Add your footage to the timeline, and choose the clip that has the green background. Open Chroma Key, grab the green with the color selector, and tweak the settings until the background is gone without affecting the subject. Add the replacement image or video on the layer behind the subject. If you want to handle background removal before opening CapCut, you can process the footage with Vmake Labs first and then continue editing the resulting clip.

You May Be Interested
How Does a Green Screen Work? AI Background Removal Guide
How to do Green Screen on TikTok: Complete Guide & AI Alternative

How to Edit Videos with Green Screen Backgrounds Easily

5 Best Free Green Screen Video Backgrounds for Creators

5 Tools to Make Best Green Screen Backgrounds for Every Video Style