How to Remove a Watermark in Photoshop: Step-by-Step Guide
Learn how to remove a watermark in Photoshop using Content-Aware Fill, Clone Stamp, and Healing Brush. For a faster editing workflow, simplify image cleanup with Vmake Labs Image Remover online.

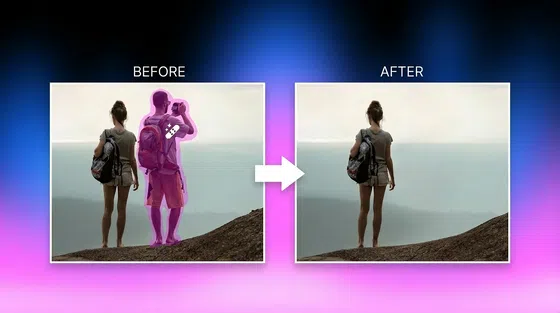
Photoshop can be used to remove watermarks from your own photos or those that you are allowed to edit. Natural-looking results can be achieved using tools like Generative Fill, Content-Aware Fill, Clone Stamp, and Healing Brush. This guide takes you through each of the methods and when to use them.
Which Photoshop tool should you use?
There are several ways to remove watermarks in Photoshop, but no single tool is best for every image. The proper selection depends on the size, transparency, position, and intricacy of the background of the watermark. Knowing the function of each tool will allow you to spend less time editing and achieve cleaner results.

Photoshop watermark removal tools
To help you decide which feature fits your specific image, here is a breakdown of the primary tools available in Adobe Photoshop:
|
Tool |
Best for |
Skill level |
|---|---|---|
|
Generative Fill |
Large watermarks or areas where AI can recreate surrounding content |
Beginner |
|
Content-Aware Fill |
Large or simple-background watermarks |
Beginner |
|
Clone Stamp Tool |
Textured or patterned backgrounds |
Intermediate |
|
Healing Brush |
Removing small watermark traces and blending repaired areas |
Intermediate |
Each of these tools supports a different editing workflow. For example, there's Generative Fill, which uses Adobe's AI tech to rebuild missing parts and the Clone Stamp Tool, which gives you full manual control for detailed fixes. The Healing Brush is good to use as a finishing tool after the main watermark has been removed. Learning how to remove a watermark in Photoshop is much easier once you know these tools.
How to remove a watermark in Photoshop
There are several ways to remove watermarks in Photoshop, and the best way to do it is determined by the image you are working with. AI-powered features like Generative Fill can save you time on simple edits, while traditional tools provide more precision on complex backgrounds. The cleanest results are usually obtained by combining two tools.
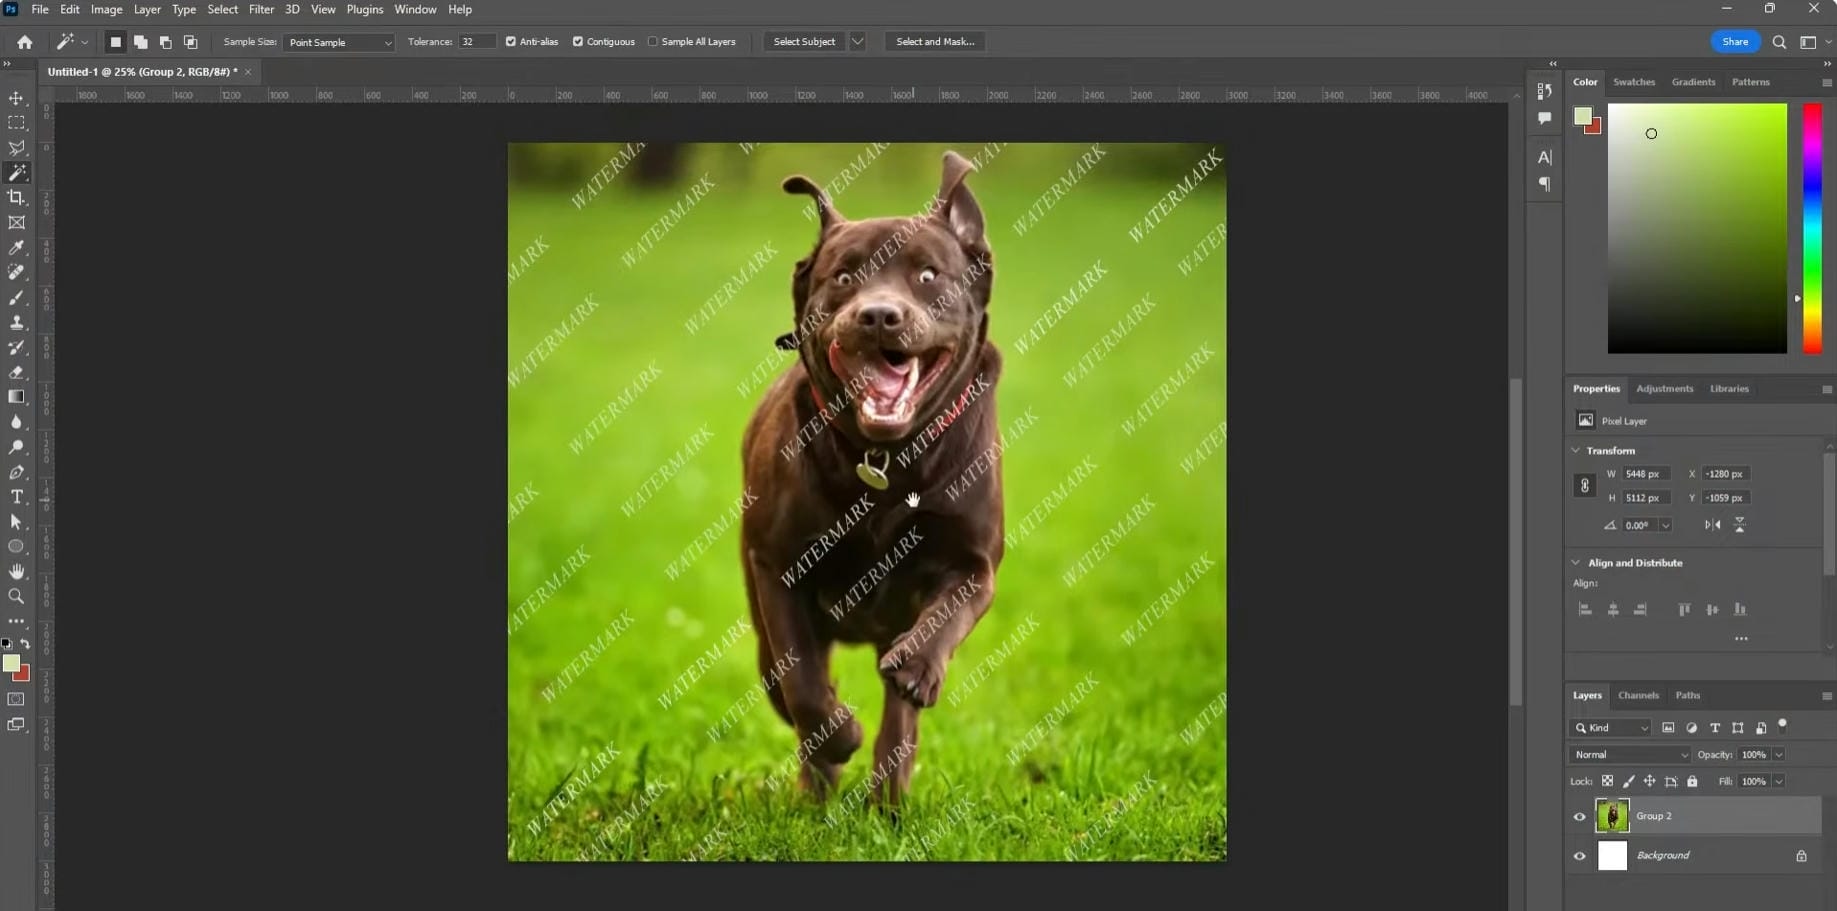
Best for: Large watermarks on simple or moderately detailed backgrounds where Photoshop's AI can realistically recreate the missing content.
Method 1: Generative Fill
One of the fastest ways to remove unwanted objects in recent versions of Photoshop is Generative Fill. Rather than simply copying pixels from the surrounding area, Adobe's AI analyzes the image around it and then creates new content that seamlessly blends into the scene.
Step 1: Select the watermark area
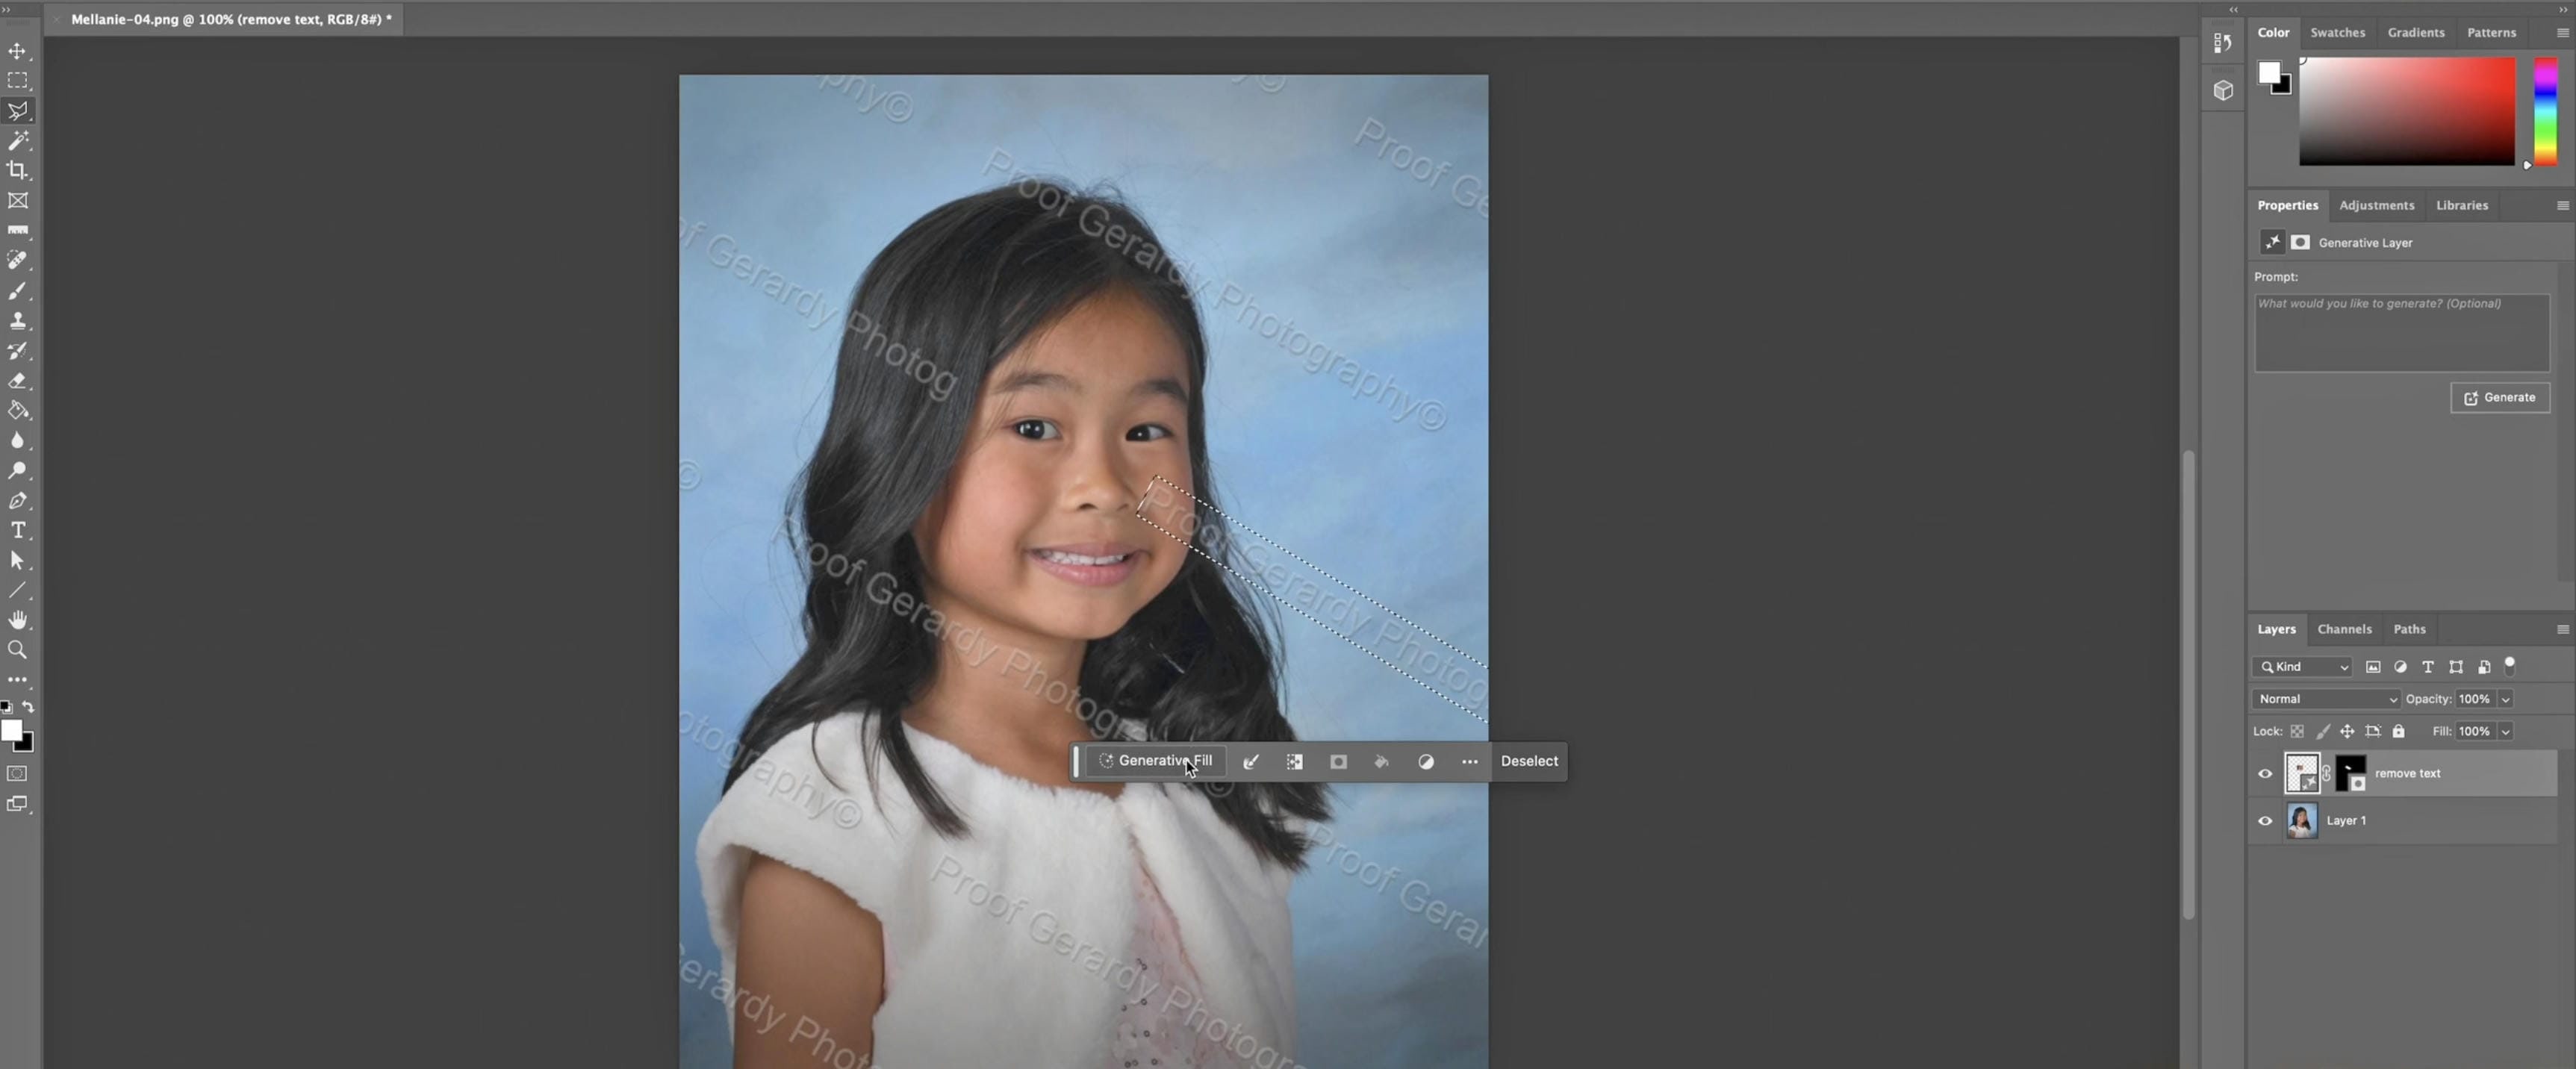
Open your image and duplicate the background layer so you have the original safe. Next, use the Object Selection Tool, the Lasso Tool or the Marquee Tool to carefully select the watermark. If you include a little bit of the surrounding area, Photoshop can do a more accurate replacement.
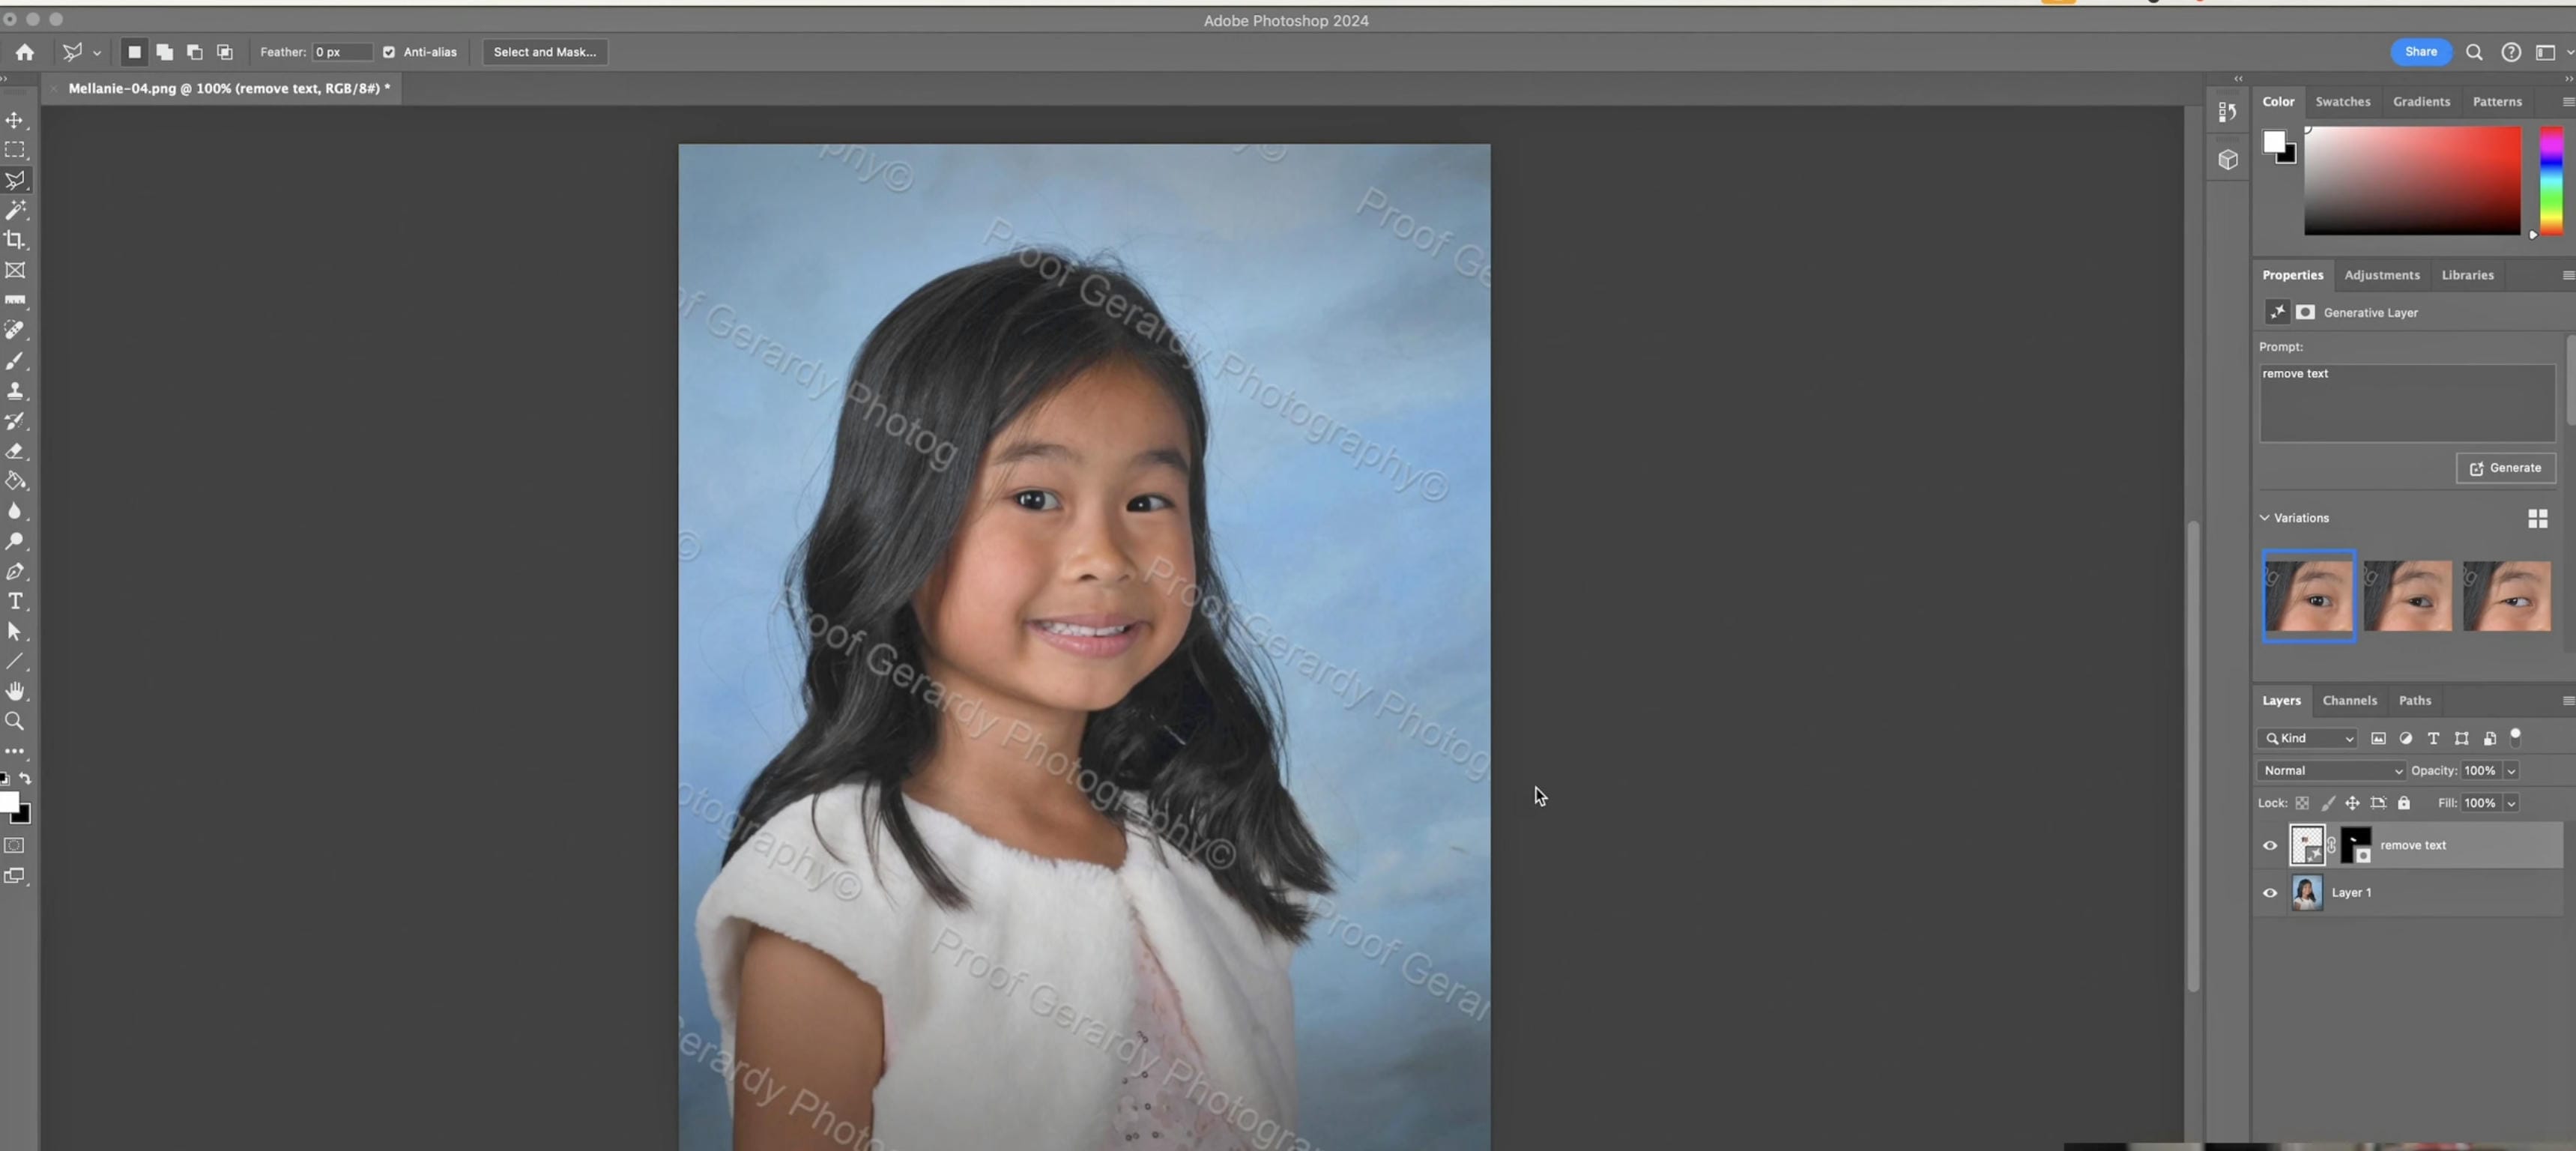
Step 2: Generate a replacement
Click Generative Fill from the contextual taskbar and leave the prompt blank if you simply want to remove the watermark. Photoshop analyzes the selected area and generates several replacement options based on nearby image content.
Step 3: Choose the best result
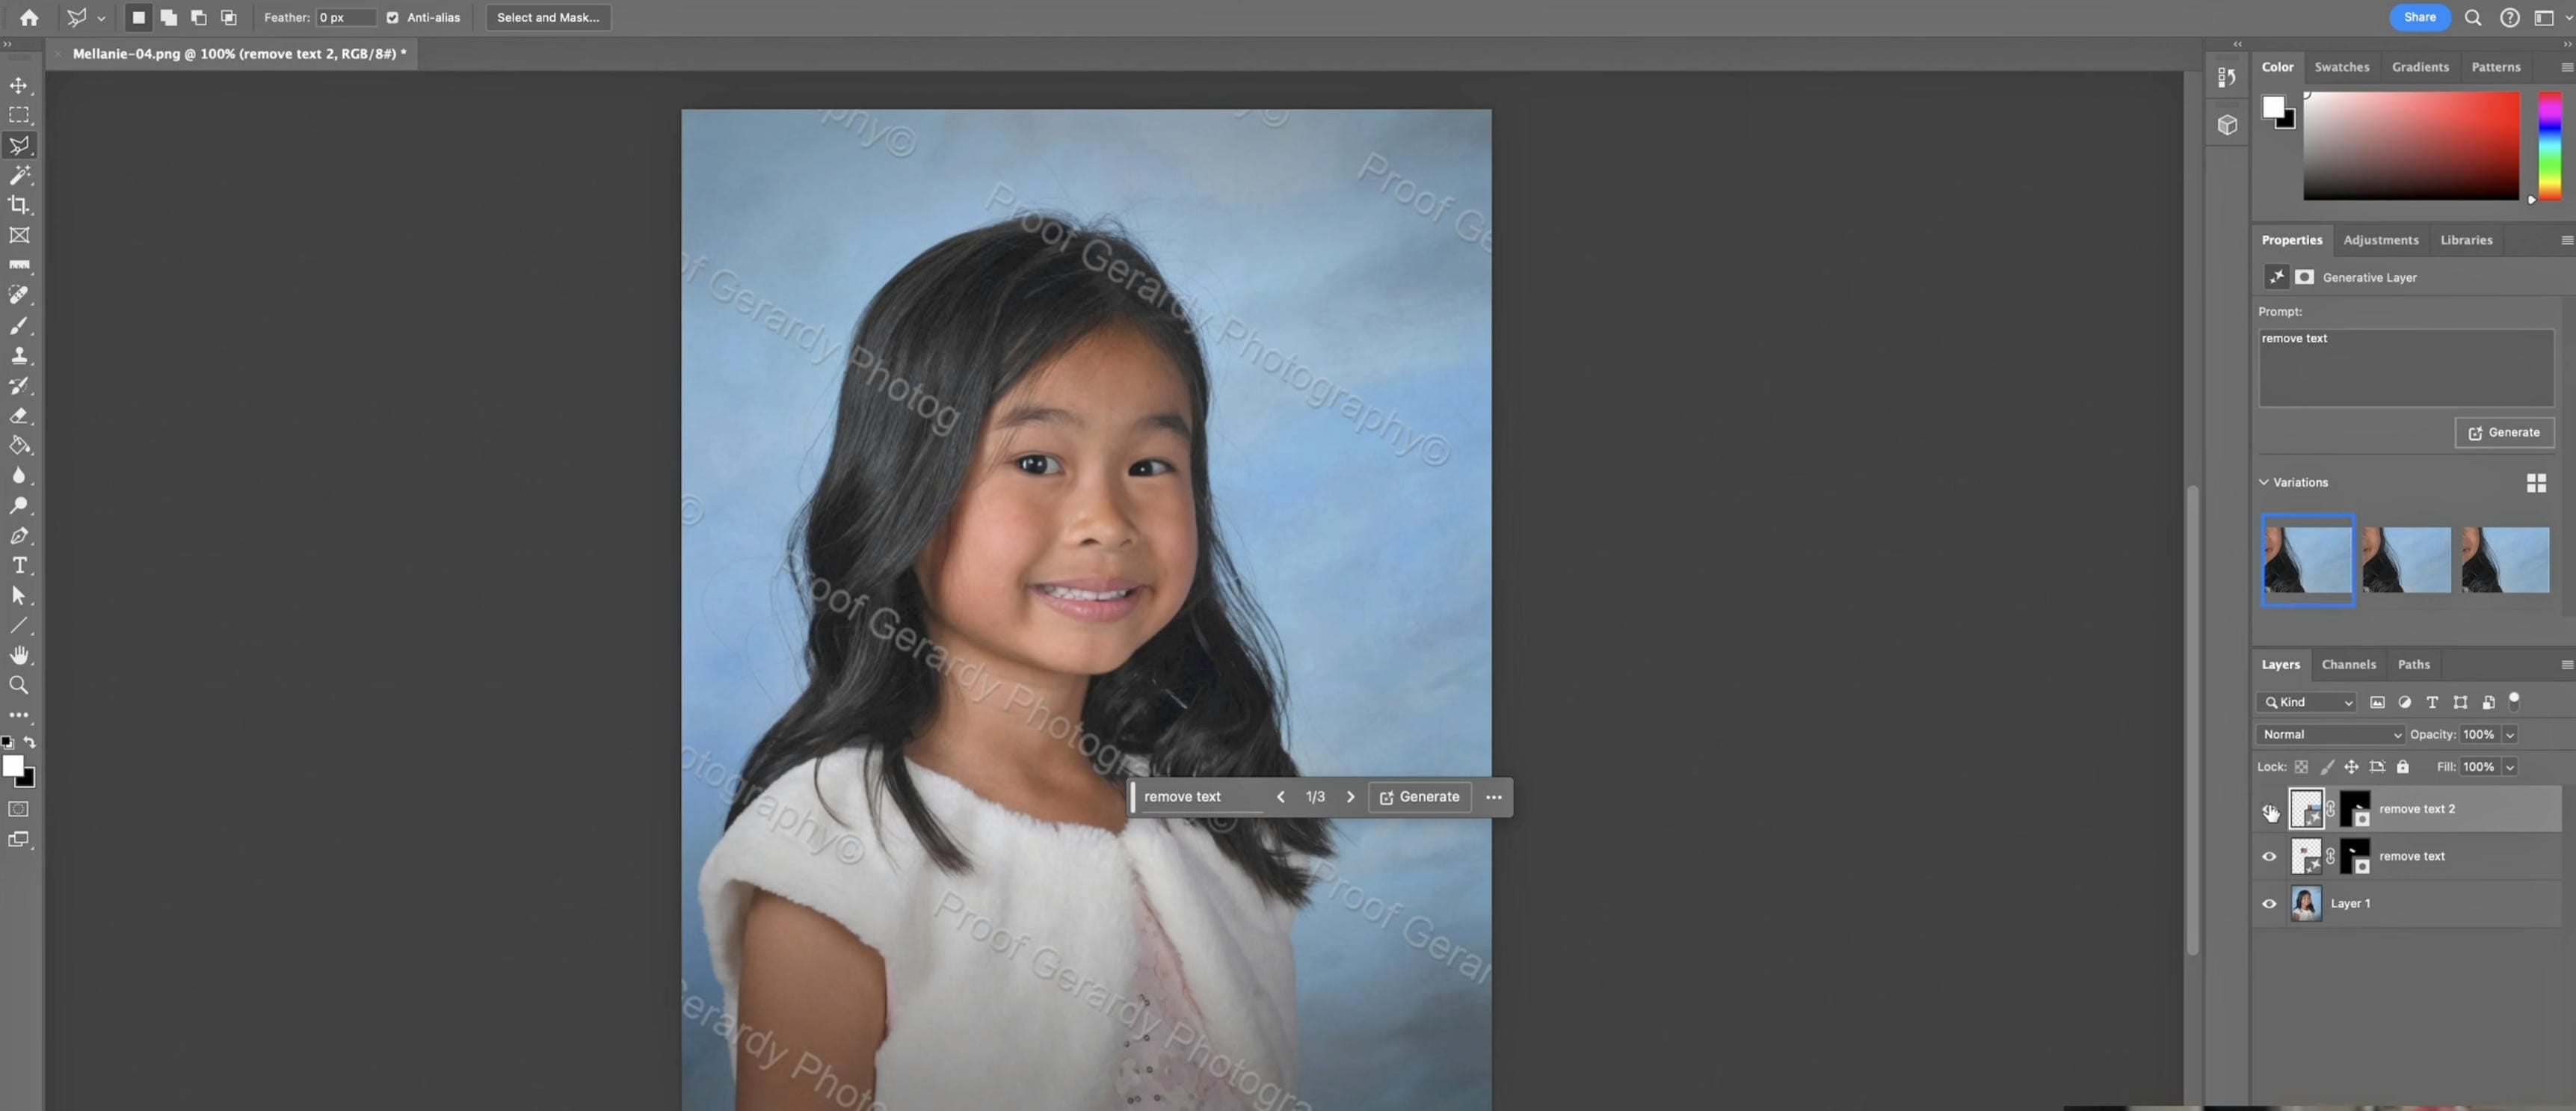
Review the generated variations in the Properties panel and select the one that blends most naturally with the image. If the result isn't convincing, generate another set until you're satisfied.
Best for: Transparent or moderately sized watermarks on clean, uncluttered backgrounds with consistent textures.
Method 2: Content-Aware Fill
Content-Aware Fill remains one of the most reliable ways to photoshop remove watermarks. It reconstructs the selected area by sampling nearby pixels, making it particularly effective on images with simple backgrounds.
Step 1: Duplicate the layer and make a selection
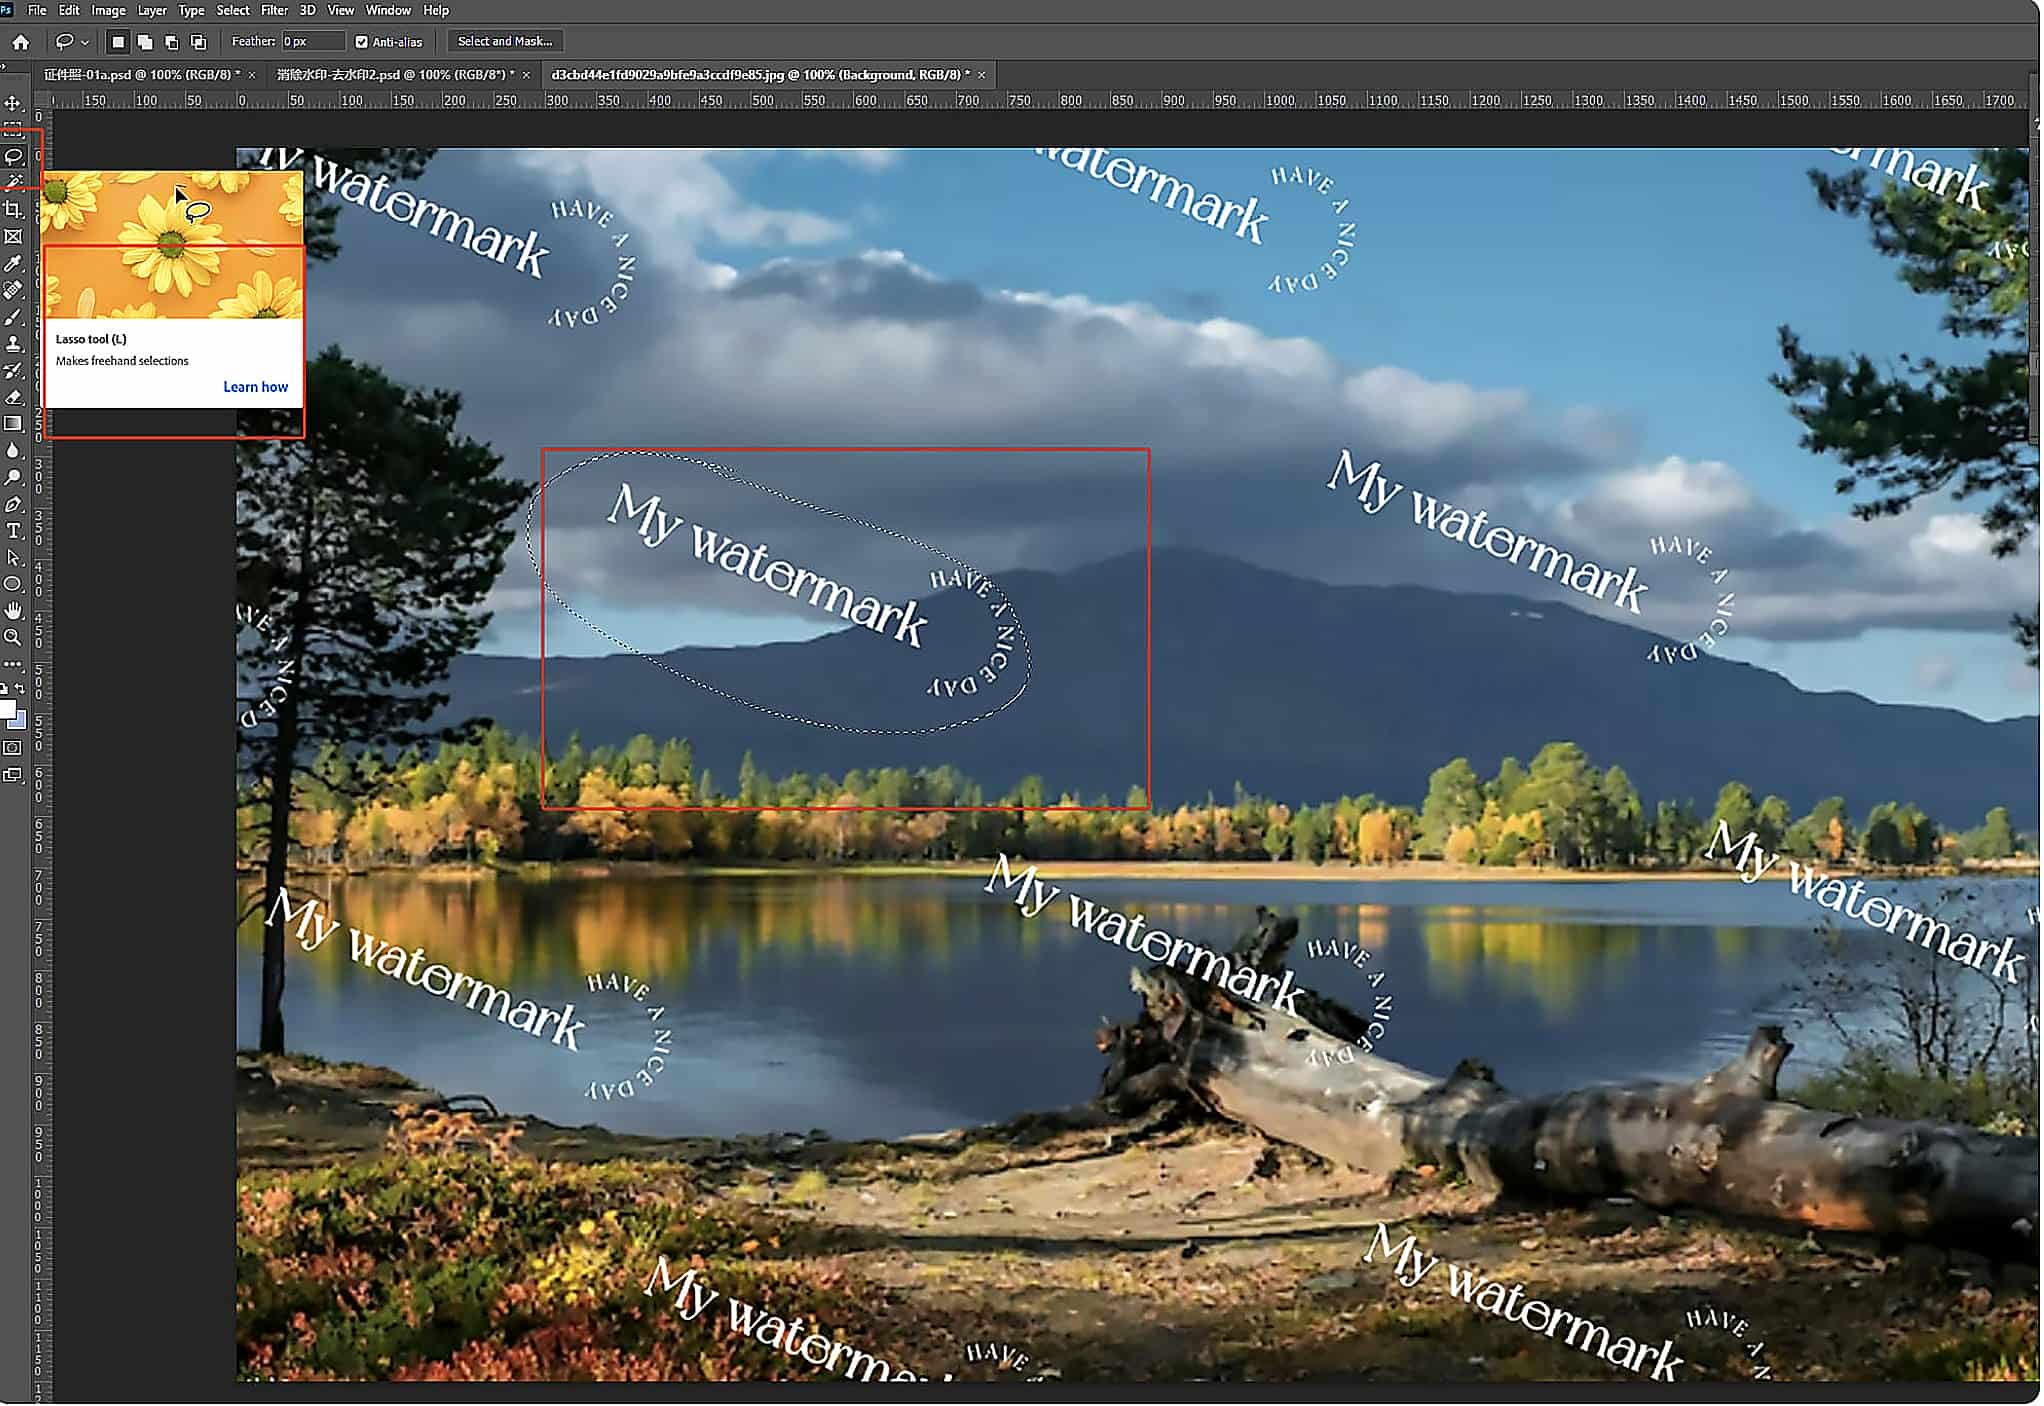
Create a duplicate of your image layer before editing. Using the Lasso Tool or Quick Selection Tool, carefully select the watermark while avoiding unnecessary parts of the surrounding image for a cleaner result.
Step 2: Apply Content-Aware Fill
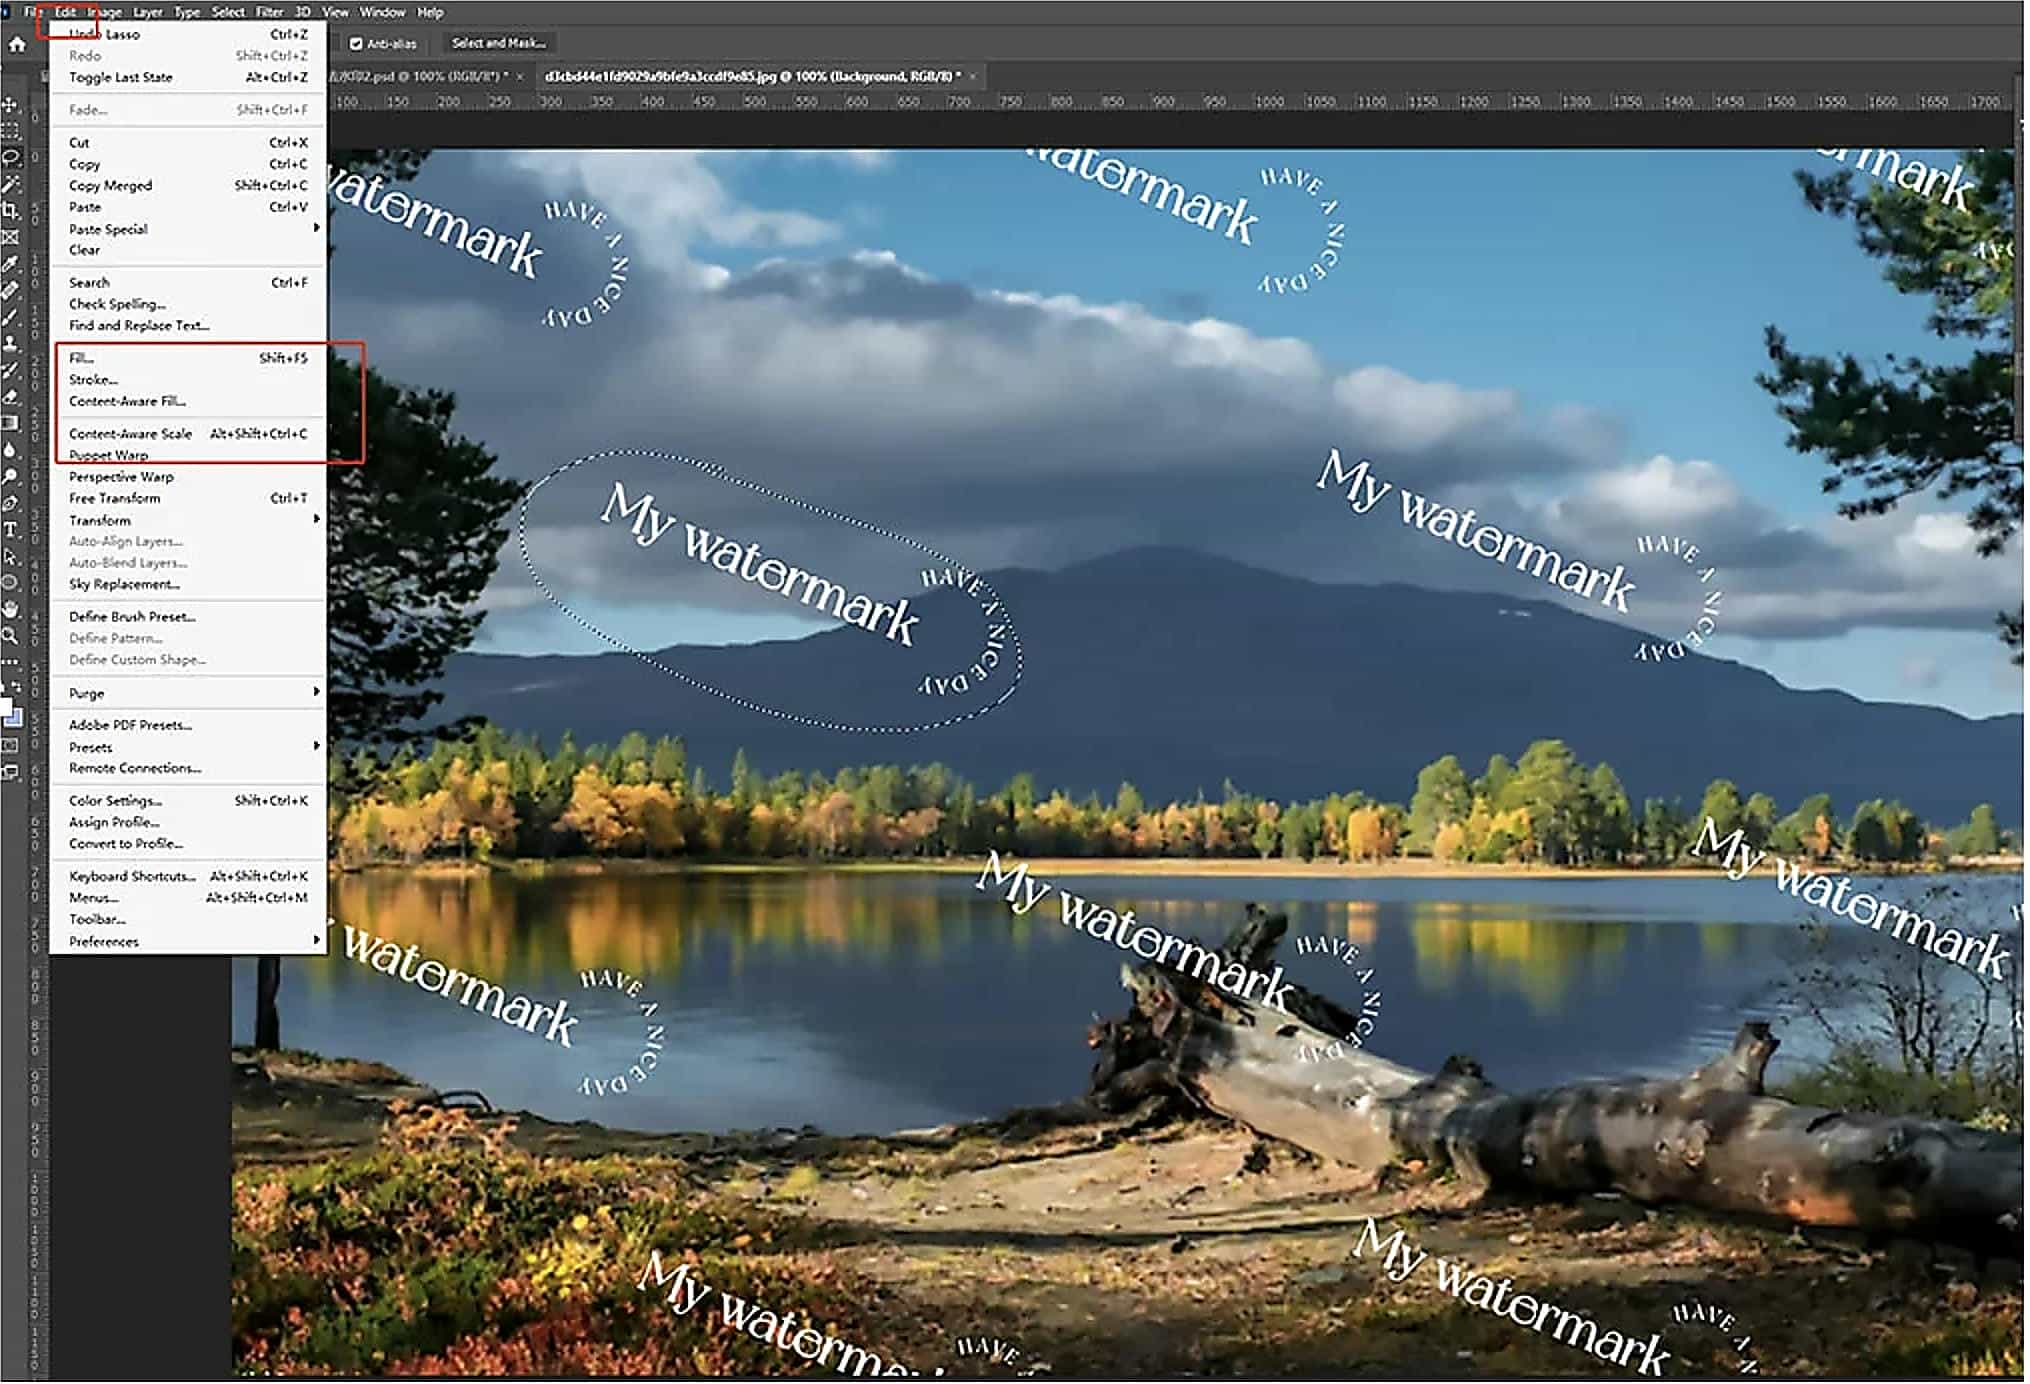
Go to Edit > Content-Aware Fill. Photoshop automatically samples nearby areas and displays a preview of the reconstructed image. If needed, adjust the sampling area before applying the changes.
Step 3: Refine the result
After applying the fill, inspect the edited area at different zoom levels. If you notice small inconsistencies, use the Healing Brush or Clone Stamp Tool to smooth out the remaining details.

Best for: Watermarks placed over textured, patterned, or highly detailed areas where manual precision delivers the most natural results.
Method 3: Clone Stamp Tool
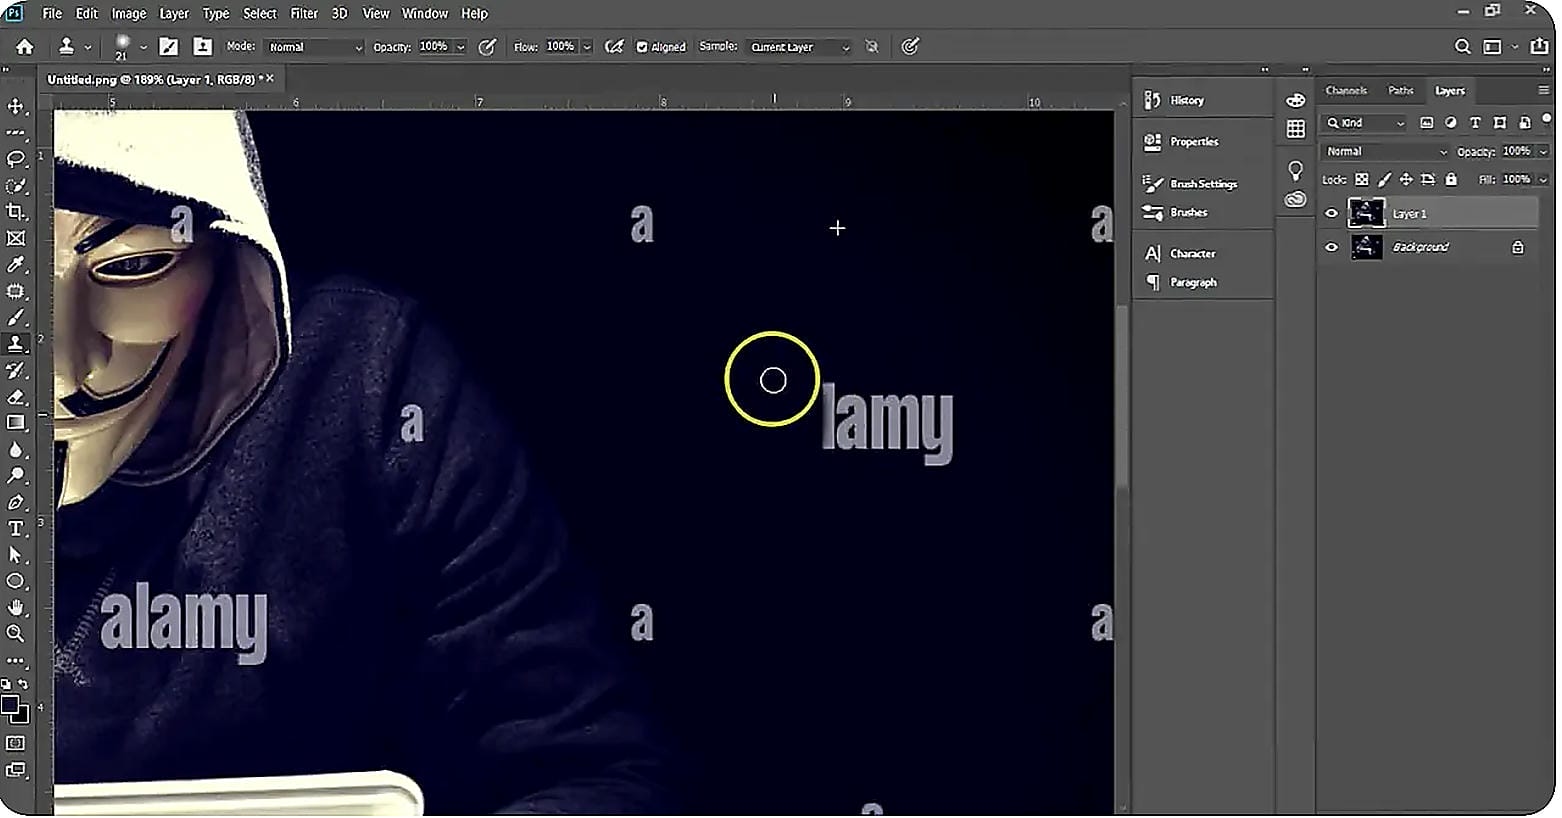
When a watermark overlaps textured surfaces, repeating patterns, or detailed objects, automatic tools may leave noticeable artifacts. The Clone Stamp Tool gives you full control by letting you manually copy pixels from nearby areas, making it a reliable option for more challenging edits.
Step 1: Sample a clean area
Select the Clone Stamp Tool and press Alt (Windows) or Option (Mac) and click an area near the watermark that is free of the watermark. This makes a point to copy from as you paint in Photoshop.

Step 2: Paint over the watermark
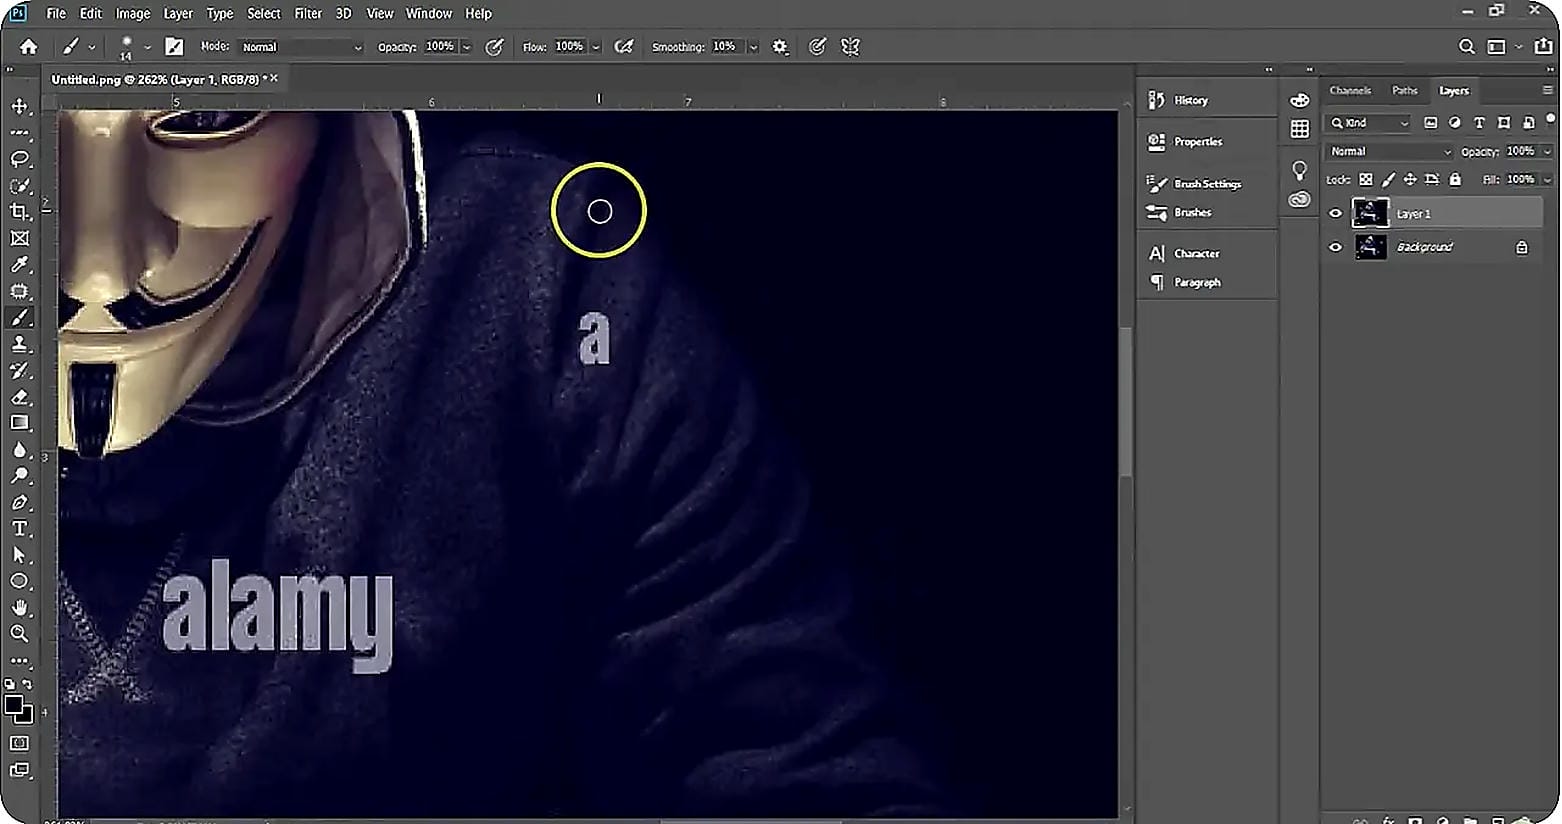
Brush over the watermark using short, controlled strokes instead of one continuous movement. Resampling nearby areas as you work helps maintain natural textures and prevents obvious repeating patterns.
Step 3: Blend the repaired area
Keep painting until the touched-up area blends in with the surroundings. By checking the image at both close and normal zoom levels, you can find areas that need additional refinement.
Best for: Removing small leftover watermark traces and blending repaired areas after using another removal method.
Method 4: Healing Brush Tool
The Healing Brush Tool is usually the last step after most of the watermark has been removed. It automatically fuses texture, light and color, so small imperfections are much less visible.
Step 1: Select the Healing Brush Tool
Choose the Healing Brush Tool and adjust the brush size so it is slightly larger than the remaining watermark marks.

Step 2: Paint over the remaining traces
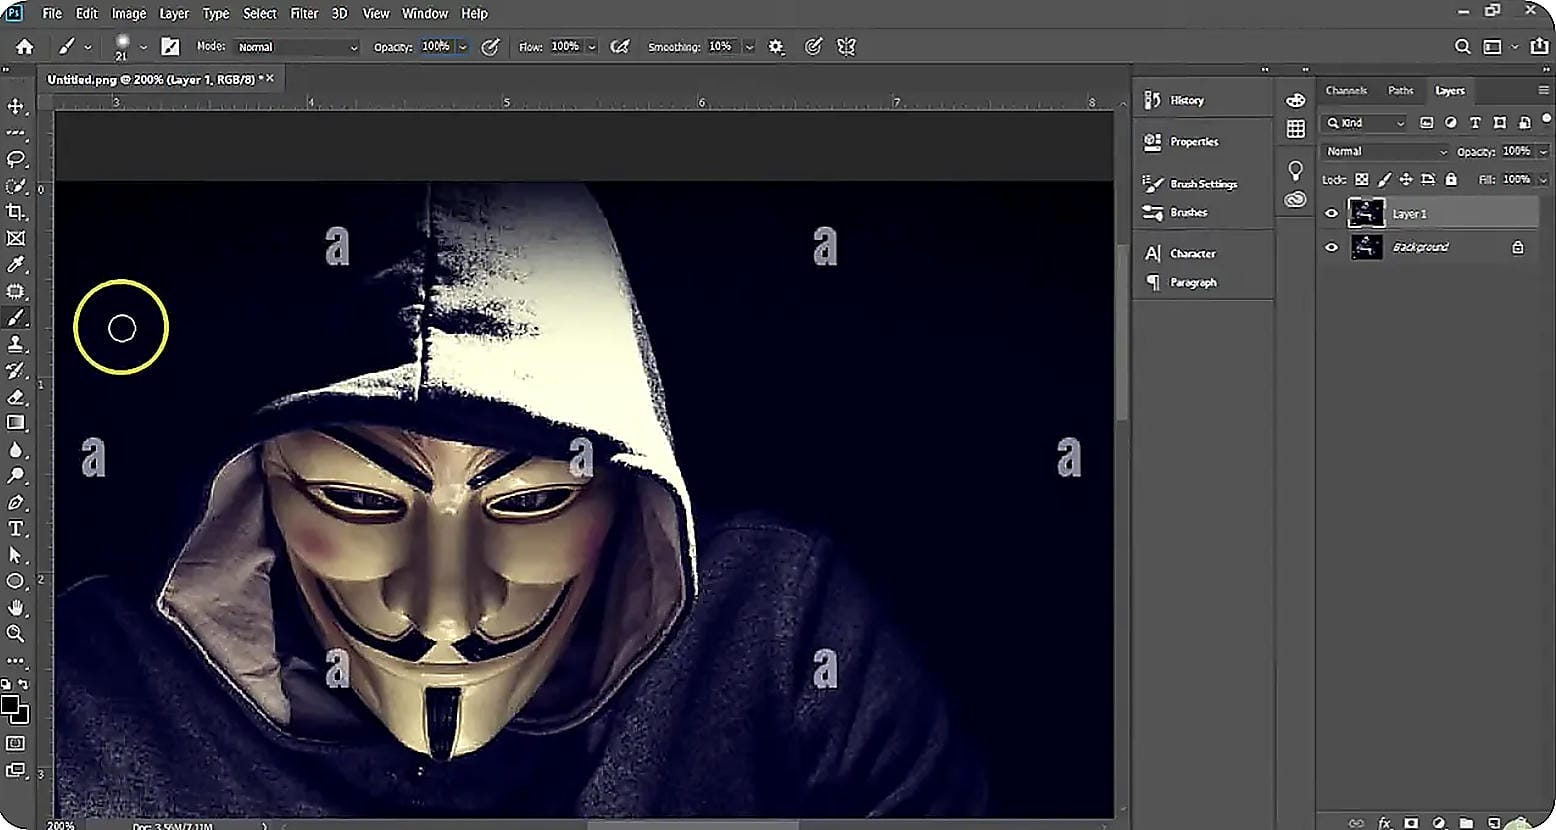
Hold the Alt key(Windows) or Option key(Mac) to sample a clean area close by and paint over any remaining edges or traces of the transparent watermark. Photoshop combines the sampled texture with the surrounding pixels for a more refined finish.
Step 3: Review the final edit
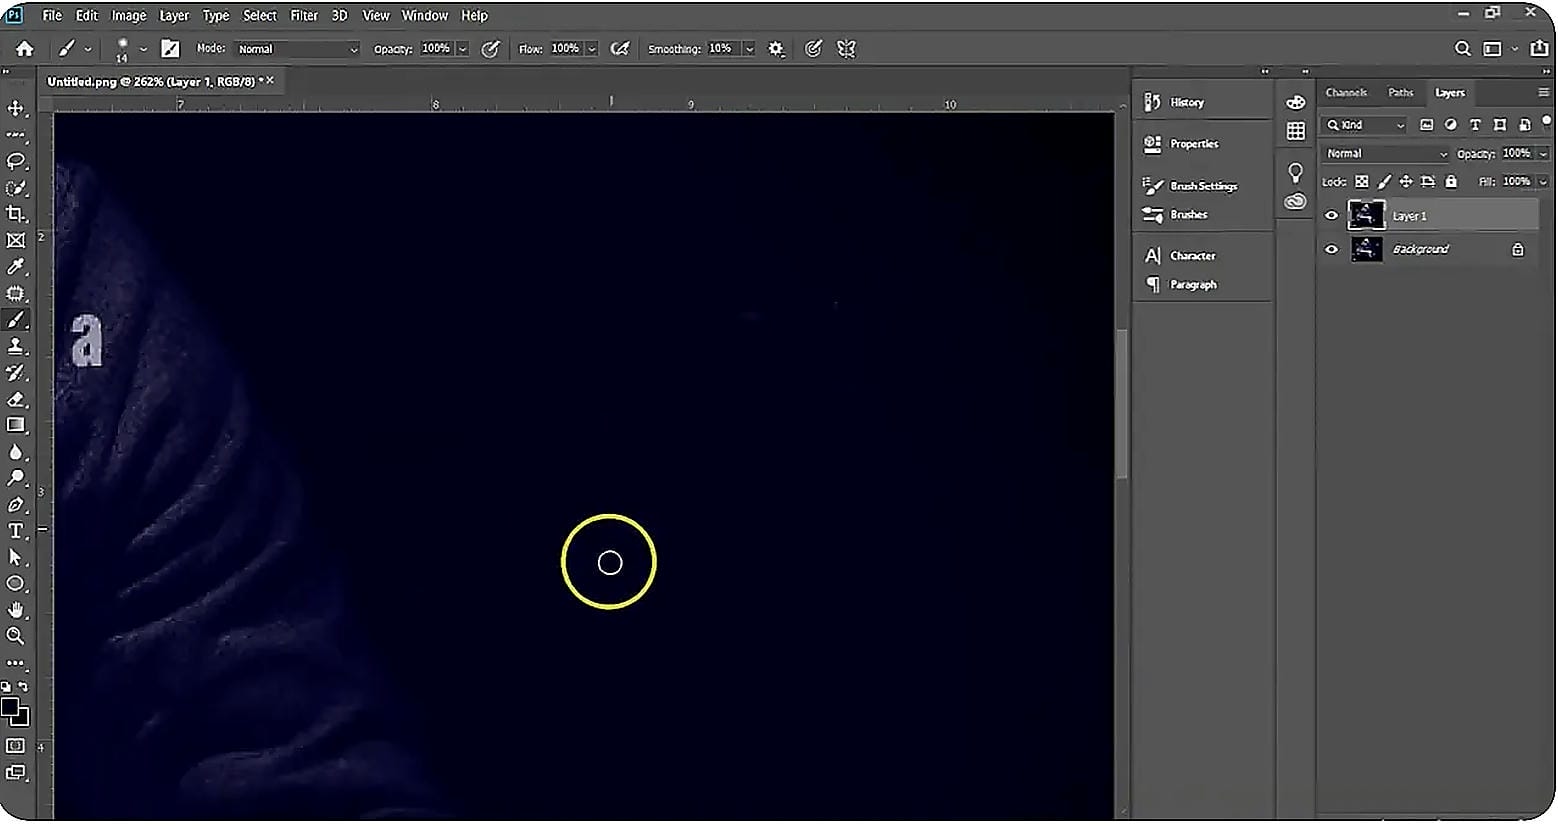
Inspect the edited image at different zoom levels to ensure the repaired area blends naturally with the rest of the photo. Repeat the process if necessary until the remaining traces are no longer visible.
Best practices for removing a watermark in Photoshop
Often, the clean result depends on your workflow, even with the robust editing tools in Photoshop. Here are some simple practices that can improve accuracy, reduce editing time, and help the final image look more natural. Also, before you edit any image, it is important to know the legal aspects of watermark removal.
Editing tips
Following these best practices can make removing a watermark in Photoshop much smoother, especially when working on detailed images.
-
Duplicate the original layer first. This keeps the original image intact and allows you to compare edits or revert changes if needed.
-
Zoom in while editing. Working at a higher zoom level helps you make more precise selections and spot small imperfections that might otherwise go unnoticed.
-
Use smaller brush sizes for detailed areas. Whether you're using the Clone Stamp or Healing Brush Tool, smaller, controlled strokes usually produce cleaner results than large brush movements.
-
Review the image at different zoom levels. An edit that looks seamless up close may appear uneven when viewed at its actual size, so always check before exporting.
Legal considerations
Photoshop makes it technically possible to remove watermarks, but that doesn't mean every image should be edited.
-
Remove watermarks from your images or from images you have permission to modify.
-
Always respect copyright laws and licensing agreements for third-party content.
-
If you use stock images, buy the license you need, rather than trying to remove watermarks from preview versions.
-
When working with clients, always check you have permission to edit branded assets before you do so.
Common editing challenges
Some watermarks are more difficult to remove than others, especially when they blend into the image or cover detailed areas. Here are a few common challenges to keep in mind:
-
Transparent watermarks: Low-opacity watermarks can leave faint outlines or color variations even after removal. The Healing Brush Tool is useful for blending these remaining traces.
-
Patterned backgrounds: Watermarks placed over brick, fabric, wood, or other repeating textures often require the Clone Stamp Tool to recreate details more naturally.
-
Complex textures: Hair, foliage, reflections, and intricate objects may need a combination of Generative Fill, Content-Aware Fill, and manual touch-ups to achieve a seamless result.
While Photoshop offers powerful editing tools, removing a watermark often involves multiple steps and manual refinements, especially on complex images. If you prefer a quicker workflow with less hands-on editing, an AI-powered tool like Vmake Labs Image Remover can simplify the process while still delivering clean results.
Meet the one-click AI magic: Remove watermarks with Vmake Labs
Tired of constantly switching between complex Photoshop tools? Vmake Labs Image Remover offers a faster, browser-based alternative. Driven by AI, this versatile editor effortlessly wipes out watermarks, text, logos, and distracting background elements to deliver clean, professional photos. It combines automatic AI detection with manual selection, making it just as effective for an instant touch-up as it is for a meticulous cleanup. For business use, its batch mode allows edit up to 30 images simultaneously to supercharge your workflow.
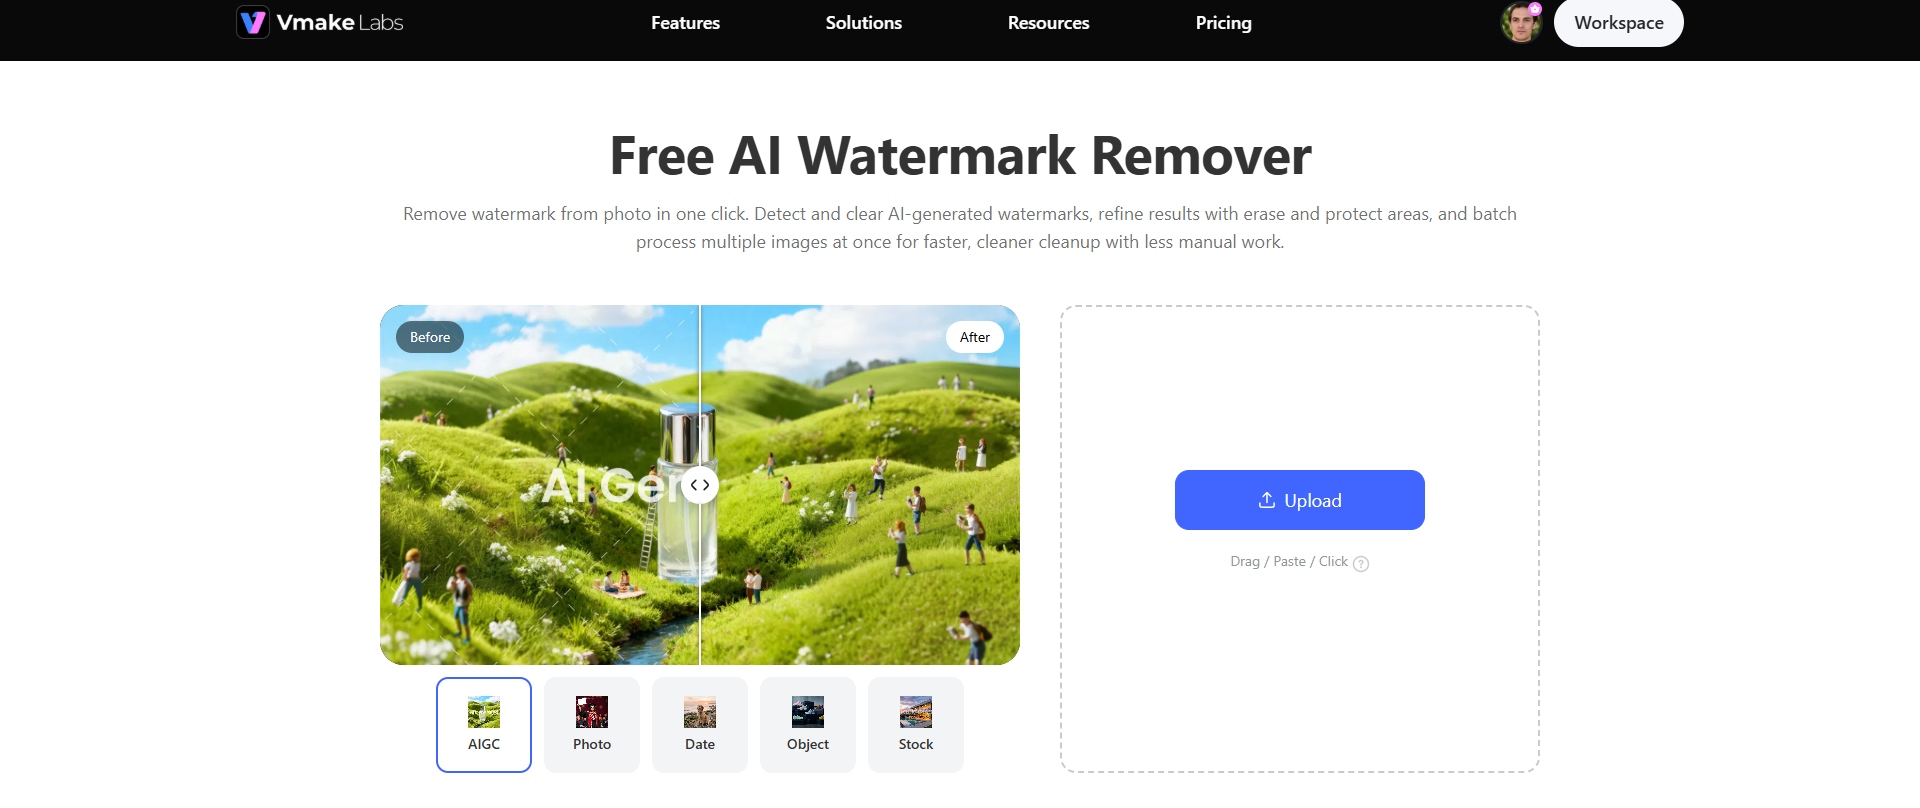
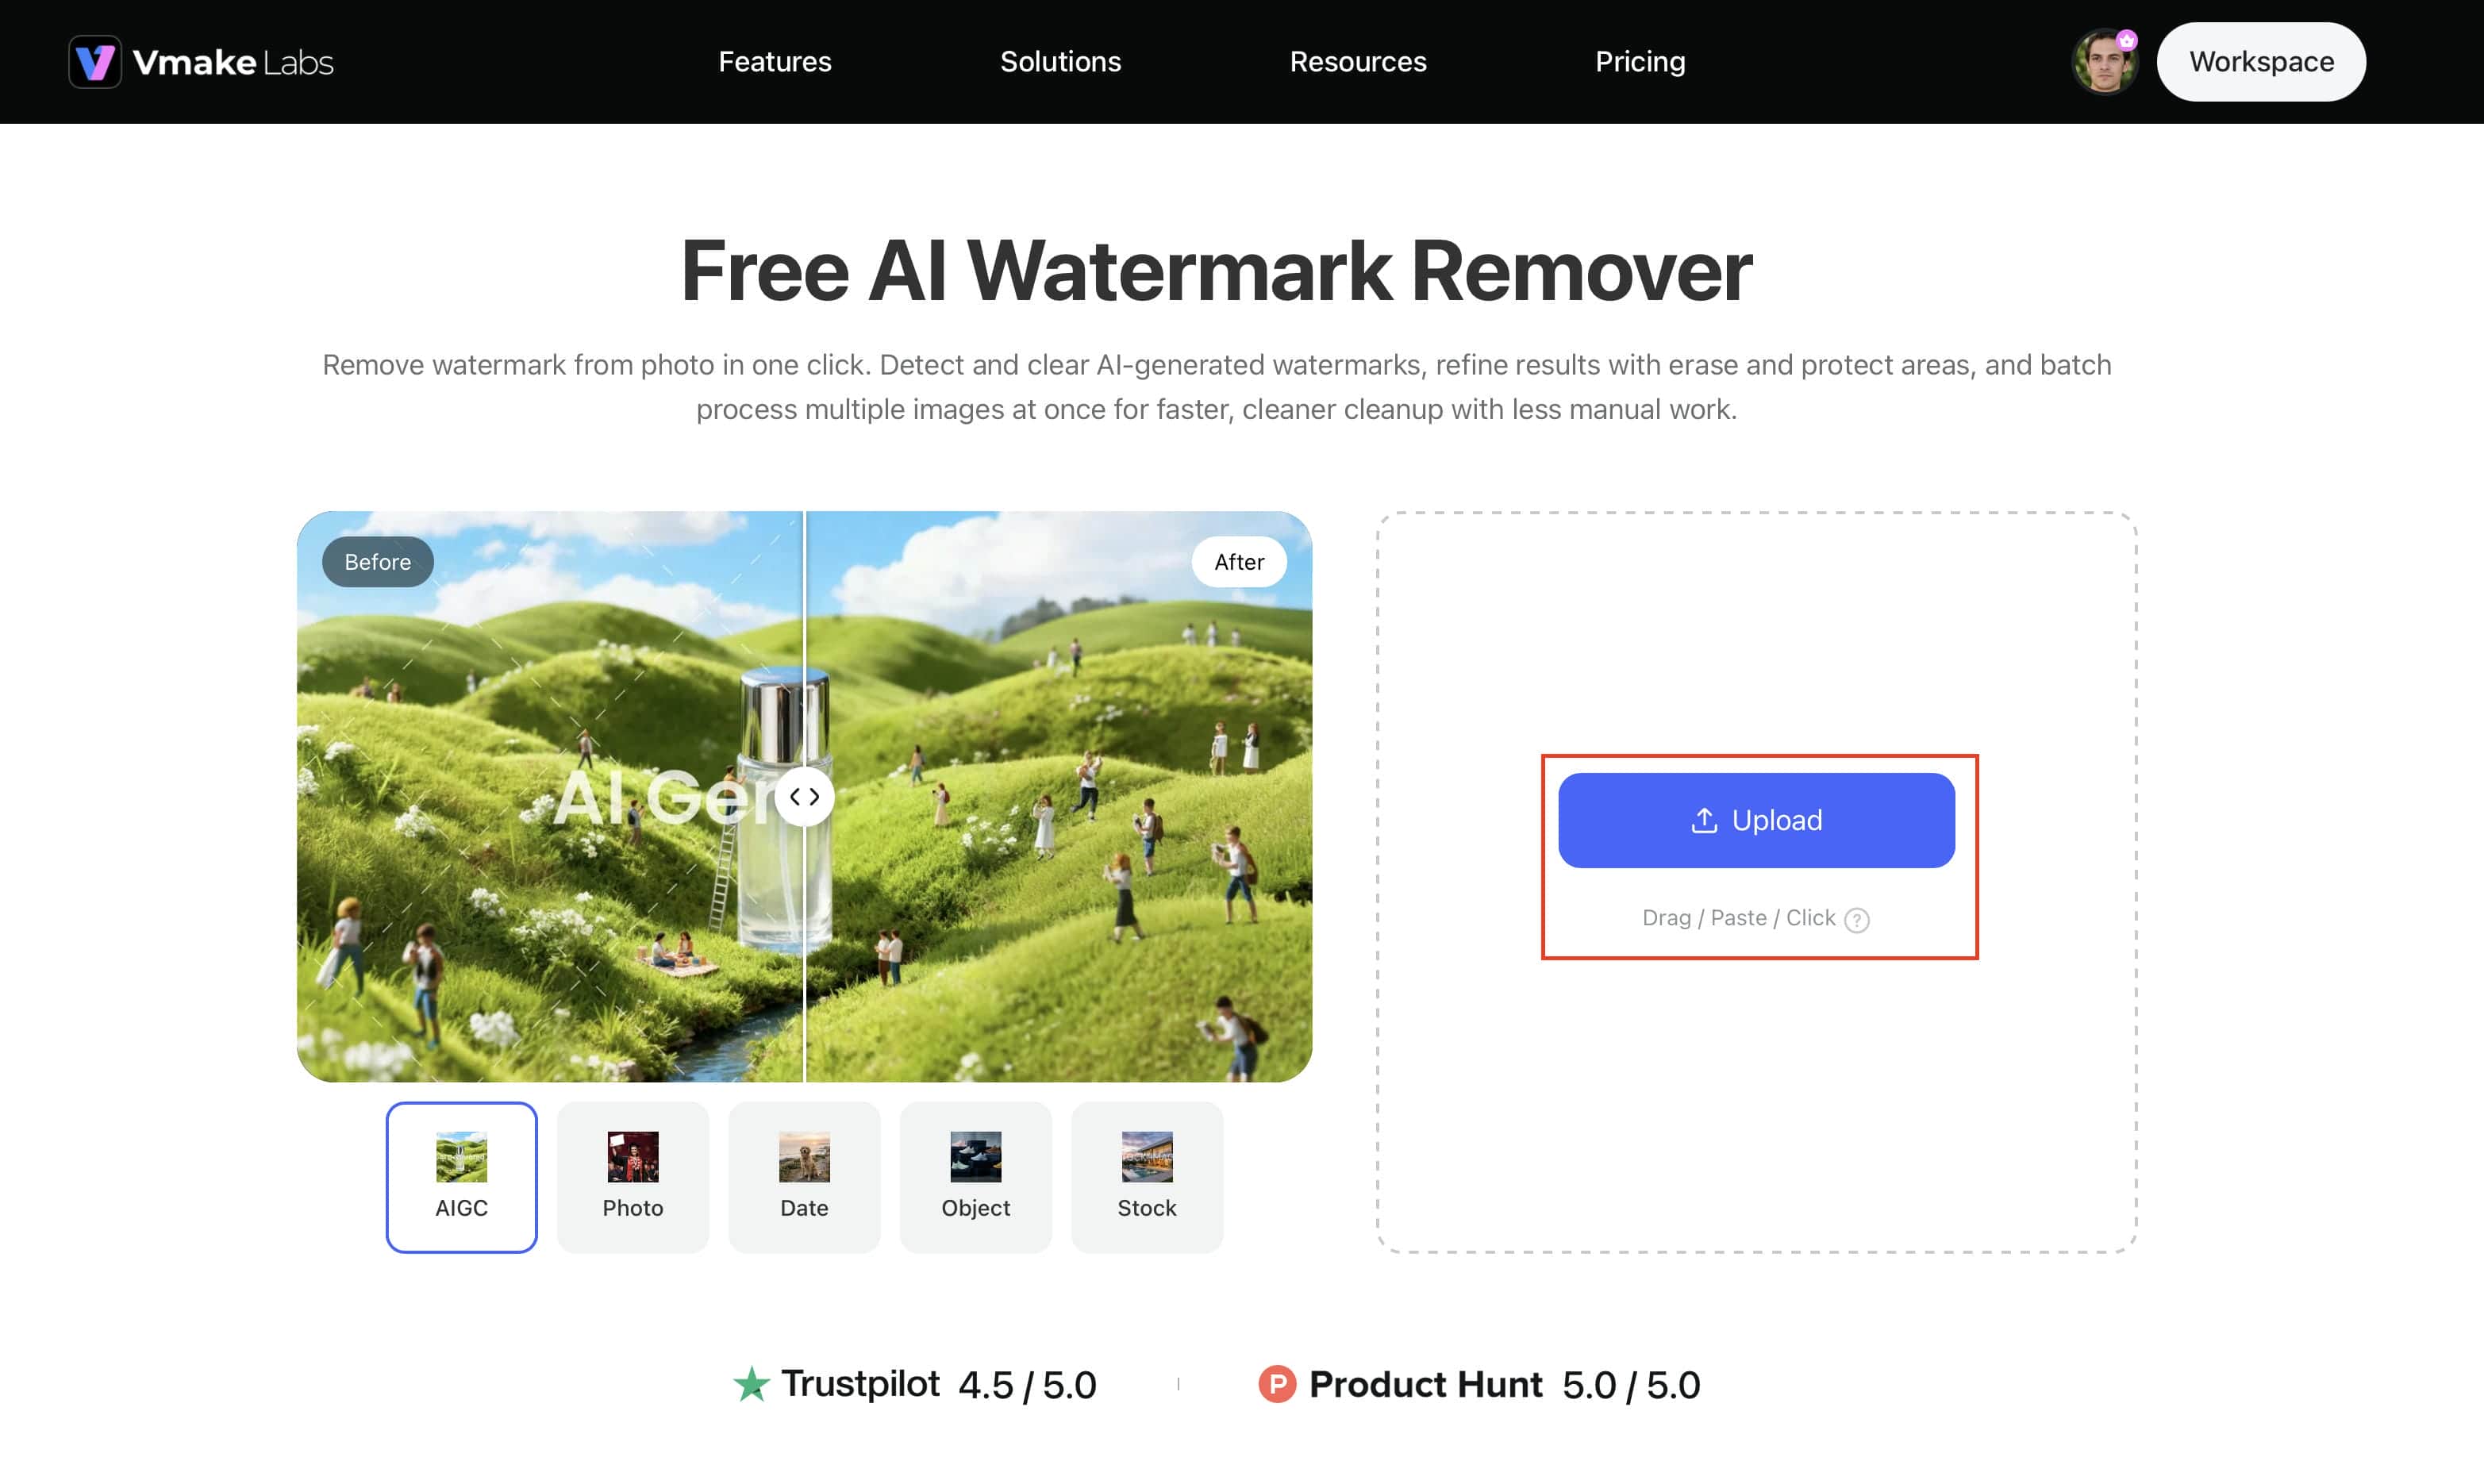
Step 1: Upload your image
Visit the Image Remover page and upload your image in JPG, PNG, or JPEG format. You can simply drag and drop the file or select it from your device to begin editing.
Step 2: Choose automatic removal or manually select the watermark area
Select the editing mode that best matches your image. Automatic mode detects and removes watermarks with AI, while manual mode lets you use tools like the Smart Brush or selection box for greater control over the area you want to clean.

Step 3: Preview and download the edited image
After processing, preview the result to make sure the watermark has been removed cleanly. If needed, you can make further adjustments before downloading the finished image.

Key features of Vmake Labs Image Remover
Vmake Labs Image Remover offers a quick fix or a more thorough image cleanup with AI-powered editing and flexible controls. Some of its best features are:
-
AI watermark removal: Automatically detects and removes watermarks while preserving the surrounding image for a cleaner, more natural result.
-
Automatic and manual removal modes: Use AI for one-click edits or switch to manual mode when you want greater control over specific areas of the image.
-
Remove text, logos, people, and unwanted objects: Beyond watermarks, the tool can also remove objects from photos, making it easy to clean up distractions such as signs, unwanted items, or other elements that affect the composition.
-
Smart Brush and box selection: Select the exact area you want to edit with precision, helping you achieve more accurate results on complex images.
-
Batch processing for up to 30 images: Upload and edit multiple images in one session, saving time when working with larger projects or product photo collections.
-
AI background reconstruction: After removing a watermark or unwanted object, the AI intelligently rebuilds the surrounding background to maintain natural textures, colors, and details, reducing the need for manual touch-ups.
-
Browser-based editing: Edit images directly from your web browser without downloading or installing software. This makes it easy to remove watermarks from any device and start editing in just a few clicks.
-
High-quality image output: Download edited images with preserved clarity and detail, helping maintain a professional appearance for product photos, marketing visuals, social media content, and personal images.
If you're editing older or damaged photos, Vmake Labs also offers Photo Restoration to repair faded, scratched, or low-quality images after unwanted marks have been removed.
Bonus: When should you use the Photoshop watermark removal method?
The best method depends on the image, the complexity of the watermark, and how much manual editing you're willing to do. While Photoshop offers excellent control, some tasks can be completed more quickly with an AI-powered online editor, especially when you're working with multiple images.
|
Situation |
Recommended method |
Why |
|---|---|---|
|
Large watermark on a plain background |
Content-Aware Fill |
Reconstructs nearby pixels quickly with minimal manual editing. |
|
Watermark over textured or patterned areas |
Clone Stamp Tool |
Gives you precise control for detailed surfaces. |
|
Small remaining marks or edge cleanup |
Healing Brush Tool |
Smoothly blends repaired areas with surrounding textures. |
|
Large watermark in newer Photoshop versions |
Generative Fill |
Uses AI to generate realistic replacement content with minimal effort. |
|
Multiple images or faster editing |
Vmake Labs Image Remover |
Removes watermarks efficiently with AI and supports batch processing for up to 30 images. |
Conclusion
Photoshop provides several effective ways to remove watermarks, whether you prefer AI-assisted tools like Generative Fill or manual options such as the Clone Stamp and Healing Brush Tool. The right method depends on the image, the complexity of the watermark, and the level of control you need. For occasional edits, Photoshop offers excellent flexibility. However, if you want to remove watermarks more quickly or process multiple images at once, Vmake Labs Image Remover provides a simple AI-powered workflow with automatic and manual removal modes, helping you clean up images in just a few steps.
FAQs
How do I remove a watermark in Photoshop?
In Photoshop, you can remove a watermark using the Clone Stamp Tool or the Healing Brush Tool, or with Generative Fill or Content-Aware Fill. The best method depends on the watermark and the background of the image. If you want a faster workflow, Vmake Labs Image Remover can remove watermarks with AI automatically.
Can Photoshop fully remove a watermark without affecting image quality?
Yes, Photoshop can often remove a watermark from an image without any noticeable loss of quality, if you have the right tool for the image. More detailed backgrounds might need extra manual editing. Vmake Labs Image Remover is a faster alternative, with AI making removal easier.
Which Photoshop tool works best for transparent watermarks?
There isn't a single best tool for transparent watermarks. Content-Aware Fill or Generative Fill can remove most of the watermark, while the Healing Brush Tool helps blend any remaining traces. If you want a simpler approach, Vmake Labs Image Remover can automatically remove transparent watermarks.
Is it legal to remove a watermark from an image?
Yes, but only if you own the image or have permission from the copyright owner to edit it. Removing watermarks from copyrighted or licensed images without permission may be copyright infringement. Please respect image ownership and licensing rules, whether you are using Photoshop or Vmake Labs.
What is a faster alternative to Photoshop for watermark removal?
If you want to remove watermarks without performing multiple manual edits, Vmake Labs Image Remover is a faster alternative. It uses AI to remove watermarks, text, logos, people, and other unwanted objects, while also offering automatic and manual editing modes and batch processing for up to 30 images.
Can I remove watermarks from multiple images at once?
Photoshop can process multiple images using actions and batch workflows, but setting them up may require additional time and configuration. If batch editing is your priority, Vmake Labs Image Remover supports processing up to 30 images in one session, making it a more convenient option for repetitive editing tasks.

You May Be Interested

123APPS Watermark Remover Review (2026): Pros, Cons, and Pricing

Airbrush Watermark Remover Review (2026): Features and Pricing

The Ultimate List of TikTok Watermark Removers