How to Take Product Photos That Look Professional in 2026
Discover how to take product photos that look sharp, professional, and retail-ready with simple setups, plus design flawless catalog visuals using Vmake Labs today!

Taking great product photos doesn't require expensive equipment or a professional studio. With the right lighting, background, camera setup, and simple techniques, anyone can create polished visuals. This guide explains how to take product photos step-by-step, from preparing your product to capturing, reviewing, and improving every image.
Why good product photos matter
When customers shop online, they cannot physically touch, inspect, or try your product. Your photos have to do that work.
Clear, well-lit images can make a product easier to understand and give shoppers more confidence. On the flip side, poor quality images, harsh shadows, cluttered backgrounds or mismatched photos can make a great product look awful.
Professional-looking product photography usually comes down to three things:
-
Even lighting that shows colors, textures, and details
-
A clean background that keeps attention on the product
-
Consistent framing, angles, and light across the catalog
You do not need professional gear. A modern phone, a window, a simple background, and a stable surface are enough to start.
What you need before you start shooting
You do not need thousands of dollars in gear to learn how to take good product photos. A few basic pieces of equipment ensure reliable results:
|
Equipment |
Options |
Purpose |
|---|---|---|
|
Camera |
Smartphone (iPhone / Android) or DSLR/Mirrorless |
Capturing sharp, high-resolution source images |
|
Lighting |
Large window (natural light), softbox, or ring light |
Create even lighting and reduce harsh shadows |
|
Background |
Seamless paper roll, tabletop lightbox, or clean poster board |
Keep the product as the main focus |
|
Stabilization |
Tabletop tripod or smartphone mount |
Prevent camera shake and maintain consistent framing |
|
Props & Surfaces |
Acrylic blocks, textured tiles, wooden boards, styling risers |
Adding context for brand-aligned lifestyle imagery |
How to take product photos step-by-step
Follow this practical workflow to understand how to take professional product photos with any gear.
1. Prepare and clean the product
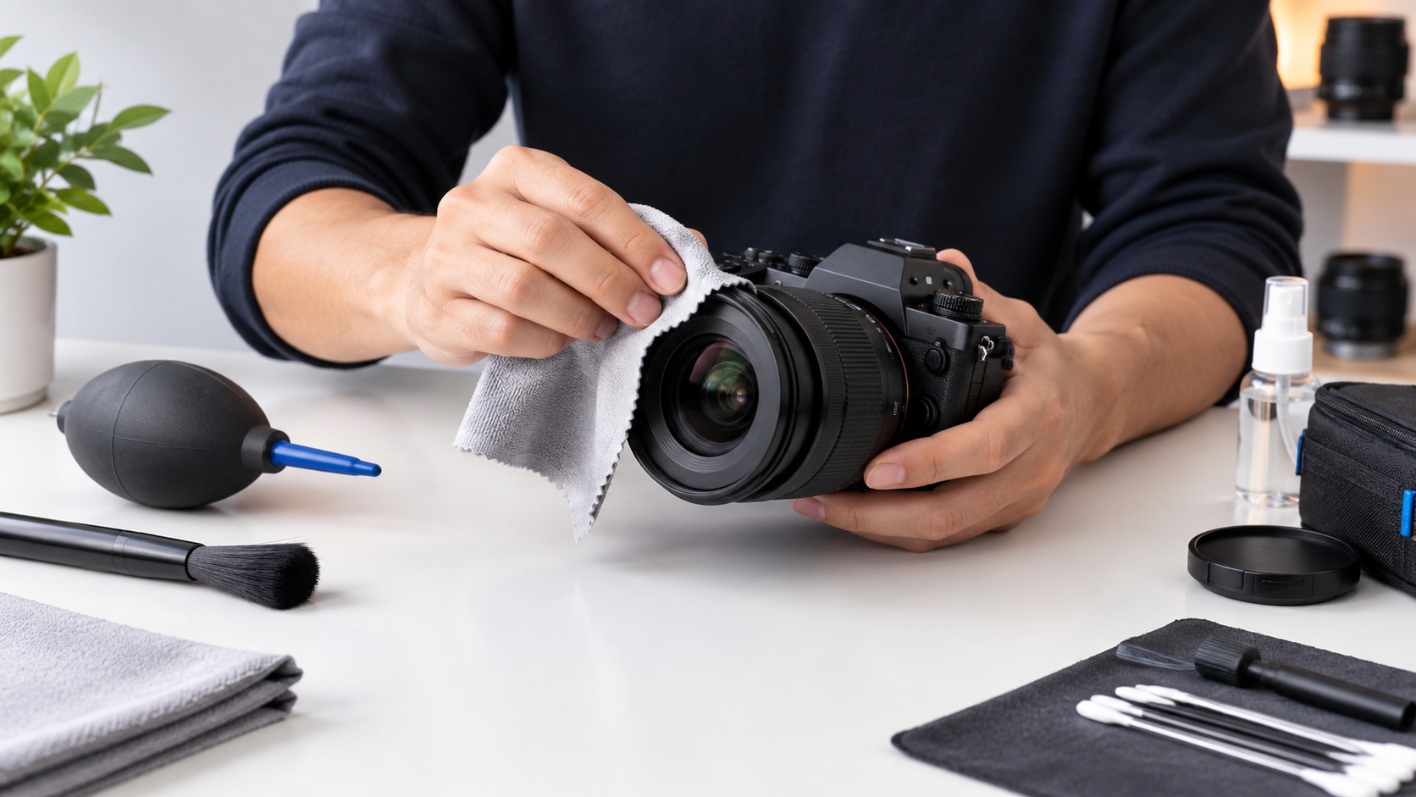
Wipe off dust, fingerprints, and packaging marks before you shoot, not after in editing. A microfiber cloth handles most surfaces; use compressed air for crevices where lint collects. Check that labels, buttons, seams, and any detail a buyer would want to see are visible, not obscured by shadow or glare. If the product has a protective film, peel it now so you're not photographing a scratch.
2. Choose the right background
Match the background to the product. A white background says "trust the listing," while a styled scene says "picture this in your home." Marketplace requirements vary by platform, though: Amazon requires a pure white background for the main image on most product categories, while Etsy's photography guidelines are more flexible, allowing complementary or neutral backgrounds depending on the product. Check the specific main image requirements for your platform and category before you shoot. Keep it simple and use the same background across a product line, since switching backdrops between listings makes a store look unfinished.
3. Set up your lighting
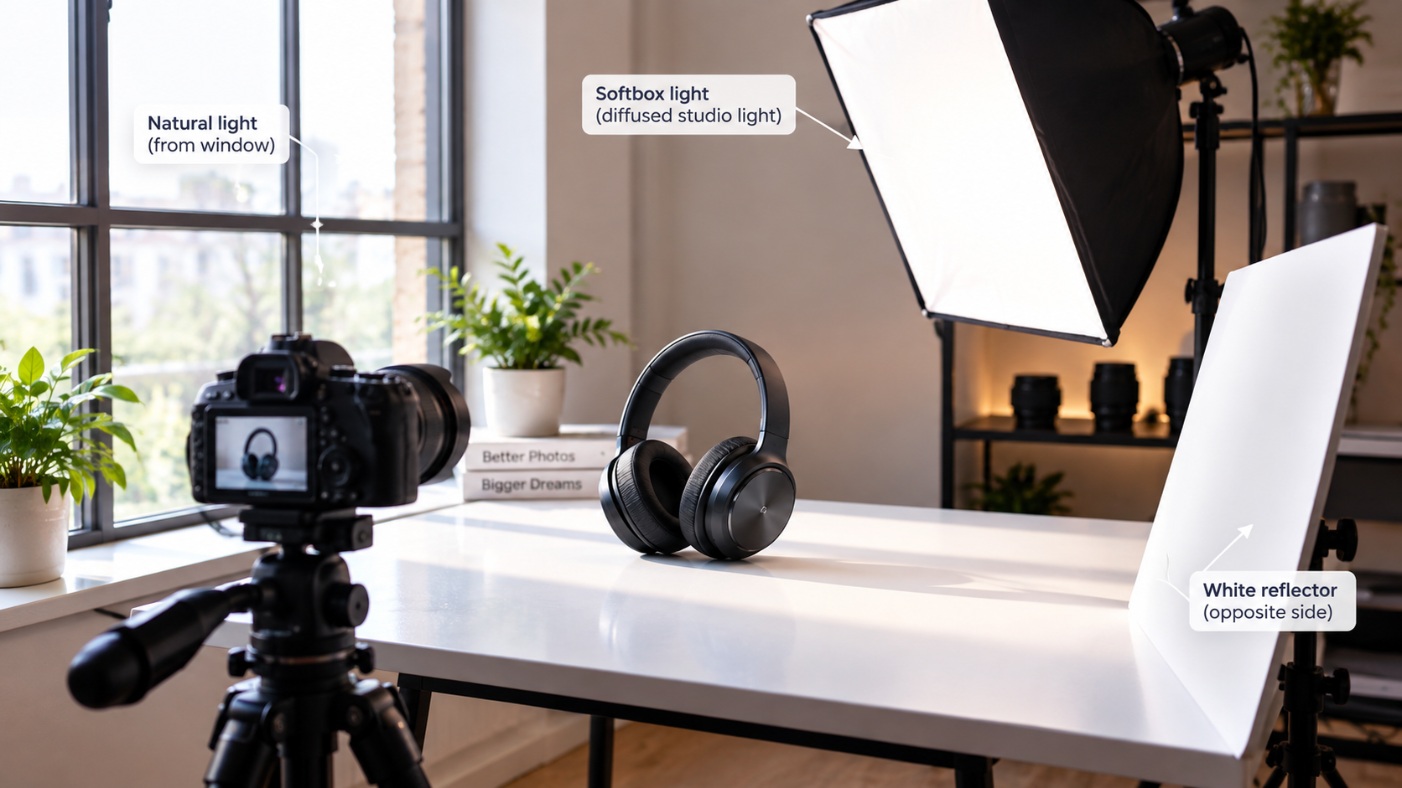
Place the product near a window with soft, indirect light or use a diffused artificial source. Side lighting usually reveals shape better than light from directly above or behind. Add a white reflector opposite the light to fill shadows. Watch for glare on shiny surfaces and shift the angle until it disappears.
4. Position the product
Shoot from the angle that shows the product the way a buyer would actually see or use it: straight-on for flat items, a slight downward angle for containers and packaging. Center it in the frame with even space on all sides, so you're not cropping tight in editing later. Leave enough margin that the image still works if a marketplace crops it for a thumbnail.
5. Stabilize your camera
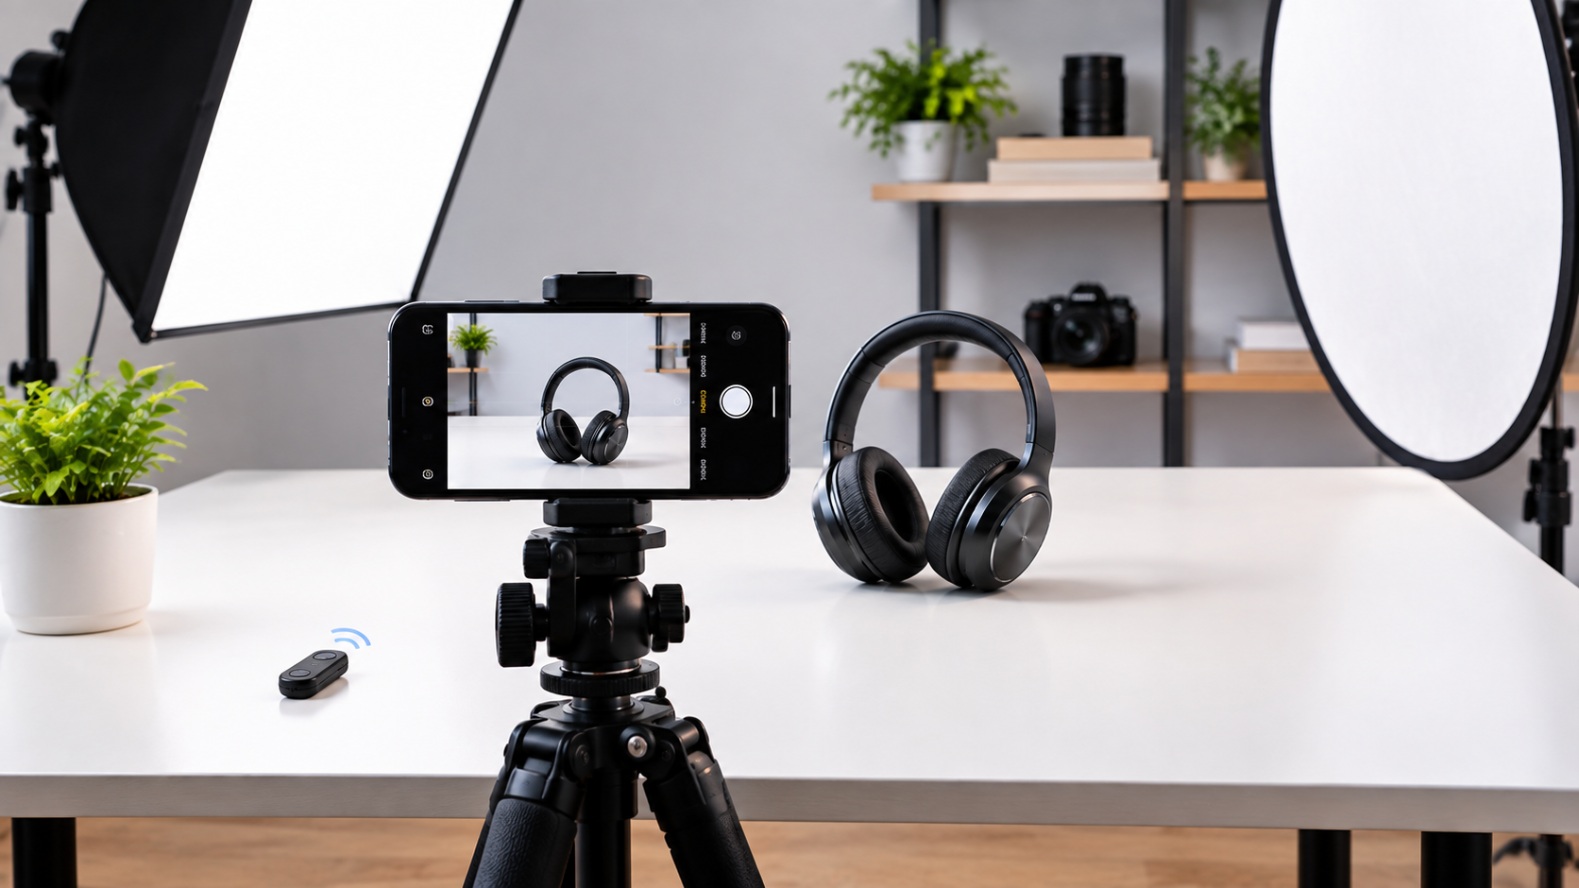
Use a tripod so every shot in a set shares the same height, distance, and angle. That consistency is what makes a product grid look professional instead of thrown together. Without a tripod, brace your elbows against your body or rest the camera on a stack of books. A 2-second timer or remote shutter also helps, since pressing the shutter button by hand is a common source of blur.
6. Adjust camera settings
Focus directly on the product, not the background; on a phone, tap the screen where you want the focus to lock. Set exposure so you're not blowing out highlights or losing shadow detail, pulling it down slightly if a white background is tricking the meter. Fix your white balance manually, or shoot in RAW, so colors read true instead of warm or cool under mixed light.
7. Capture multiple angles
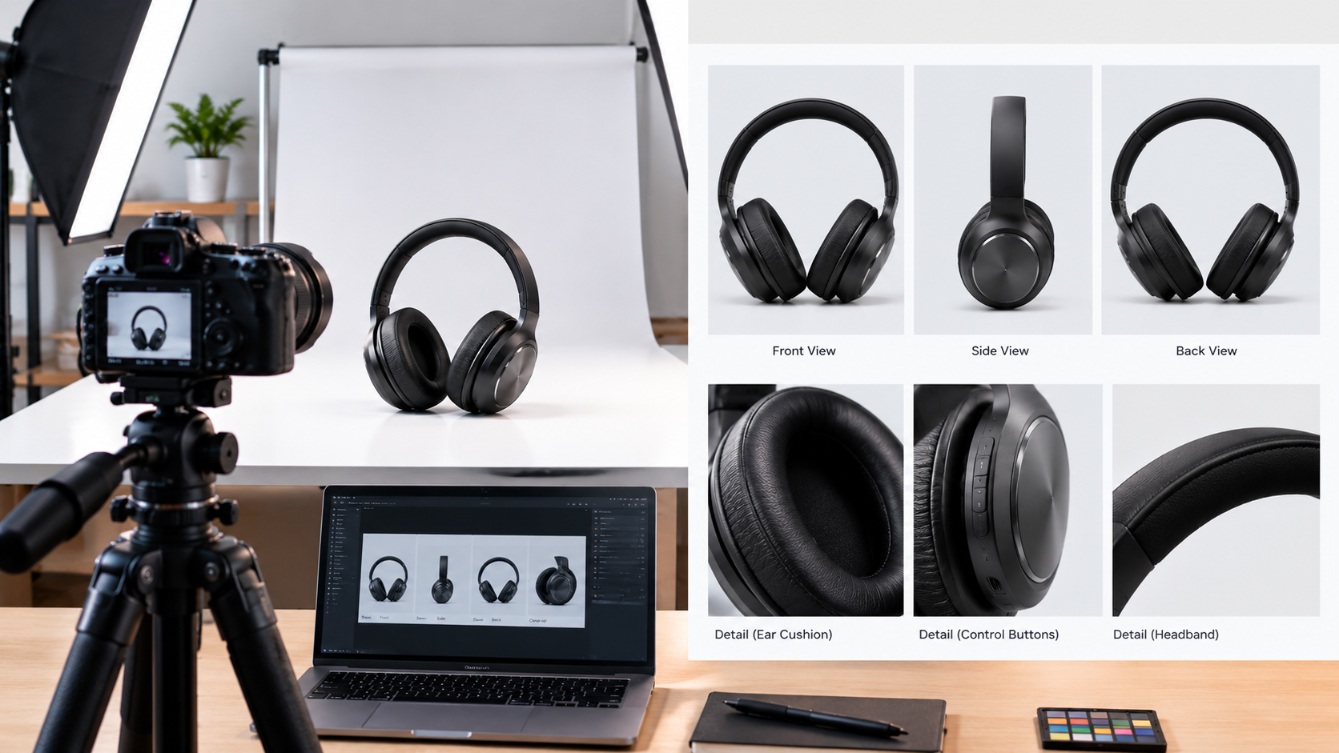
Shoot the front, both sides, and the back, keeping the camera height and distance the same across all four, so the set matches. Add close-ups of any detail that matters, like texture, stitching, or a logo, since these are often what a buyer zooms in on before deciding. Include a lifestyle or in-use shot too, if it helps buyers picture the product doing its job at home.
8. Review your photos
Check every shot for focus and exposure before you move on, zooming in on a laptop or larger screen rather than trusting the phone preview. Look for dust, reflections, stray hairs, or anything distracting in the frame that you missed during the shoot. Retake anything that doesn't hold up rather than trying to fix it in editing, since a soft or misfocused shot rarely recovers.
Skip the manual setup: generate product photos with AI
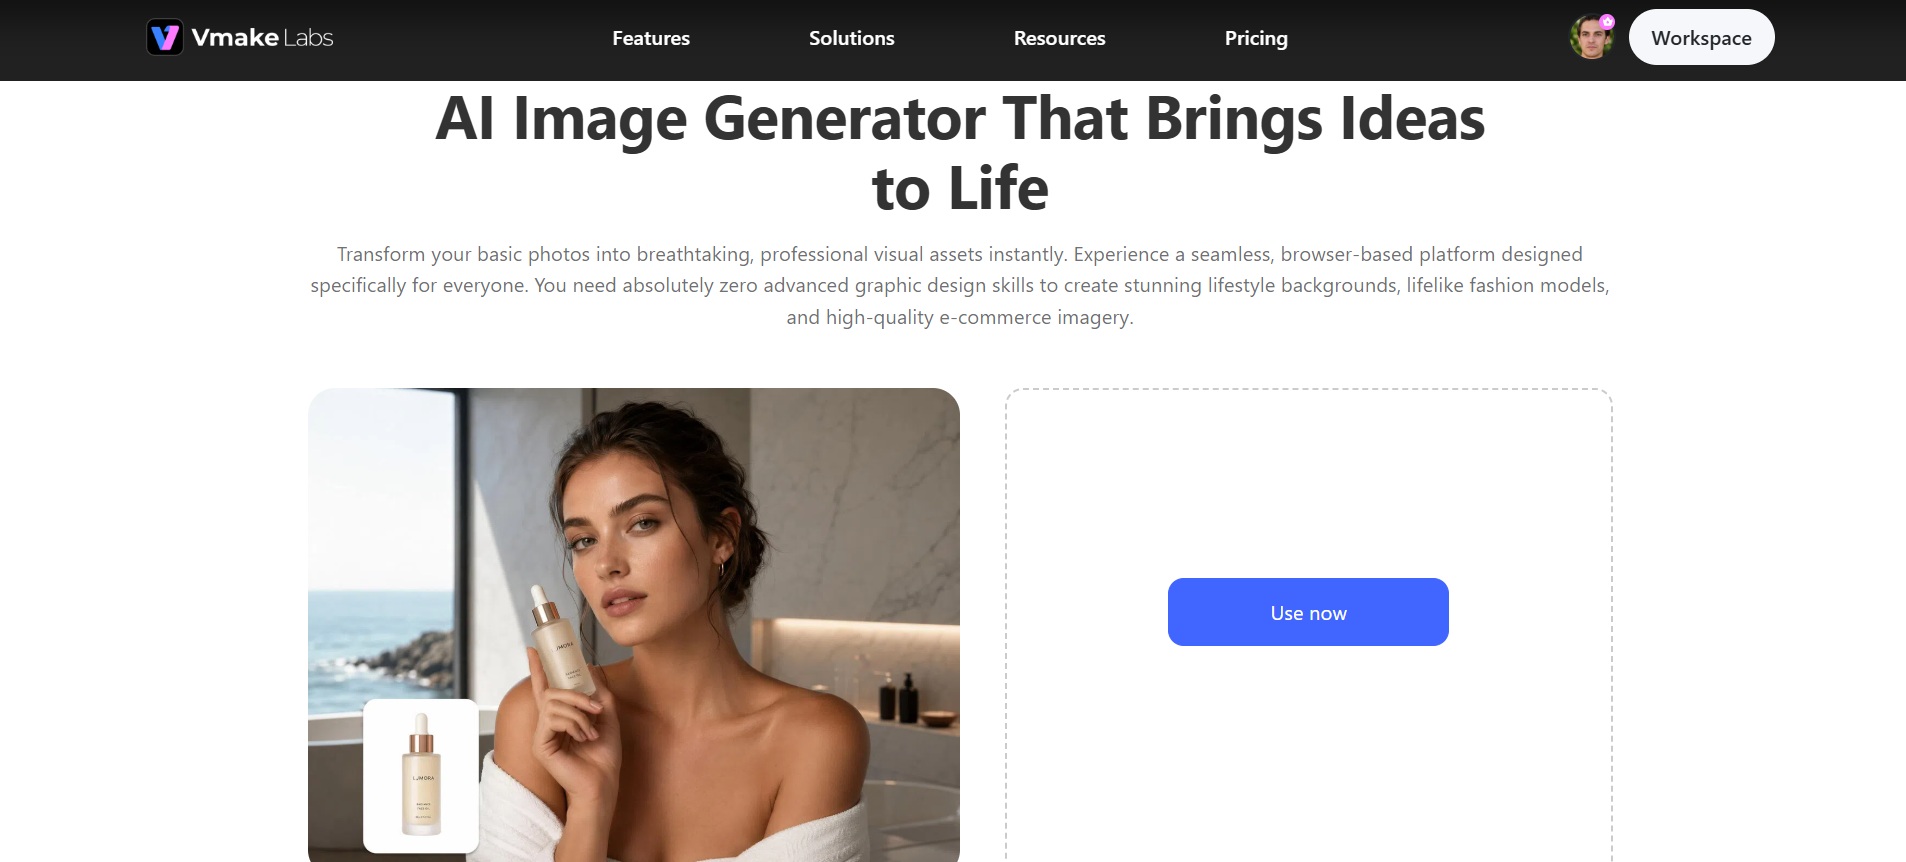
Skip the manual setup and generate product photos with AI. Vmake Labs' AI image generator creates studio-quality product shots without a camera, lighting gear, or physical shoot. Upload a basic product photo, choose an AI model such as Nano Banana Pro, and select the aspect ratio you need. Enter a detailed prompt describing the lifestyle setting, lighting, and composition. The AI generates a realistic scene around your product based on the reference image and prompt, delivering polished results in seconds.
Key features of Vmake Labs
-
Multiple AI models
Choose from Nano Banana Pro, Seedream, GPT Image, and others. Pick the model that matches the look and quality your catalog needs. Different models give different levels of detail and style, so you can match the exact visual standard your store requires without trial and error.
-
Text-to-image generation
Describe the background, lighting, and mood you want, and the AI builds the shot from scratch with no photo required. This helps when the product doesn't exist yet, or you want more concept options than a real shoot allows.
-
Image-to-image transformation
Upload an existing basic product photo and restyle it into a polished, studio-quality version. It saves sellers from redoing a shoot just to fix a dull background or flat lighting, turning a phone snapshot into something that looks professionally shot.
-
Reference image support
Upload a photo to guide the AI toward a specific look or aesthetic instead of describing it in words alone. This helps when you already know the exact mood, color palette, or competitor style you're aiming for.
-
Aspect ratio control
Generate images sized for the platform you're using: square for marketplace listings, vertical for reels, wide for banners. It saves sellers from cropping and re-exporting the same shot manually for every channel they sell on.
Steps to generate product photos
Turning an idea into a finished, ready-to-list product photo takes three simple steps, no design software or editing skills required.
Step 1: Select your AI model
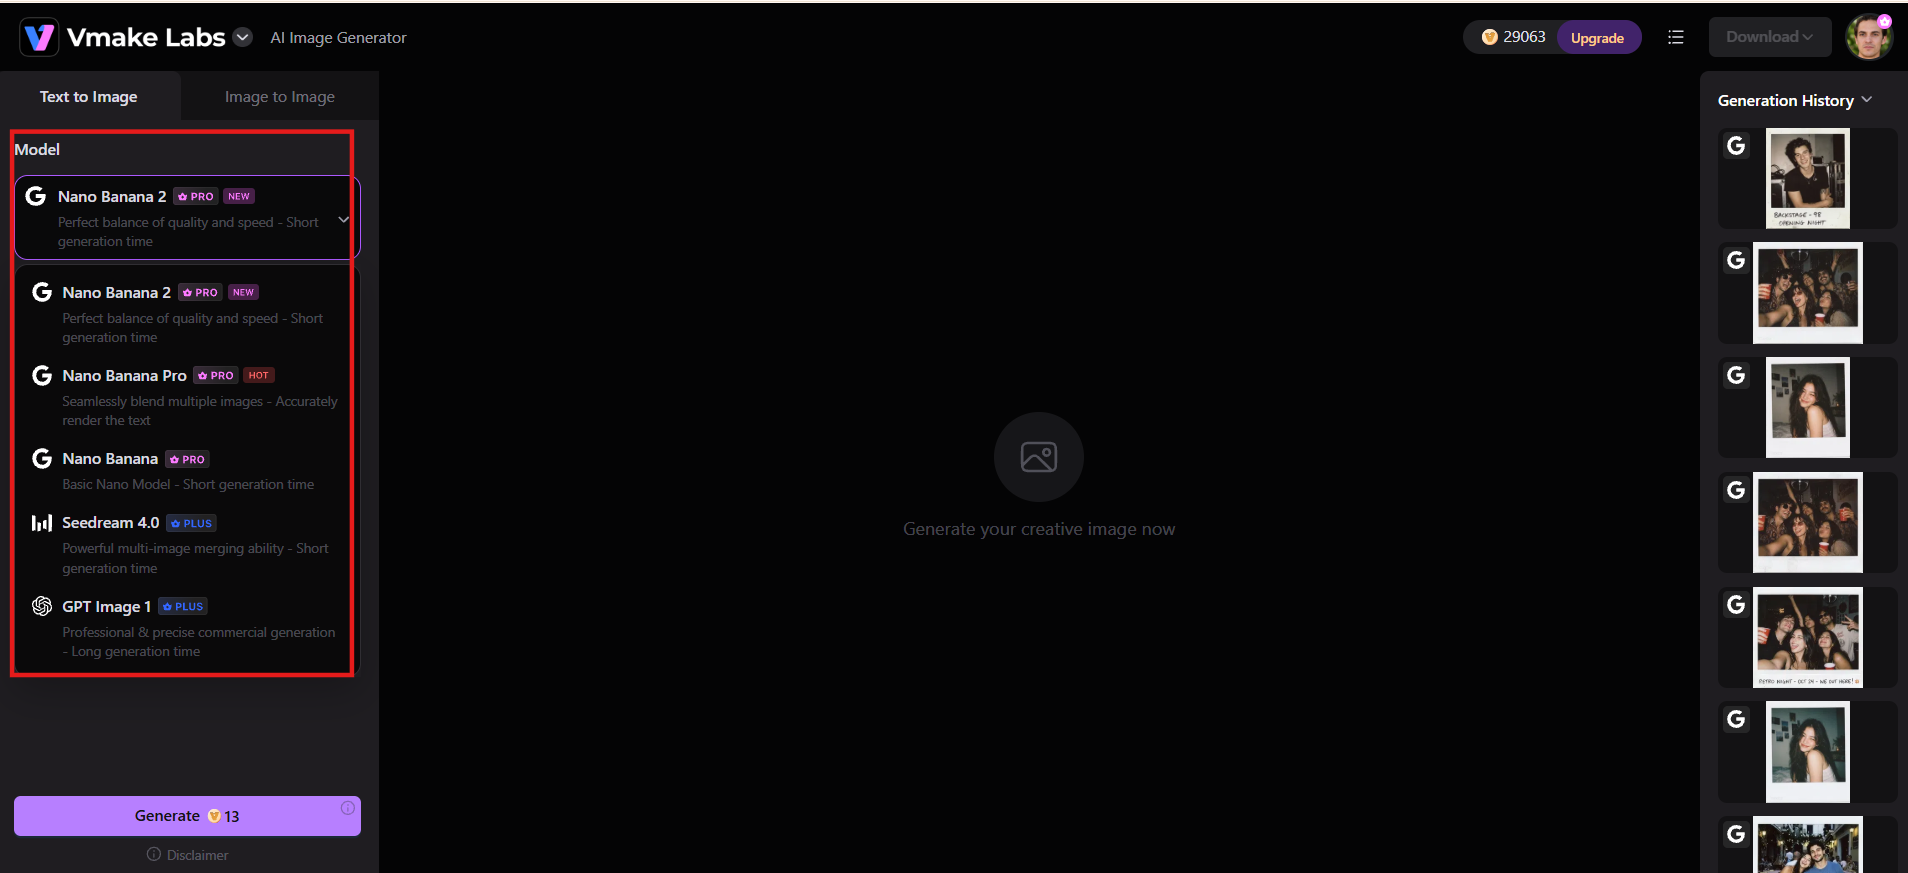
Open the AI Image Generator and choose your model: Nano Banana, Seedream, or GPT Image. Each renders differently, so if you're unsure which fits, run a quick test shot with two models and compare results.
Step 2: Enter your prompt or upload a reference photo
Describe the product shot you want, covering style, background, lighting, mood, and aspect ratio, or upload a reference image if that's easier than explaining. You can also upload a base product photo, so the AI restyles it instead.
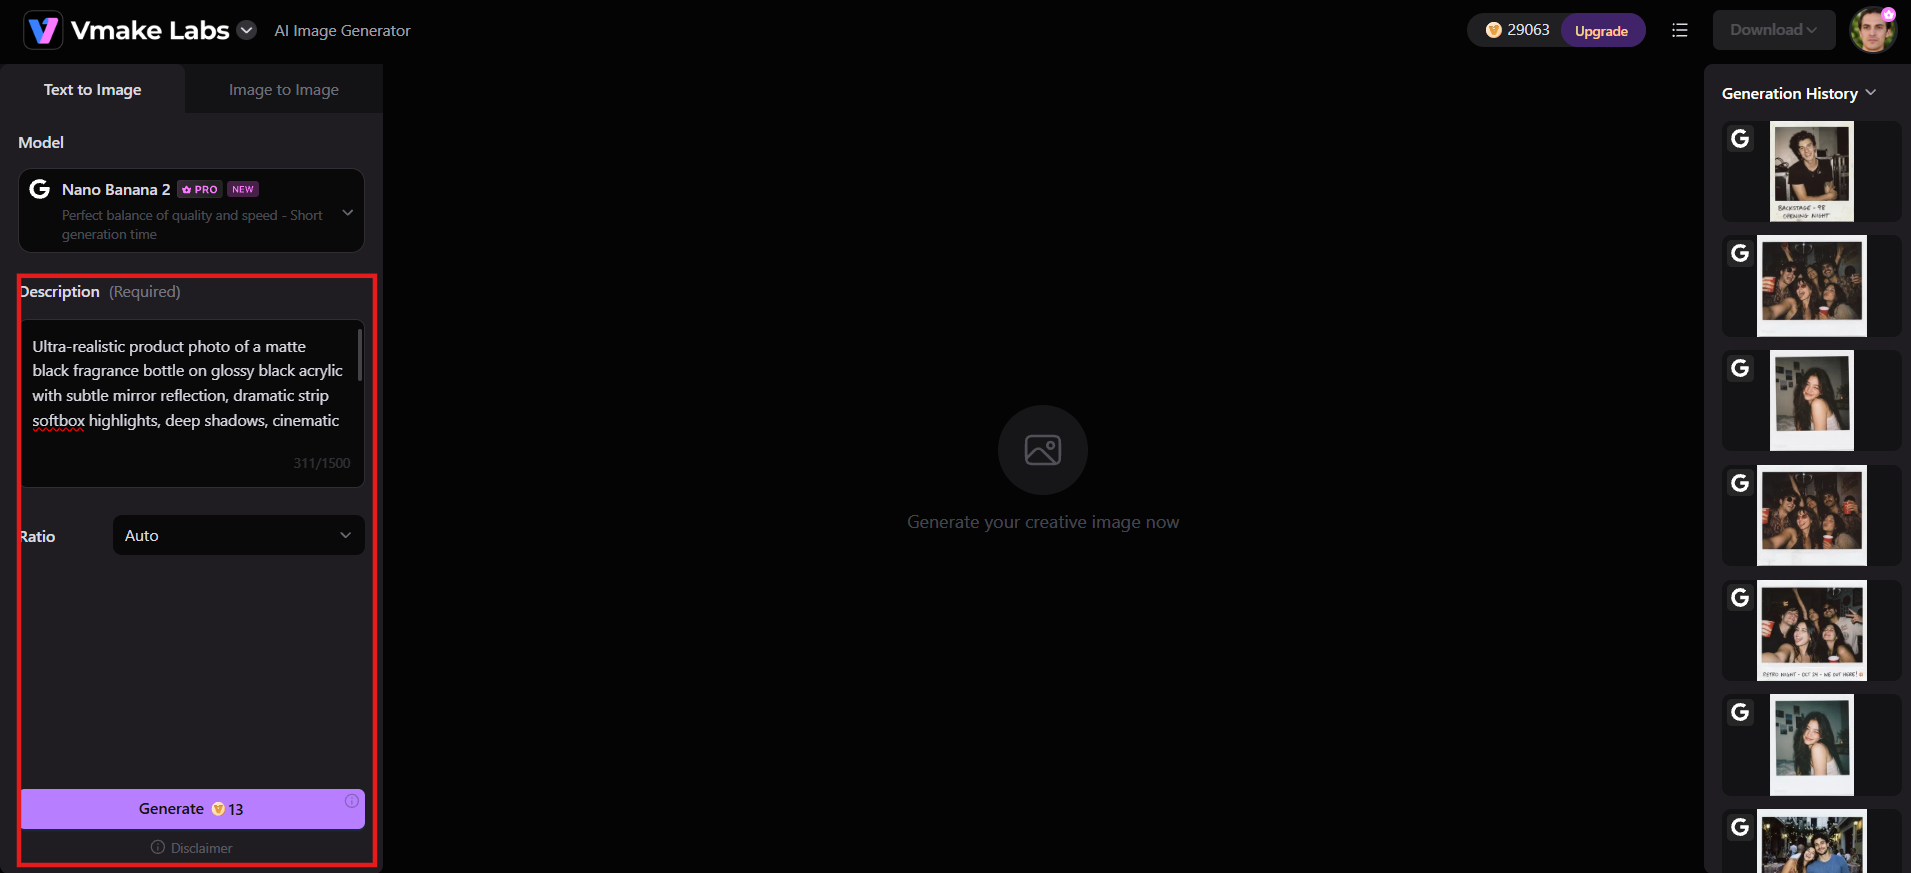
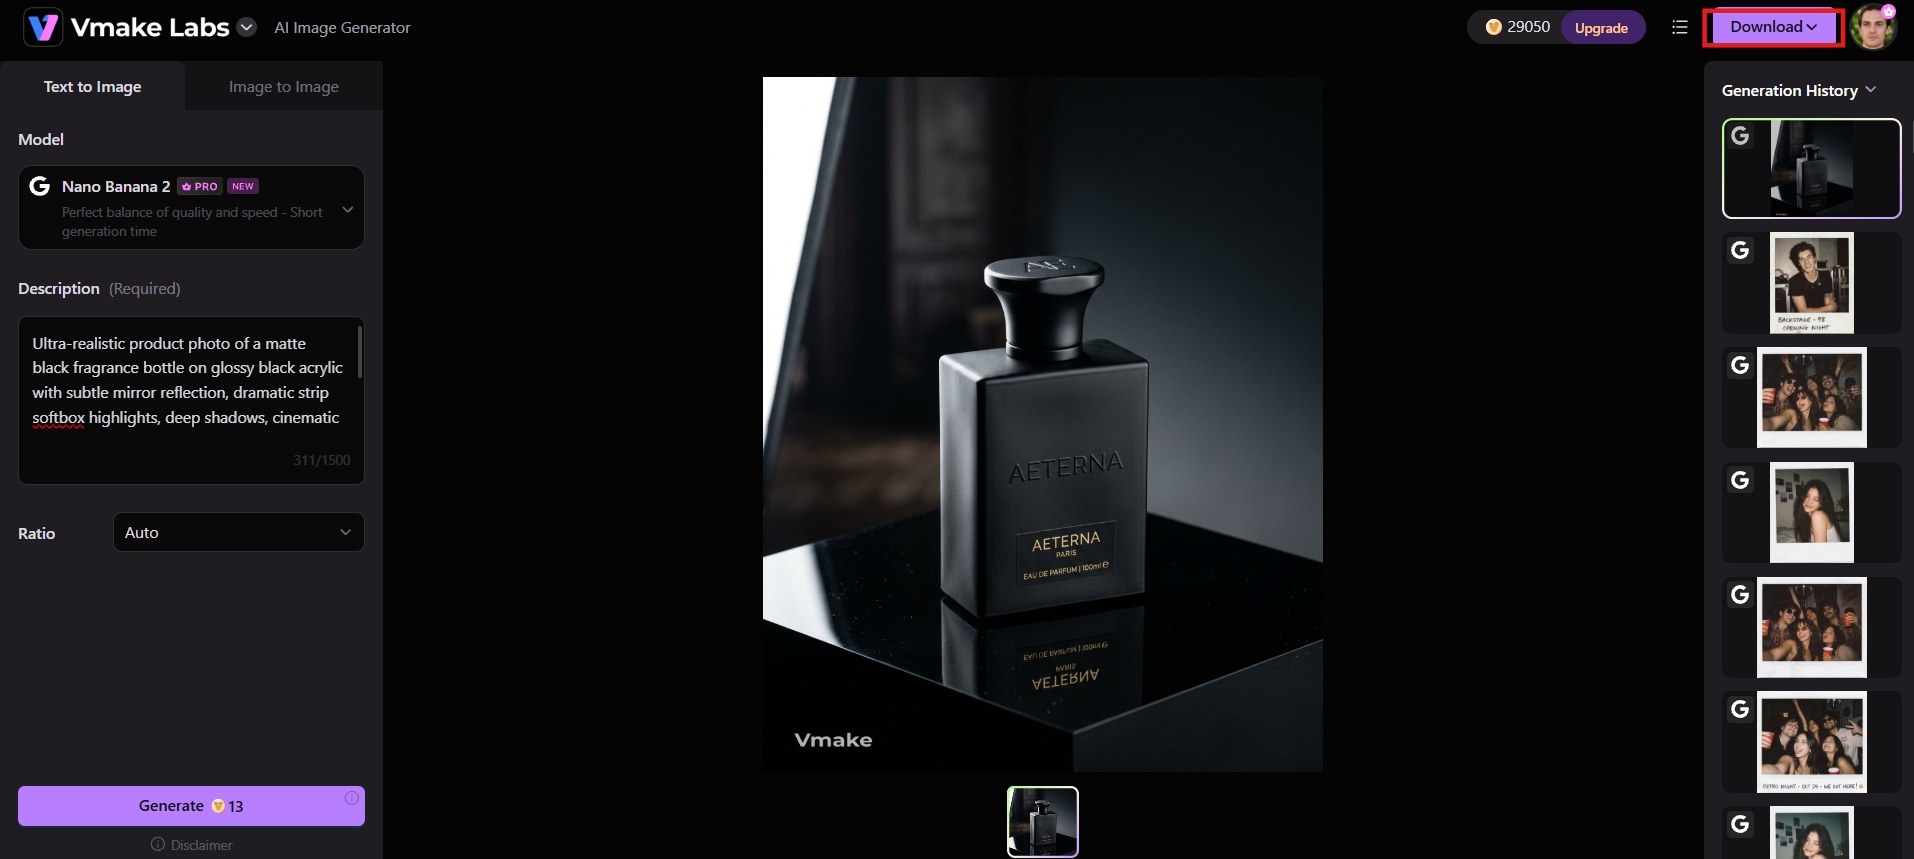
Step 3: Generate and download
Click Generate and let the AI produce the image, which usually takes seconds instead of the hours a real shoot needs. Review it against your brief, regenerate if something's off, then download it for your listings.
Common product photography mistakes to avoid
Avoiding a few common mistakes can make your product photos look cleaner, more professional, and more appealing to potential customers.
-
Poor lighting
Uneven or insufficient light hides details and creates dull colors. Position the product near a soft window or diffused source and use a reflector to fill dark areas so every surface stays visible and true to life.
-
Cluttered backgrounds
Busy or wrinkled backdrops pull attention away from the product. Choose a plain white or light neutral surface, keep it smooth, and remove any objects that compete with the item in the frame.
-
Inconsistent framing
Changing camera height, distance, or angle between shots makes the catalog look uneven. Keep the same setup for every product so the store feels cohesive and professional across all listings.
-
Low-resolution images
Soft or pixelated images fail to show texture and detail. Shoot at the highest resolution your phone or camera allows and avoid digital zoom, which quickly degrades sharpness.
-
Harsh shadows
Strong, hard-edged shadows obscure shape and create an unflattering look. Use diffused light and a simple reflector opposite the main source to soften shadows without eliminating depth.
Conclusion
Taking professional-looking product photos starts with a clean product, simple background, balanced lighting, steady camera, and consistent framing. Avoid common issues like harsh shadows, clutter, low resolution, and poor exposure. When you need volume or want studio results without the physical setup, Vmake Labs' AI Image Generator handles the rest. Upload a basic product photo or describe the shot, choose a model and aspect ratio, and generate polished catalog images in seconds. Explore different styles, backgrounds, and formats to create visuals for your store, ads, and social media.
FAQs
How to take product photos with a phone?
Use your phone's main camera, clean the lens, choose a simple background, use natural or diffused light, stabilize the device, tap to focus, and avoid digital zoom. Vmake Labs can further enhance basic product images.
What is the best lighting for product photos?
Diffused light, either from a window with a sheer curtain or a softbox, works best. It removes harsh shadows and blown-out highlights that direct light causes.
How many product photos should I take per product?
Capture five to seven photos: a primary front hero shot, 45-degree angle, side, back, and detailed close-ups. Add context with lifestyle images generated quickly through Vmake to show realistic scale effortlessly.
How can I take product photos without a professional studio?
A window for light, a plain wall or sheet for a background, and a tripod cover most of what a studio setup does. For a faster route, an AI tool like Vmake Labs can generate studio-quality shots from a basic photo.
What is the best background for product photos?
A clean, uncluttered background is usually best for product listings because it keeps attention on the item. White, neutral, or seamless backgrounds work well, while Vmake can create customized backgrounds for different visual styles.
You May Be Interested

Airbrush Photo Restoration Review: Is It the Best Way to Fix Old Photos?
Clean Up Pixelated Photo with AI: Enhance Photos Easily

How to Face Swap in Photoshop vs. AI Face Swap Tools

How to Fix Blurry Photos in 2026: Best Tools to Sharpen Blurry Images