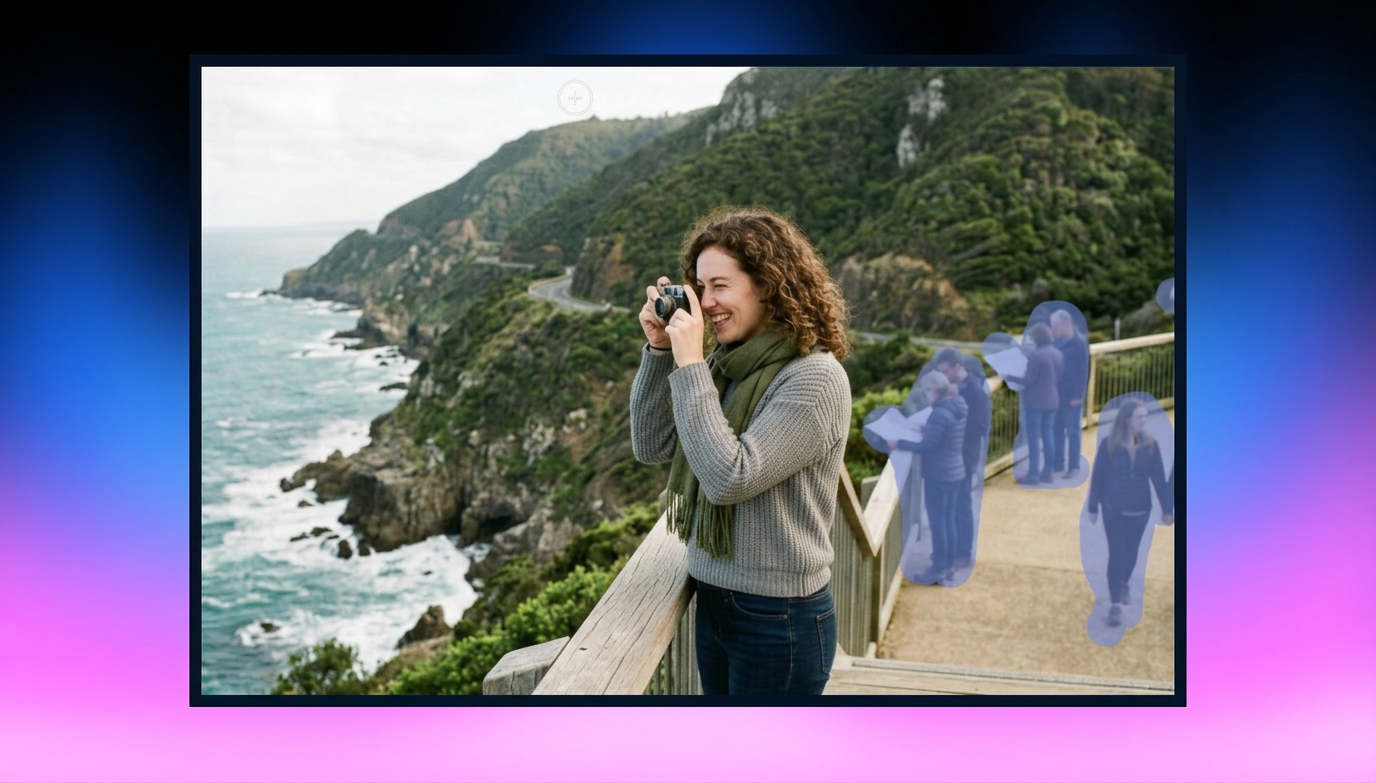
How to Photograph Food: 13 Travel Photography Tips
Learn how to photograph food on your travels with practical advice on lighting, color, framing, composition, angles, texture, and photo enhancement. Additionally, know how to use Vmake Labs to auto-enhance your food images.

Food is an important part of travel, from colorful street markets and local cafés to carefully plated dishes at neighborhood restaurants. Photographing these moments lets you preserve more than what you ate. With the right approach to lighting, color, framing, angles, and composition, you can create food photos that capture the atmosphere and character of a destination.
What makes a good food photograph?
A good food photograph makes the dish look appealing while capturing the setting and experience around it.
Start with a clear subject, then consider lighting, color, composition, and perspective before pressing the shutter. Natural light can reveal textures and details, while thoughtful framing keeps distractions away from the food.
Colors should look appetizing without appearing overly processed. Your camera angle should suit the dish, whether that means shooting from above, at a 45-degree angle, or closer to eye level. When traveling, including subtle details from the surrounding restaurant, market, or destination can also give the photograph a stronger sense of place.
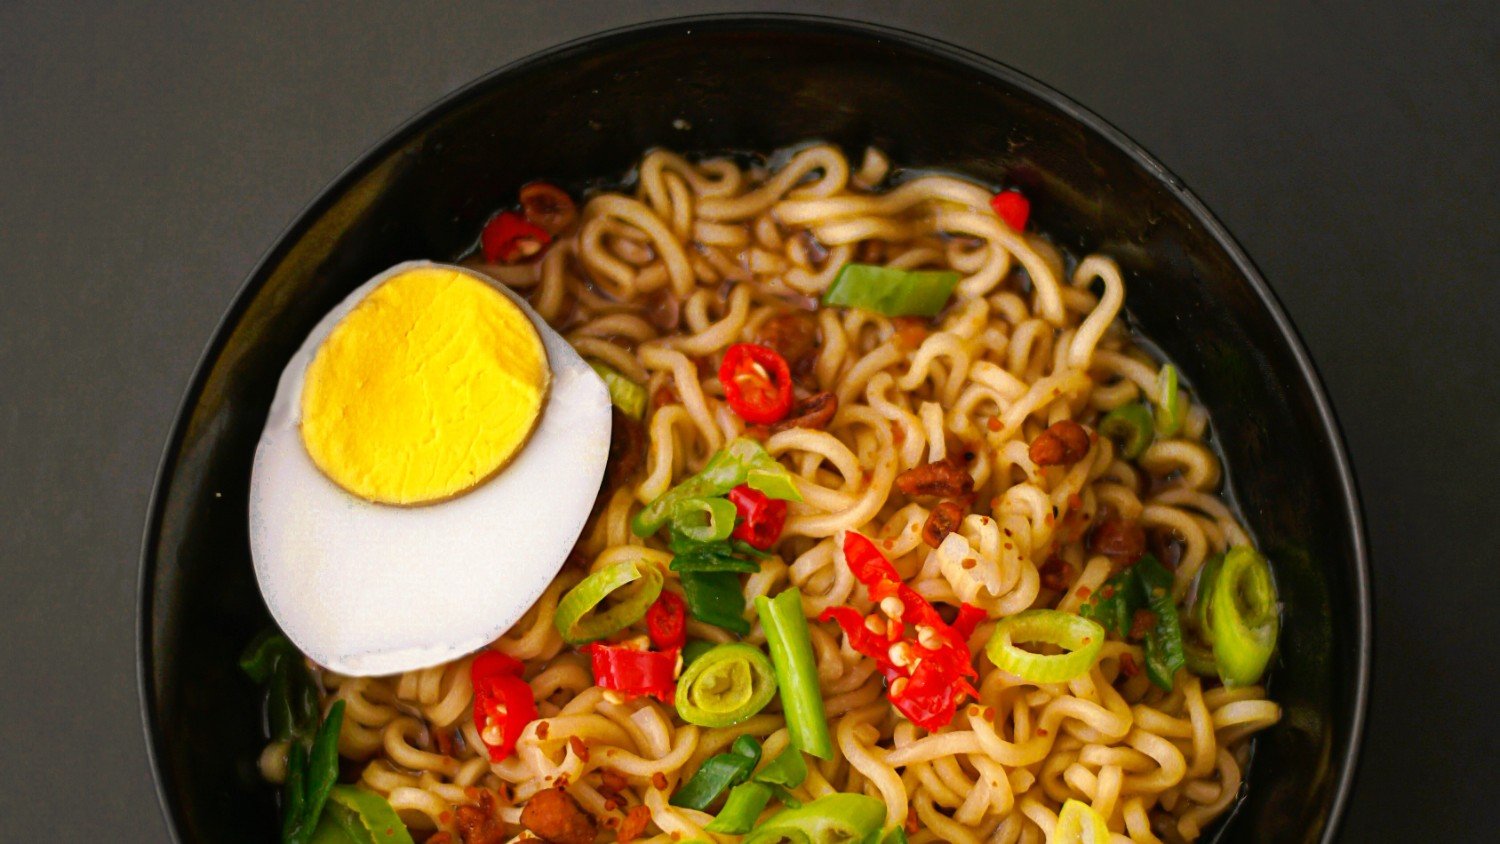
How to photograph food: 13 essential tips for better travel food photography
Before photographing a dish, consider how light, color, perspective, and the surrounding environment work together. These 13 tips can help you make everyday travel food photos more appealing while preserving the character of the destination.
-
Choose the right camera and basic settings
You do not need professional equipment to photograph food well. A smartphone or travel camera can work effectively when you understand exposure, focus, and basic shooting settings.
-
Clean your camera lens before shooting
A quick lens check can make a noticeable difference, especially when photographing food while traveling. Wipe away fingerprints, dust, or smudges before taking your first shot.
-
Find the best available light
Light can determine how appetizing your food looks. Whenever possible, position the dish near a window, open doorway, or shaded outdoor area to get soft, even illumination.
-
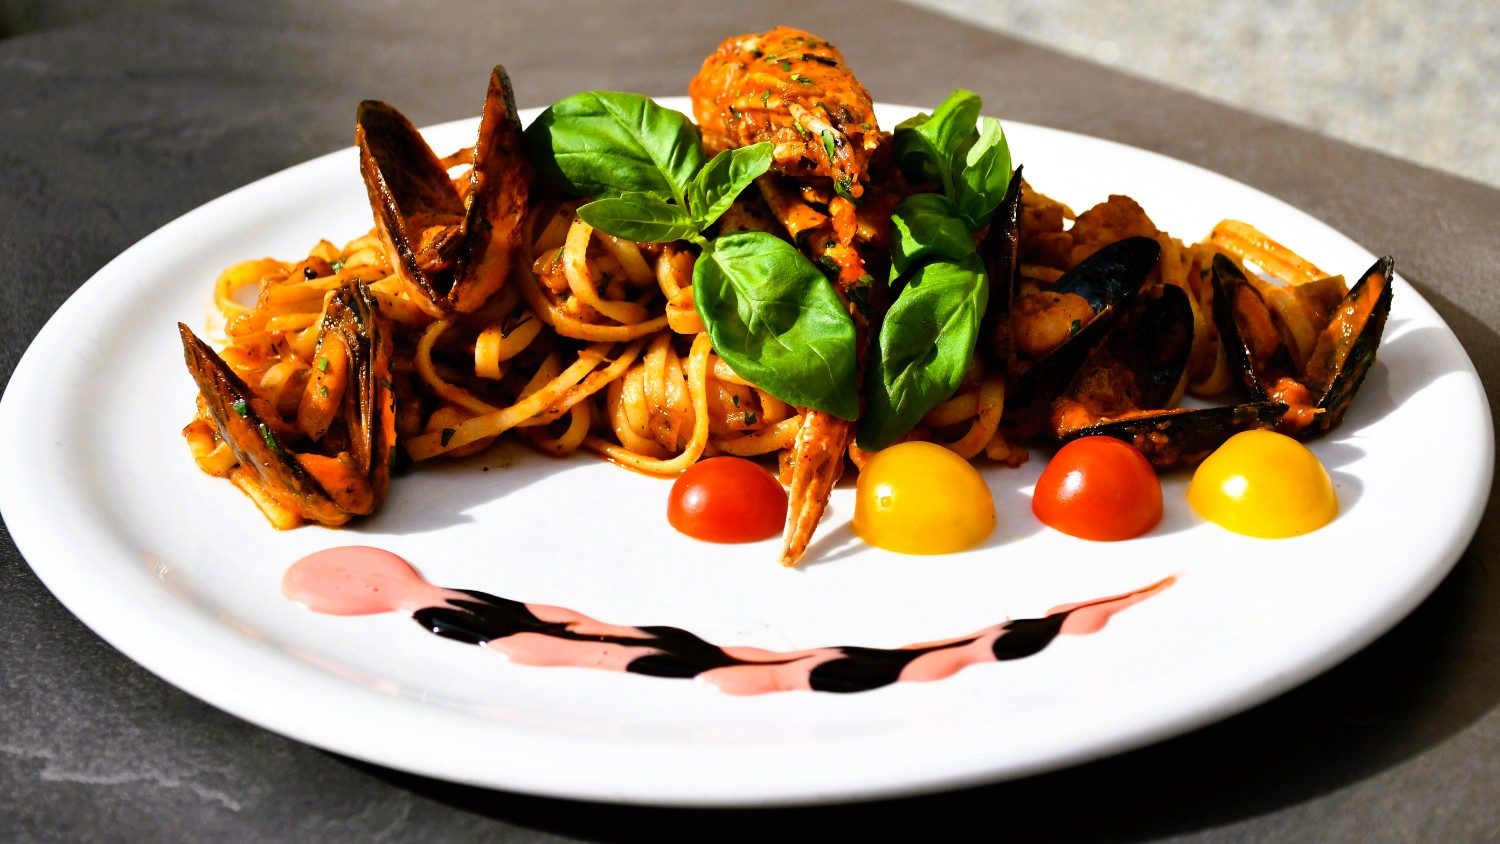
Use color to make food stand out
Look for the natural colors in the dish and use them to build an appealing image. Contrasting ingredients, colorful garnishes, and simple backgrounds can make food more visually prominent.
-
Choose a flattering angle for the dish
Different foods benefit from different perspectives. Flat dishes often work well from above, while layered meals, drinks, and dishes with height can look more dimensional from a lower angle.
-
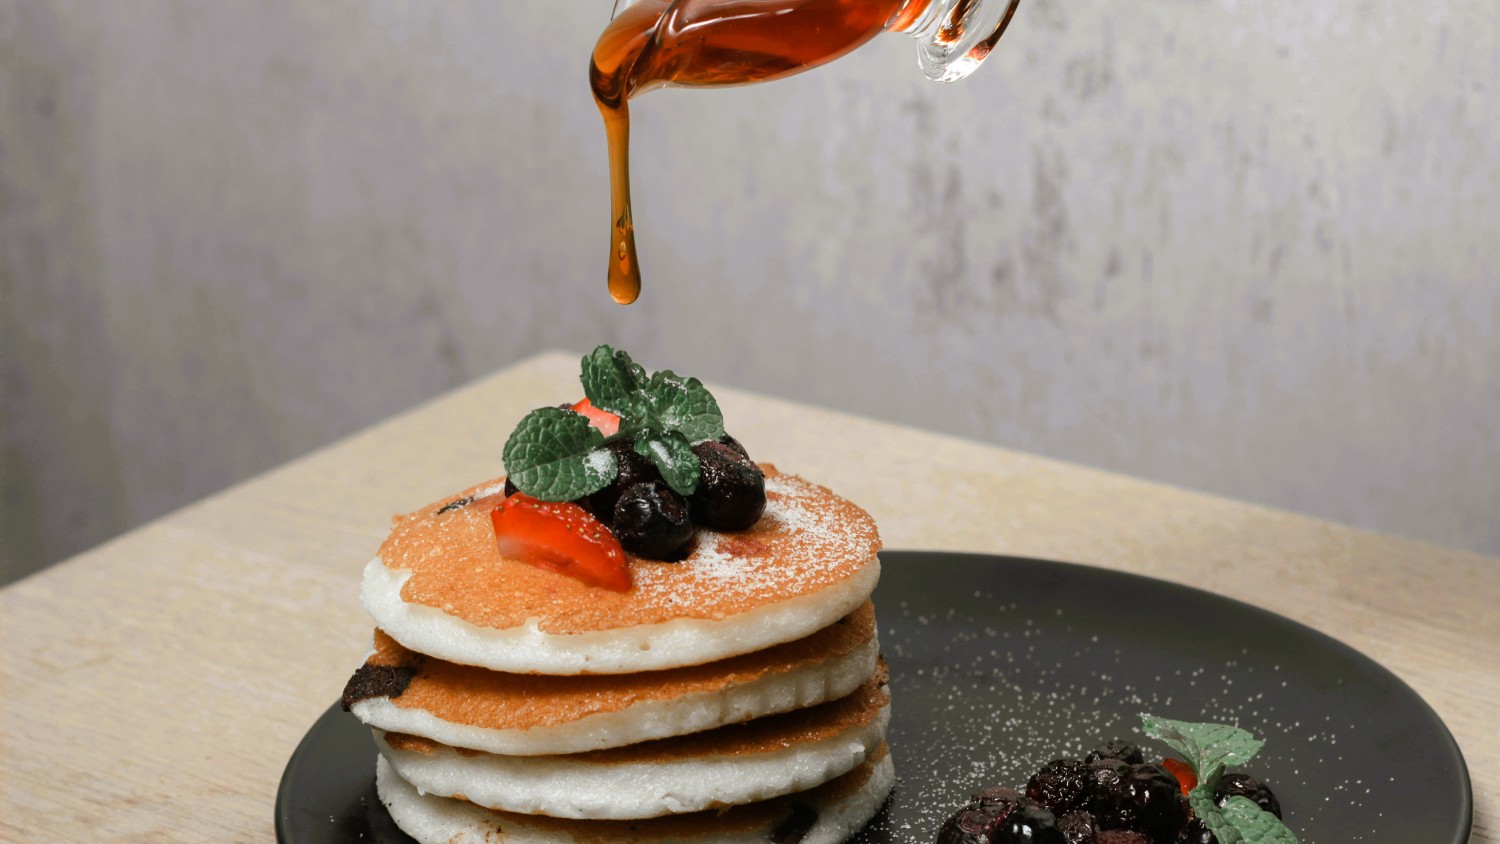
Pay attention to framing and composition
A strong composition keeps attention to the food without making the photograph feel crowded. Use the rule of thirds, negative space, and clean edges to create a balanced frame.
-
Add local elements to tell a travel story
Food photography can capture more than the meal itself. Include subtle elements such as local tableware, market surroundings, regional ingredients, or restaurant details to connect the photograph with its destination.
-
Use props without overpowering the food
Simple props can add context and depth to a food photograph. Cutlery, napkins, menus, cups, or ingredients can support the composition, but keep them secondary to the main dish.
-
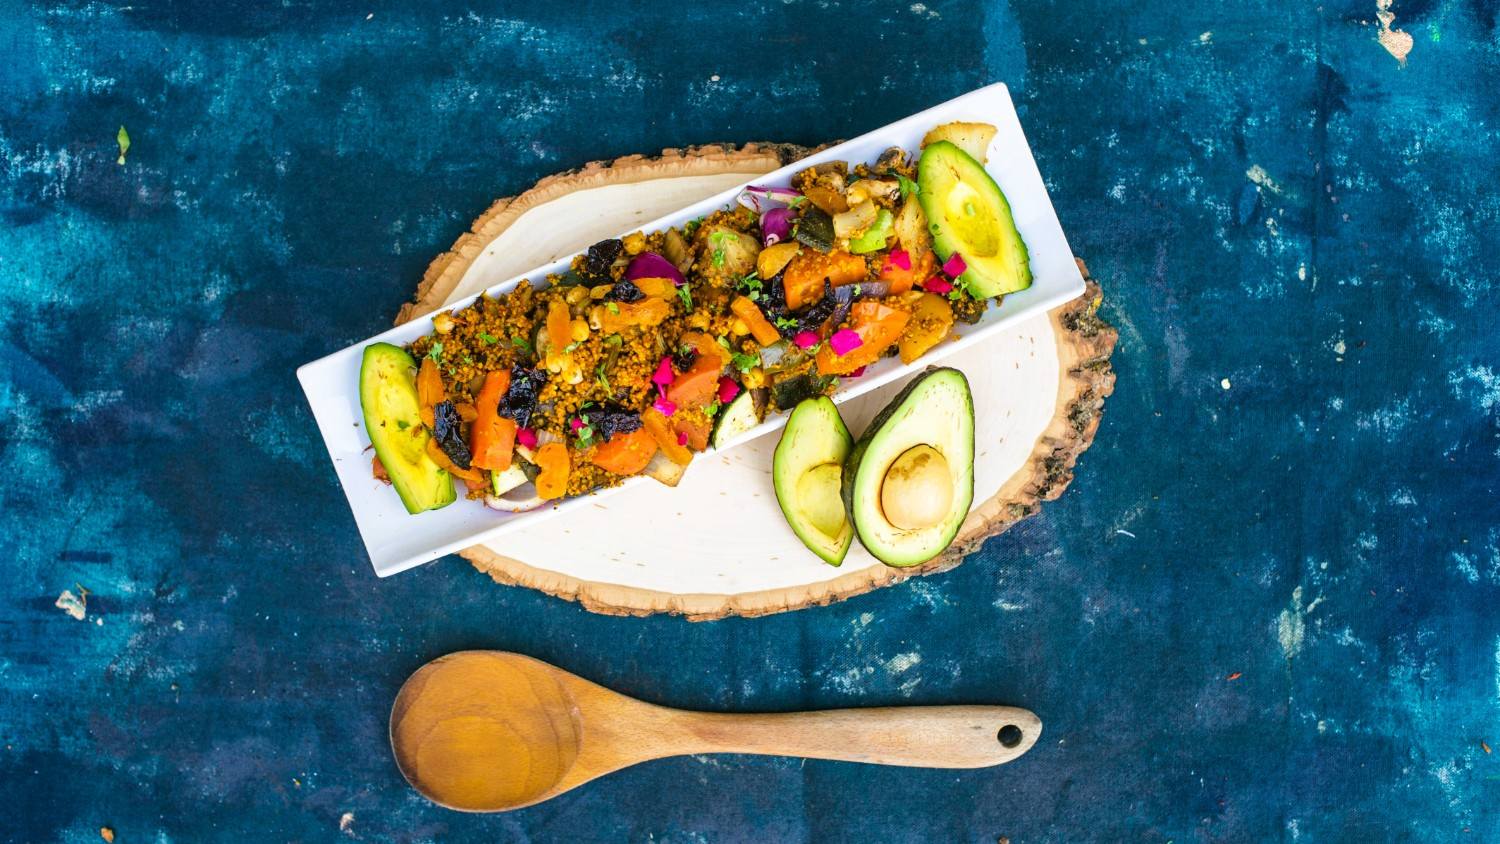
Focus on texture and small details
Crispy edges, fresh herbs, sauces, grains, and other textures can make food photographs feel more tangible. Move closer when these details are among the most appealing parts of the dish.
-
Create depth in your food photos
Layering elements in the foreground, middle ground, and background can give a food photograph more dimension. Use nearby objects or environmental details without letting them distract from the dish.
-
Keep the camera steady and focus carefully
A steady camera helps preserve fine details, particularly in restaurants or dimly lit spaces. Tap or place focus on the most important part of the dish before capturing the photograph.
-
Take multiple shots from different perspectives
Do not settle for the first composition. Move around the table, change your distance, and try different angles to discover which perspective best captures the food and its surroundings.
-
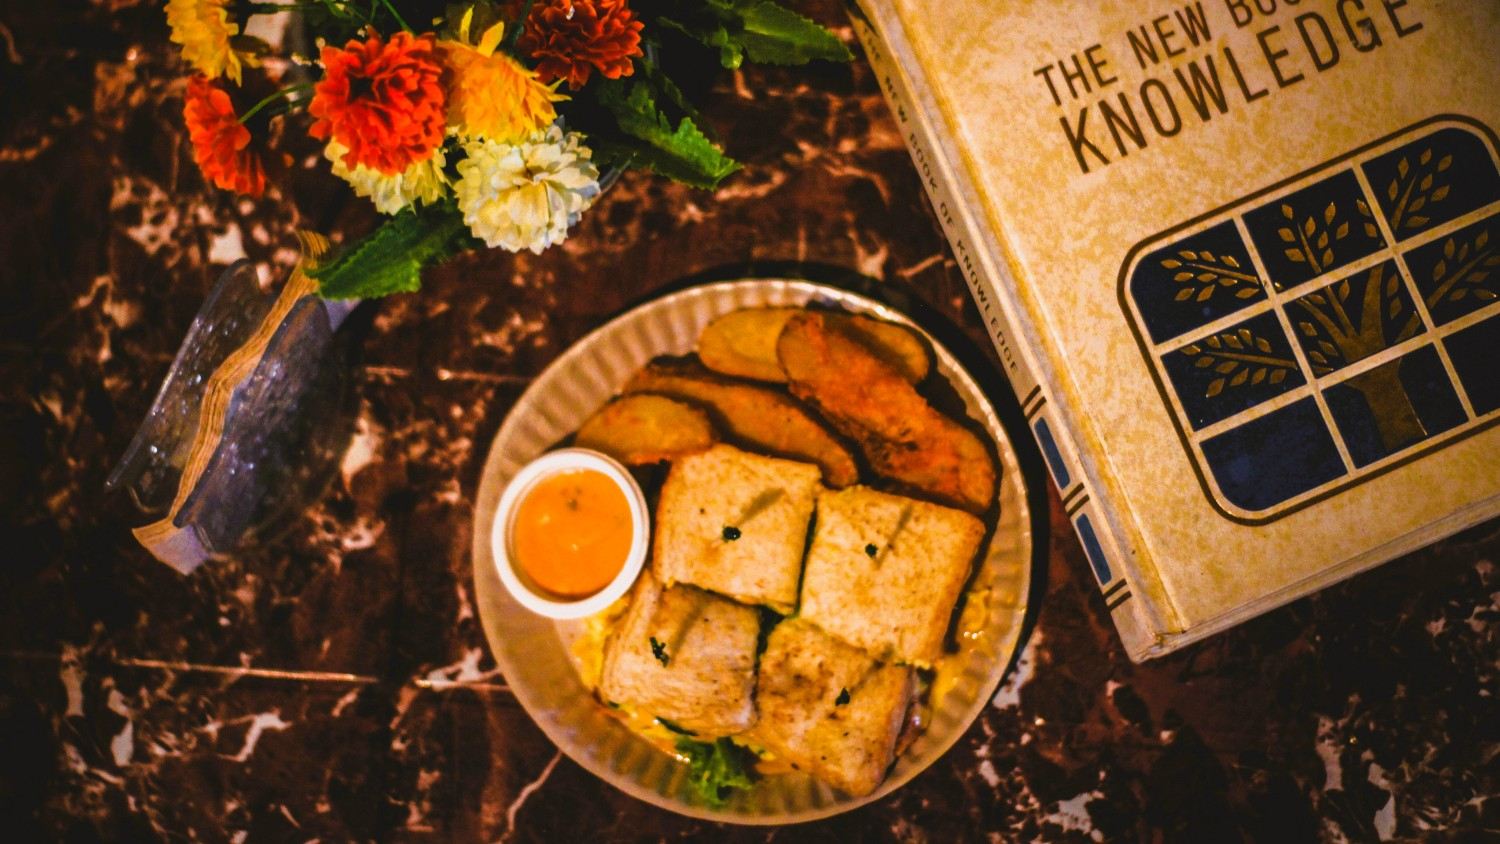
Edit your photos without making them look unnatural
Editing can correct exposure, improve contrast, and refine colors, but restraint is important. Keep the food looking realistic and avoid excessive saturation, sharpening, or filters that change its appearance.
Enhance food photos with Vmake Labs AI image enhancer
Even a carefully composed travel food photo can lose detail because of low light, camera limitations, motion, or compression.
Vmake Labs AI image enhancer can help refine these images after shooting by improving clarity, resolution, sharpness, and fine details. This is useful when a dish looks good in person but appears slightly soft or lacks definition in the final photo.
Instead of changing the composition, you can use the enhancer to polish the image and make important details more visible. It can be especially helpful when preparing food photos for social media, travel blogs, or personal travel albums.
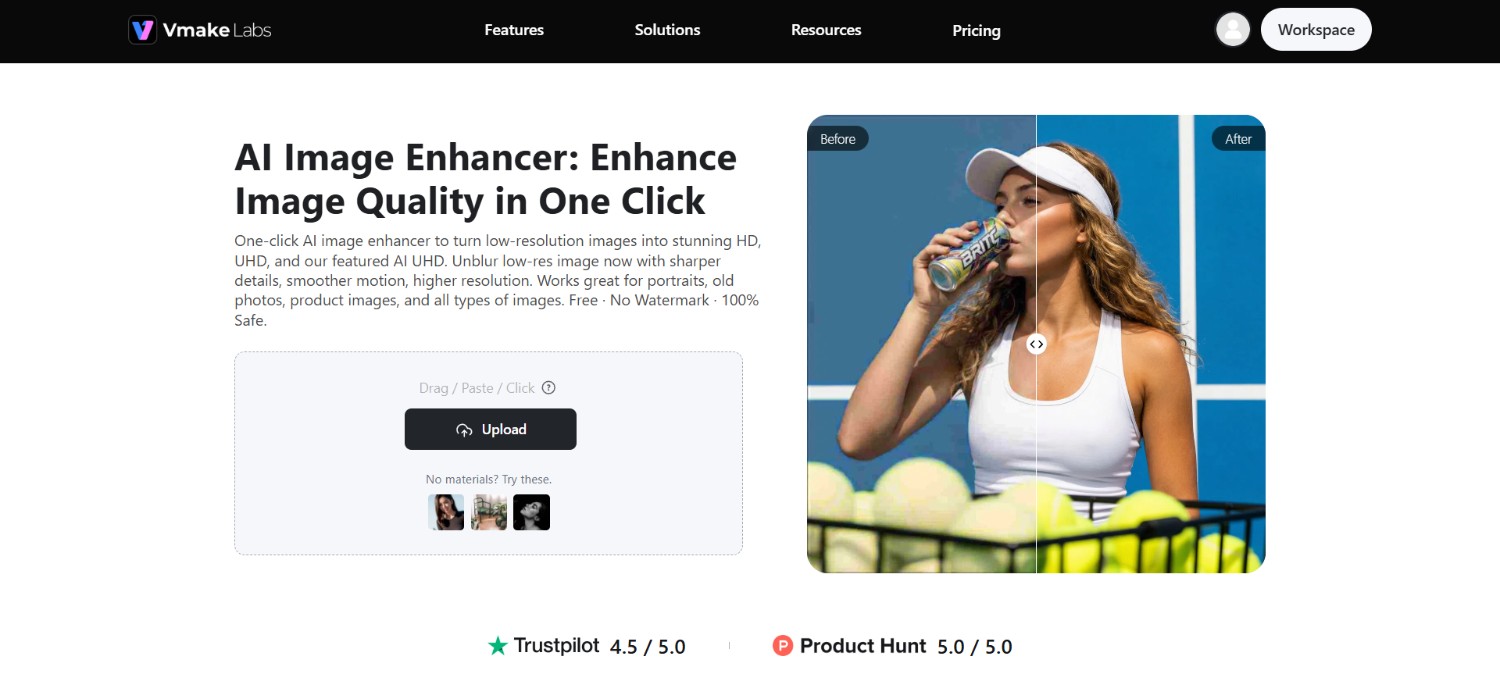
Vmake Labs AI image enhancer features for food photos
-
Enhance image sharpness and fine details: Bring greater definition to ingredients, garnishes, edges, and other small elements that may appear soft in travel food photographs.
-
Improve photo resolution: Increase the resolution of food photos when you need a larger, clearer image for publishing, sharing, or displaying without relying on the original low-resolution file.
-
Reduce noise and visual imperfections: Clean up unwanted visual noise and imperfections that can become noticeable in photos taken indoors, at night, or in challenging restaurant lighting.
-
Bring out food textures: Make details such as crispy surfaces, sauces, grains, herbs, and other textures more visible while keeping the photograph suitable for natural-looking food imagery.
How to use Vmake Labs AI image enhancer?
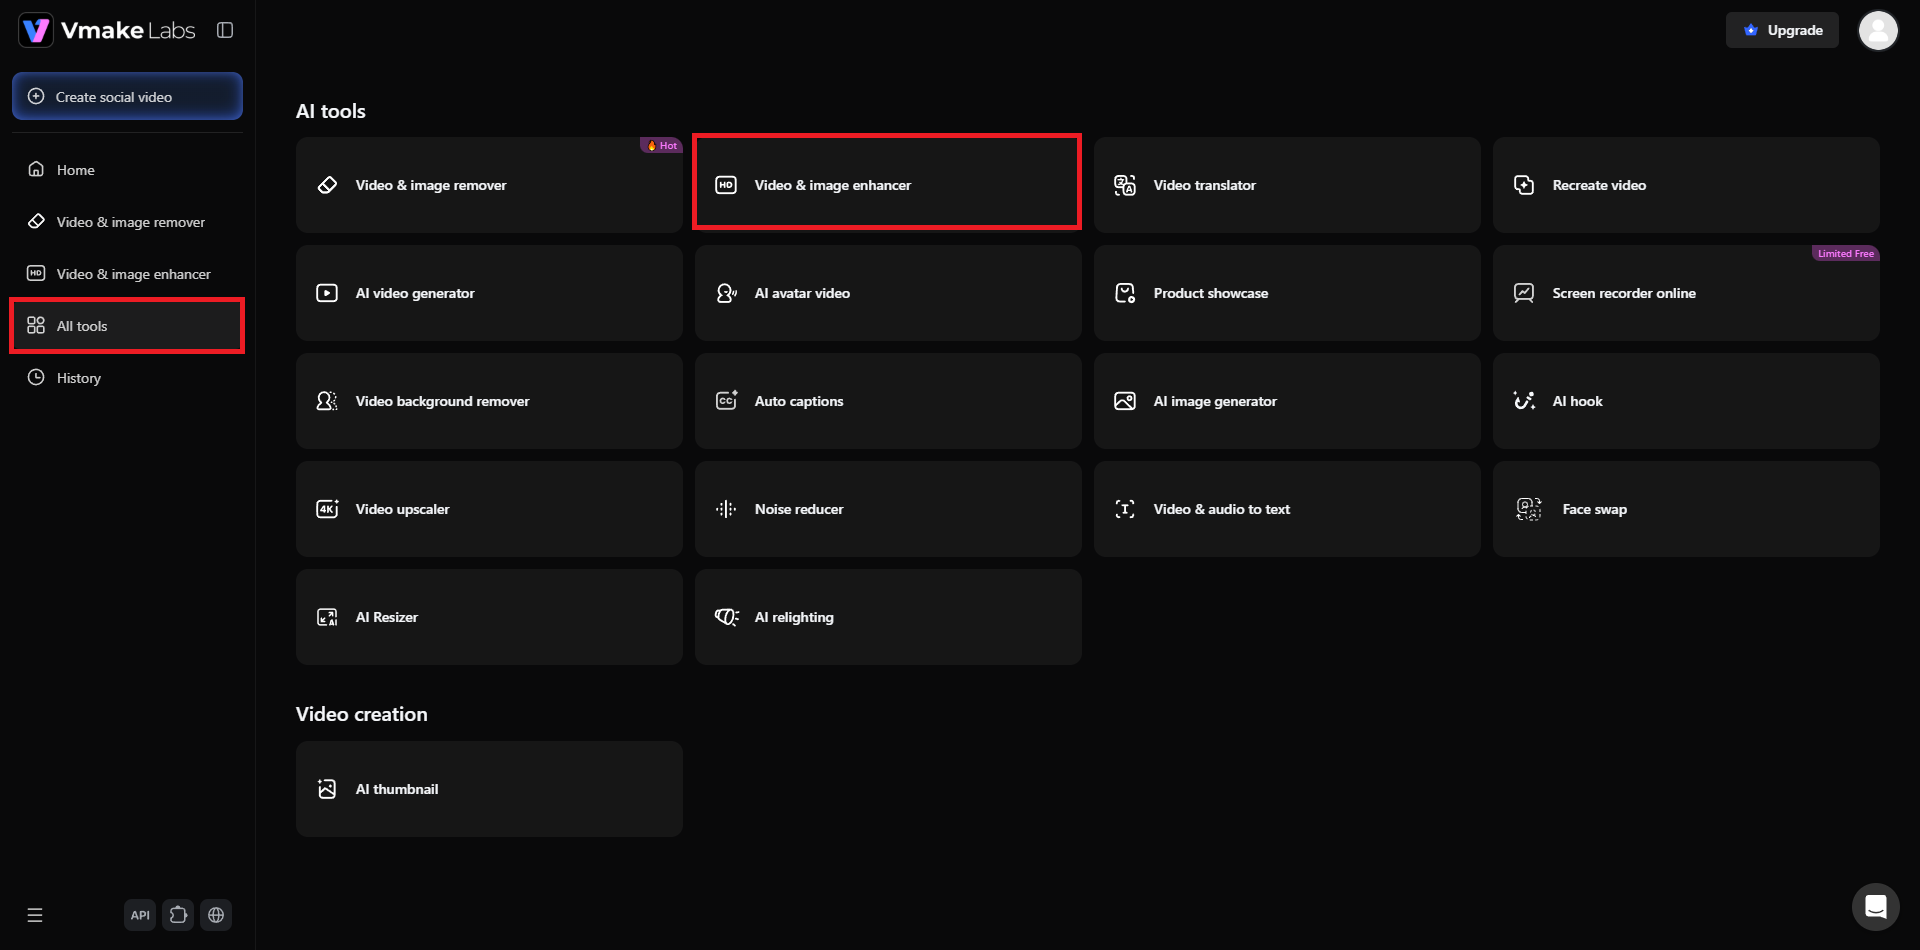
Step 1: Access Vmake Labs AI image enhancer tool
Start the process by first accessing the official website of Vmake Labs. After that, proceed to sign-in to your existing account, or create a new account. Once done, head over to the "All tools" section from the left-hand side menu bar, and select the "Video & image enhancer" option.
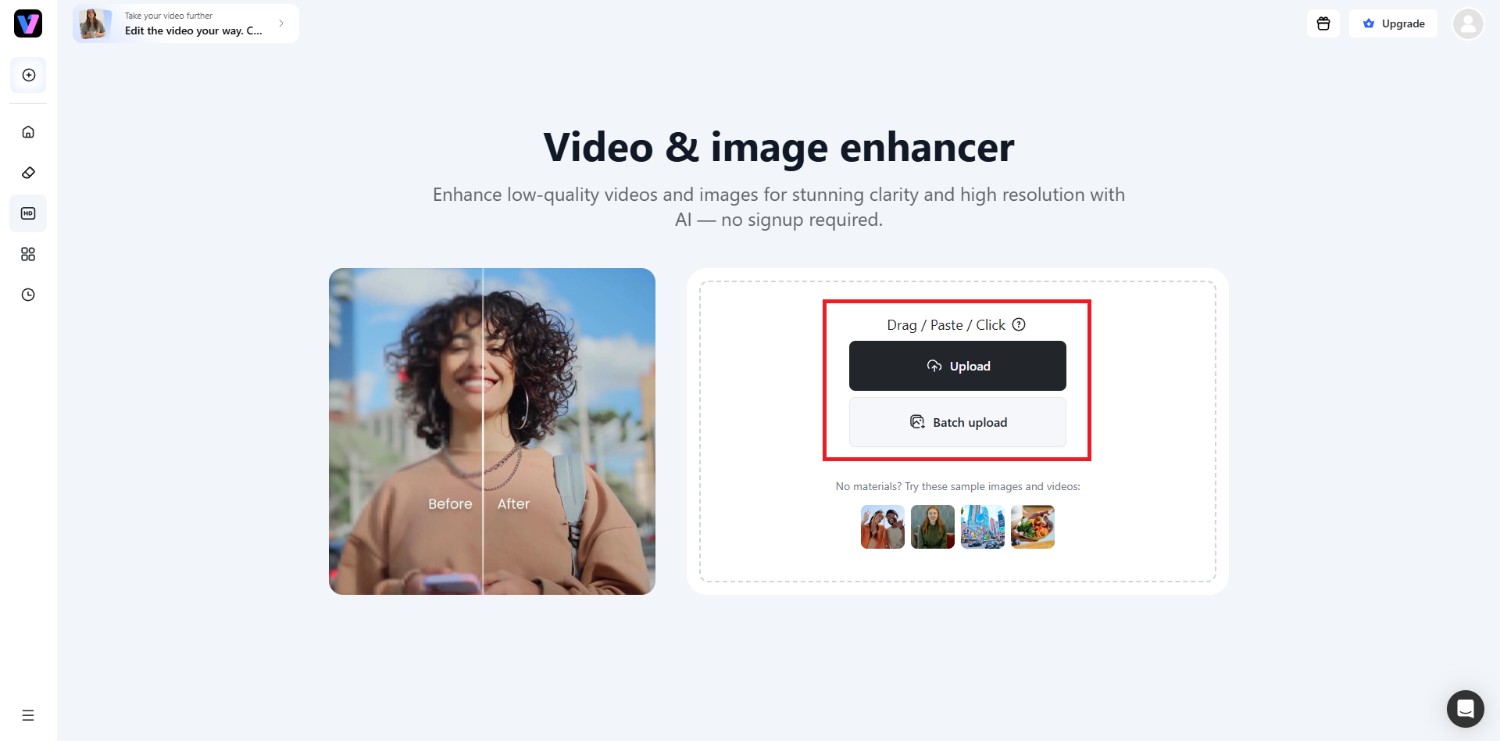
Step 2: Upload your food photograph
In the next step, you will need to upload the food photograph that you want to enhance. You can use the "Upload" button for the same thing. However, if you have more than one photo, then you can use the "Batch upload" option.
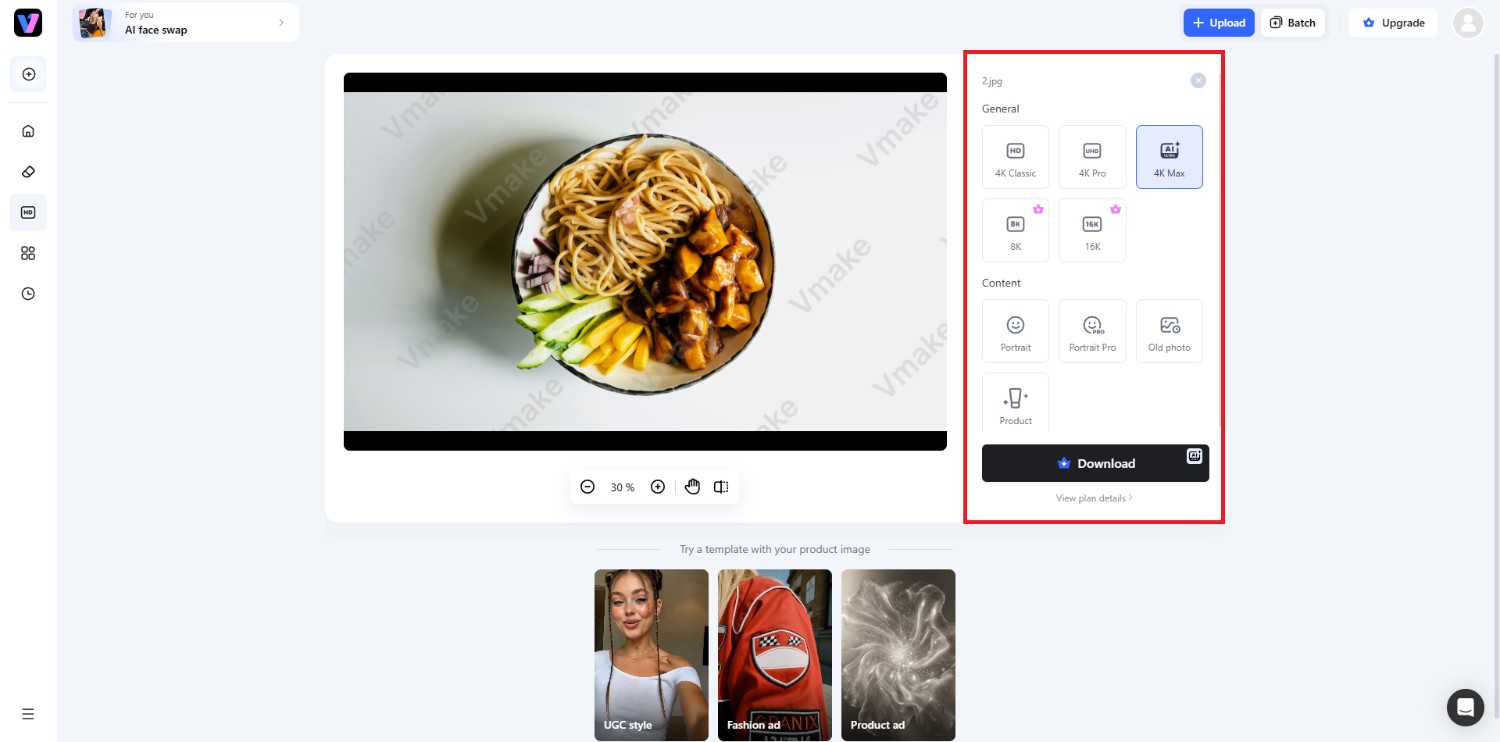
Step 3: Select the ideal enhancement option and export
After uploading, you can select the ideal enhancement option. Under "General", you will be able to see the resolution option, where you will be able to select your preferred enhancing resolution, such as 4K, 8K, 16K, etc. On the other hand, under "Content", you will find the option for specific image enhancements based on the subject, such as "Portrait" for faces, "Old photo" for old photo restoration, "Product" for product photo enhancements, and so on.
Once you select the correct enhancement option, Vmake Labs will take some time to apply the same and once that is completed, you will be able to download the photo right away for sharing purposes.
Common food photography mistakes to avoid
Even with good equipment and composition, small mistakes can make travel food photos look flat or distracting. Watch for these common issues before shooting and during editing to keep your images natural and visually engaging.
-
Using harsh or uneven lighting
Direct sunlight or strong overhead lights can create hard shadows and bright highlights. Look for softer, more balanced light whenever possible, especially when photographing food outdoors or inside restaurants.
-
Making food colors look unnatural
Increasing saturation too much can make ingredients appear artificial. Adjust colors carefully so vegetables, sauces, meats, and other ingredients retain a realistic appearance that still looks appetizing.
-
Overcrowding the composition
Too many plates, utensils, decorations, or background objects can compete with the main dish. Remove unnecessary elements and leave enough visual space around the food to maintain focus.
-
Ignoring the background
An attractive dish can lose impact when surrounded by distracting backgrounds. Check the area behind and beside your subject, then change your position or angle to create a cleaner frame.
-
Overusing filters and editing effects
Heavy filters can remove natural textures and change the appearance of food. Keep subtle edits, focusing on exposure, contrast, sharpness, and color adjustments that improve rather than transform the photograph.
Conclusion
Photographing food while traveling is less about having professional equipment and more about noticing the details that make each dish and destination distinctive.
Start with clean lenses, suitable lighting, thoughtful framing, and an angle that complements the food. Use colors, textures, props, and local surroundings to add context without being distracted from the main subject. Take several perspectives before choosing your favorite image, then keep editing subtle and realistic.
If a photo needs extra clarity or detail afterward, Vmake Labs AI image enhancer can help refine the result. With practice, everyday meals can become memorable parts of your travel photography collection.
FAQs
-
What is the best lighting for photographing food?
Natural, diffused light is usually a good choice for food photography. Position your dish near a window or in open shade, and avoid harsh direct sunlight that creates strong shadows.
-
What is the best angle for food photography?
The best angle depends on the dish. Overhead works well for flat arrangements, while a 45-degree or eye-level perspective can better show height, layers, and texture.
-
How can I make food colors look better in photos?
Use good natural lighting and look for colors that contrast with the food. During editing, make small adjustments to saturation, white balance, and exposure while keeping ingredients realistic.
-
How to photograph food in a restaurant while traveling?
Look for a well-lit table, clean your lens, and avoid using harsh flash when possible. Try different angles and include subtle restaurant, or local details to add context.
-
Can I improve the quality of a food photo after taking it?
Yes. An AI image enhancer can help improve clarity, sharpness, resolution, and visible details in an existing food photo, particularly when the original image looks slightly soft.
You May Be Interested

Airbrush Photo Restoration Review: Is It the Best Way to Fix Old Photos?
Clean Up Pixelated Photo with AI: Enhance Photos Easily

How to Face Swap in Photoshop vs. AI Face Swap Tools

How to Fix Blurry Photos in 2026: Best Tools to Sharpen Blurry Images