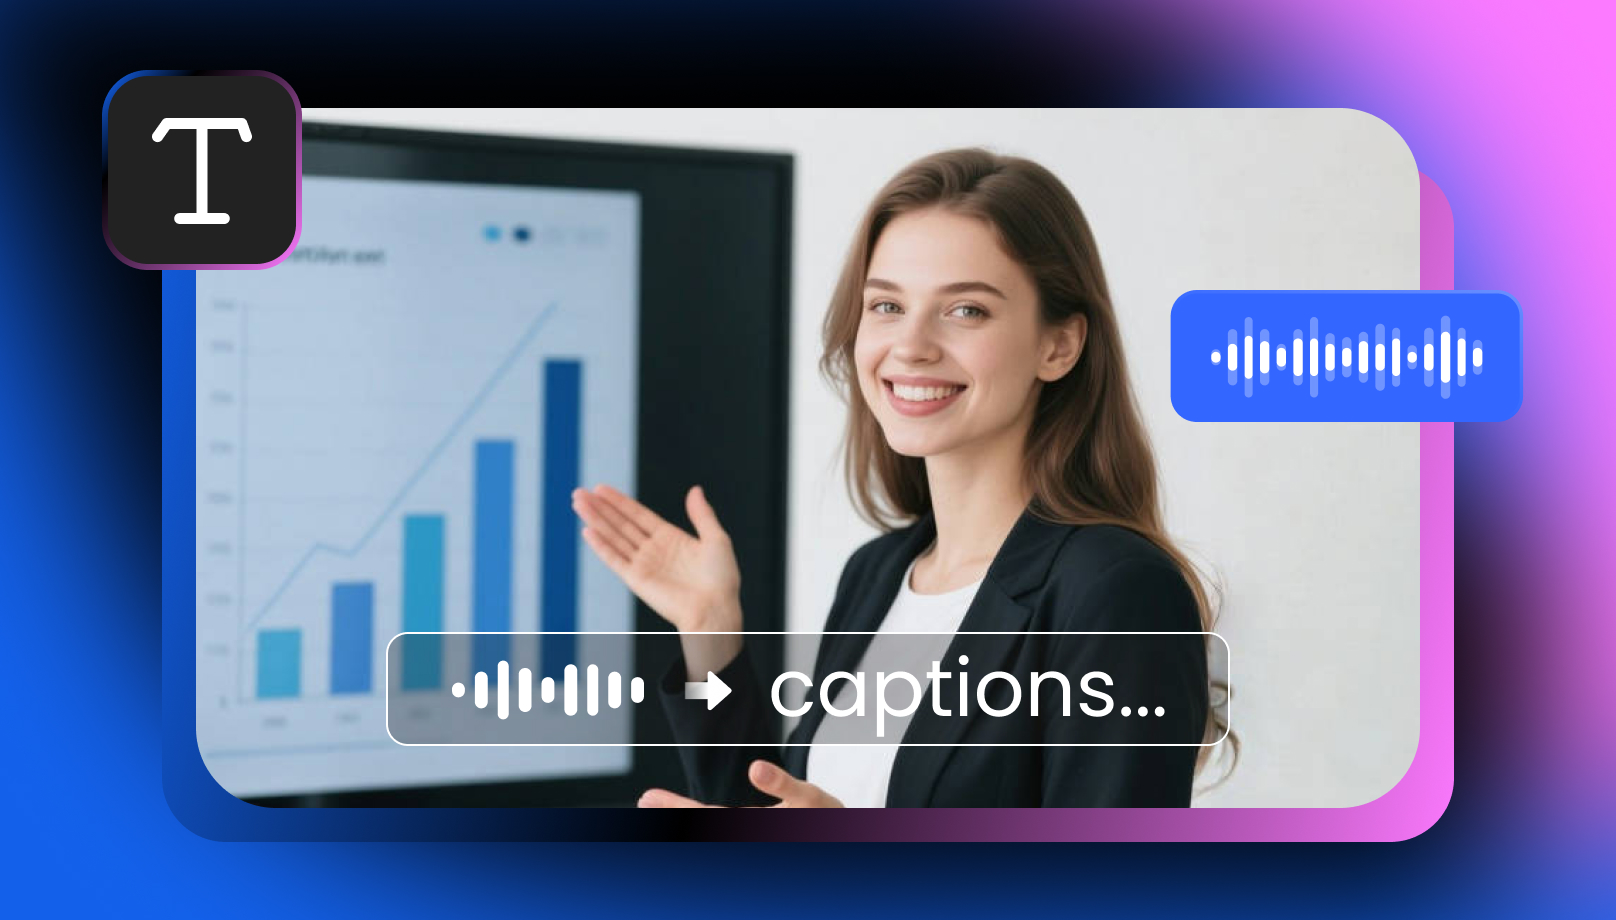
How to Turn Audio into Subtitles Using Free Tools
 Ken Dawson2025-08-11 19:09
The advent of AI-powered tools and straightforward software enables easier delivery of subtitles for audio. Turning audio to text in subtitles can benefit all creative minds, teachers and even working professionals: it makes content more accessible, improves engagement and enhances discoverability.
So in this guide, we will show you how to turn audio into text free using 3 simple and free tools without having to buy any paid software or basic technical skills. From online converters to built-in tools, here’s everything you need to know.
Why Convert Audio to Subtitles?
Before we dive into the tools, let’s quickly explore the benefits of turning audio into subtitles:
● Accessibility: This means viewers with poor hearing and visually impaired references can access your content.
● Higher Retention: Subtitled videos equal increased retention rates, especially on social.
● Multilingual Reach: Subtitles can be translated, allowing you to reach an international audience.
● Search Optimization: Since text can easily be indexed by search engines, you will enable your video to an entirely new audience by having a subtitle enriched version.
Best Free Tools to Turn Audio into Subtitles
Below are some of the most reliable and user-friendly free tools to convert audio to subtitles:
1. Vmake (Web-based)
Vmake is an AI concept video and audio editor that lets you create a professional subtitle in minutes. It runs right in your browser, so it is perfect for the creator that just needs something fast and web based to add subtitles!
Features:
● Upload audio or video files directly
● Automatic transcription and subtitle alignment
● Edit subtitle text, timing, and style
Pros:
● Wide customization options for fonts and animations
● Browser-based, no installation needed
Best for: Content creators, marketers, and educators who need control and creative flair.
2. YouTube Studio
If your audio is coming from a video, you have an option to upload it on YouTube and use its automatic captioning system. It is an automatic subtitle generator that can use AI to generate subtitles for you which you can easily download or edit.
Steps:
1. Publish your video on YouTube, (set it as unlisted if you wish to make it private).
2. See wait for the YouTube automated-captions to be created.
3. Go to the Subtitles tab in YouTube Studio.
4. Download the captions and modify them if necessary.
Pros:
● High accuracy for clear speech
● No additional tools required if you’re already on YouTube
Cons:
● Requires a YouTube account
● Limited editing features
3. CapCut
CapCut is a mobile-first video editing app that includes built-in auto-captioning, making it a convenient option for TikTok creators and social-first workflows. It allows users to generate subtitles directly on their phones and instantly apply effects and transitions.
Features:
● Auto-generate captions from voice or video
● Extensive template library for social media videos
● Direct export and publishing to TikTok
Pros:
● Platform Integration – Seamless workflow for TikTok publishing
● Creative Effects – Includes animated fonts, transitions, and stickers
● Accessibility – Free and widely available on iOS and Android
Cons:
● Video Quality – Slight compression may affect final video clarity
● Precision Editing – Auto-captions often require manual adjustments
● Paywall Features – Most advanced effects and export options require a paid subscription
4. Captions
Captions is a speech-focused mobile app designed for quick subtitle generation in talking-head videos and Reels. It emphasizes ease of use and speech accuracy but comes with limitations in design and export flexibility.
Features:
● Automatic speech-to-text transcription
● Basic editing tools for trimming and adjusting captions
● Optimized for short-form mobile content
Pros:
● Speech Accuracy – High recognition for clear voice recordings
● Minimalist UI – Simple interface with little learning curve
● Fast Processing – Quick subtitle generation even for longer videos
Cons:
● Customization Limits – Limited styling options in the free version
● Video Quality — Mild quality loss in exported videos
Who should use it: Vloggers, educators, and other people who will do a lot of talking-head content and want things done quickly even if the cost is some level of sameness.
How to Choose the Right Tool for Audio to Subtitle Conversion
Things to keep in mind while choosing the audio to subtitle tool:
● Audio Quality: Clear, quality audio benefits tools.
● Language support: Make sure that the tool supports the language(s) that you would like to manage.
● Customization: Some tools let you style your subtitles, while others are plain text.
● Format output: Do you need SRT files, hardcoded subtitles, or just a transcript?
Pro Tip: Use Vmake to Create Branded Subtitles Easily
While many free tools get the job done, if you want creative control without complexity, Vmake is a solid choice. It lets you:
● Convert audio to subtitles automatically
● Add styling (fonts, colors, animations) to match your brand
● Export subtitle files or videos directly
How to Turn Audio into Subtitles with Vmake
Step 1: Open the Auto Generated Captions Page
Head to Auto Generated Captionstool and click “Use Now” to start.
Step 2: Upload Your Video
Then click on “Upload Video” and select the file from your computer
Step 3: Pick a Caption Style
Pick any font, color and animation type or subtittle style you prefer.
Step 4: Edit the Text (If Needed)
Make edits in your text — correct typos, reword contents or change timings on the timeline
Step 5: Export
After everything is complete, export your HD project with no watermark into any social medias!
Turn Audio into Subtitles, Smarter and Faster
Need more control than basic tools offer? Try Vmake—an AI-powered editor to convert audio into subtitles with style, speed, and accuracy.
🎯 No installs, no hassle. Just smart captions.
Vmake Video Watermark Remover

You May Be Interested

Seedance 2.0: What's New & How to Use It

123APPS Watermark Remover Review (2026): Pros, Cons, and Pricing

5 Best Valentine's Day Video Ideas for eCommerce in 2026

How to Create a YouTube Thumbnail? Create YouTube Thumbnails Using AI
