Canva Video Enhancer: Enhancing Visuals Made Easy
 Ken Dawson2026-01-23 11:36
In today’s world, where crisp visuals are a must, content creators often find tools to enhance their videos. But whether you’re working on a marketing video, social media content, or personal videos, finding the right video enhancer is key to achieving the best results.
Among many options, Canva Video Enhancer is a well-known name for increasing resolution and improving your footage directly within the platform. But is it suitable for your videos?
In this article, you’ll learn about Canva Video Enhancer, such as its key functionalities, where it performs best, where it lacks, its pricing model, and where it stands against its top alternatives.
What is Canva Video Enhancer and What Does It Offer?
Canva Video Enhancer is a popular online tool that lets you quickly improve video quality and resolution without any technical knowledge. It is part of a graphic design platform that offers various features for content creation and editing. Its intuitive interface, advanced video and audio tools, and superb apps for different purposes make it suitable for everyone, i.e., casual users, creators, and graphic designers.
Additional Features:
Design Templates: Canva offers a range of templates that make it easy to create captivating visuals. These include social media posts, videos, documents, presentations, resumes, and more.
Audio Tools: It assists you in extracting audio from video, enhancing voice, adding voiceovers, and adjusting volume as desired.
Magic Studio: This advanced one-click feature lets you remove the background, trim, resize, adjust the speed, and apply video filters.
Magic Media: It uses AI technology to efficiently create designs such as graphics, images, videos, and 3D art. You only need to provide the text prompts.
Annotation Tools: This incredible feature lets you select any object, draw anything, and insert shapes, lines, sticky notes, text, and tables. You can also add specific notes to your design.
Canva AI: Whether you need to write a document, design a logo, create an image or video, write code, or handle any other design task, its AI technology helps you do everything with a simple text input.
Brandkit: It offers a dedicated tab to upload brand-specific templates and other assets, such as logos, colors, fonts, icons, brand voice, and charts.
Advanced Applications: You can access various productivity apps for AI generation, translation, and other functions. These apps are diverse, ranging from a pixel enhancer and AI voiceover to a logo maker and faceless video.
Key Features & Hands-On Experience of Canva Video Enhancer
Canva Video Enhancer is a powerful solution that is available as an editing feature and a specialized AI tool. To assess its performance, I have used both versions, and here are my insights:
Canva Video Enhancer (Adjust Tools)
Canva Video Enhancer offers a variety of adjustment tools to help refine video quality. You can adjust any aspect of the video, such as white balance, color, and lighting, with a single click, making it easy for beginners to get started. You can easily make the videos vibrant, improve visibility, and give them a crisp look.
For those who don’t want manual control, it also offers an auto-adjustment feature to enhance video quality. It even lets you adjust the playback speed and preview the enhanced video before downloading.
Canva Video Upscaler (AI-Based)
Canva Video Upscaler is an AI-powered app that is capable of enhancing your video quality with ease. While supporting MP4, MOV, and MKV formats, it can increase video resolution to 4K without pixelation or other issues.
The AI analyzes each frame and applies algorithms to upscale it to a higher resolution, making it suitable for older or low-resolution footage, but short clips. You can reduce noise, restore details, and correct the color of your videos. It also offers various enhancement styles to deliver results that suit your videos.
Getting Started with Canva Video Enhancer
Canva Video Enhancer can be used in two different ways; therefore, learning the right method is crucial. Let’s comply with the given steps depending on whether you want to use it for enhancement or upscaling:
Guide 1. How to Enhance Videos with Canva Video Enhancer
Step 1. Create a Design
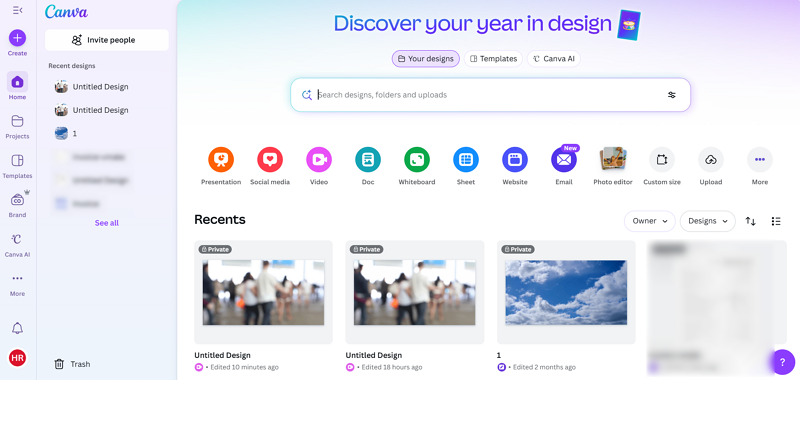
The first step is to open Canva in a browser and click “Create” to choose a template or a custom size.
Step 2. Upload the Video
Next, tap “Uploads” > “Upload files” to import the video. Then, drag the video to the main window. Then, click the video and tap the “Edit” option.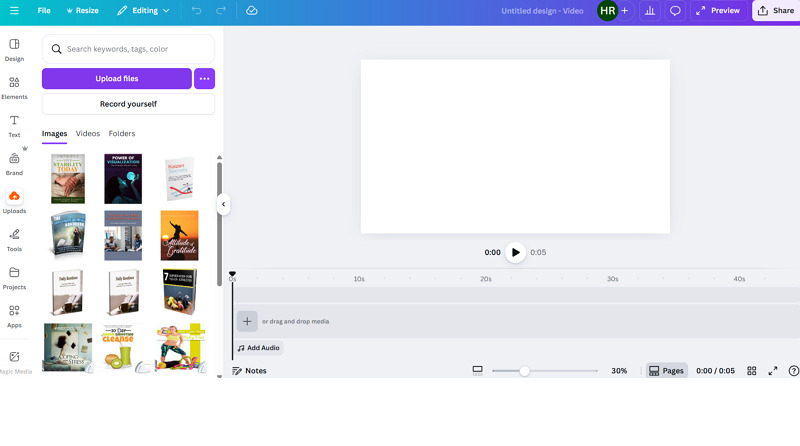
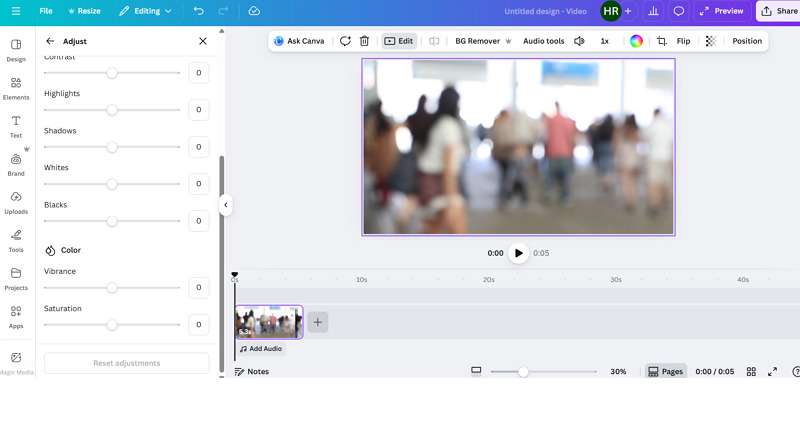
Step 3. Enhance Video File
From the left side column, open the “Adjust” menu. Tap the “Auto-adjust” button or use the slider for parameters, i.e., temperature, brightness, contrast, vibrance, etc.
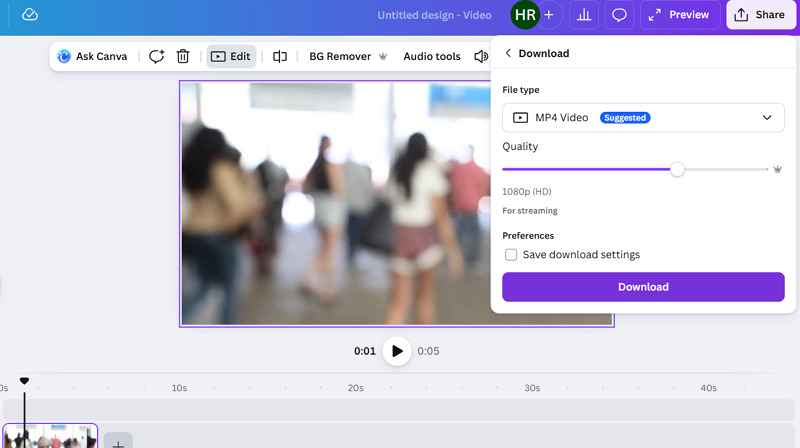
Step 4. Export the Output
Then, preview the output and if it’s fine, press “Share,” click the download icon, choose the file type & quality, and hit “Download.”
Guide 2. How to Use Canva Video Upscaler
Step 1. Open the Video Upscaler
First of all, open the Canva editing window and click the “Apps” tab from the right side column, search for Video Upscaler, and tap “Video Upscaler” to open it.
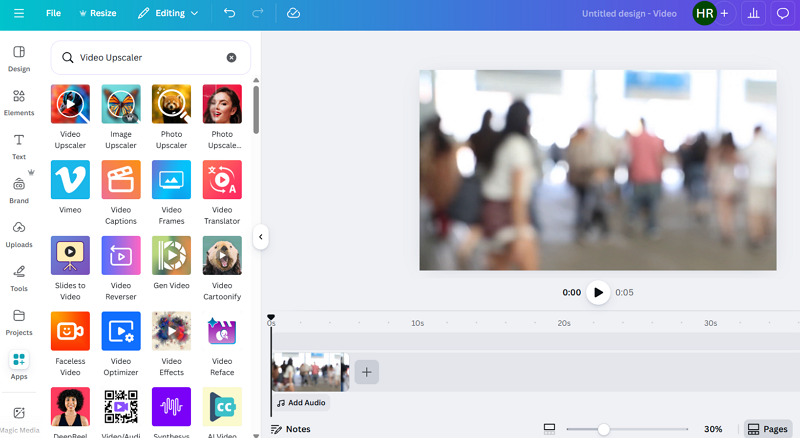
Step 2. Import Video File
Now, click “Choose file” to browse and upload the video file you want to enhance. Various options will appear on your screen.

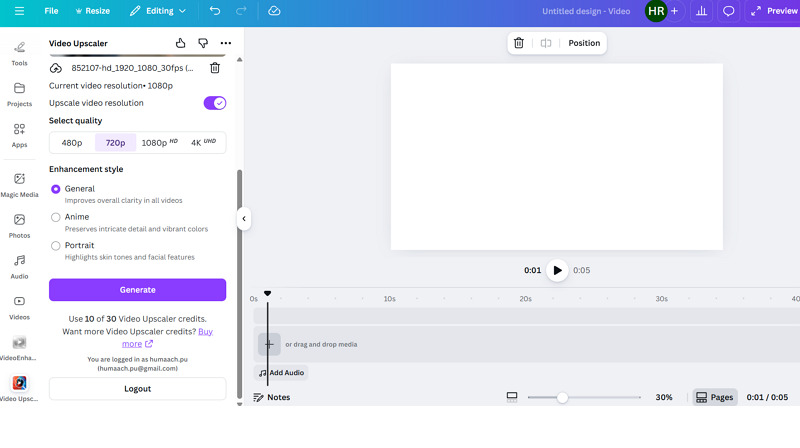
Step 3. Enhance and Upscale
It’s time to select a quality option from 480p to 4K UHD. Also, choose the enhancement style,” i.e., “General,” “Anime,” or “Portrait.” Then, press “Generate.”
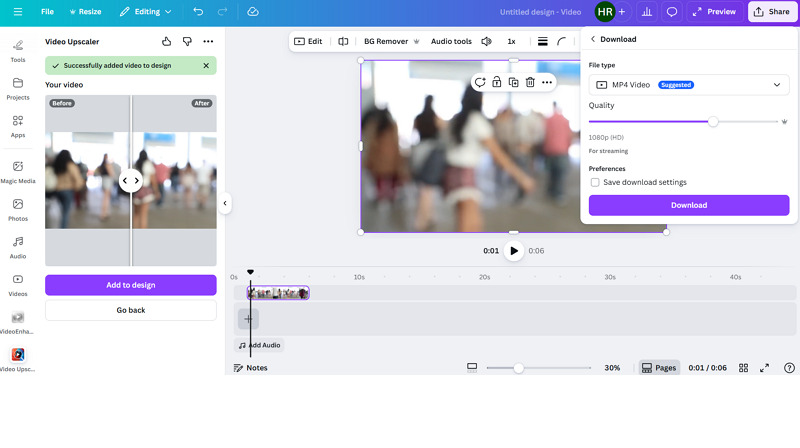
Step 4. Download Enhanced Video
Lastly, press the “Add to design” button and fit it into the design. You can use other editing tools and then export them to your device. That’s all!
Canva Video Enhancer: Pricing Plans
Canva works on a subscription system. Here is the table to better understand the pricing structure:
| Plan | Price | What's included |
Individuals and Business | ||
| Free | $0 | Easy drag & drop, 1.6M+ templates, 1 brand kit, Video Enhancer, Limited AI access, 5GB of cloud storage |
| Pro (Monthly) | $18 CAD | Premium tools, 3.6M+ templates, 5 brand kits, Video Enhancer, High AI access, 100GB of cloud storage, Content planner |
| Yearly | $142 CAD | |
| Business (Monthly) | $ 25 CAD | Collaboration, integration, and centralized assets, 3.6M+ templates, 100 brand kits, Video Enhancer, Higher AI access, 500GB of cloud storage, Team admin tools |
| Yearly | $250 CAD | |
| Enterprise | Let’s talk! | Enterprise-level security, SSO & SCIM provisioning, custom integrations and advanced apps, 1000 brand kits, Video Enhancer, Higher AI access, 1TB of cloud storage, Priority support |
Education | ||
| Teachers | Free | Thousands of templates, 25+ AI tools, Access premium features, Seamless LMS integrations, 1TB of secure cloud storage, FEPRA and COPPA certified, GDPR compliant |
| Schools and Districts | Free | SSO and LMS integrations, collaboration & content management, Manage accounts with student permissions, Brand kit, FEPRA and COPPA certified, GDPR compliant |
| Campus | Let’s Talk! | For staff & faculty with premium Canva access to all students, Secure rollout with SSO and domain capture, LMS integrations, centralized admin controls, AI admin controls, ISO 27001, and SOC2 Type II Compliance |
How Canva Video Enhancer Stacks Up Against Competitors
To learn more about the performance of Canva Video Enhancer, it’s important to compare it with popular alternatives like Vmake, Topaz Labs, and X-Design. Let’s have a look at the comparison table:
Tool | Platform | Ease of Use | Speed | Output Quality | Ideal for |
Canva Video Enhancer | Web, Desktop (Win & Mac), Mobile (Android & iOS) | Easy | High | Good | Simple adjustment and AI upscaling for short clips, but mainly for creative assets and designing tools |
Web, Mobile (Android & iOS) | Very Easy | High | Best | One-click video enhancement and batch restoration with auto-adjustment and support for 2K, 4K, or 4K+ upscaling | |
Topaz Labs Video Enhancer | Web, Desktop (Win & Mac) | A bit complex | Moderate | High | High-quality noise reduction, frame interpolation, and upscaling |
X-Design Video Enhancer | Web | Very Easy | Moderate | Good | Instant video quality enhancement using auto color correction and sharpening |
Benefits & Drawbacks to Canva Video Enhancer
No doubt, Canva Video Enhancer does a great job in many respects, but it also has some limitations that should not be overlooked. Here is an overview:
Pros:
The user interface is very simple
Support MP4, MOV, MKV, MPEG, and WebM formats
Offer a range of video editing tools
Flexible video enhancement methods
One-click video and image enhancement
Support for up to 4K resolution
Export in the desired file format and quality
Cons:
Support only online processing
Limited video enhancement features
Lack of depth in editing functionalities
Advanced features are behind a paywall
FAQs about Canva Video Enhancer
1. Is Canva Video Enhancer safe?
Yes, the Canva platform and its video enhancement tools are safe, secure, and trustworthy. It implements multiple layers of safety and privacy controls to protect users and their data.
2. Can I use it for commercial projects?
Yes, you can use Canva Video Enhancer for commercial projects. Also, you should follow Canva’s Terms of Use and the right subscription plan.
3. Can Canva enhance blurry, low-quality videos?
Yes, but there are certain limitations. You can adjust brightness, contrast, and saturation levels to improve dull videos. But excessive shakiness, blurriness, and pixelation need high-grade video enhancers.
Final Verdict: Is Canva Video Enhancer Worth Using in 2026?
Canva Video Enhancer is a convenient, browser-based solution for improving video quality. With built-in adjust tools, you can make basic color and lighting corrections, while the Video Upscaler app provides limited AI-powered resolution enhancement.
However, it is mainly suitable for editing and enhancing short video clips. So, if you’re working with low-resolution, old, or long videos, Vmake Video Enhancer is the right choice. With different AI models, it provides scenario-specific restoration capabilities, including facial enhancements and detailed processing.
Vmake Video Watermark Remover

You May Be Interested

Seedance 2.0: What's New & How to Use It

123APPS Watermark Remover Review (2026): Pros, Cons, and Pricing

5 Best Valentine's Day Video Ideas for eCommerce in 2026

How to Create a YouTube Thumbnail? Create YouTube Thumbnails Using AI
