How to Get the Best Quality Video on YouTube: Creator's Guide
 Ken DawsonMay 26, 2026
Watching YouTube turns your pristine video into a blurry mess triggers instant panic. The culprit isn't your software; it's server-side compression. This guide breaks down the "VP9 codec trick" and smart post-production settings to bypass destructive processing, force the algorithm to respect your footage, and guarantee maximum quality. Let's go.
Understanding What YouTube Actually Wants
The Viewer Retention Connection
Decoding the platform's behavior starts by pulling back the curtain on its primary objective. YouTube's algorithm ultimately cares about one metric above all else: Watch Time. Connecting this technical objective to the human element reveals why visual clarity matters. Viewer patience is incredibly thin in the modern digital landscape. If a video appears blurry, muddy, or heavily artifacted within the first few frames, audiences click away. Delivering the best quality video YouTube is not merely an aesthetic choice reserved for filmmakers. It operates as a fundamental audience retention strategy.

The Balancing Act
Achieving the YouTube video best quality involves a strict reality check. Inexperienced editors often assume they can just crank every export slider in Premiere Pro or Final Cut to "Maximum." This brute-force approach ignores network realities.
Attempting to upload that massive 50GB file to a web server can take days. Worse, serving that massive file causes relentless playback buffering for viewers dealing with slower internet connections. The true secret to securing the highest quality video on YouTube centers on finding the mathematical sweet spot. Creators must optimize both resolution and bitrate just enough to survive the brutal compression engine, without crippling their upload workflow or isolating viewers with unmanageable file sizes.
The "Secret" to Beating YouTube's Compression
The VP9 Codec Trick
Every single file uploaded to the platform undergoes aggressive compression. YouTube defaults to the standard "AVC1" codec for the vast majority of standard-definition and 1080p uploads. AVC1 handles data efficiently but decimates fine textures, resulting in the blocky pixelation often seen in dark scenes or fast motion.
However, triggering a specific threshold alters this behavior. If you upload a file rendered in 1440p or 4K resolution, YouTube assigns the video to the superior "VP9" codec. Built for high-density media, VP9 allocates data dynamically. The most fascinating aspect of this trick is the trickle-down effect. Even viewers watching your video on a standard 1080p mobile screen will see a sharper image because the underlying compression codec is vastly superior.
Why You Should Upscale
Capitalizing on the VP9 codec does not require a Hollywood budget. Even if you shot your entire project using a 1080p camera, upscaling the final timeline to 4K right before uploading acts as the ultimate algorithmic bypass. This deliberate size inflation forces the platform to allocate the high-quality VP9 treatment to your channel. Understanding the differences between native 4K vs upscaled media helps clarify why this method works so efficiently for daily vloggers and educators.
How to Get 4K Quality Without a 4K Camera (The Post-Production Fix)
Achieving the best quality for a YouTube video does not demand a massive financial investment in new camera bodies and prime lenses. While upgrading hardware offers marginal benefits, smart post-production techniques bridge the gap between amateur setups and professional polish.
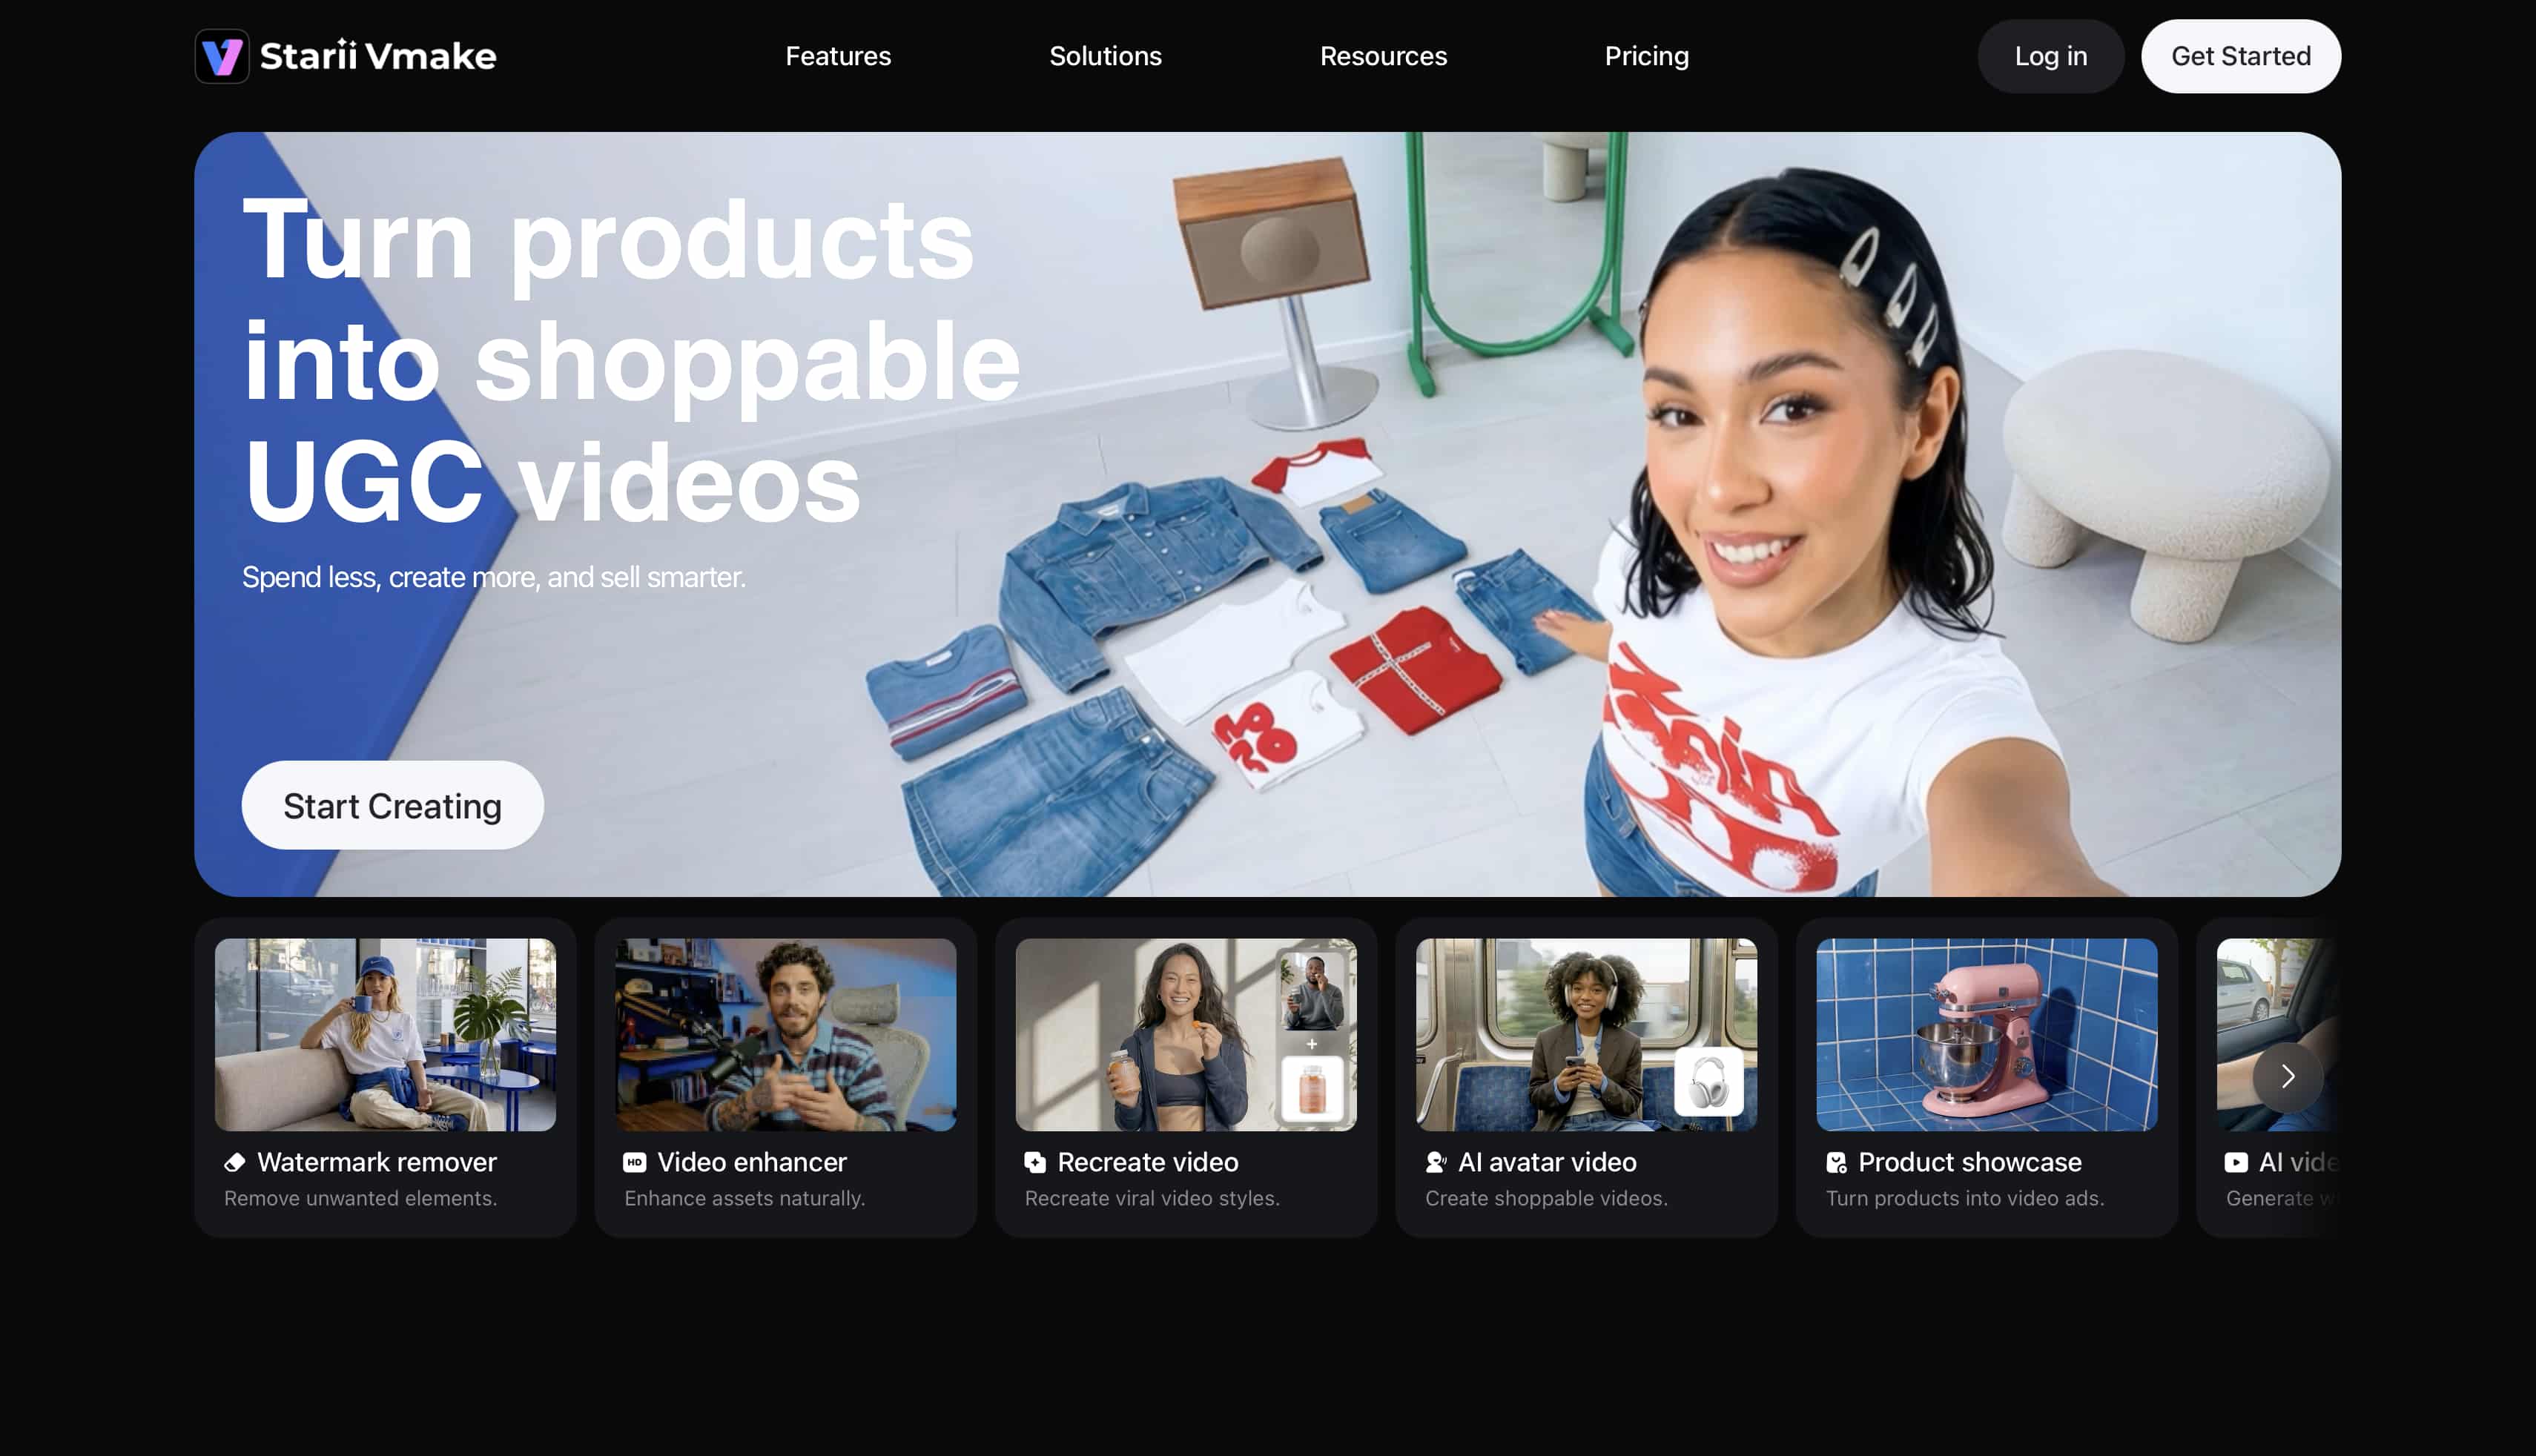
Enter Vmake Video Enhancer
When raw footage falls short of algorithmic demands, utilizing an AI video enhancer acts as a creator's cheat code. Instead of relying on basic editing software that merely stretches pixels, dedicated enhancement platforms intelligently repair and upgrade the media before the final export.
-
AI 4K+ Upscaling: This technology ties directly back to the VP9 codec trick. Rather than applying a basic sharpening filter, Vmake intelligently rebuilds lost details. Utilizing a 1080p to 4K converter powered by generative models upgrades standard footage to true 4K resolution.
-
Noise Reduction & Texture Recovery: Shooting in standard room lighting often produces grainy, low-light clips. The enhancement engine isolates this digital noise and eliminates it. Simultaneously, it restores material textures, like fabric weaves or text on a screen, ensuring professional YouTube video quality.
-
Semantic Motion Repair: Fast-paced content, such as vlogs or sports highlights, suffers from intense motion blur. The AI utilizes scene understanding to track moving subjects. It mathematically calculates the missing data between frames to fix motion blur, ensuring key subjects.
-
Scene-Optimized AI Models: Advanced creators understand that one-size-fits-all filters ruin specific aesthetics. Vmake avoids this by offering selectable models. Creators can trigger Portrait Mode to protect lifelike skin tones, switch to Gameplay/Low-Light Mode for dark streaming captures, or engage De-AI Mode to make artificially generated B-roll look breathtakingly real.
Quick Steps Guide
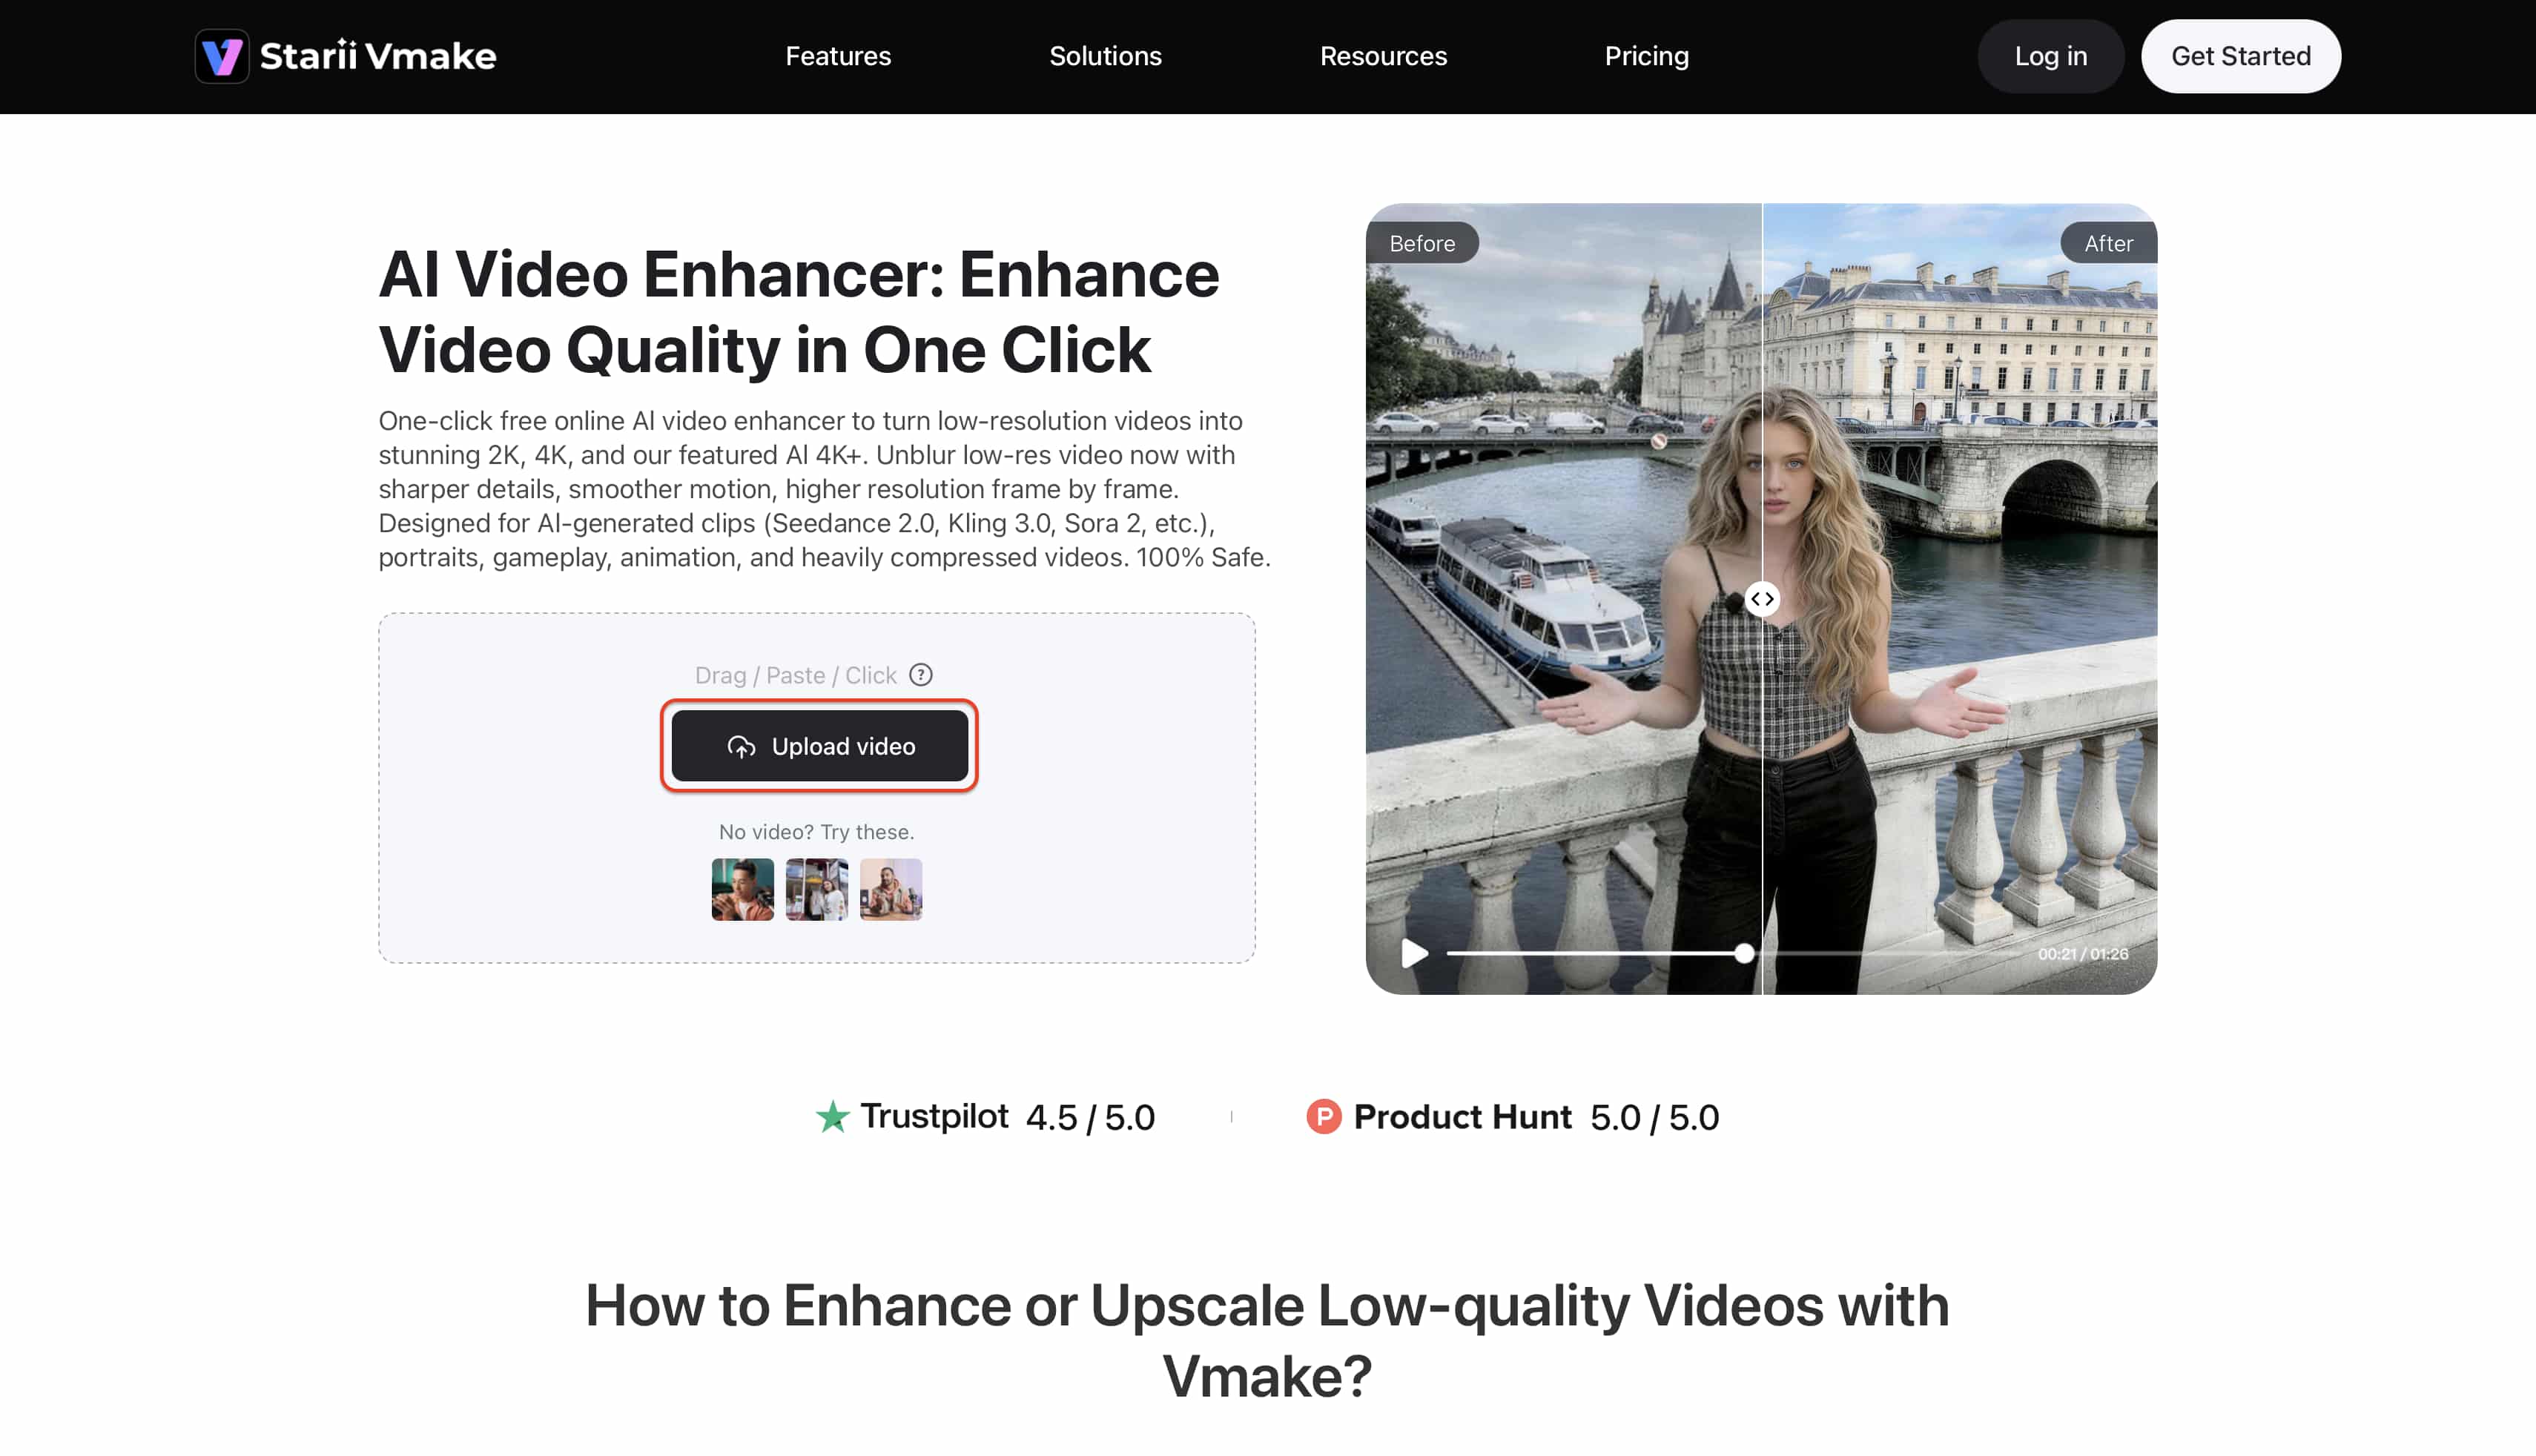
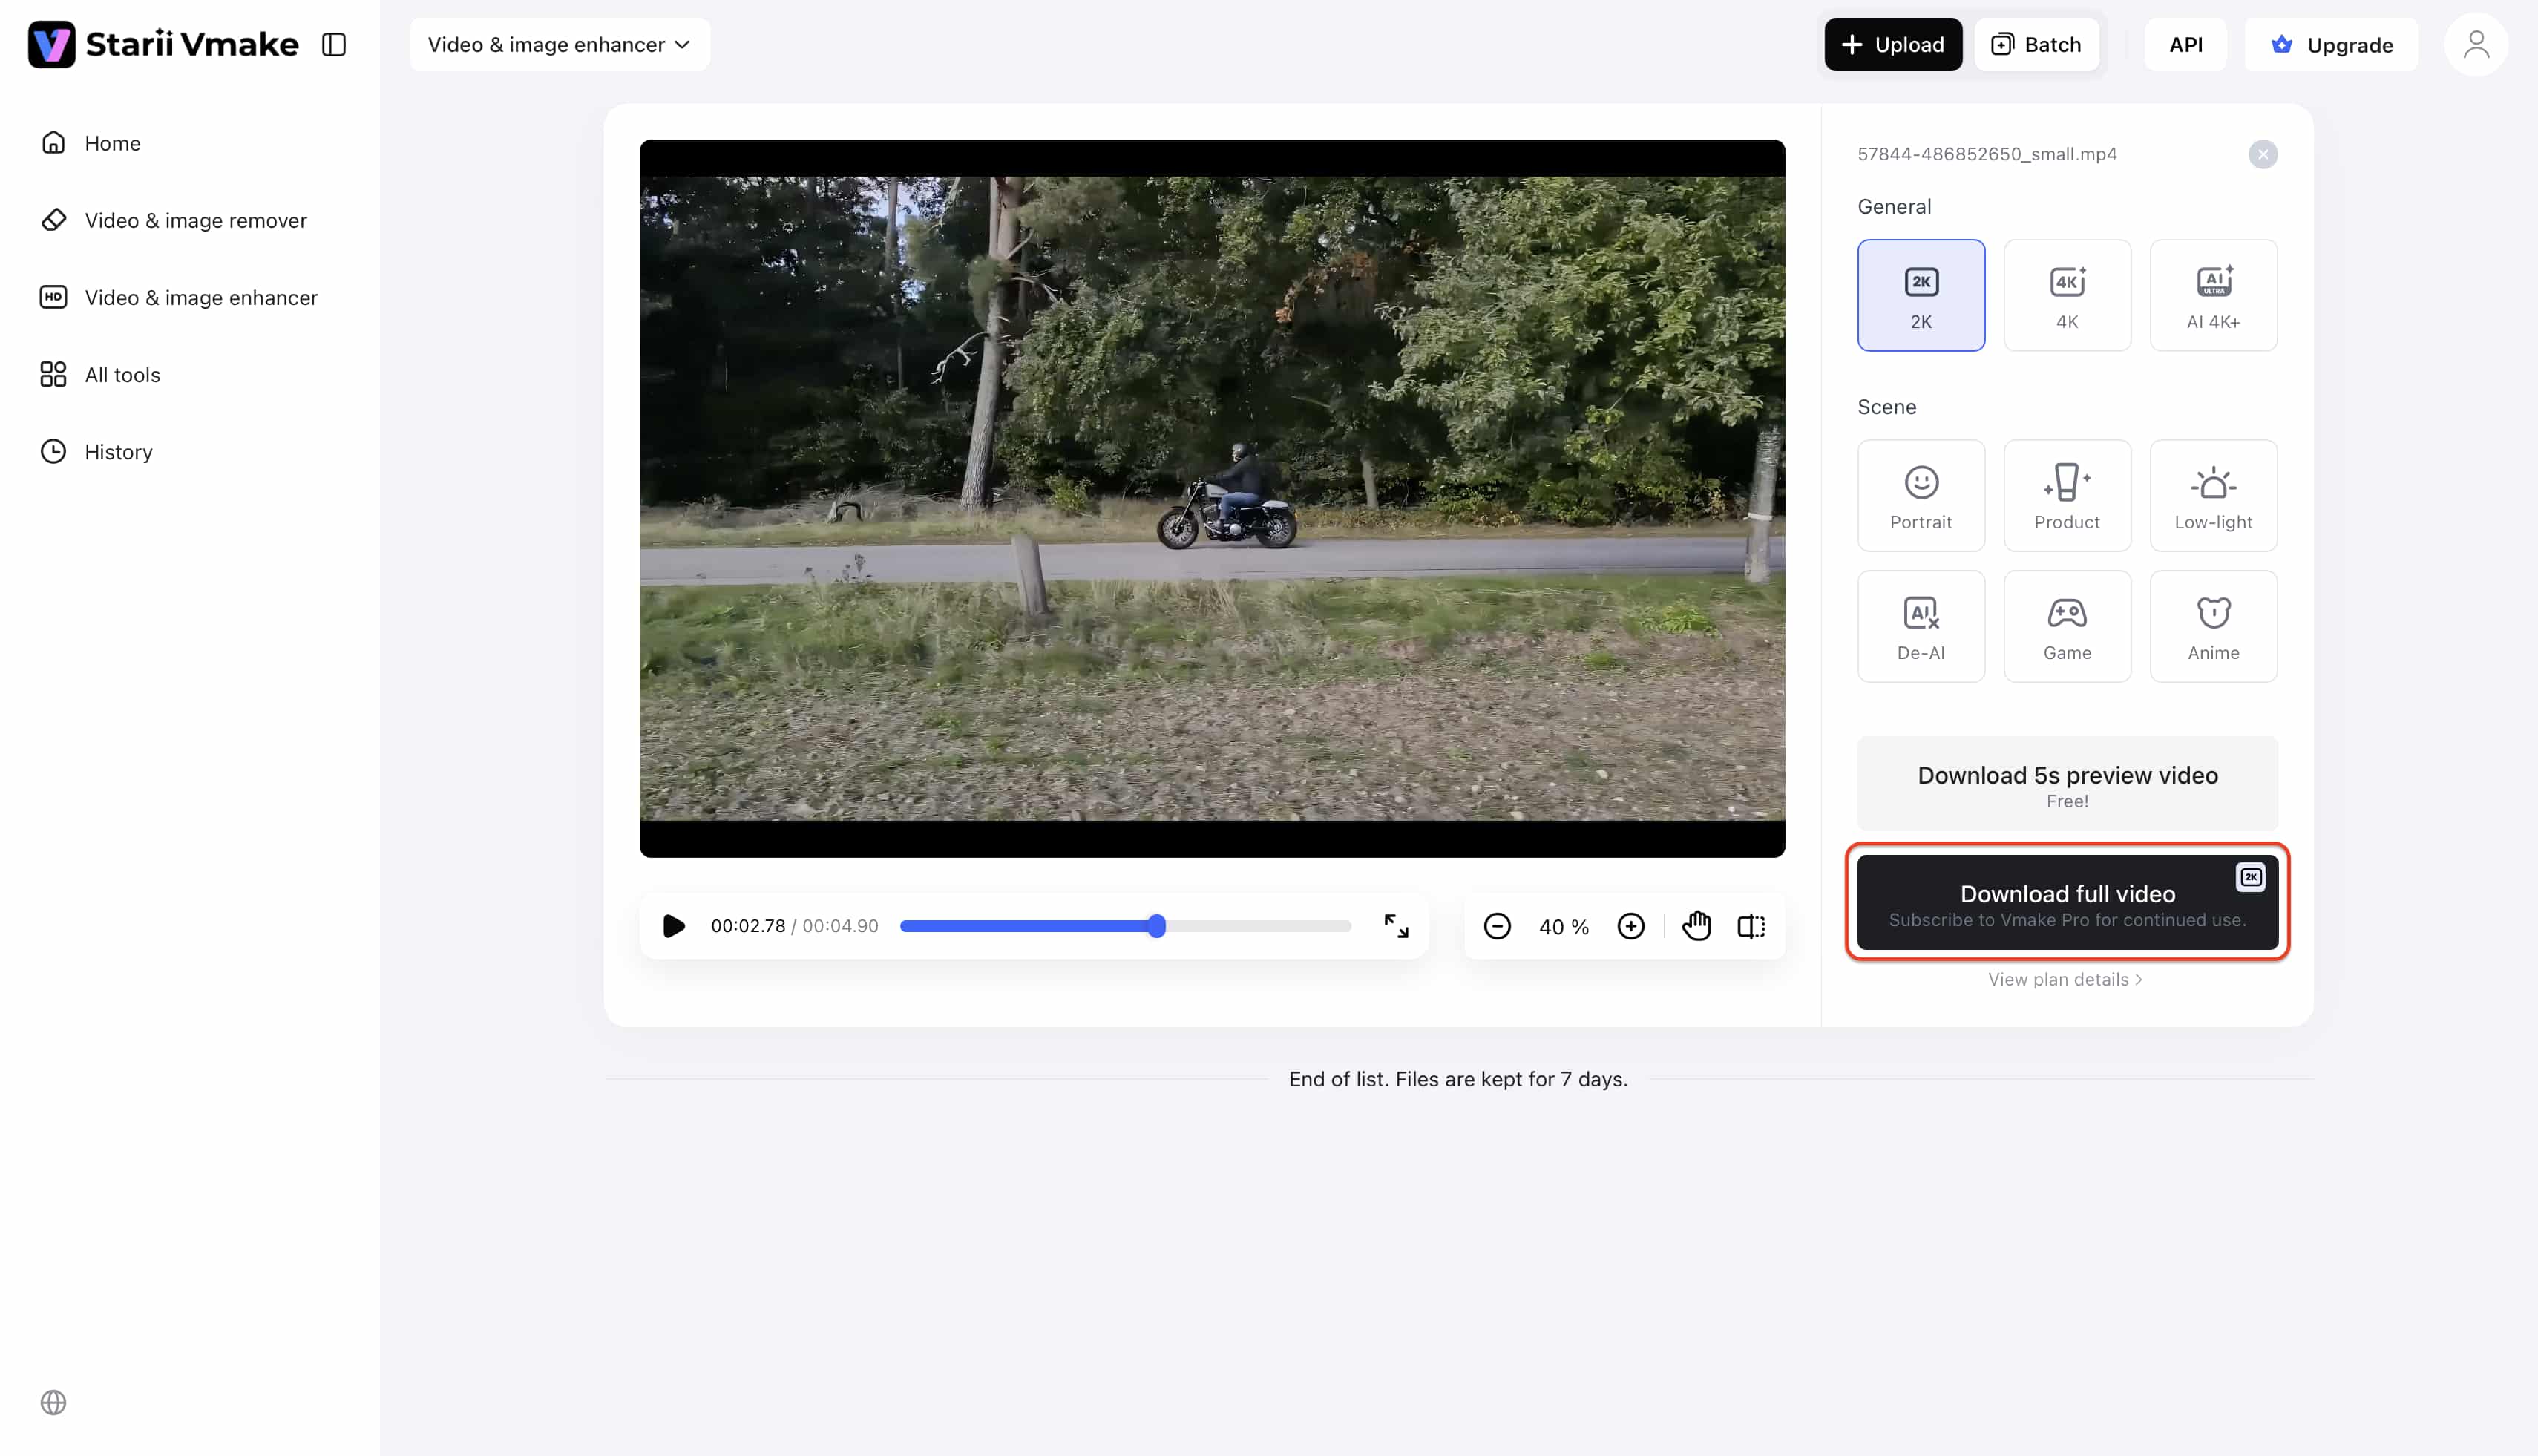
Step 1: Upload Your Clip
Navigate to the web interface and drag your compressed or raw footage directly into the secure upload zone.
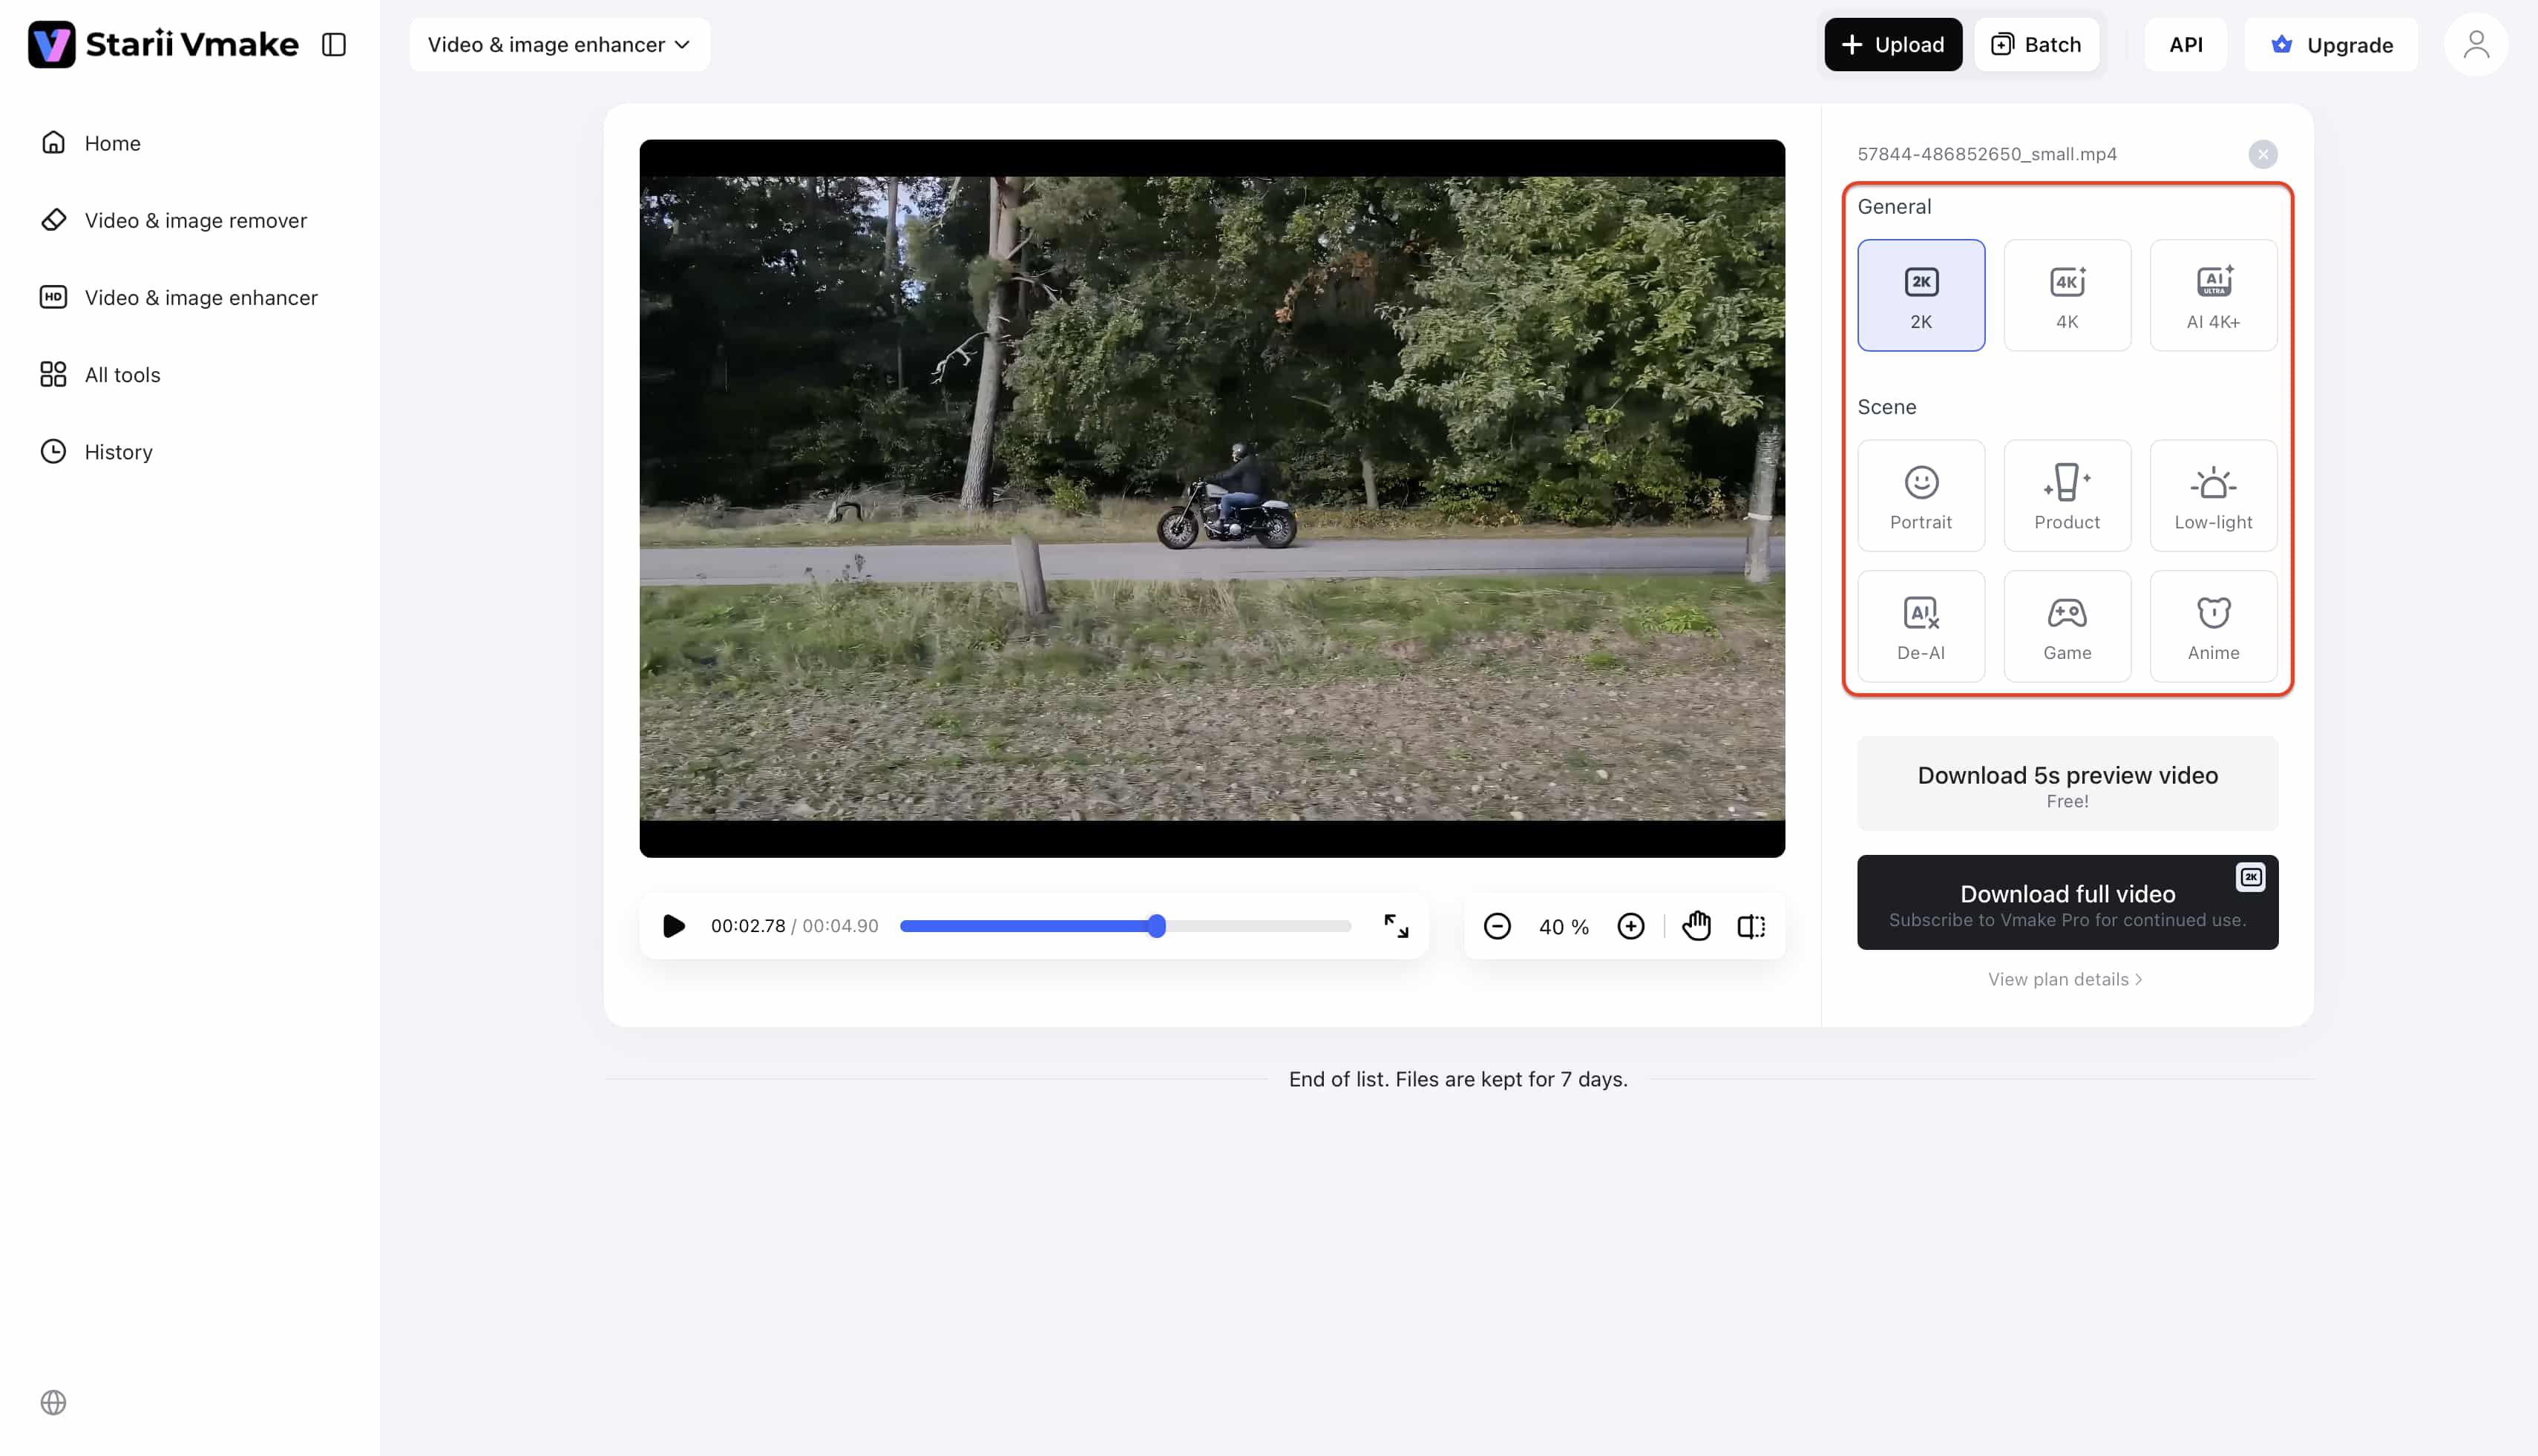
Step 2: Select Resolution and Mode
Choose the 2K, 4K, or AI 4K+ and specific enhancement mode from the right-hand panel that matches your scene environment.
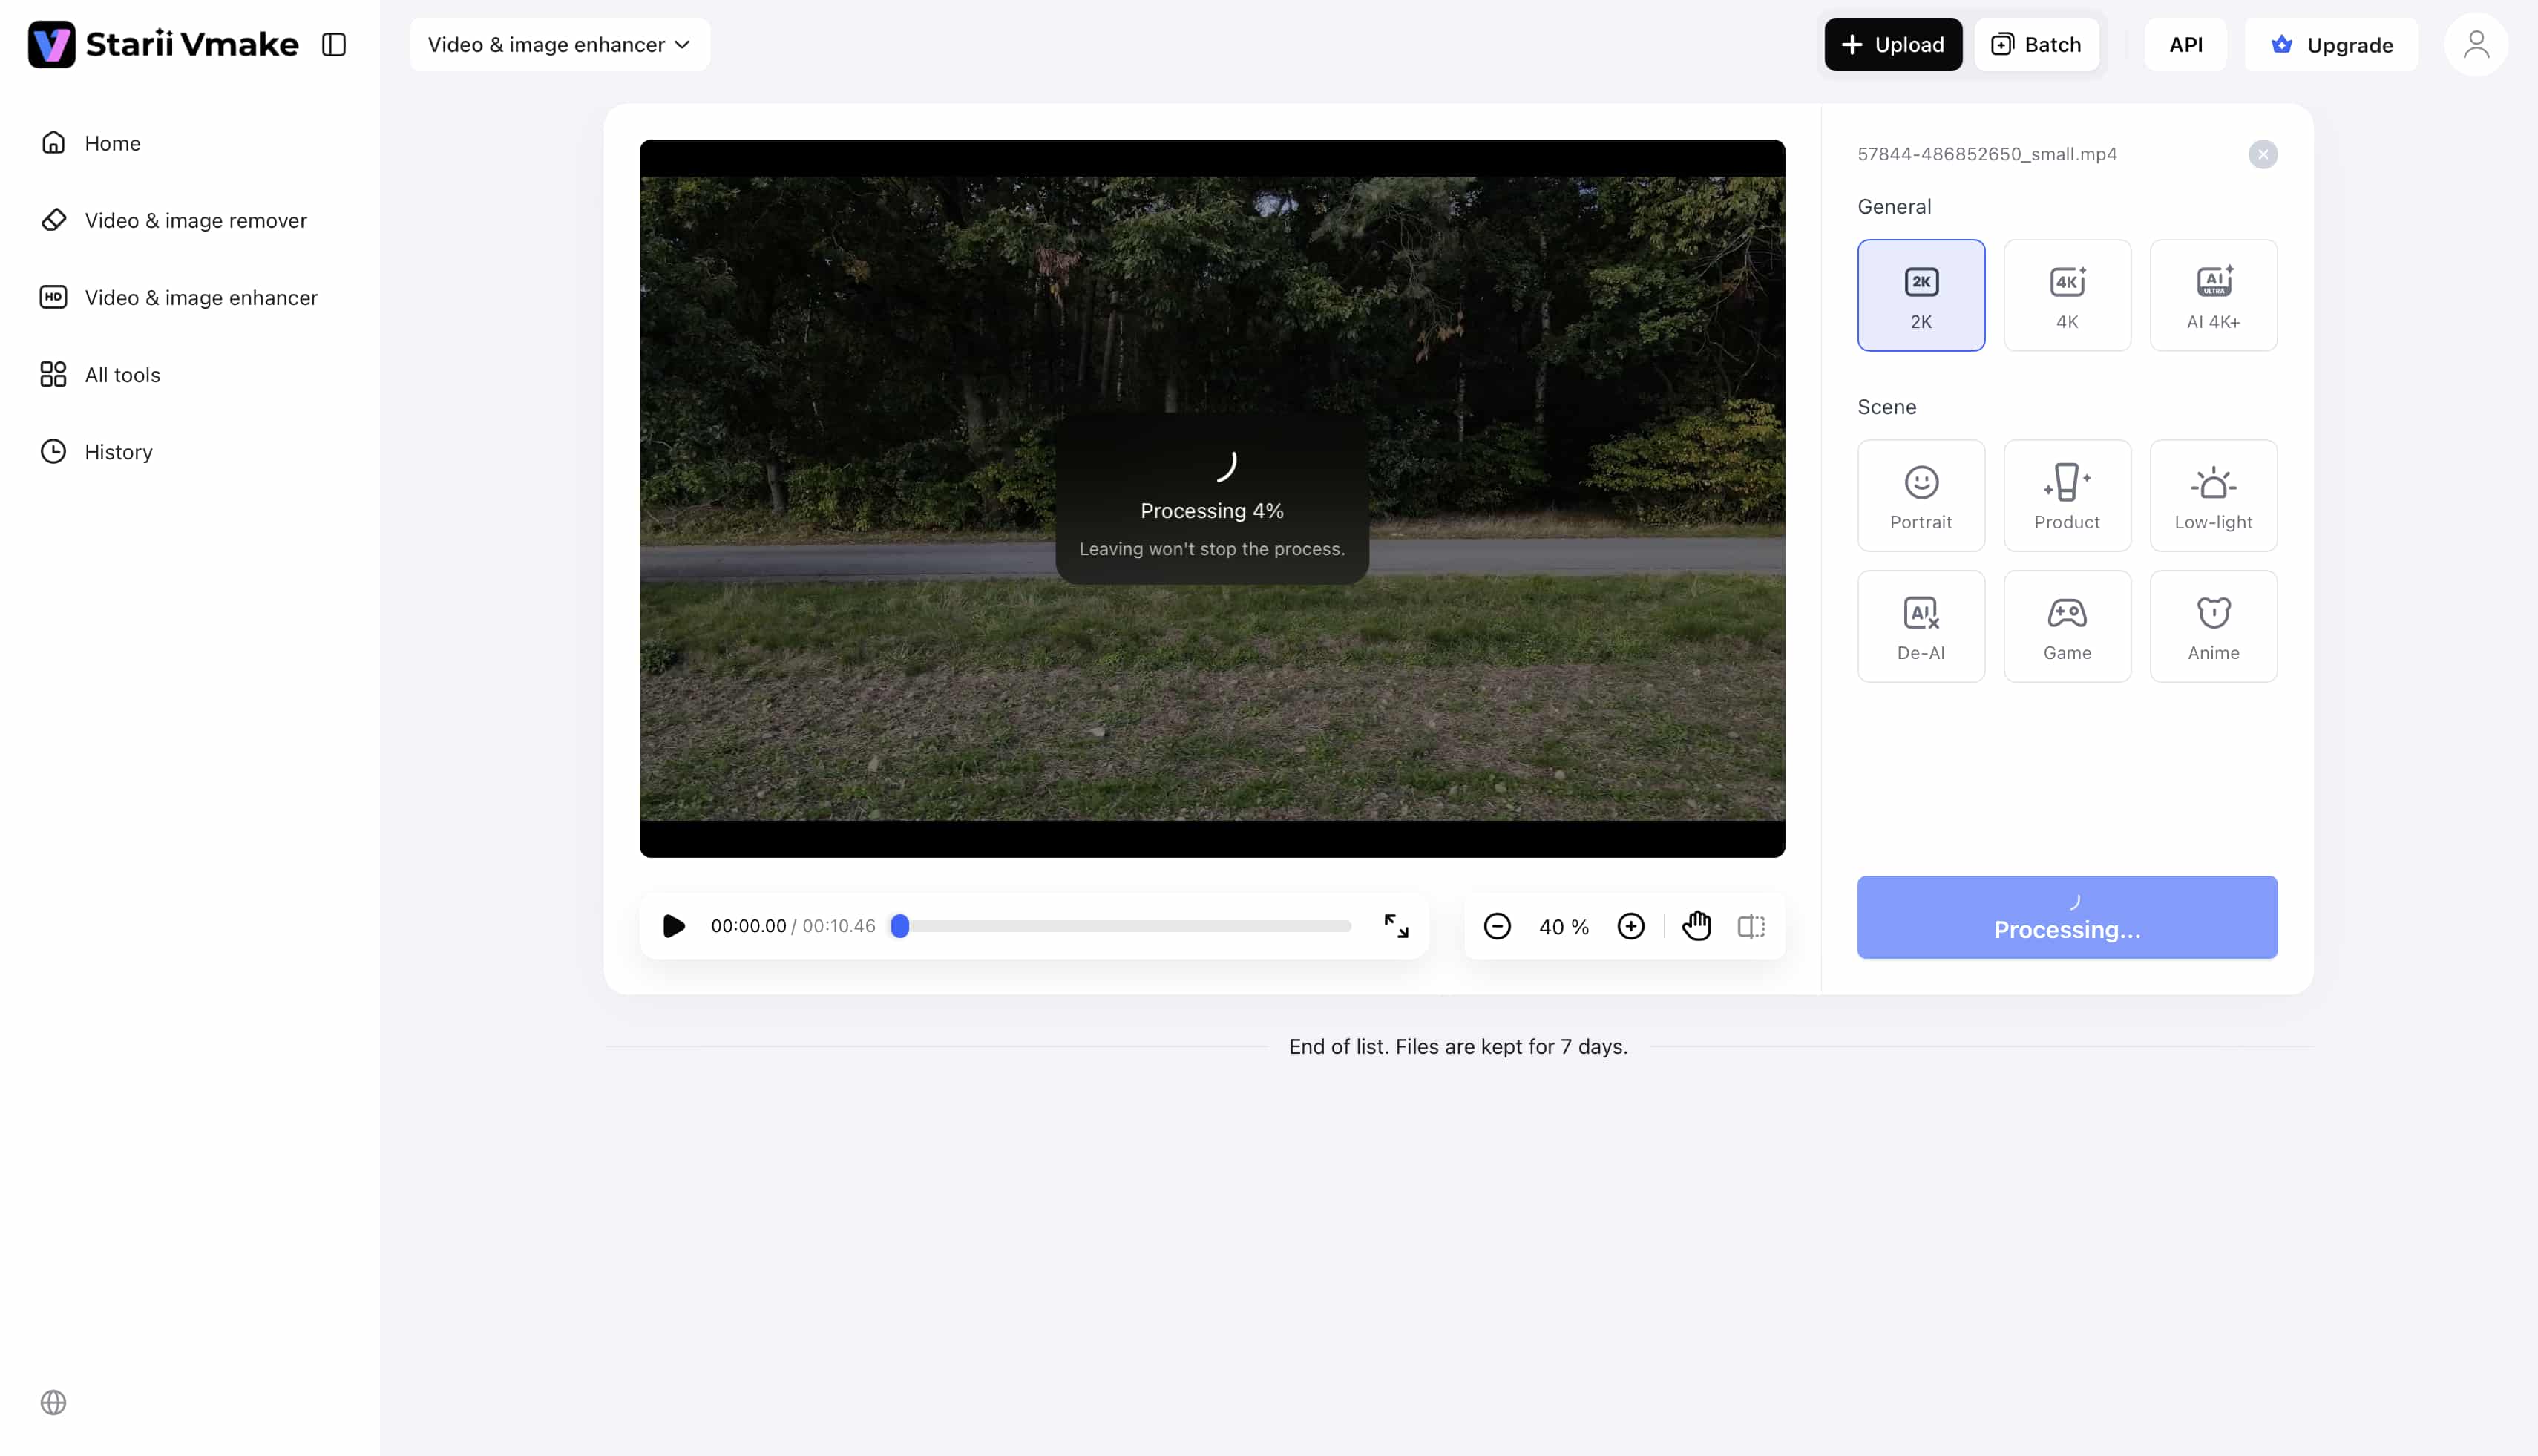
Step 3: Process and Preview
Use the interactive slider to review the frame-by-frame improvements, ensuring the textures look natural before finalizing.
Step 4: Export the File
Download the enhanced media, perfectly optimized to trigger the VP9 codec upon upload.
The Technical Checklist: From Camera to Golden Export Settings

Getting it Right at the Source
Digital settings cannot perform miracles on fundamentally flawed source material. Proper physical lighting remains the bedrock of crisp media. When camera sensors lack light, they artificially boost ISO, which floods the image with digital noise. This grain confuses compression algorithms, forcing them to waste data rendering the noise instead of your subject. Pouring light onto the scene prevents the digital noise and grain that actively ruin YouTube video quality.
Best Video Format & Codecs
Navigating export menus often confuses new editors. Keep the format selection rigid: recommend MP4 as the undeniable standard container. It guarantees universal playback compatibility across all devices. Regarding video codecs, H.264 remains the safest, most stable bet for platform compatibility.
Bitrate Sweet Spots
Bitrate controls the actual volume of data processed per second. Setting this parameter too low starves the image, resulting in blocky artifacts that ruin the YouTube video best quality. Conversely, setting it astronomically high just wastes massive amounts of upload time with zero visual return. For standard 1080p uploads at 24 to 30 frames per second, target a strict 8 to 12 Mbps.
The Final Step: Navigating YouTube's Processing Time
The 360p Panic
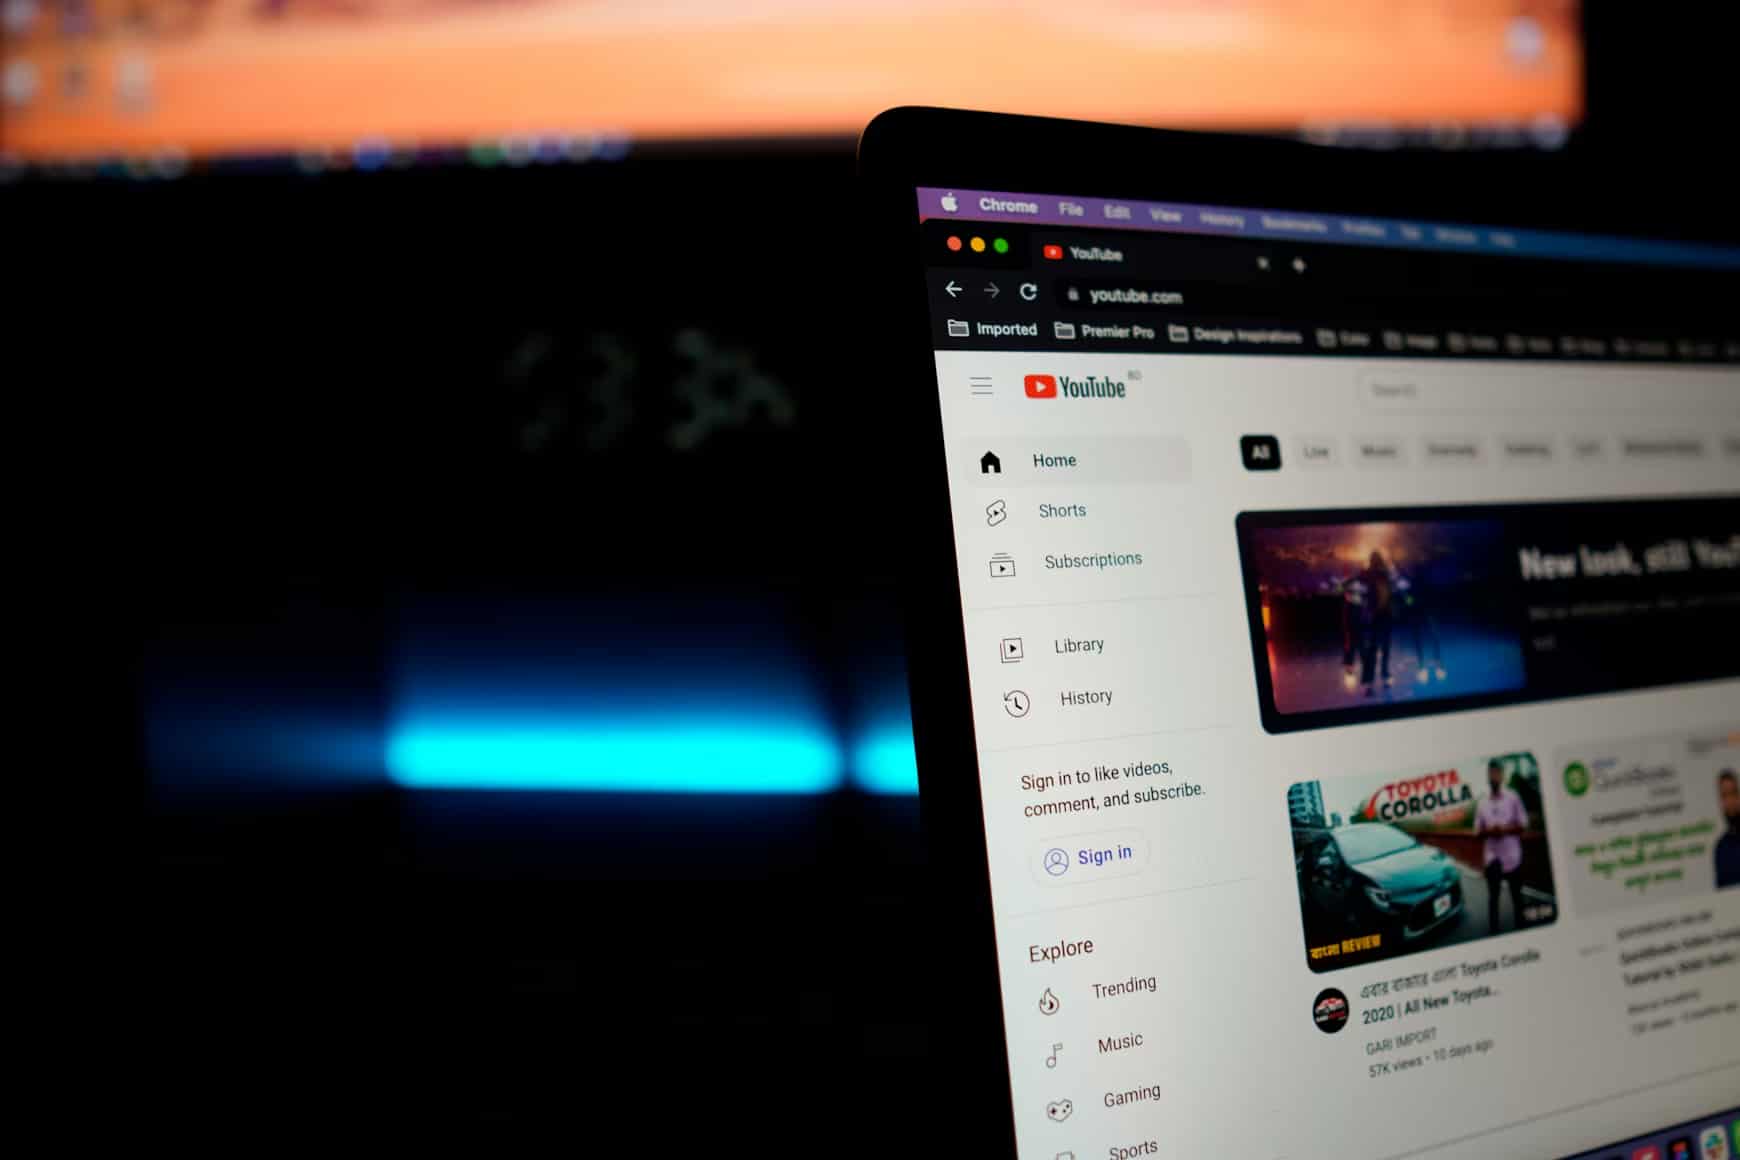
Understanding backend server behavior prevents unnecessary panic. Freshly uploaded 4K videos will initially look like pixelated messes upon completion. This immediate degradation is completely normal. To ensure content can be published immediately, YouTube processes the lowest resolution version (SD/360p) first. The servers push this low-quality proxy live while the heavy lifting continues in the background.
The "Unlisted" Strategy
High-definition media requires significant computational power. It takes YouTube's backend servers substantial time to process the 1080p, 1440p, and ultimate 4K (VP9) versions. Releasing a video immediately guarantees that your most loyal subscribers will watch the worst possible version of your work. Always upload videos as "Unlisted" for a minimum of two hours before toggling them to public.
Conclusion
Mastering platform delivery requires a multi-tiered approach. Shoot the original footage with abundant physical light to prevent algorithm-confusing grain. Export the final edit using the precise MP4 and bitrate sweet spots to maximize data efficiency. Most importantly, always upscale the final render to 4K to beat the standard compression and force the superior VP9 codec. When raw footage lacks the necessary fidelity, utilize intelligent software to rebuild textures and repair motion blur. Take control of your final output and learn more about transforming your media with Vmake to see the dramatic VP9 difference for yourself.
FAQs
Why does my YouTube video look blurry after uploading?
YouTube creates a fast 360p proxy first so clips go live instantly. Processing massive 4K files takes their servers much longer. Heavy server compression also degrades standard uploads. Running footage through a video blur remover first limits this baseline damage.
What is the best video format for YouTube uploads?
The MP4 container remains the undisputed industry standard. You need to pair this shell with an H.264 video codec and AAC-LC audio. This exact combination prevents bizarre audio desync issues and bypasses common backend processing glitches entirely.
Does uploading in 4K actually make a difference?
Absolutely. Many assume 4K only matters for giant TVs, but uploading at this resolution forces YouTube to apply its superior VP9 codec. You get vastly more data allocated to your file, guaranteeing a sharper, cleaner image even for viewers on old 1080p smartphones.
How can I achieve the best quality in a YouTube video if I only shoot in 1080p?
Shooting 1080p natively never limits your final upload. Just upscale the finished timeline to 4K (3840x2160) right before export. Using intelligent generative tools to do the pixel math prevents soft edges, tricking YouTube into giving you top-tier VP9 compression.
What is the ideal export bitrate for the best quality for a YouTube video?
Bitrate demands scale hard with pixel count. Target 8 to 12 Mbps for a standard 1080p project running at 24 fps. Hitting that 4K VP9 threshold requires much heavier data flow. Lock your variable bitrate between 35 and 45 Mbps so complex scenes render without blocking.
How do I fix grainy or low-resolution clips before uploading?
Basic editing apps cannot rescue fundamentally flawed, low-res source material. Cranking default sharpness sliders merely amplifies ugly digital noise. Instead, process problem clips through an intelligent video upscaler like Vmake. It mathematically rebuilds lost textures long before you export.

You May Be Interested

2026 Wink Video Enhancer Review: Pros, Cons, and Alternatives
Resize Videos Online Without Losing Quality: A Smarter Way in 2026

How to Create Professional YouTube Thumbnails with AI: A Creator’s 2026 Strategy
How to Create High-CTR YouTube Thumbnails: A Complete Guide for 2026