Can You Create Video in Draw Things? A Complete 2026 Guide
 Ken Dawson2026-06-09 10:00
Many users wonder, can you create video in Draw Things natively? While the app supports local generative AI models, running video tasks pushes consumer hardware to its limits. This guide explains the exact setup process, hardware requirements, and when to consider cloud-based alternatives instead.
Can You Create Video in Draw Things? Understanding the Basics
People often ask, " Can you create a video in Draw Things without external plugins?" Yes, you absolutely can. The platform can natively handle localized motion generation. You'll just need to rely heavily on Image-to-Video (I2V) pipelines. Operating within this specific framework produces reliable media and keeps your laptop from freezing.
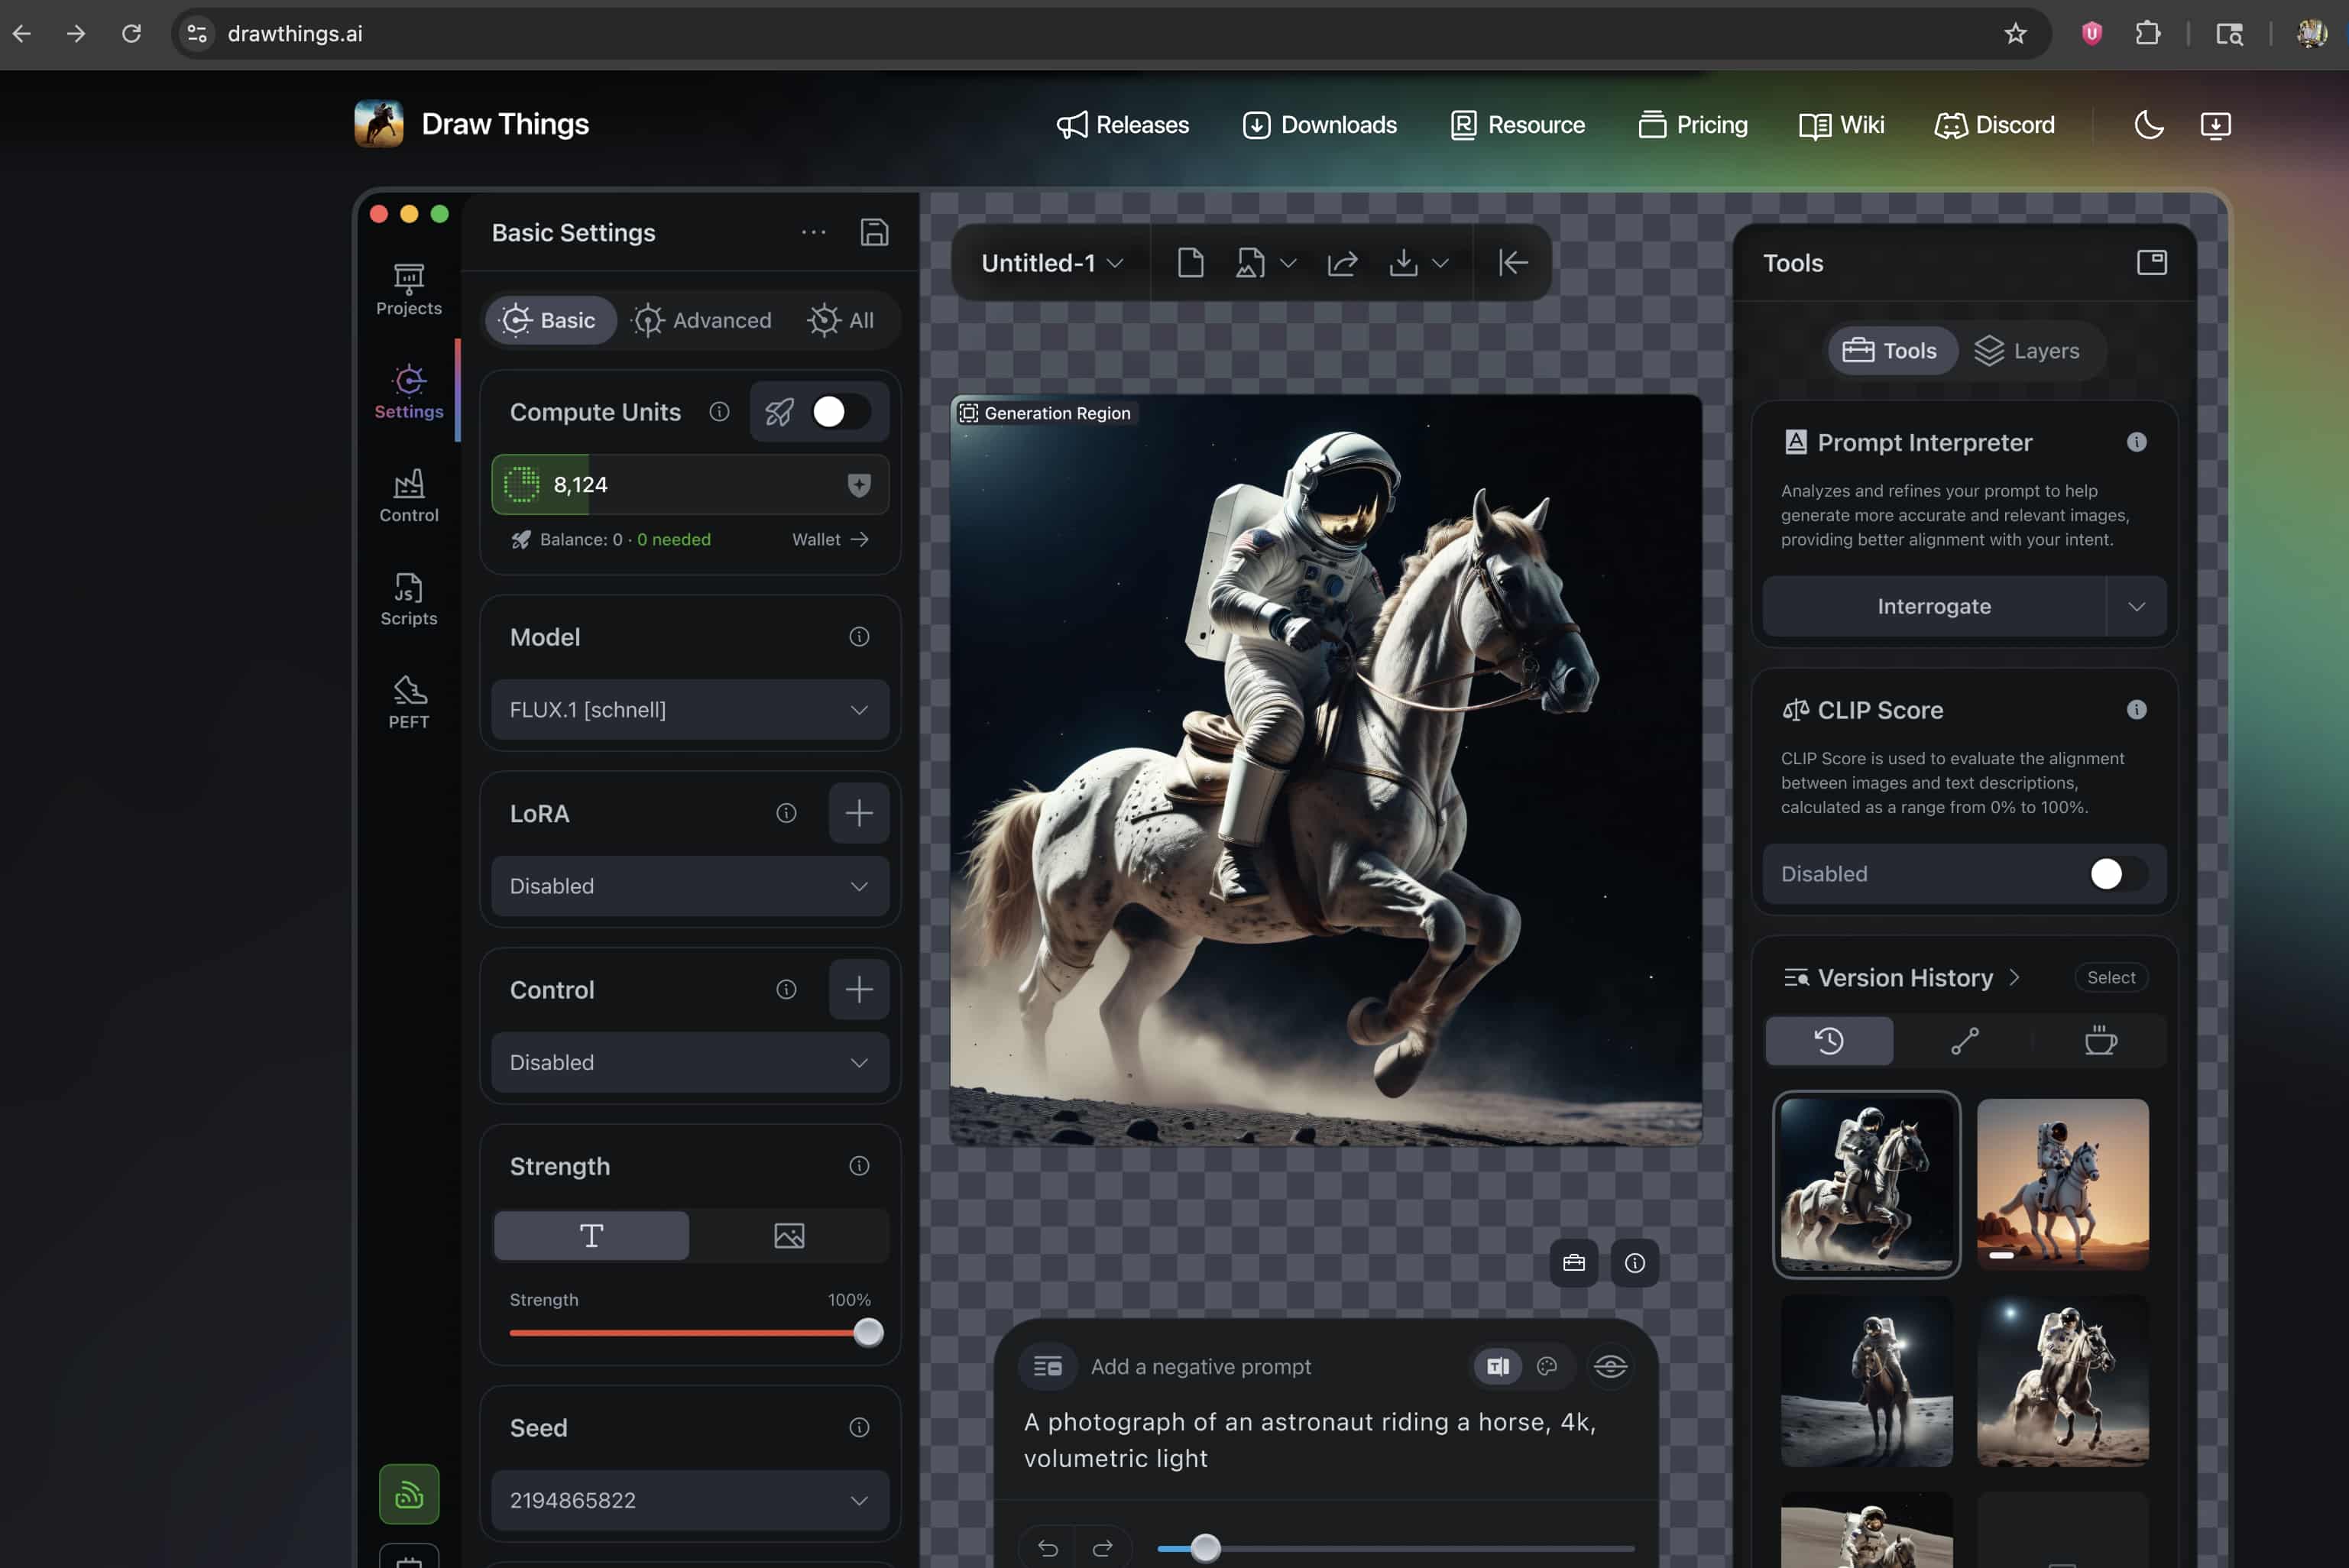
Understanding Model Workflows
-
Direct Text-to-Video Instability: Direct text generation remains incredibly unstable on consumer laptops. The AI has to invent the subject and calculate the physical motion simultaneously. That dual process overloads system memory very quickly.
-
Image-to-Video Efficiency: By supplying a base image first, you eliminate half the computational burden. The system only predicts temporal changes across the subsequent frames instead of hallucinating the entire scene from scratch.
-
Supported Generation Models: The community heavily relies on models like Wan 2.1, Hunyuan Video, and LTX-2.3. These represent the current standard for localized motion generation. They prioritize temporal consistency over raw resolution.
-
The Temporal Calculation Load: Standard image generation calculates only spatial data. Just the X and Y axes. Video models add a complex temporal layer. They must predict the Z-axis of time across multiple frames simultaneously. Every frame has to connect perfectly to the preceding one. Otherwise, your human subject morphs into an unrecognizable monster. This exponential math is exactly what triggers memory failures.
Strict Hardware Requirements
Video generation taxes system resources heavily. You cannot run these models on just any computer without facing severe bottlenecks.
-
Required Silicon Chipsets: You need modern Apple Silicon. We recommend M2, M3, or M4 chips to utilize Metal Performance Shaders effectively. Intel-based Macs simply lack the neural engine architecture required for these specific rendering tasks. They will fail.
-
Unified Memory Thresholds: You need a minimum of 16GB of Unified Memory (RAM). Video diffusion models load entirely into your system memory. Apple's architecture shares this pool between the CPU and GPU. Running a Hunyuan Video model on a base 8GB machine will crash the application almost instantly.
-
Storage Space Constraints: Video models are massive files. Downloading uncompressed files eats up tens of gigabytes fast. You require significant free SSD space to hold both the models and the temporary cache files generated during the diffusion process.
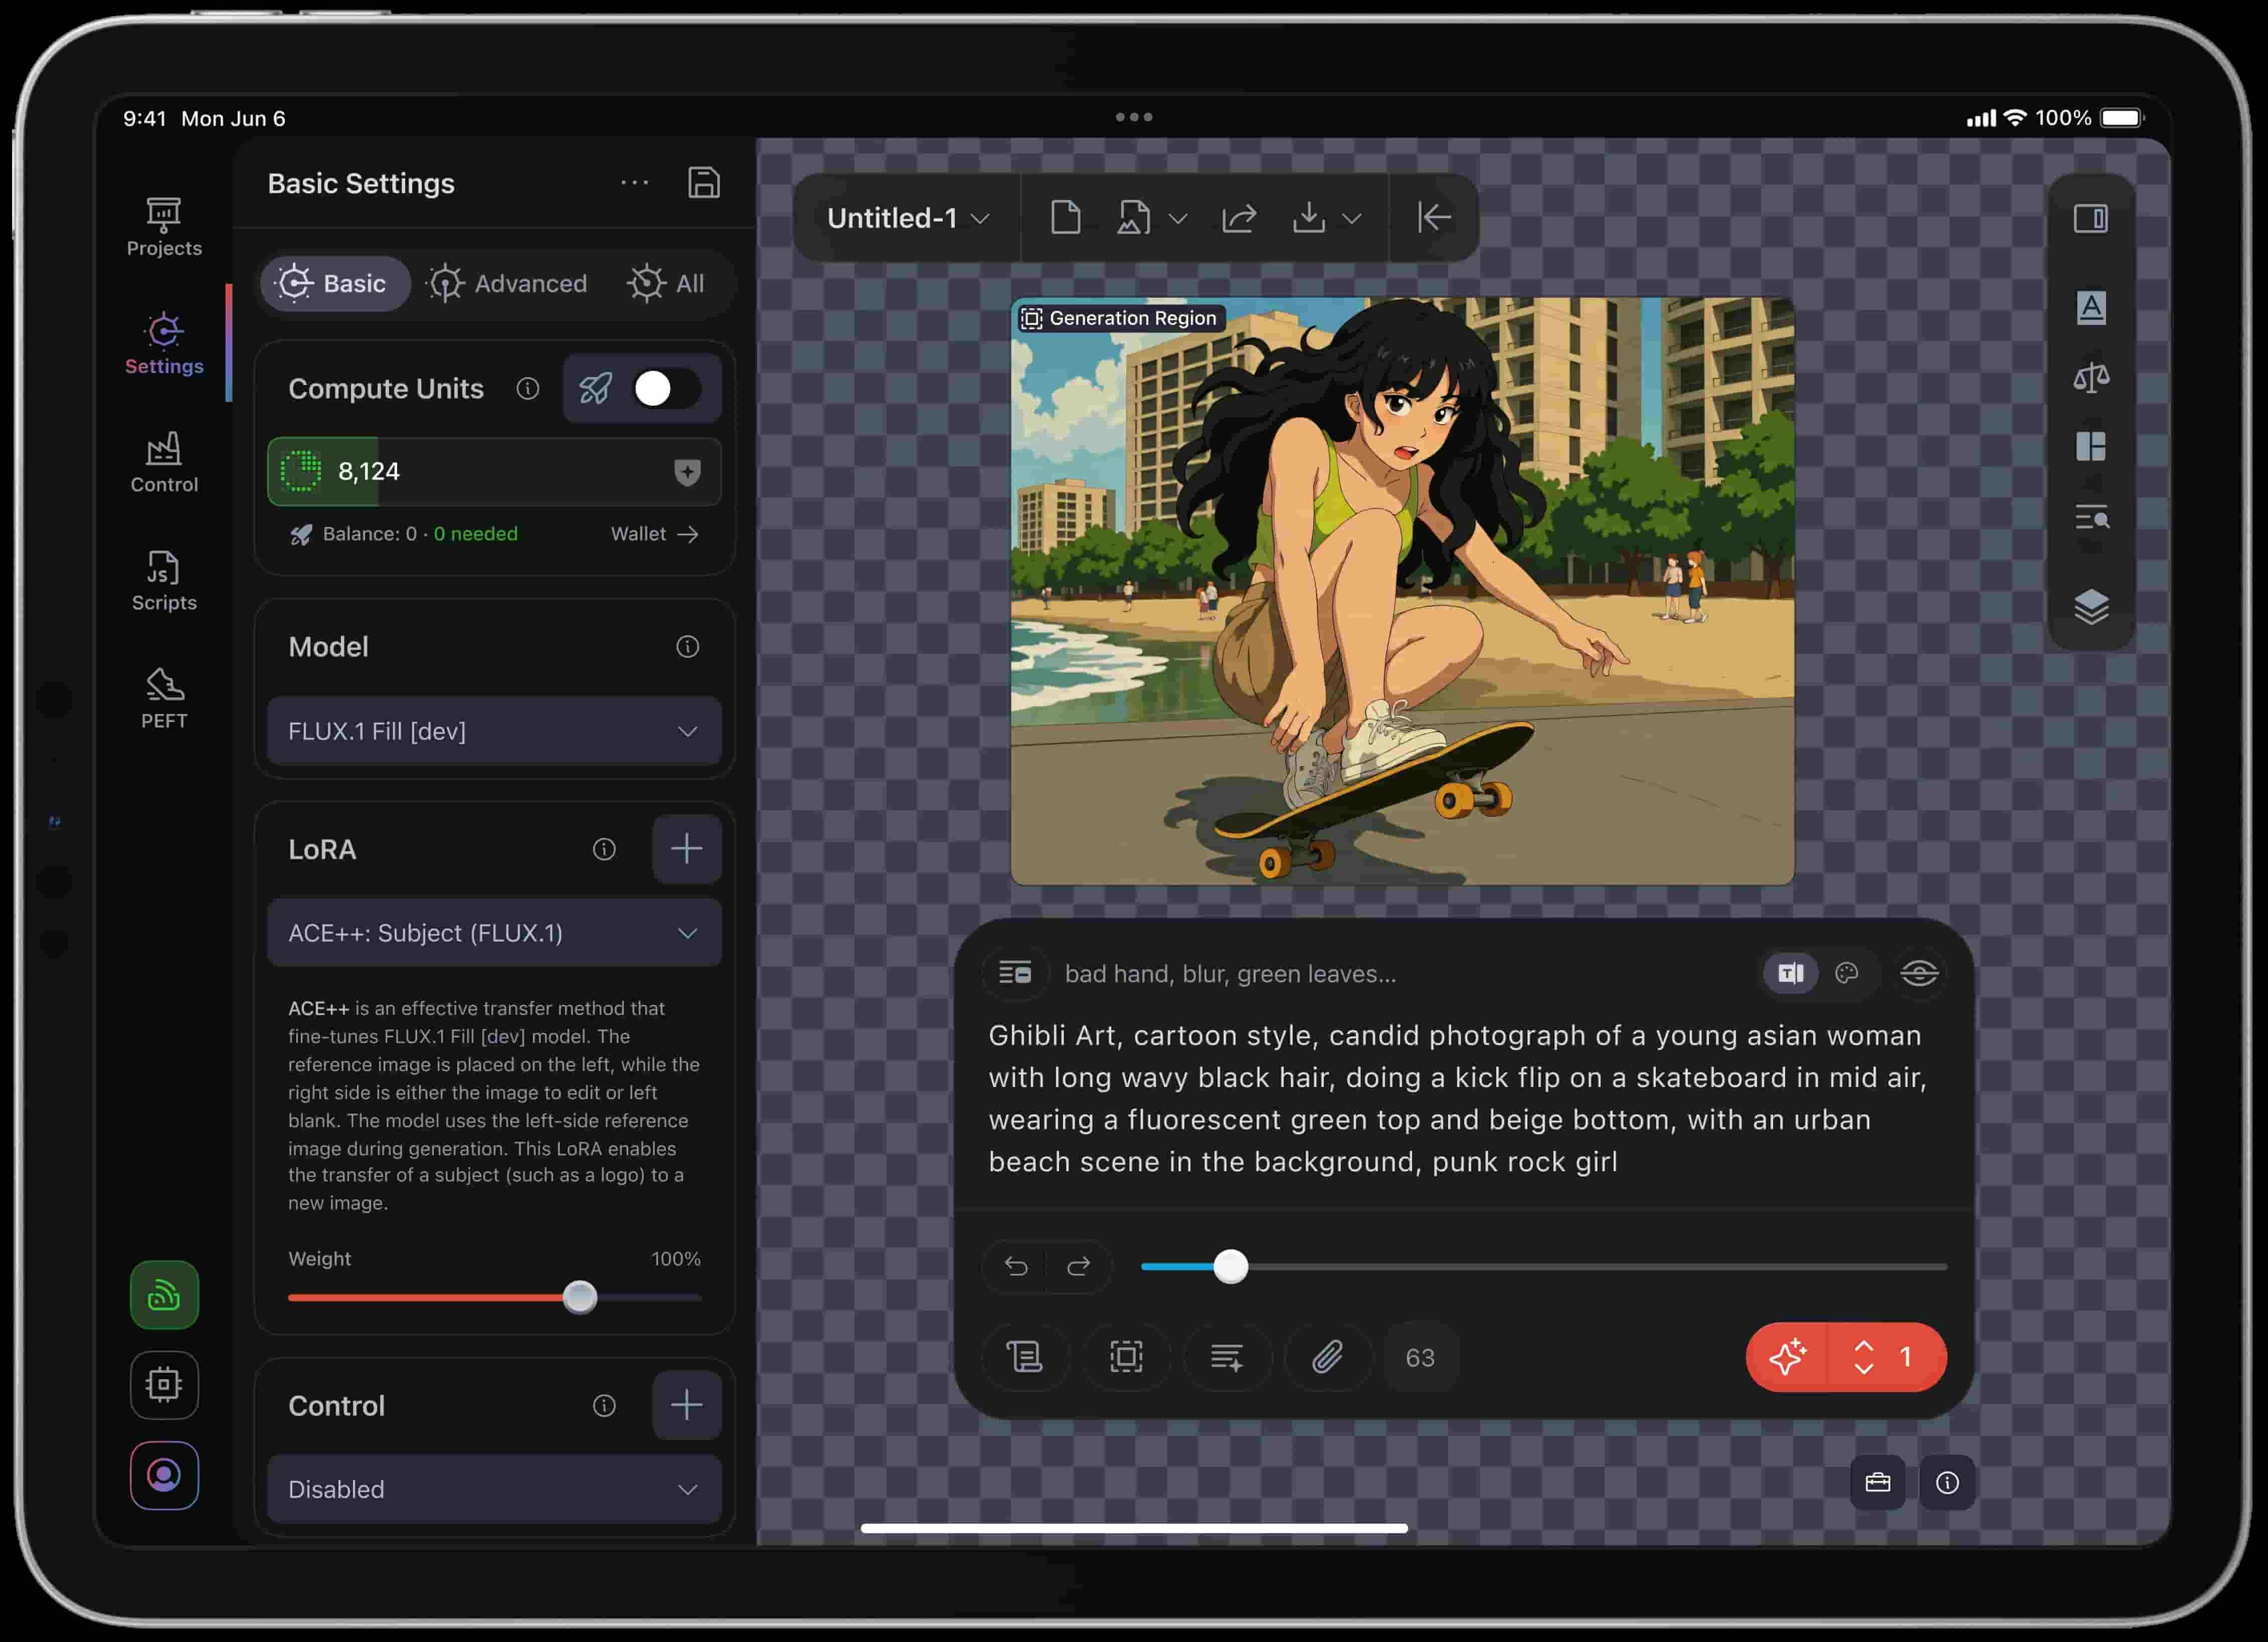
How to Create Videos in Draw Things
Setting up your first render takes some patience. The application interface caters to advanced users, forcing you to configure several parameters manually before generating.
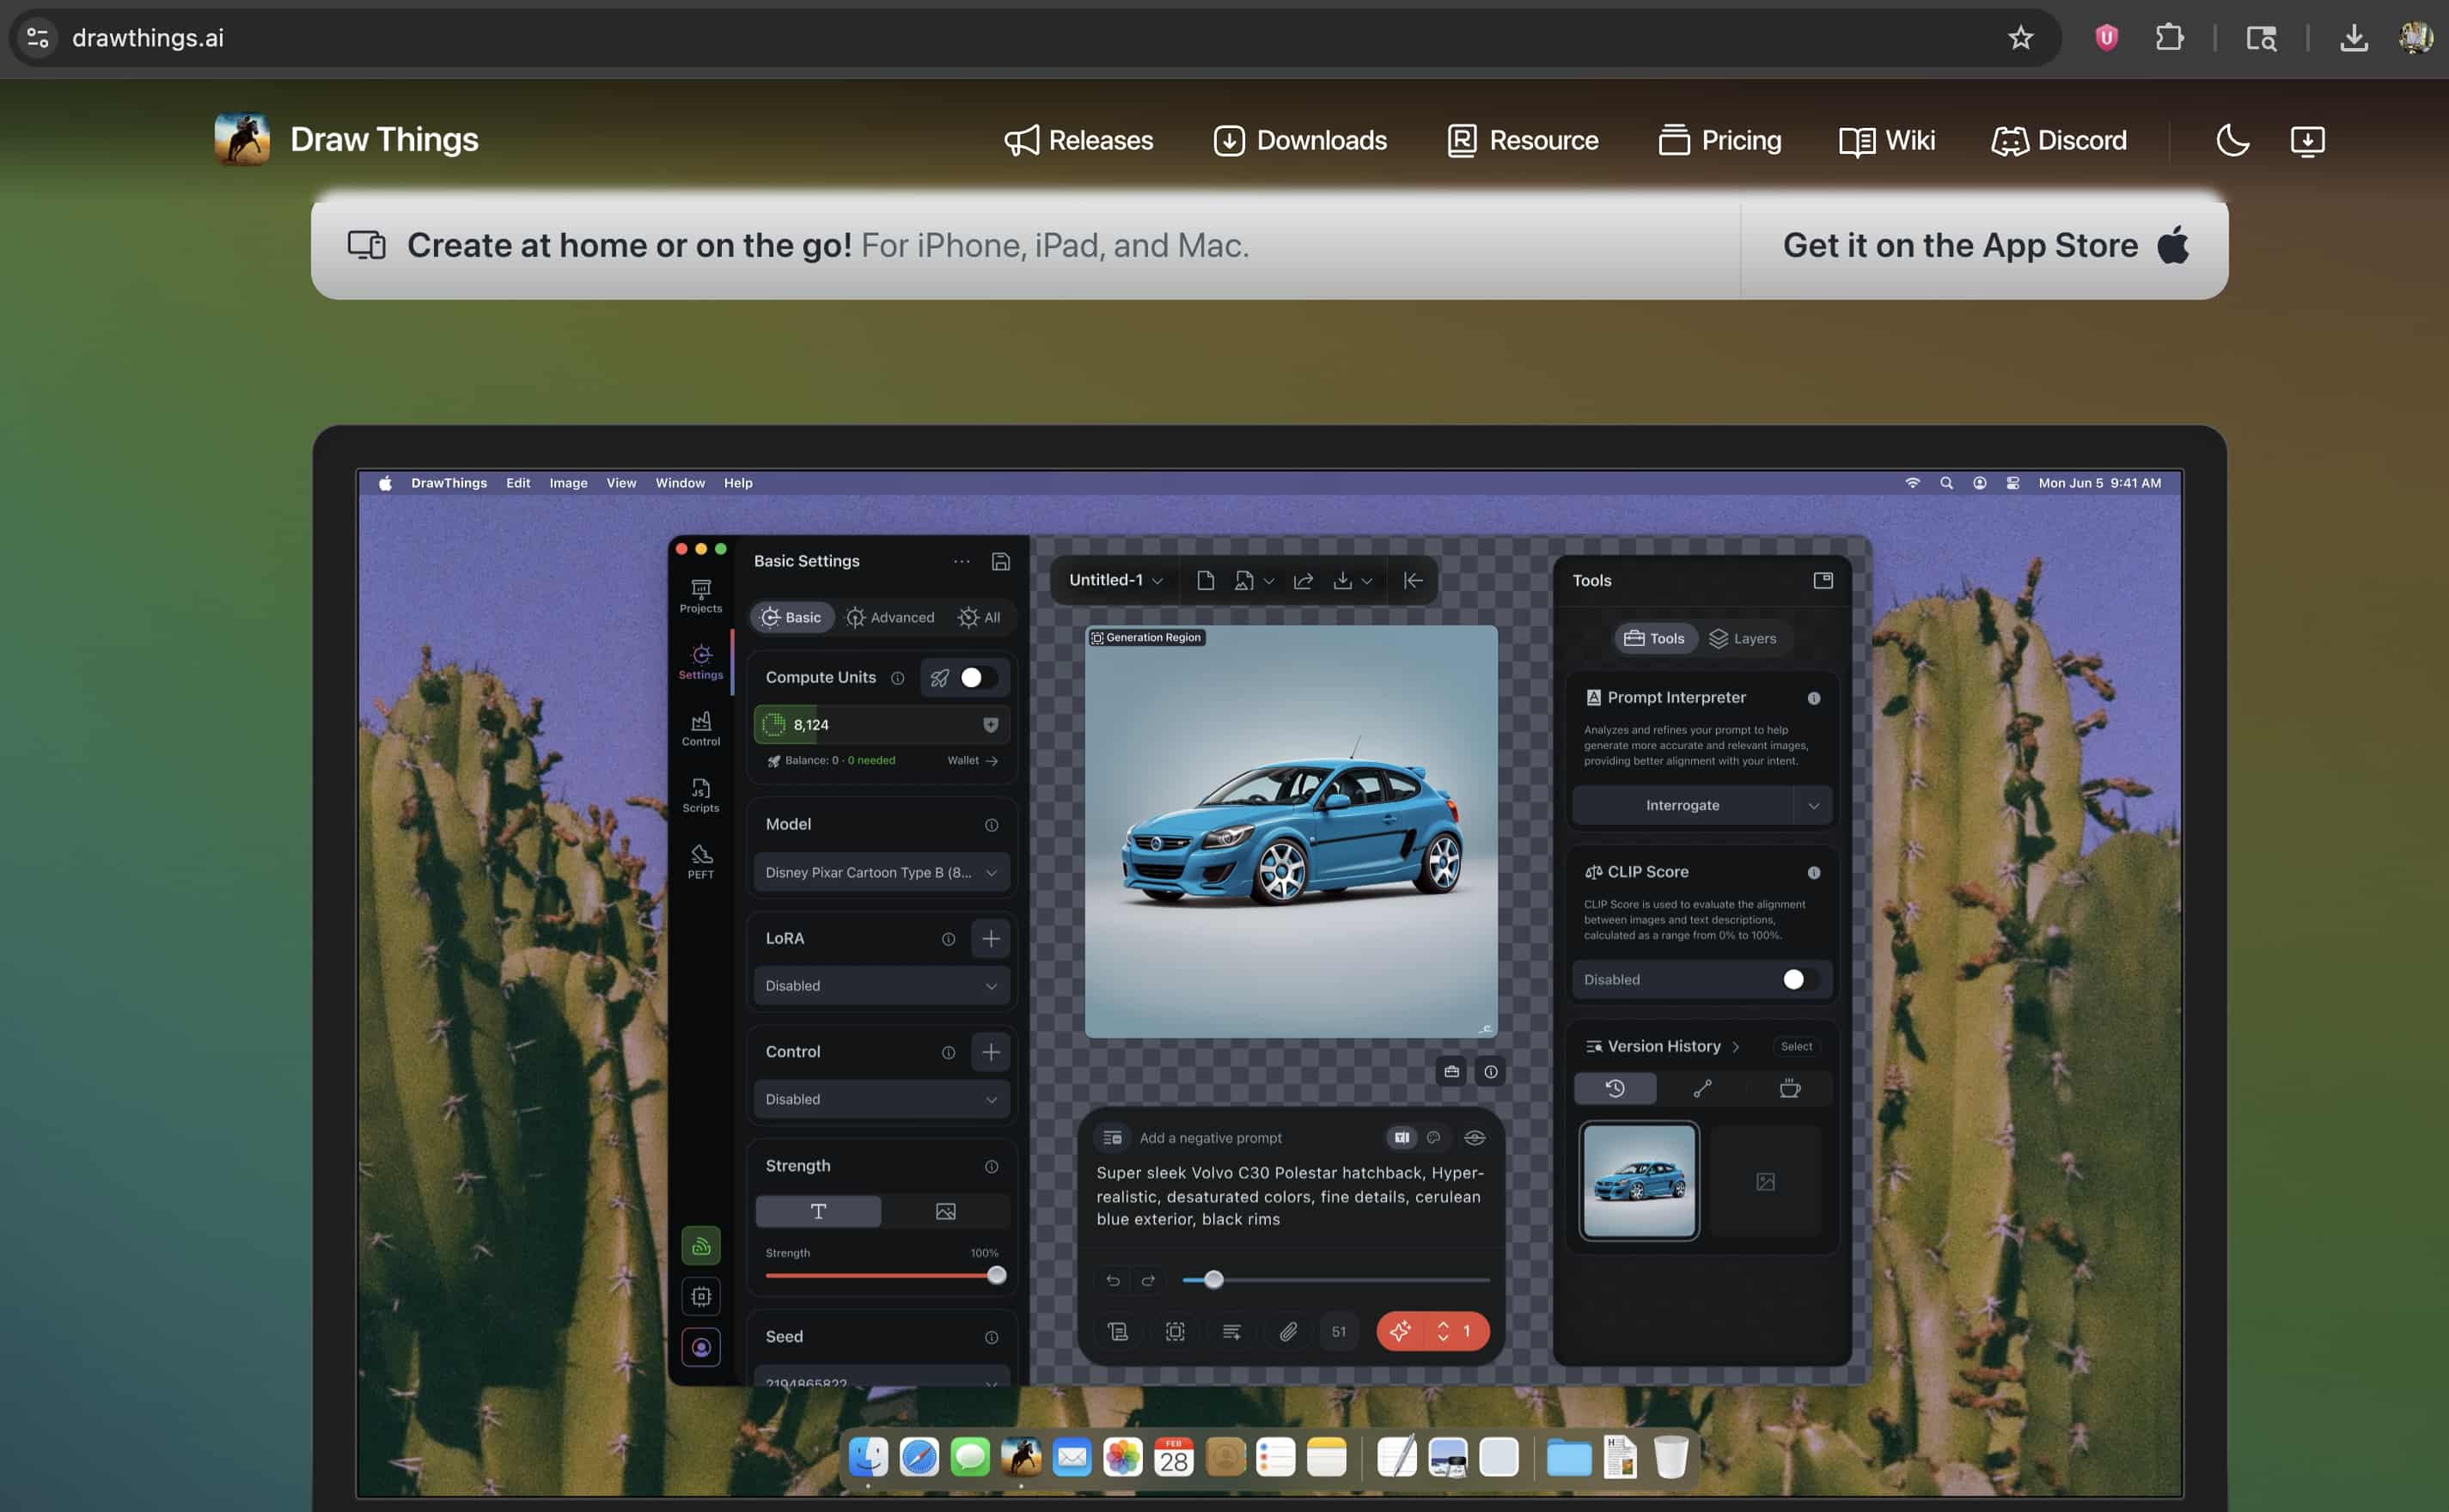
Start with model selection. You must download and select optimized 8-bit video models from the internal menu. Full 16-bit models demand too much VRAM for typical laptops. Quantized 8-bit versions compress the mathematical weights inside the file. This compression sacrifices a tiny bit of visual fidelity to prevent your computer from freezing. It is a mandatory trade-off.
Step 1: Upload Your Reference Image
Start by uploading the base reference image directly onto the canvas. Use a clear, high-quality image that accurately represents the subject you want to animate. A strong source image helps the model preserve details and produces more consistent motion throughout the generated sequence.
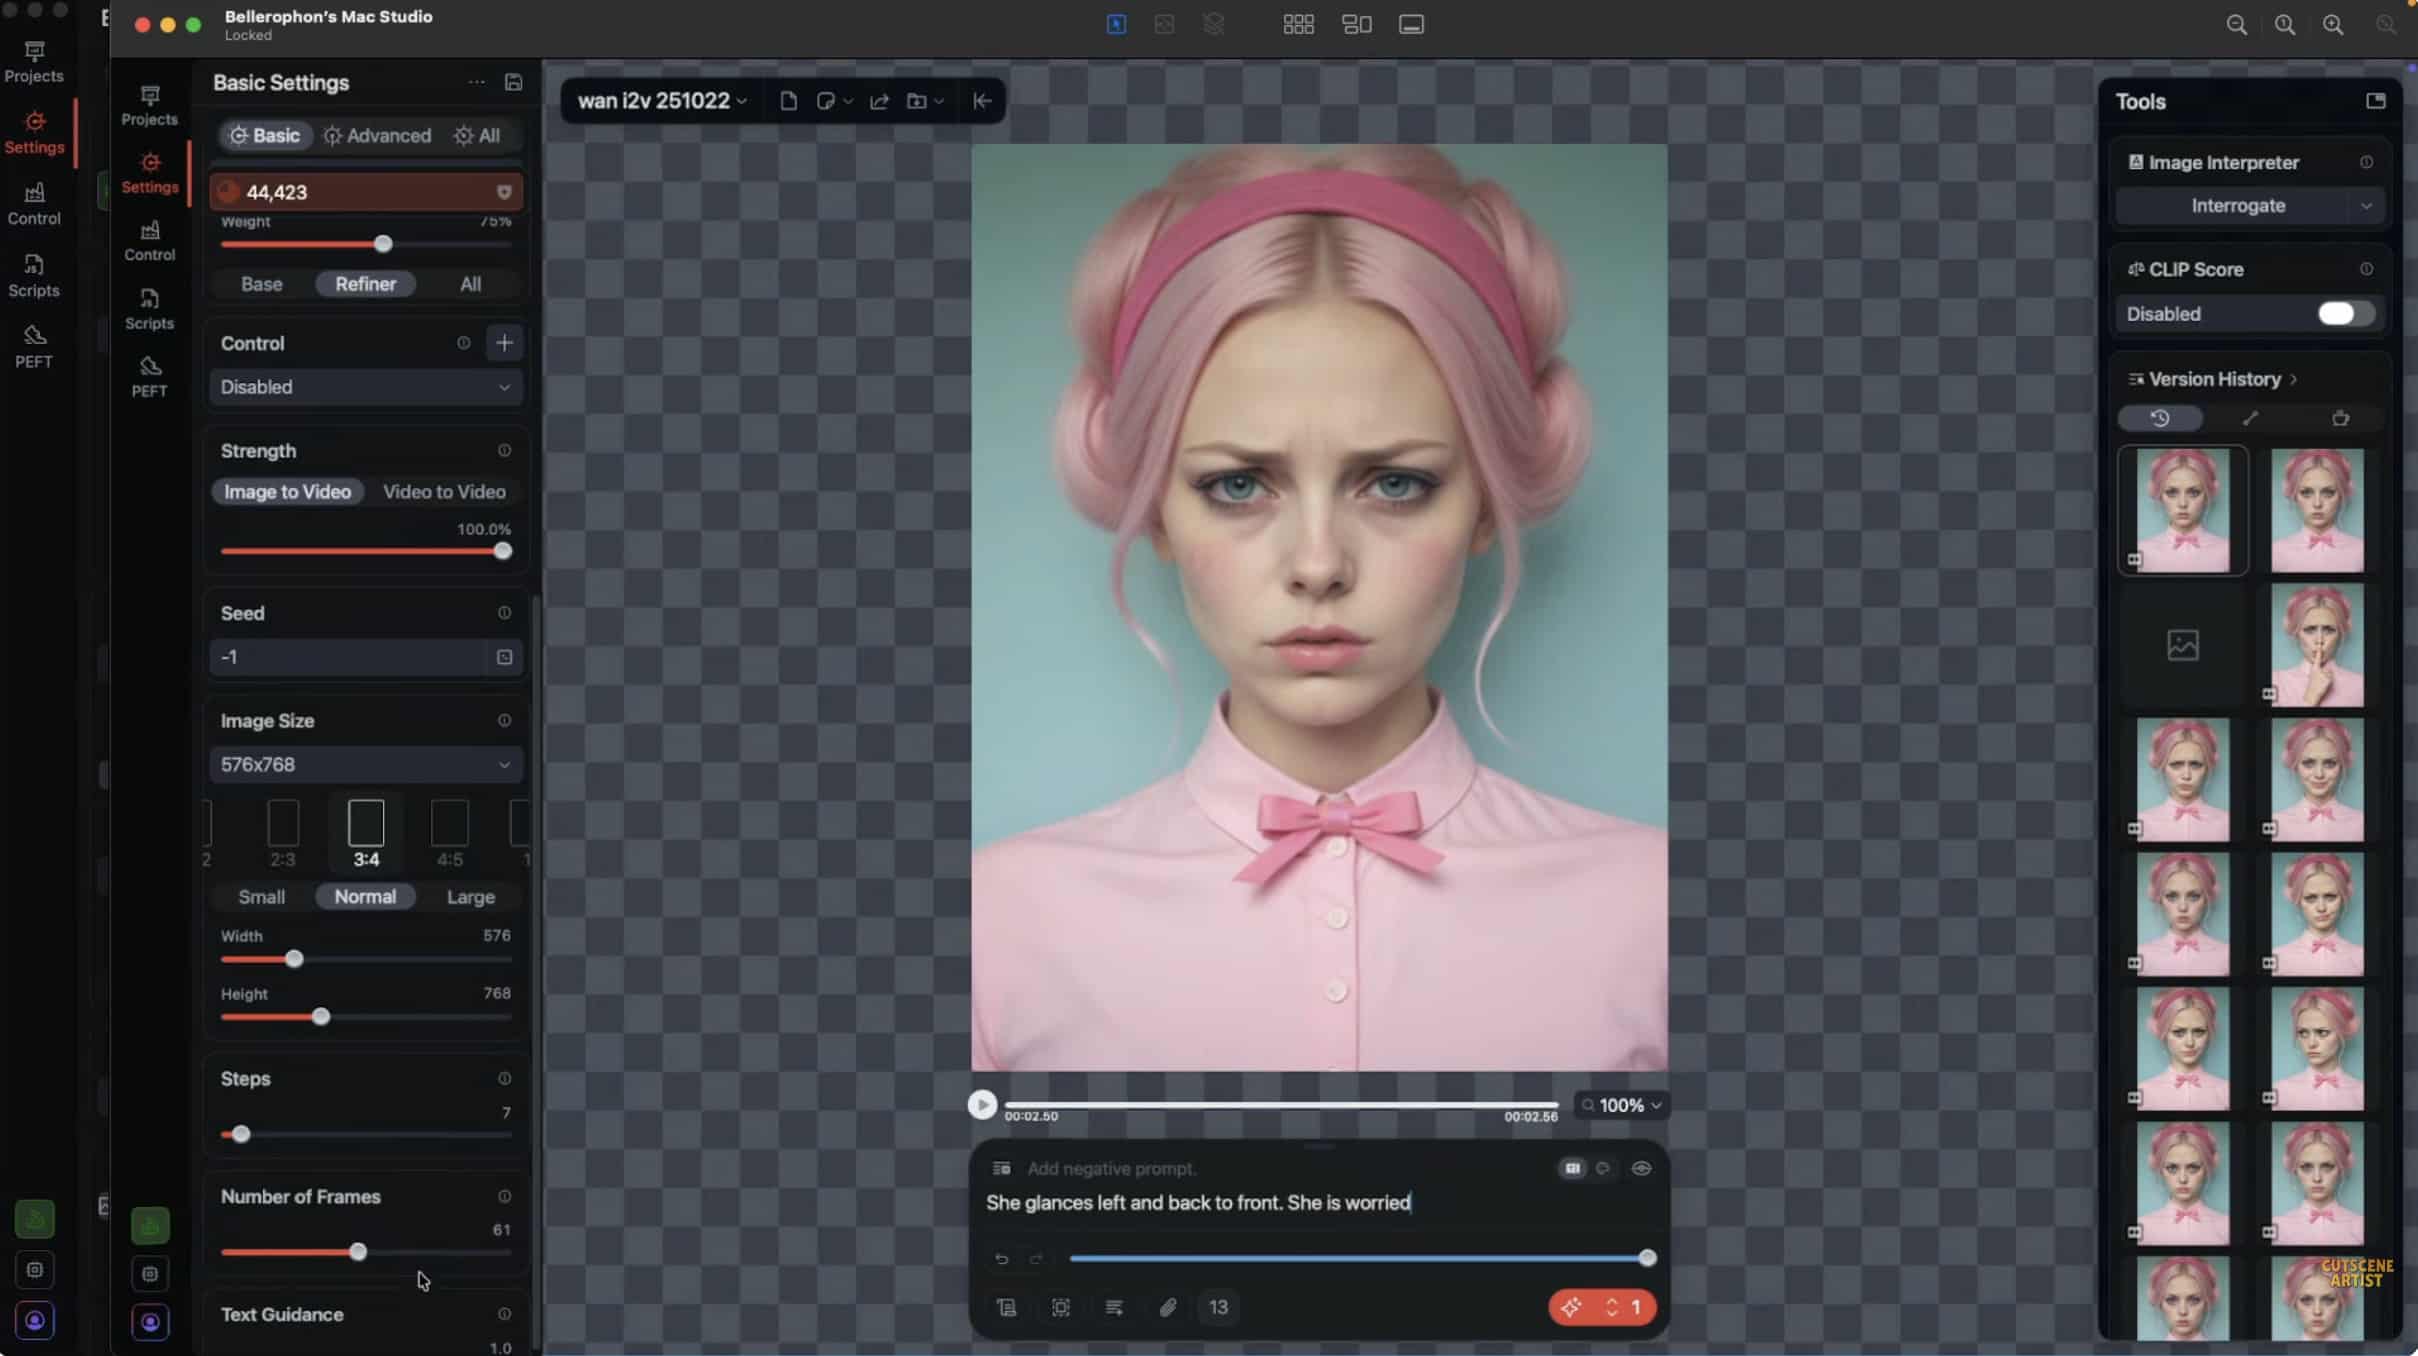
Step 2: Write a Clear Motion Prompt
Enter a prompt that describes the exact movement you want the subject to perform. Keep the instructions literal and action-focused, such as walking, waving, or turning. Avoid abstract descriptions, emotions, or symbolic concepts that may lead to unpredictable animation results.
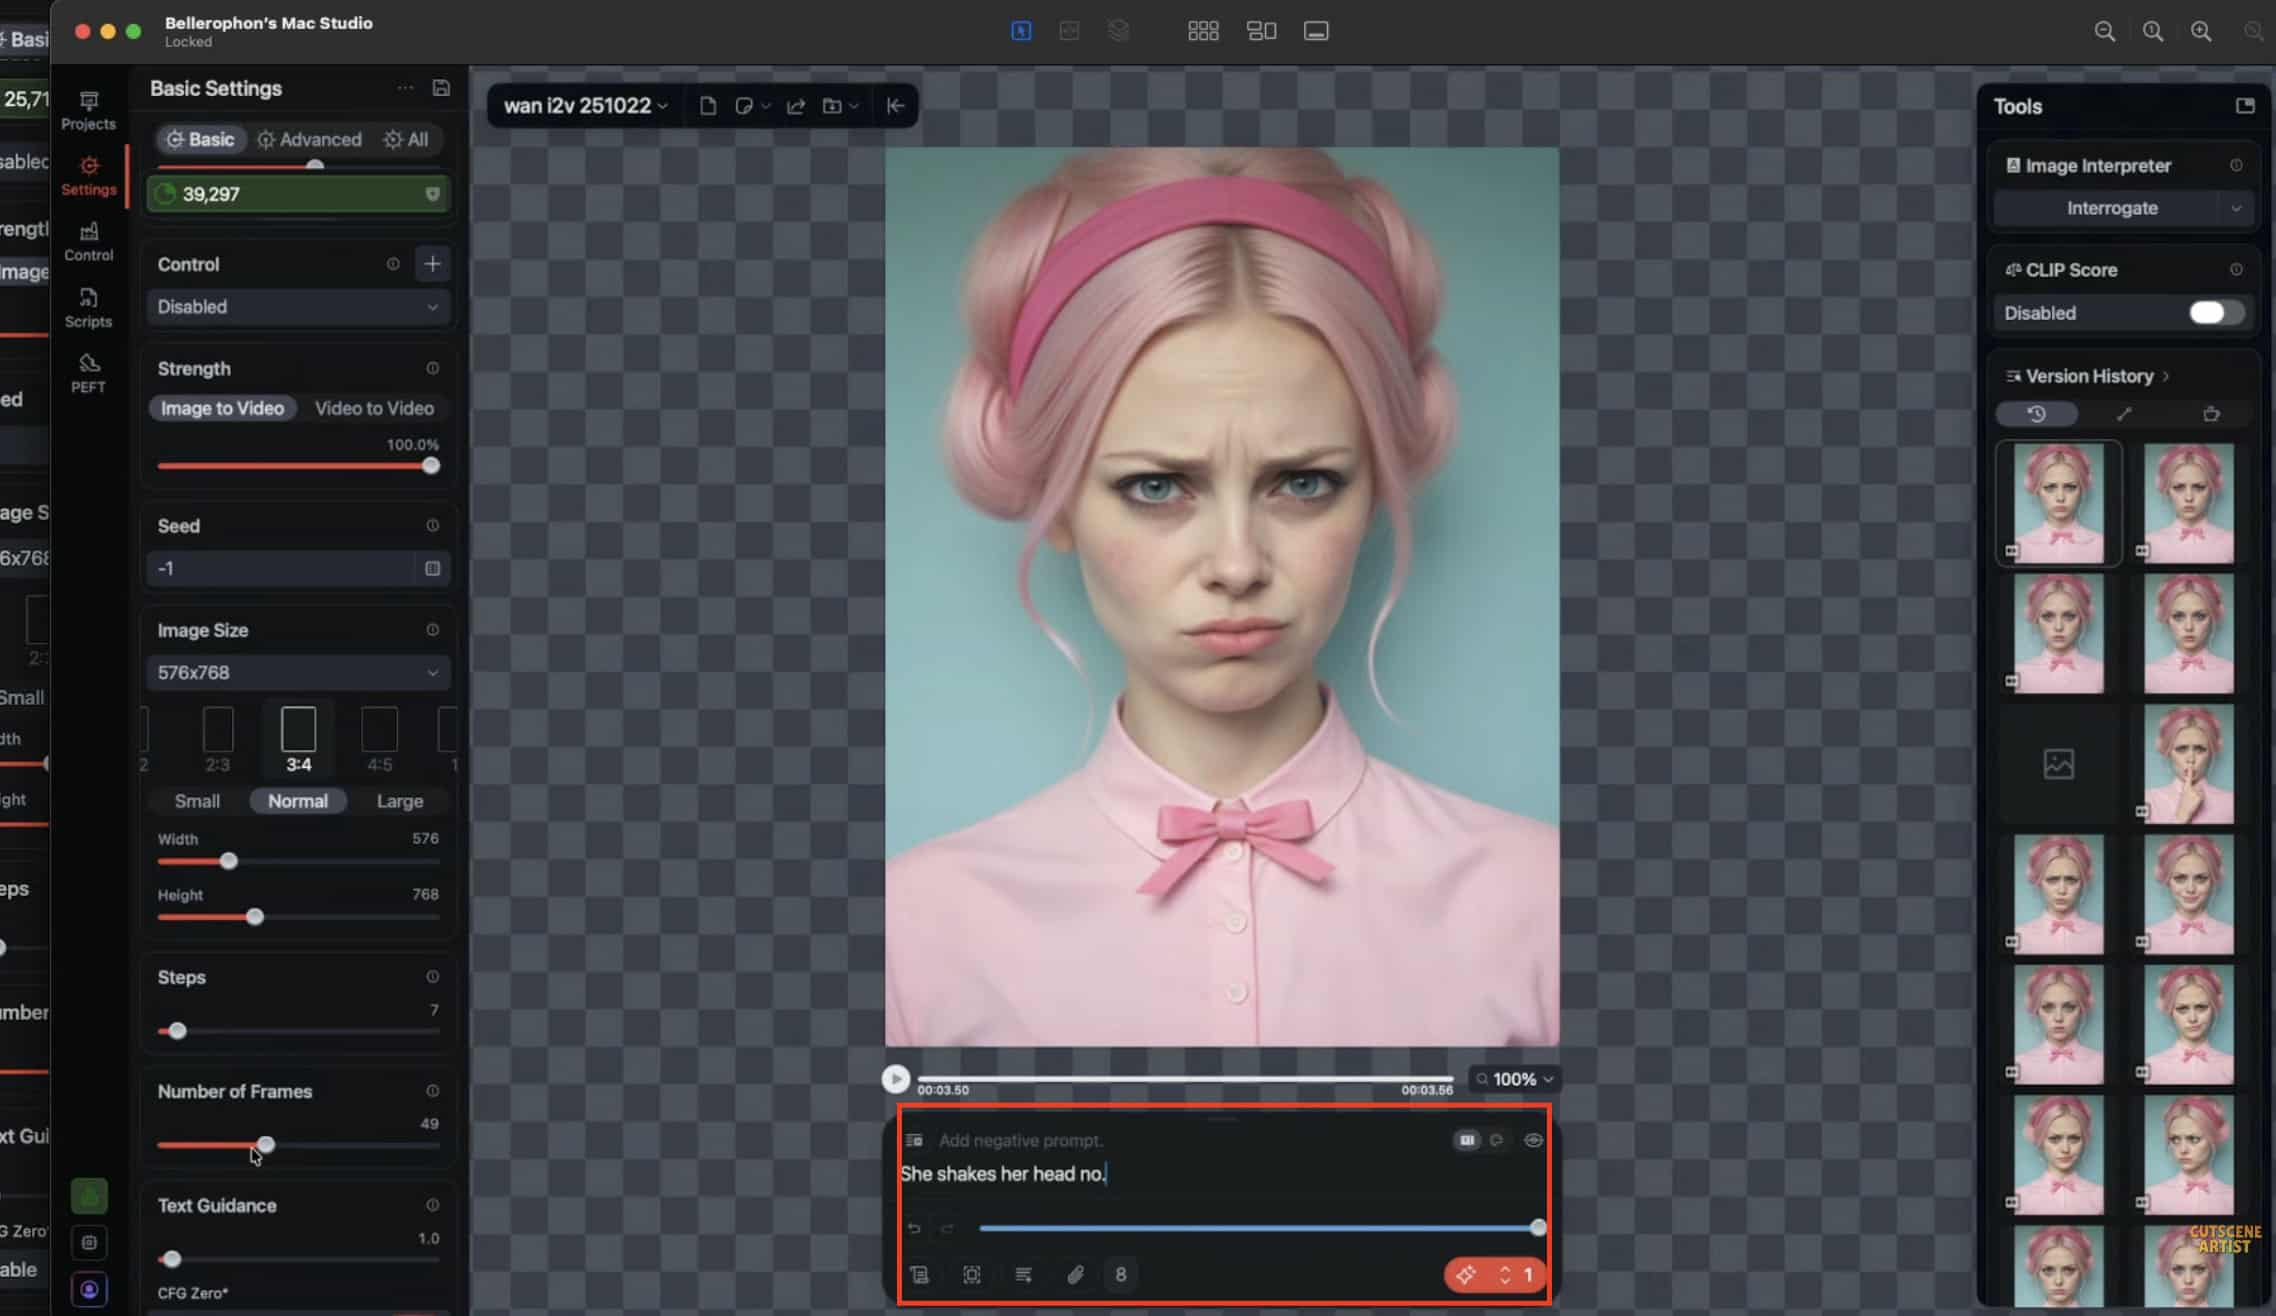
Step 3: Configure Frames and Iteration Steps
Set the frame count to a low value for initial testing, typically 16 or 24 frames. Then choose an iteration range between 20 and 30 steps. This balance provides a practical mix of quality and speed while helping you evaluate performance before longer renders.
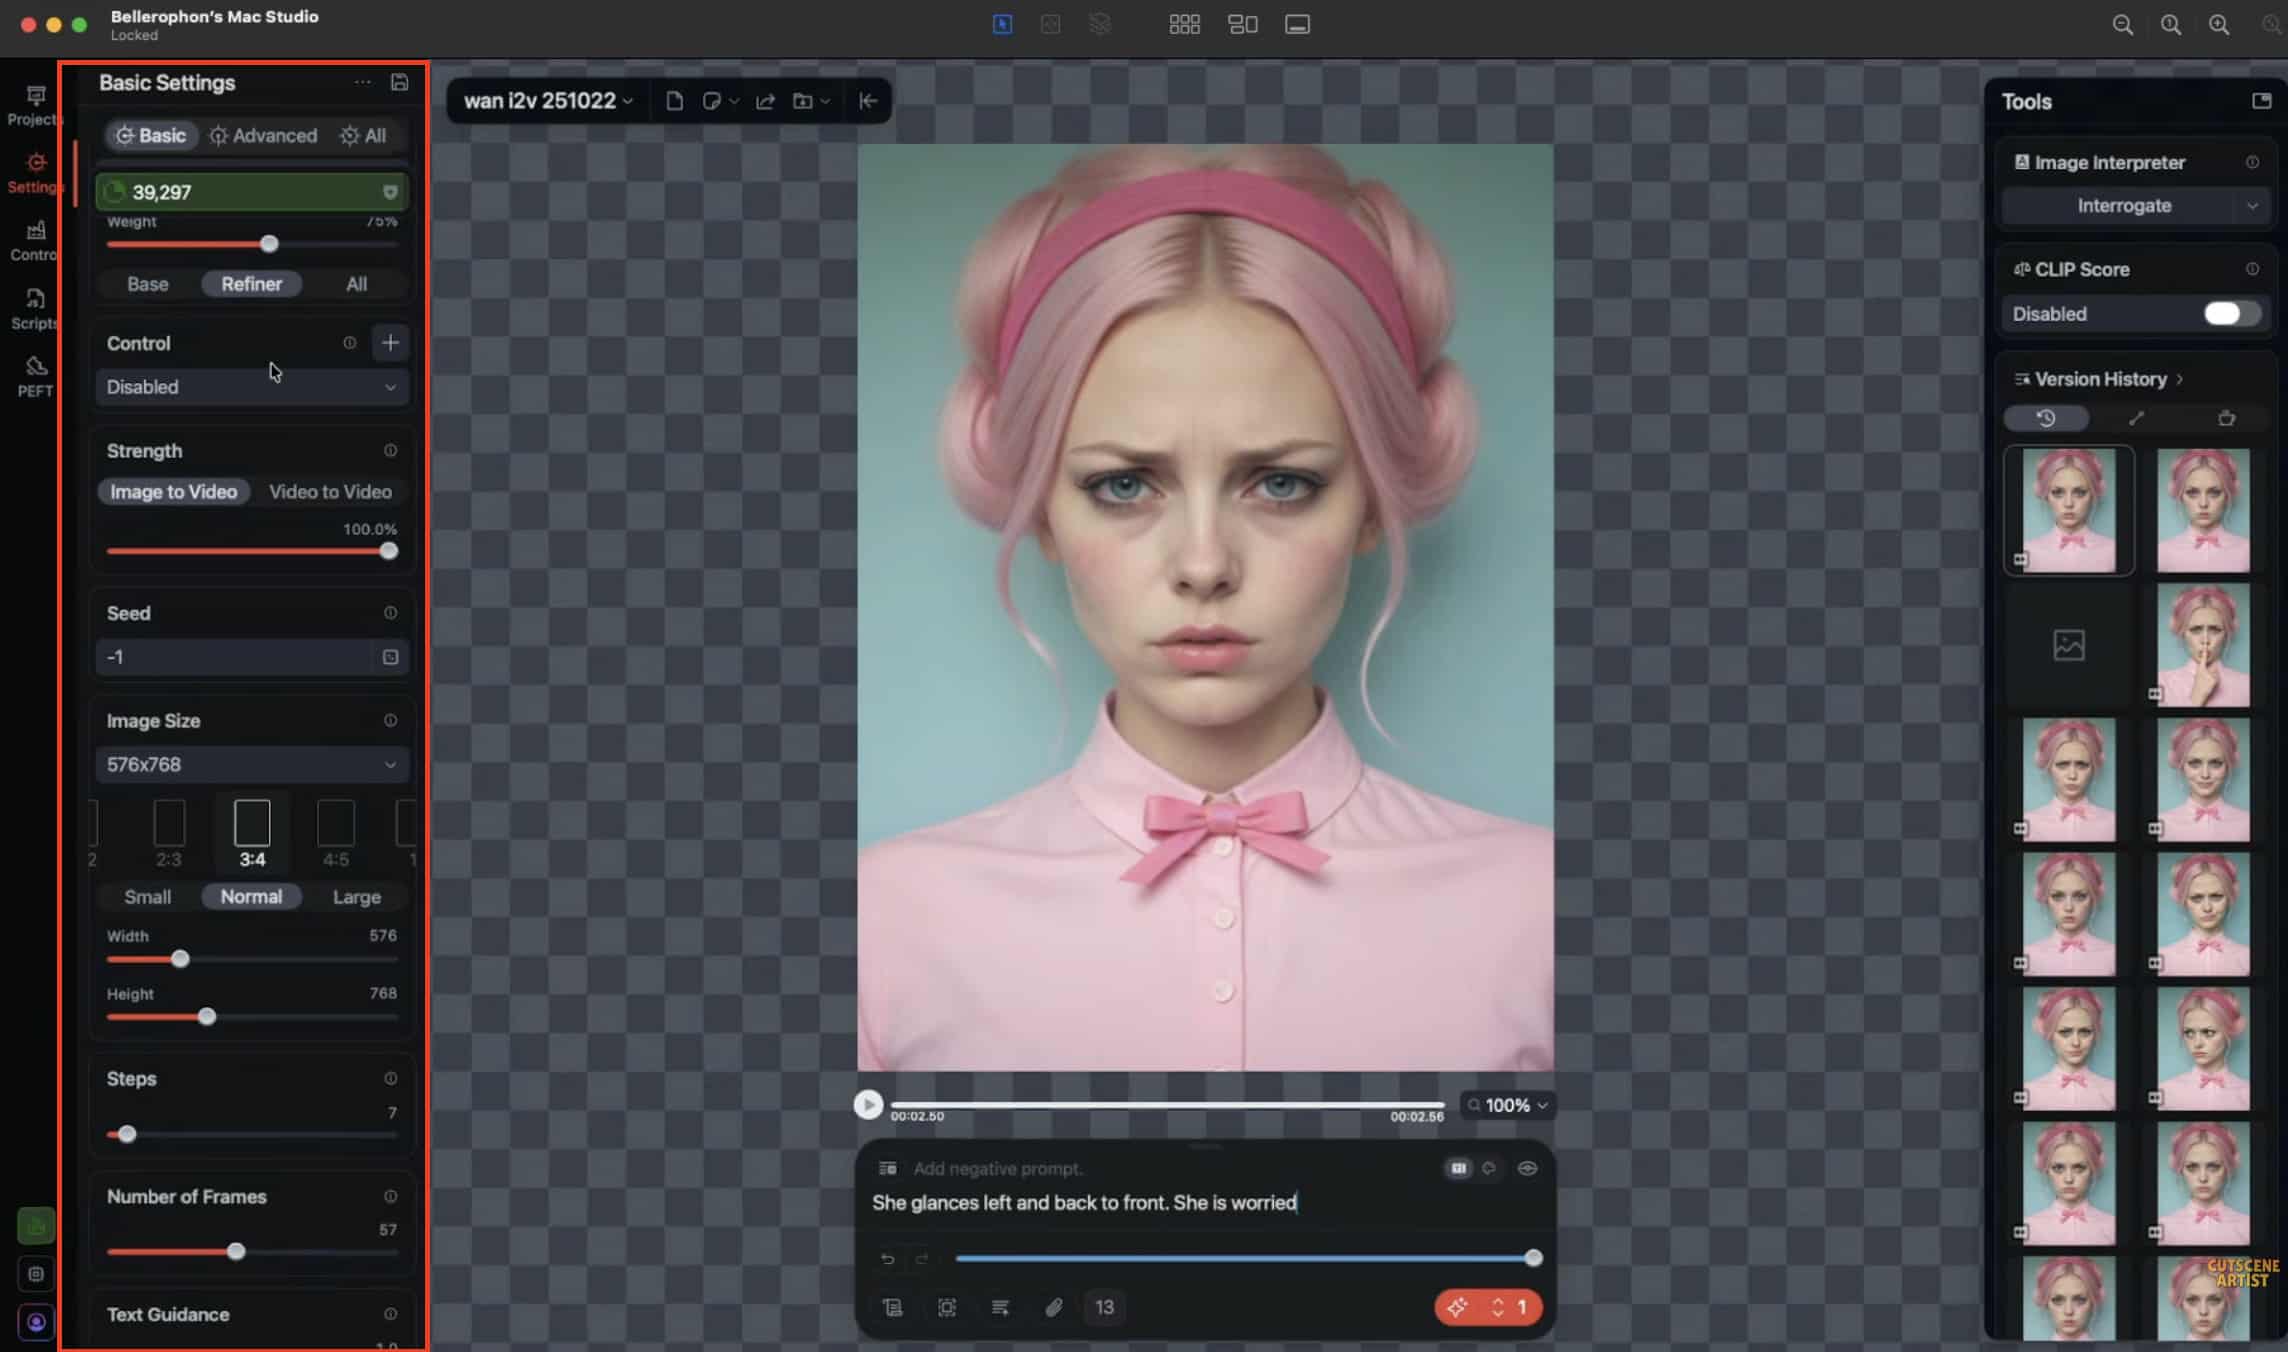
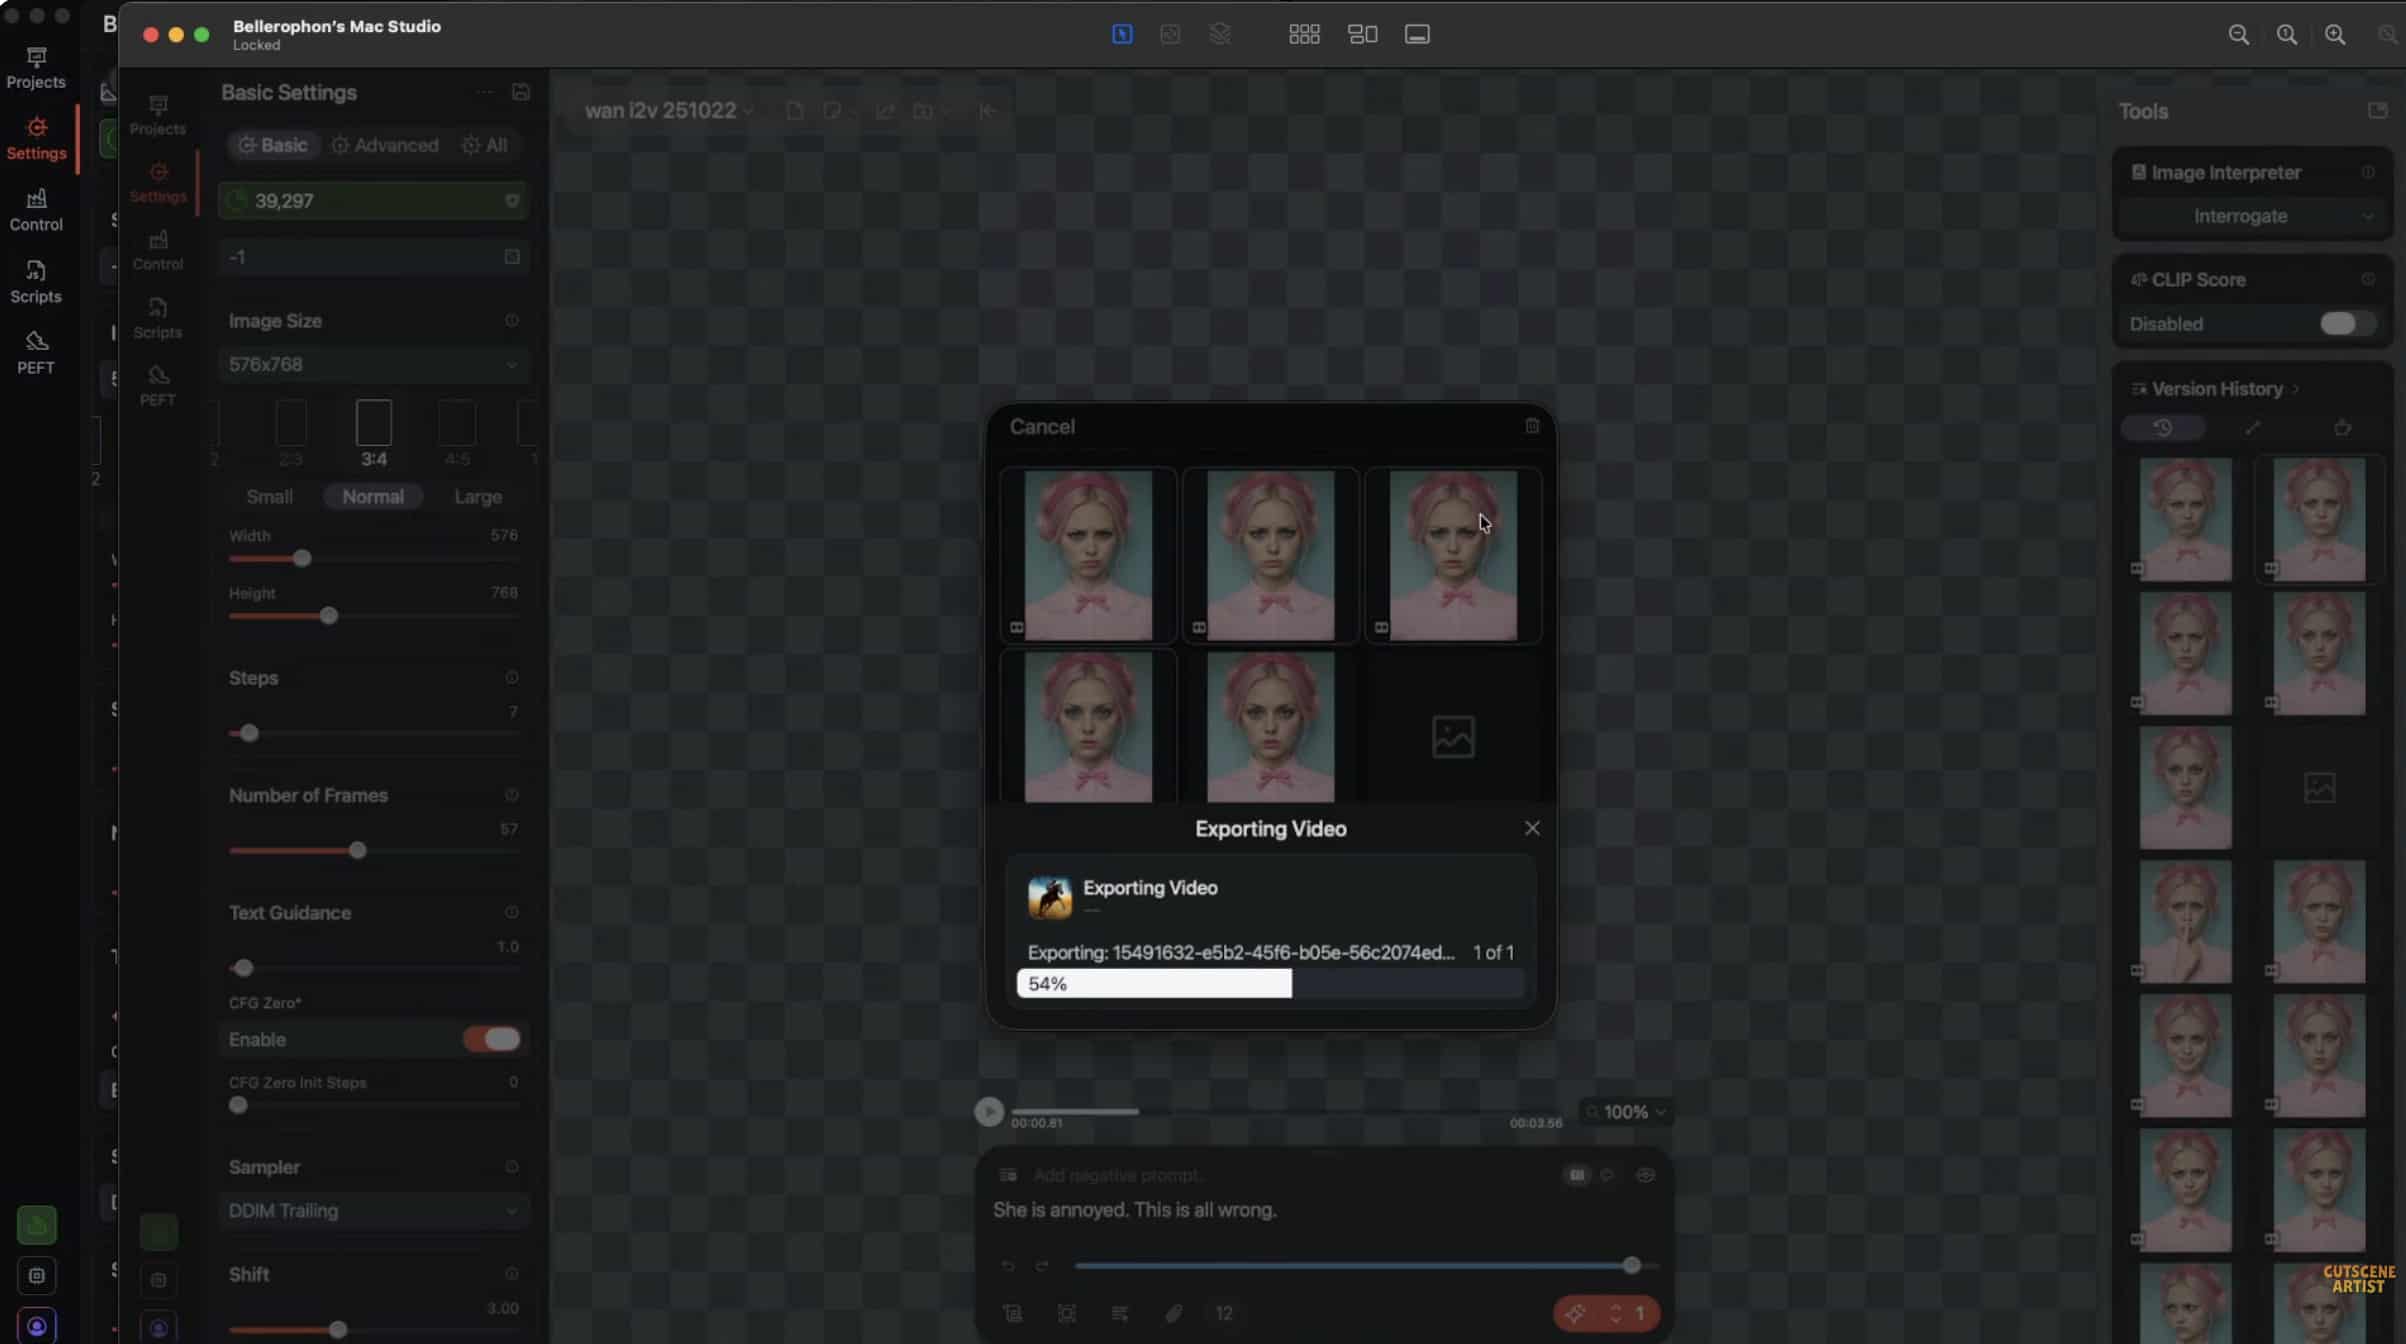
Step 4: Generate and Monitor Performance
Run the generation process and observe your system's activity monitor while rendering. Tracking CPU, GPU, memory usage, and temperature helps identify performance limits early. Once the test completes successfully, you can increase frames or iteration steps for higher-quality outputs.
If you lack a high-quality starting image, the local model will struggle to output clean video. You can utilize a dedicated AI image to video generator free for browser-based asset creation to kickstart the process. Generating the base image externally saves your local RAM for the actual video rendering phase.
One common challenge users face here is prompt adherence. The local algorithm still struggles with pitch-black shadows or complex overlapping motions. You might tell the subject to turn around, but the model simply pans the camera instead. Finding the correct motion scale requires significant trial and error.
Technical Limitations of Local Video Rendering
Local generation sounds ideal in theory. In practice, it breaks down quickly. Running heavy diffusion tasks on a laptop creates immediate bottlenecks.
-
Render Times: Extended processing durations plague baseline M-series devices. A simple two-second clip might take twenty minutes to render on an M1 chip. This completely halts any professional production pipeline. You sit and wait for a progress bar.
-
Memory Errors: Frequent out-of-memory (OOM) crashes happen constantly. Generating at higher resolutions pushes the VRAM past its hard physical limit. If you try to push the frame count to extend the clip, Draw Things will force-close. You lose all your current settings.
-
Output Length: You face severe constraints on total frame count. Most local hardware restricts outputs to brief 2-to-4-second clips. These fragmented pieces are incredibly difficult to use as standalone UGC video assets for social campaigns.
These technical hurdles force a harsh reality. You spend more time troubleshooting hardware than actually creating media. The local engine works fine for experimental tinkering. It fails when you need reliable, daily output. Until local machines ship with 64GB of unified memory as the baseline standard, these OOM errors will persist.
Draw Things vs Cloud-Based AI Video Generators
Draw Things lets Mac users run AI models locally, but local rendering comes with trade-offs. Performance depends entirely on your hardware, larger models can be difficult to run, and accessing newly released models often requires waiting for community support and optimization updates.
For creators who prioritize speed, convenience, and access to the latest AI video models, cloud-based platforms offer a practical alternative. Instead of relying on local GPU resources, these services handle the processing remotely, allowing you to focus on creating content rather than managing hardware limitations.
|
Feature |
Draw Things (Local) |
Top Cloud Alternatives (Vmake AI) |
|---|---|---|
|
Hardware Dependency |
High (Requires M-Series & 16GB+ RAM) |
Low (Browser-based execution) |
|
Upfront Cost |
High (Requires expensive Apple hardware) |
Freemium / Pay-per-credit |
|
Rendering Speed |
Hardware-dependent (Often slow) |
Server-accelerated (Fast) |
|
Maximum Resolution |
Limited by local VRAM |
Supports automated 4K upscaling |
The comparison illustrates the trade-offs between local and cloud-based AI video generation. While Draw Things offers a fully local workflow, performance and model support depend on your hardware. Cloud-based platforms such as Vmake AI process content on remote servers, providing an alternative for users who prefer not to rely on local computing resources.
Bypassing Hardware Limits with Vmake AI
Vmake is an all-in-one UGC video generator that helps small businesses and creators generate, enhance, and optimize high-performing videos for acquisition, conversion, and growth. Forget about pushing your computer to its limits. This streamlined cloud workflow offloads heavy lifting to dedicated servers, so you can focus on creating:
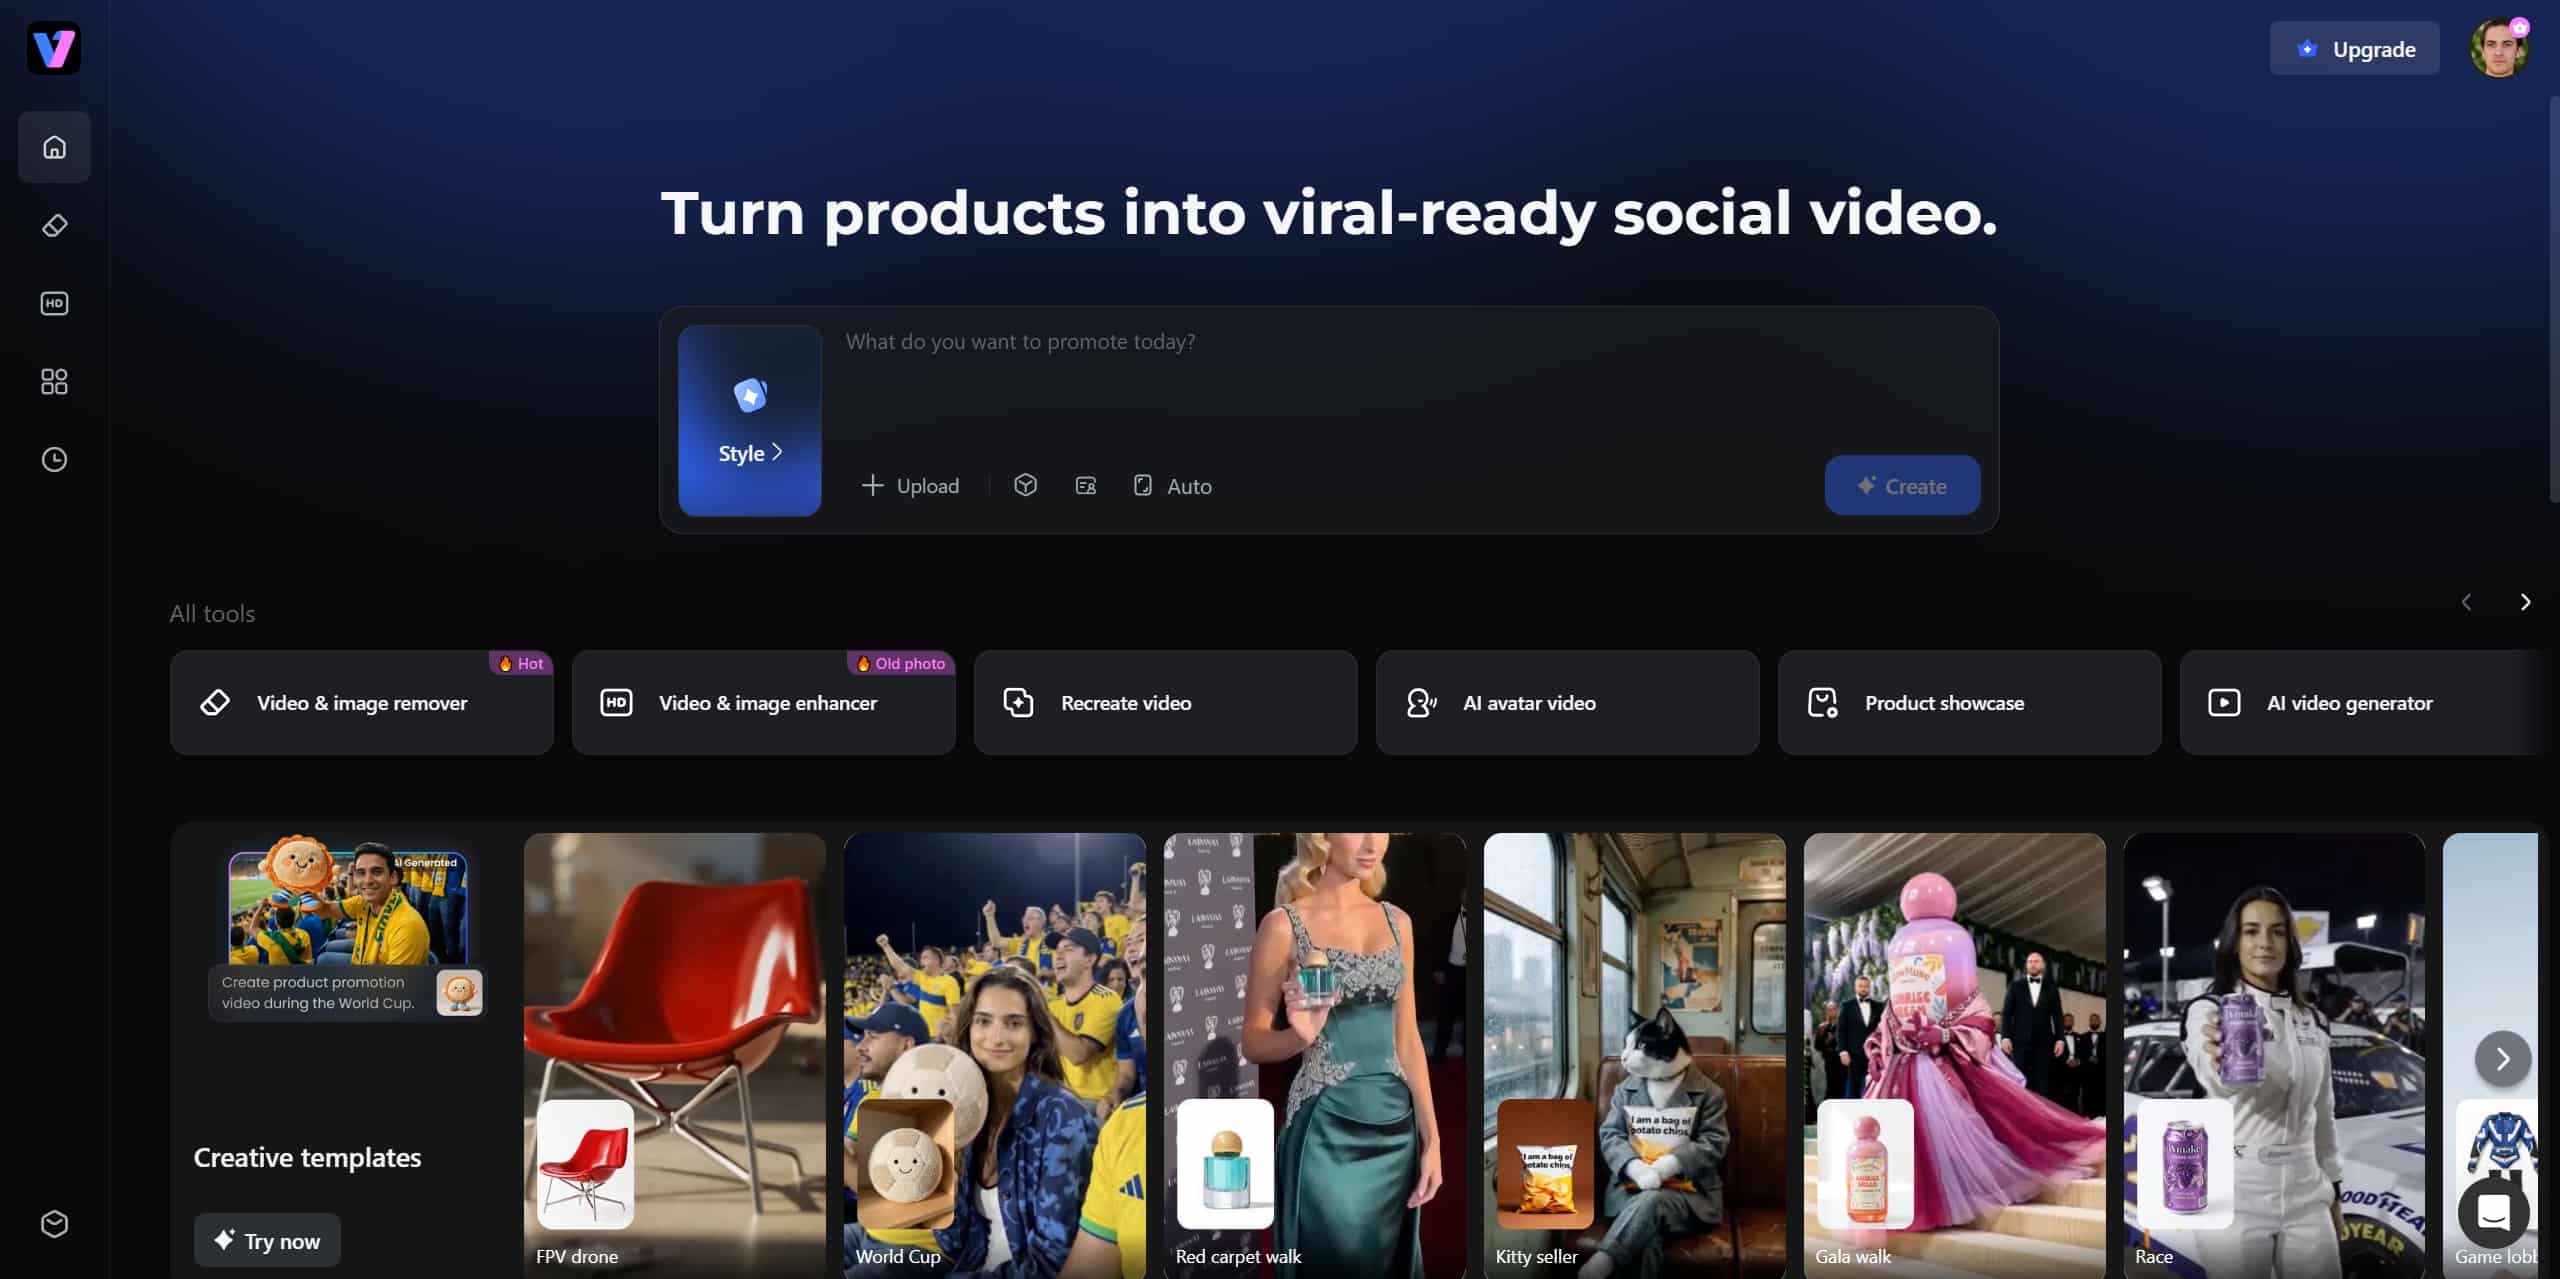
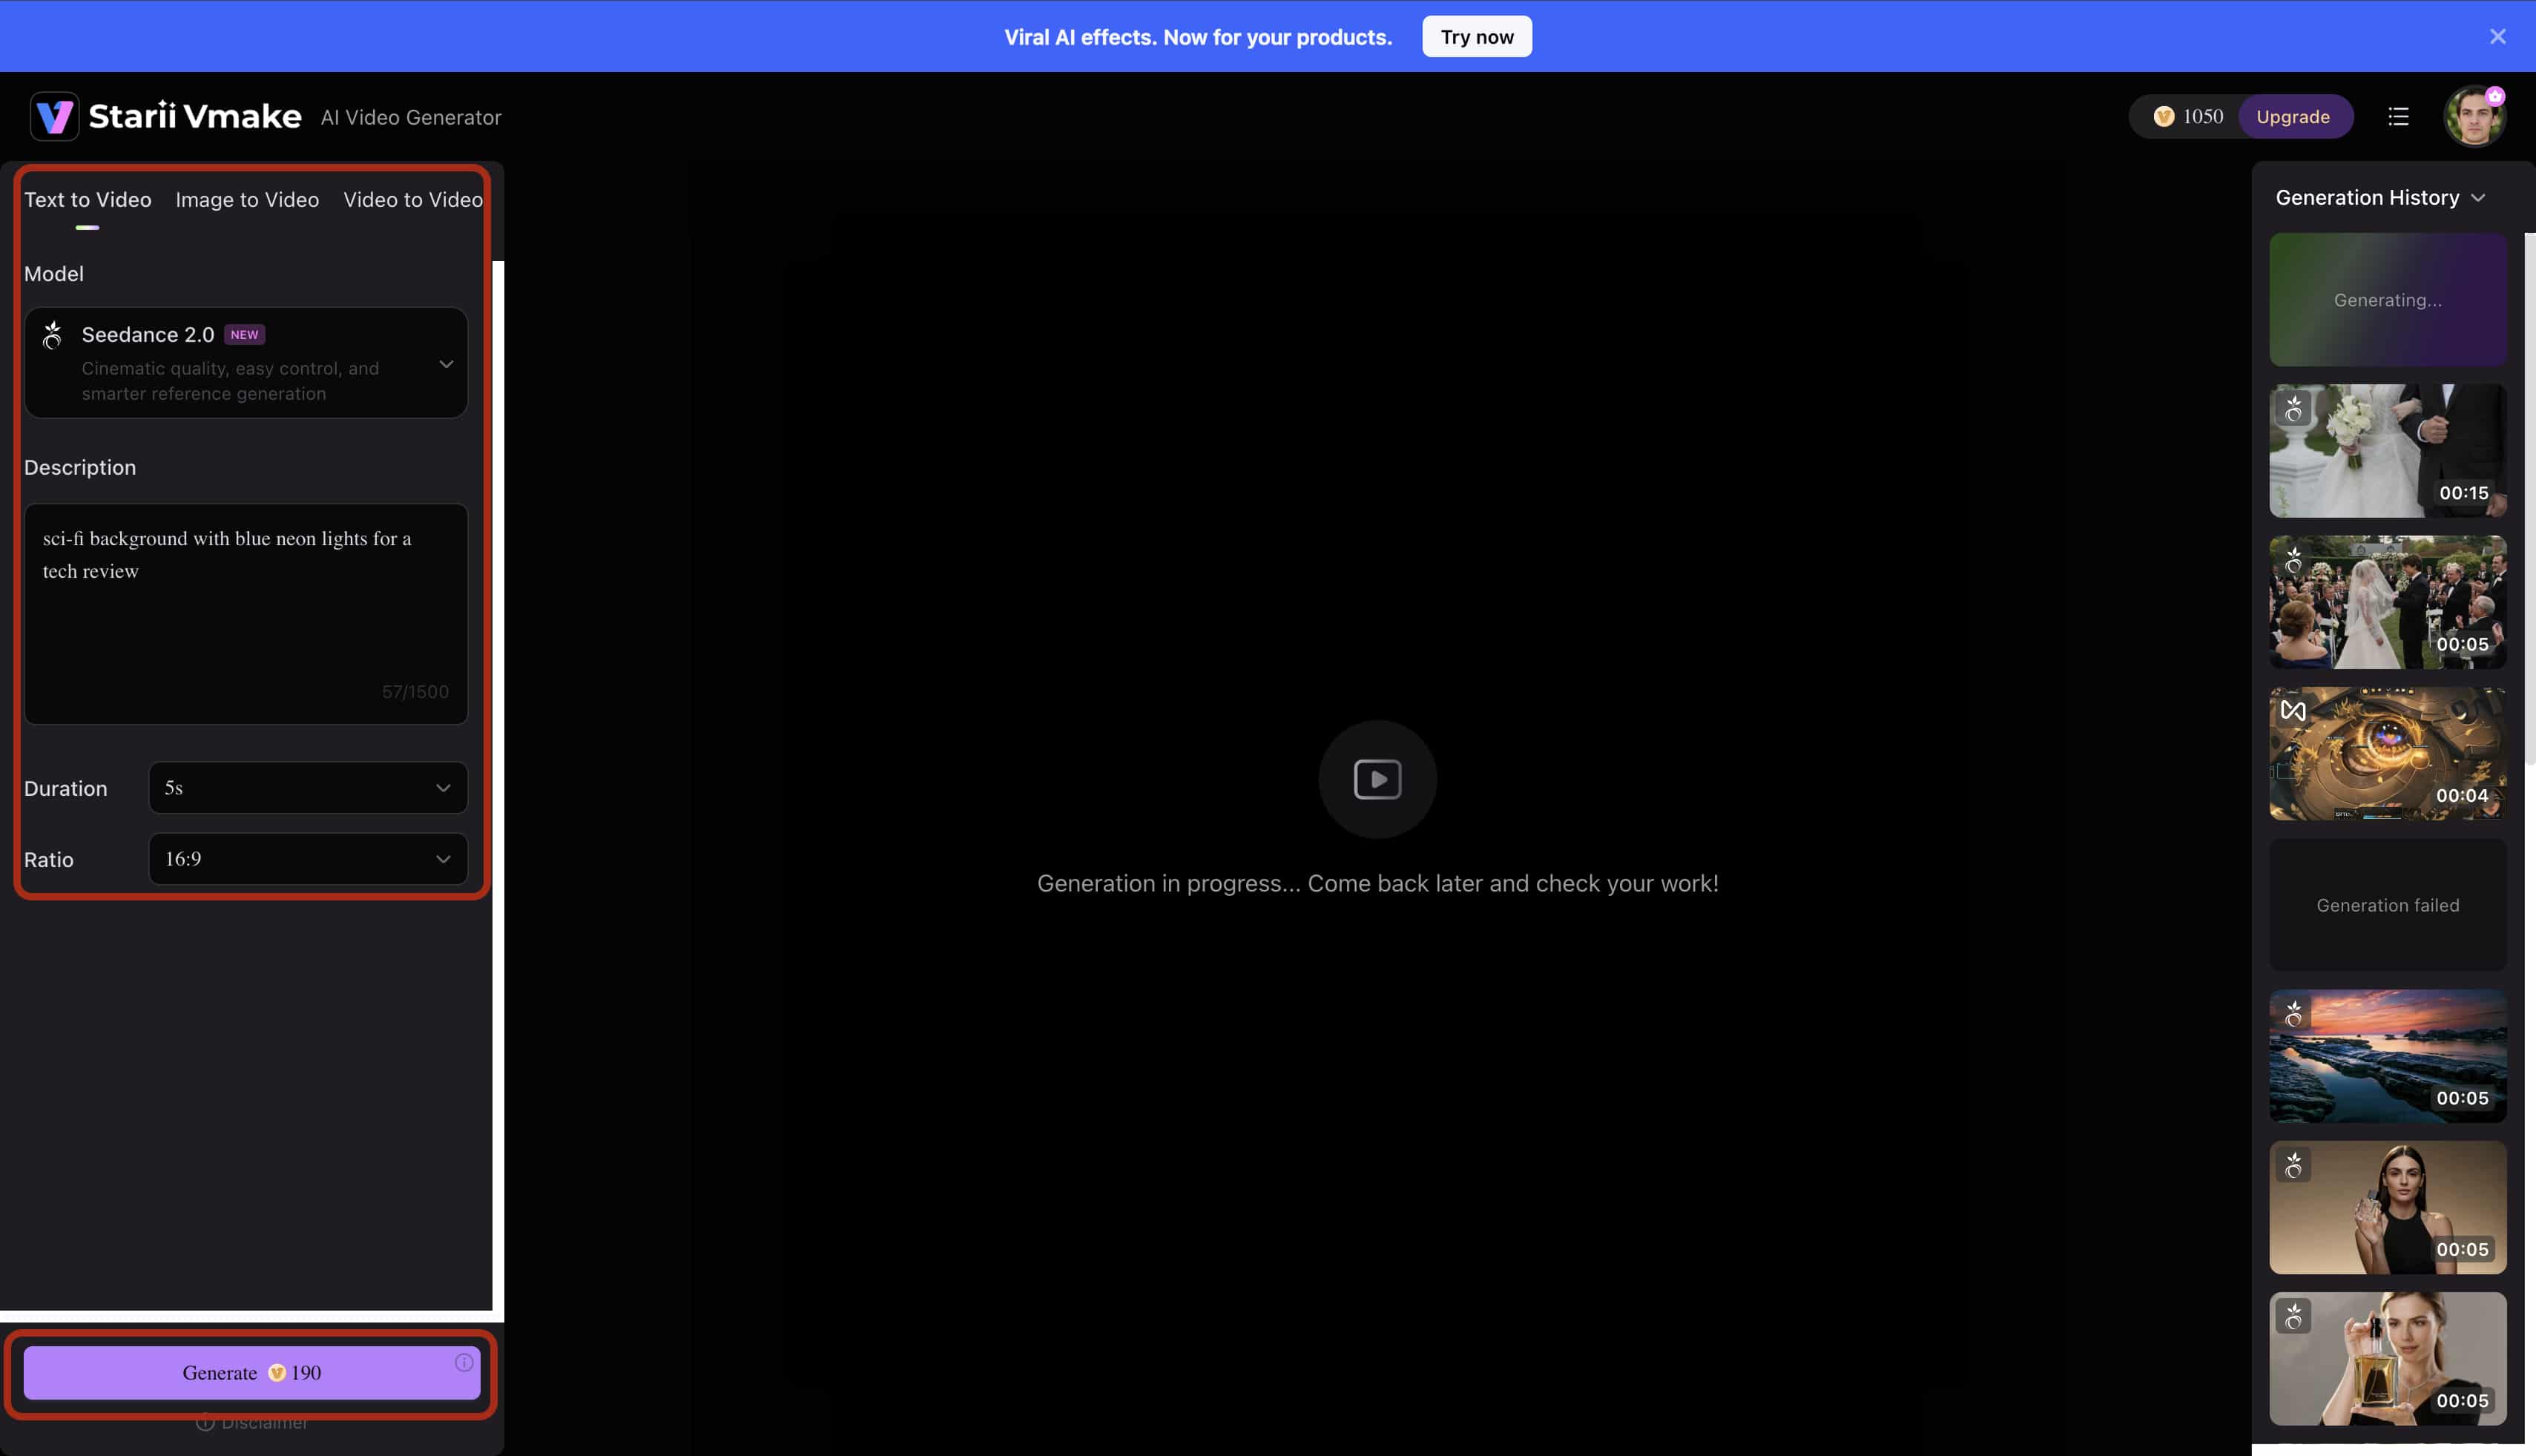
Step 1: Navigate to Vmake dashboard
Navigate directly to the Vmake dashboard. You do not need heavy model downloads or a high-end Mac. Any standard web browser works immediately.
Step 2: Asset Ingestion
Try AI Video Generator for free now!
Upload a starting image or type a text prompt to define the video's motion and subject. You skip the complex node routing and parameter menus completely.
Step 3: Server-Side Generation
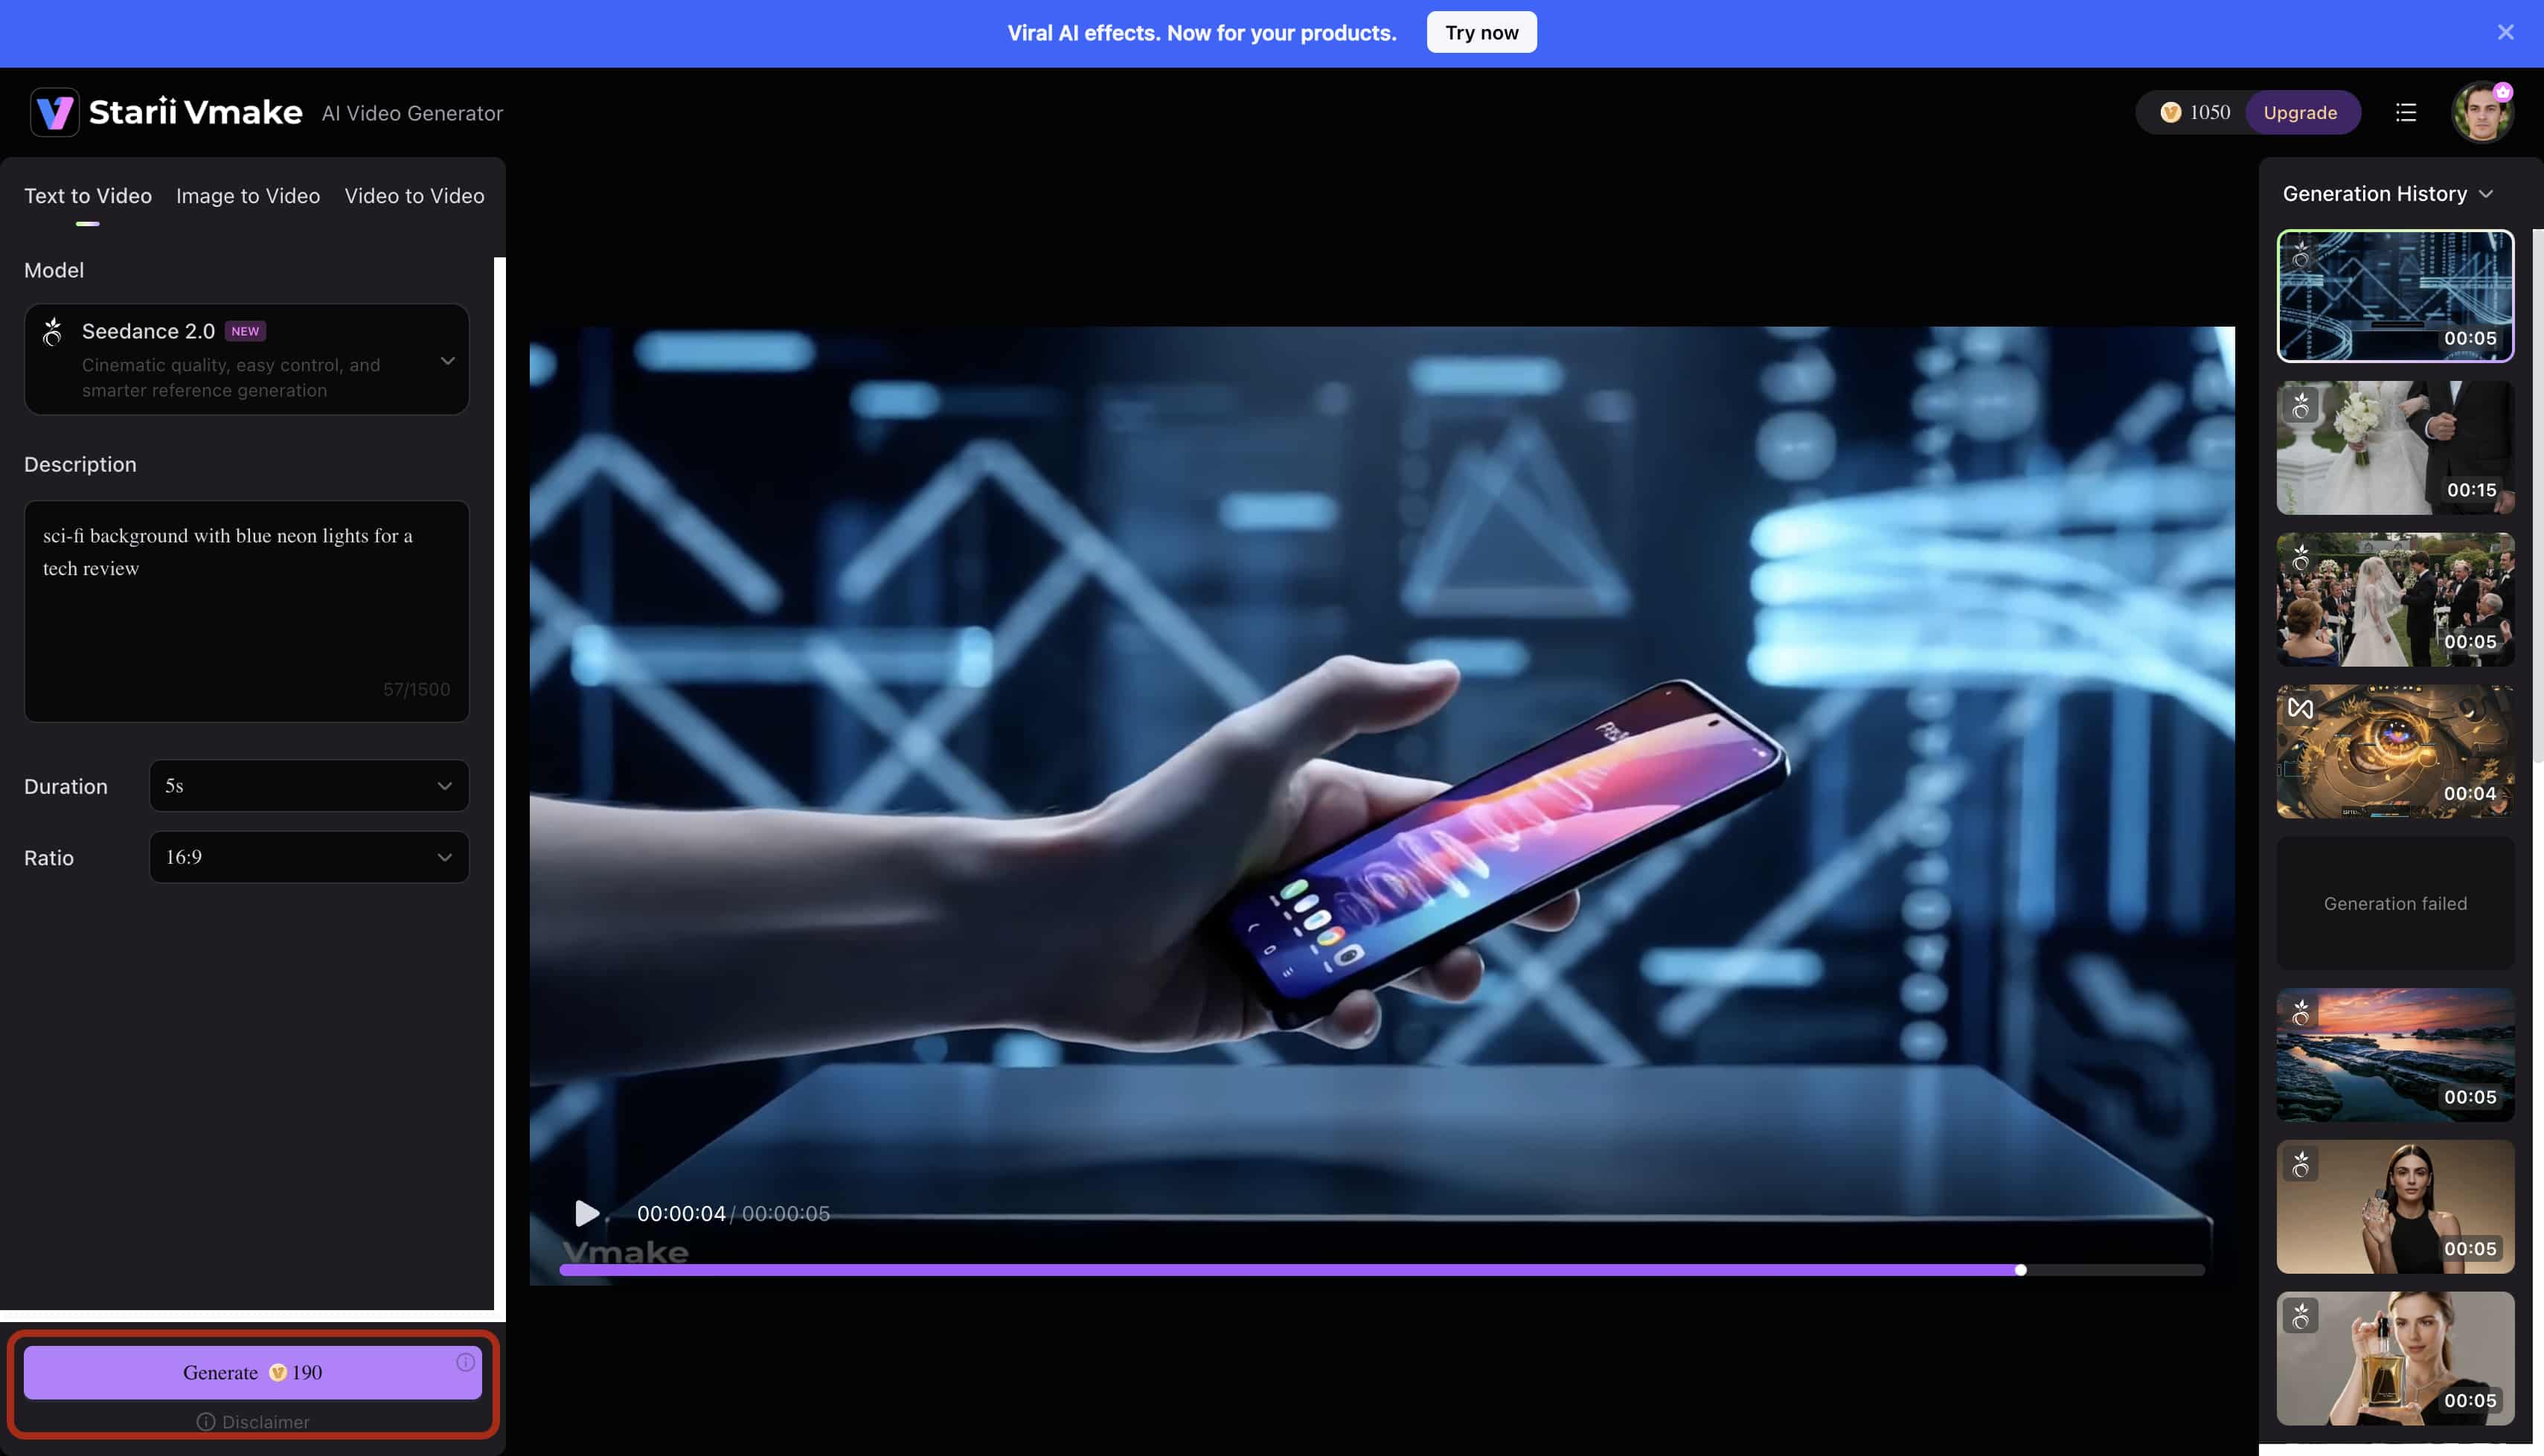
In the left panel, select your preferred model from the Model dropdown menu. In the Description box, type a clear scene prompt, such as "Close-up cinematic shot of a hand holding a modern smartphone on a futuristic display platform." Next, choose the video duration and aspect ratio, then click the Generate button at the bottom of the panel to start creating your video.
Step 4: Exporting High-Resolution Assets
Render the final video files. The platform outputs clean, artifact-free media ready for direct platform upload. If you have older, low-resolution clips you want to include, run them through a batch video upscaling tool first. This guarantees visual consistency across your entire final timeline.
Enhancing and Upscaling Generated Videos
Raw video generation rarely produces a finished masterpiece. Local AI video outputs often require heavy post-processing because local memory limits restrict native resolutions.
Fixing Resolution Limits
You might successfully generate a clip locally, but it often outputs at a blurry 512x512 resolution. That size looks terrible on modern smartphone screens. We recommend running the raw local output through a dedicated video enhancer to improve visual clarity and restore soft edges. These tools analyze compressed pixels and physically redraw missing information to create a sharper image.
Accelerating the Workflow
Rendering and upscaling one clip at a time ruins productivity. Utilizing a batch video upscaling tool drastically reduces post-production timelines. You drop twenty raw clips into the system. The servers upscale all of them simultaneously while you focus on editing your timeline. This parallel processing eliminates the dreaded rendering queue.
Managing Visual Artifacts
Upscaling heavily compressed video sometimes introduces artificial smoothing. Faces might look slightly waxy if the original local render lacked distinct texture. You always want to generate the highest possible base resolution your machine can handle before passing it to an upscaler. Additionally, if your base image had unwanted text overlay, use a watermark remover on the asset before generating motion. Diffusion models will warp text into unreadable, glitchy shapes if you leave it in the source frame.
Conclusion
Draw Things is a capable local solution for image-to-video generation, especially for users with powerful Apple Silicon hardware. It offers full file control and no recurring subscription costs.
However, memory limitations, long render times, and hardware constraints can make larger projects difficult to scale. For creators who need faster processing and access to more demanding models, cloud-based platforms such as Vmake AI provide an alternative by handling the rendering remotely. This allows you to generate high-resolution videos more efficiently and focus on production rather than hardware limitations.
FAQs
Which models are best for video generation in Draw Things?
Currently, the most reliable models for video generation in the app include Wan 2.1, Hunyuan Video, and LTX-2.3. These specific models are heavily optimized for Apple hardware architectures. They offer the best temporal consistency for Image-to-Video workflows on consumer laptops.
Why is Draw Things crashing during video generation?
Crashes typically occur due to insufficient Unified Memory (RAM) when processing multiple frames simultaneously. Lowering your overall frame count or using 8-bit quantized models often resolves these immediate out-of-memory issues. Devices with only 8GB of RAM will face persistent instability during video tasks.
How do I do image-to-video generation?
First, upload your reference image directly to the Draw Things canvas. Select a video-capable model from the dropdown menu, input your descriptive prompt, and initiate the generation process. The system uses your image as the first frame and predicts the physical motion from there.
How can I make video generation faster in Draw Things?
To increase rendering speeds, lower your target frame count and switch to smaller 512x512 image resolutions. You reduce the mathematical load on the GPU. You can also utilize 8-bit quantized models to process the data faster with minimal quality loss.
What are the minimum hardware requirements for video generation?
For stable video generation, Apple Silicon machines with at least 16GB of Unified Memory are highly recommended. Attempting to render video on older Intel Macs or 8GB Apple devices will likely result in severe performance bottlenecks and frequent application failures.
Can I generate long videos natively in Draw Things?
Generating long, continuous videos locally is incredibly difficult due to hard VRAM limitations. Most native outputs are restricted to just a few seconds. For longer, production-grade projects, creators often switch to cloud-based solutions like Vmake AI to ensure stable, high-fidelity renders without crashing their operating systems.

You May Be Interested

Hailuo AI vs Luma AI: Comprehensive Reviews Roundup

Best Veed Alternatives for Captioning Videos Automatically (2025)
Viggle AI Video Generator Review & Top 2026 Alternatives
Best AI Video Generator: Top Tools Tested (2026)

How to Create Professional YouTube Thumbnails with AI: A Creator’s 2026 Strategy
