How to Make a Video with Live Photos: 3 Ways You Should Know
Learn how to make a video with live photos and turn memorable moments into engaging content with motion, sound, and smooth transitions using Vmake AI's AI Video Generator.


Live photos are great for capturing small moments that a regular photo might miss, but they aren't always easy to share across different platforms. Converting Live Photos into videos makes them more versatile, helping you preserve motion and sound while creating content that's easier to post, edit, and enjoy anywhere.
What is a Live Photo, and why turn it into a video?
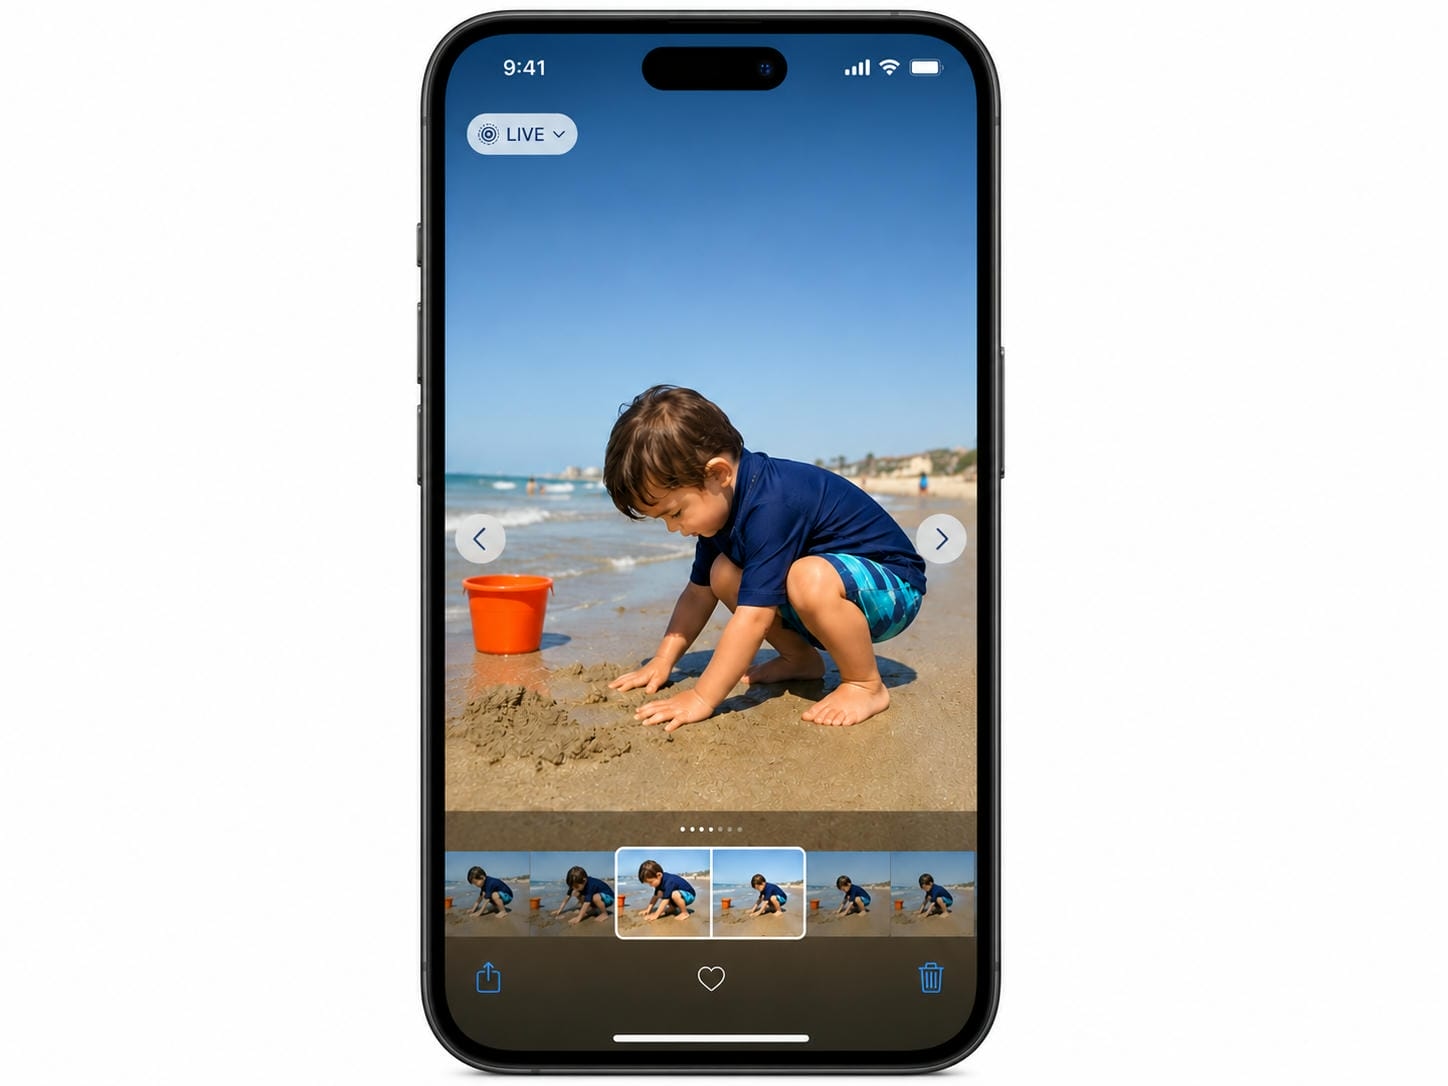
Apple came up with Live Photos to make photography more vibrant. A Live Photo is more than just a still frame, it's a short instant before and after you hit the shutter button. So think of it as a small memory that moves and has sound.
How Live Photos work
A Live snapshot is a high-definition still snapshot that captures about 1.5 seconds of motion and sound before and after the photo is taken. Bring the image to life on authorized Apple devices with a touch and hold. It's a format that captures the moments that traditional images tend to miss. A child's giggle, a cat bouncing, waves crashing on a beach, Live Photos add context and emotion that a static snapshot can't always bring to life.
Live Photo vs video: what's the difference?
Although live photos and videos both capture motion, they serve different purposes. Understanding the differences can help you decide when converting a Live Photo into a video makes sense.
|
Feature |
Live Photo |
Video |
|---|---|---|
|
Duration |
Captures 1.5 seconds before and after the shutter is pressed |
Can record for any length of time |
|
Content |
Combines a still image with short motion and audio |
Continuous motion and sound |
|
Sharing |
Best viewed within the Apple ecosystem |
Compatible with most platforms and devices |
|
Editing |
Limited editing options |
Extensive editing and customization options |
|
Storytelling |
Suitable for capturing brief moments |
Better for creating complete stories and content |
Why do people turn live photos into videos?
Converting a Live Photo to a video gives you more control and makes sharing effortless. Here is why it works better:
-
Platform Friendly: Videos play perfectly across Instagram, TikTok, YouTube, and Facebook without compatibility issues.
-
Better Editing: You can easily add transitions, music, effects, and captions to polish your content.
-
Seamless Storytelling: You can stitch multiple Live Photos together into a single, fluid video that captures both continuous motion and sound.
How to make a video with Live Photos in three ways
Depending on the resources you have and the level of customization you need, there are numerous ways to convert Live Photos to videos.
Method 1: Using your iPhone's Photos app
The easiest method is built directly into iOS. Apple's Photos app allows you to combine multiple Live Photos and export them as a video without installing any additional software.
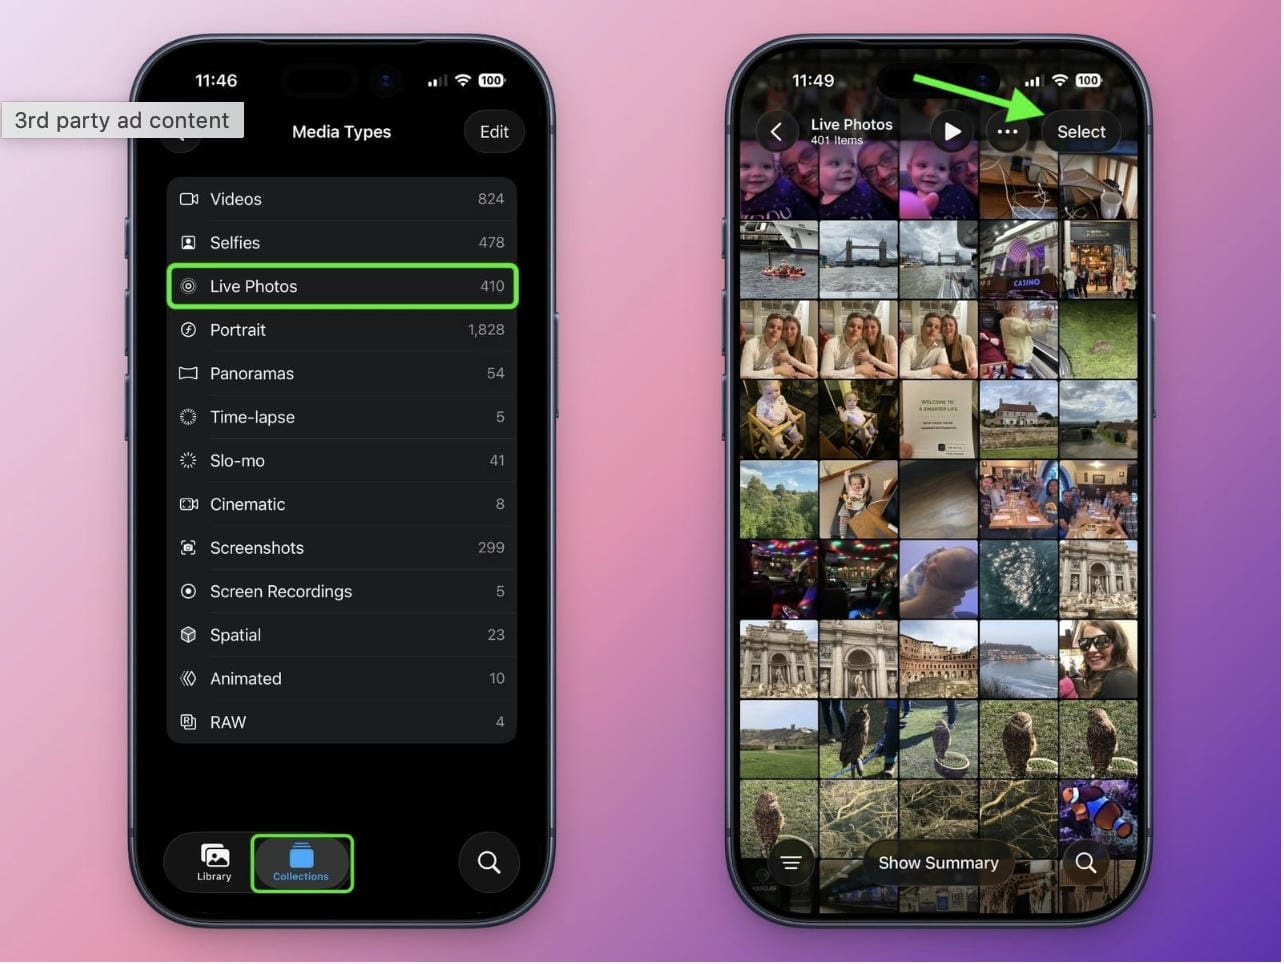
Step 1: Open the Photos app and access your Live Photos collection
Open the Photos app and navigate to the Live Photos section in your library. Here you'll find all the Live Photos stored on your device.
Step 2: Select the Live Photos you want to combine into a video
Tap Select, then choose the Live Photos you want to add. Put them in the order you want them to appear in the final video.
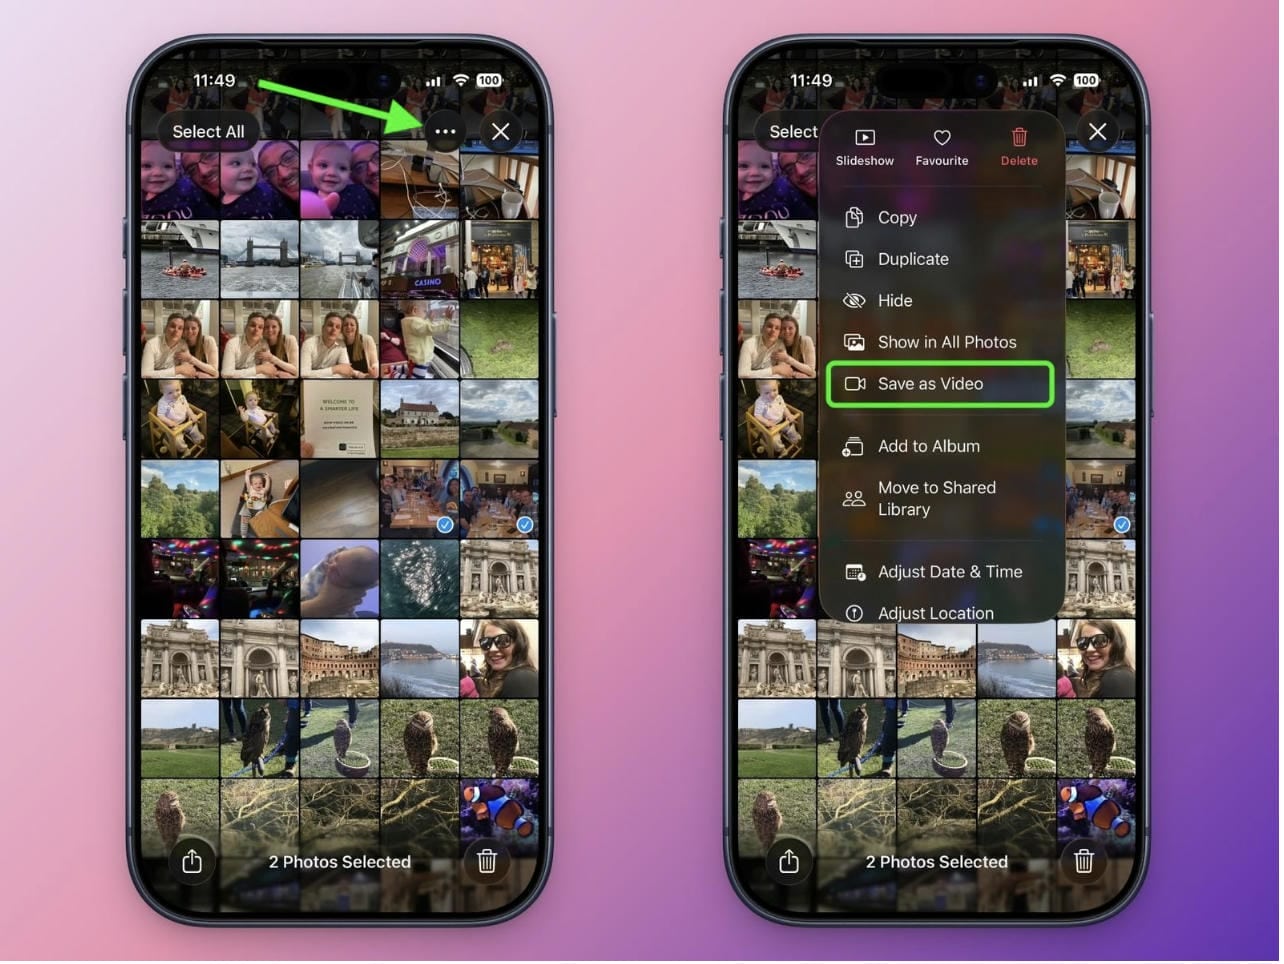
Step 3: Tap the three-dot menu and choose "Save as Video"
After selecting your Live Photos, tap the three-dot menu and choose Save as Video. Your iPhone will automatically combine them into a single video file that can be shared or edited further.
Method 2: Using an online editing tool
Online editors provide more customization options than the Photos app and often allow you to add music, transitions, text, and effects.
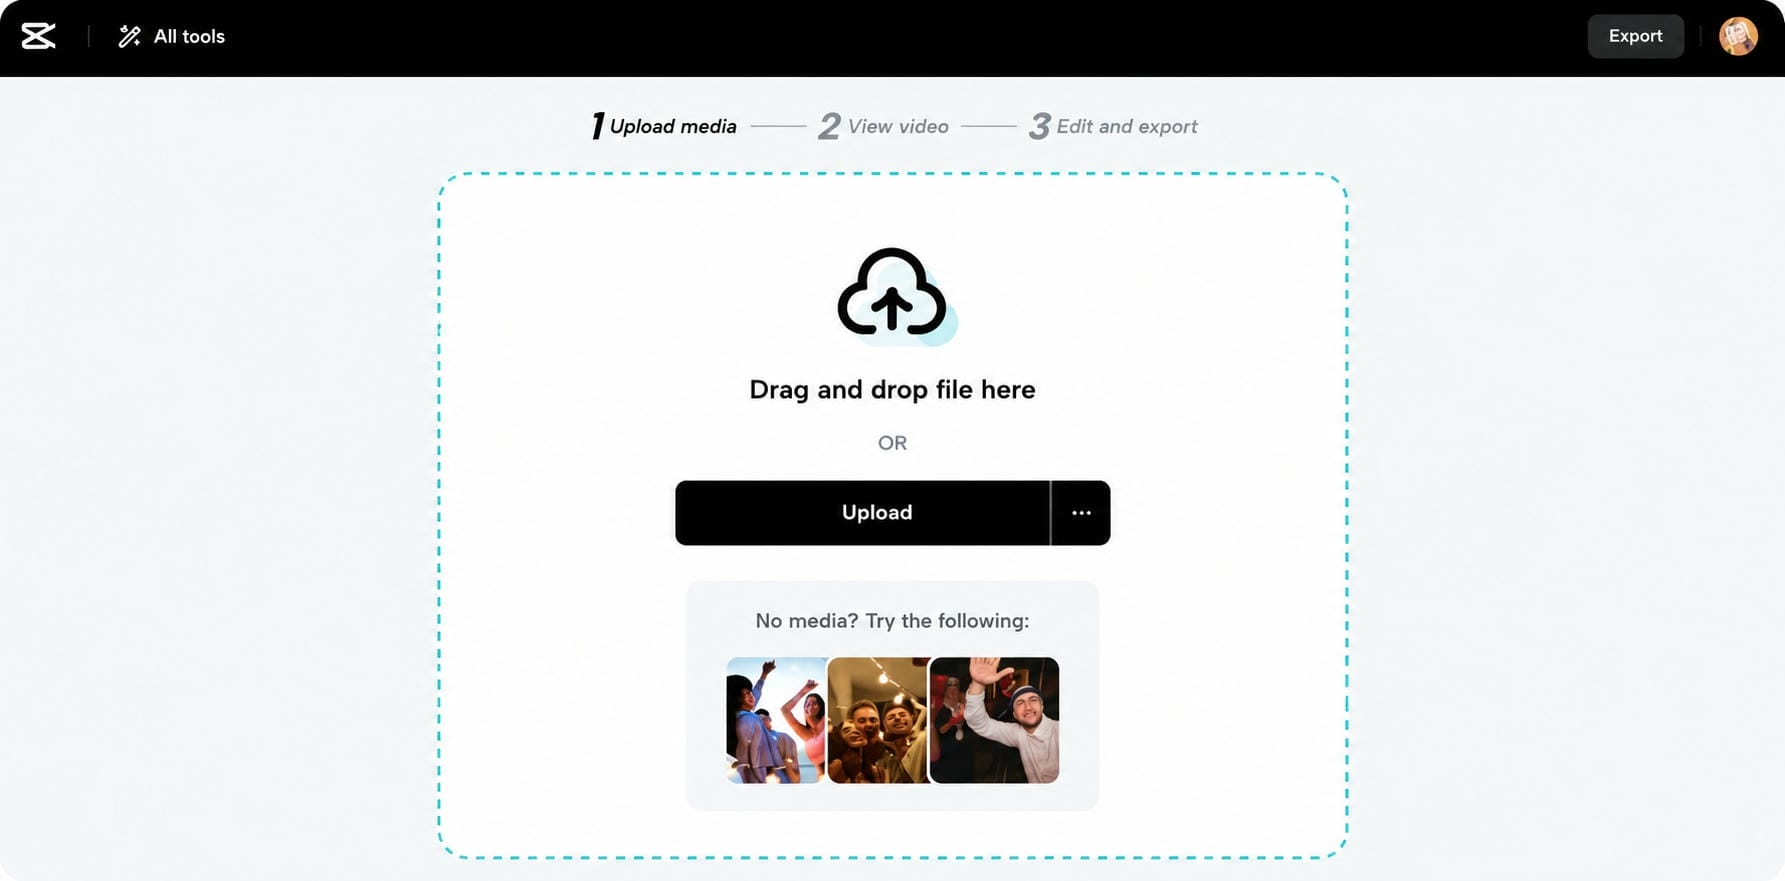
Step 1: Upload your Live Photos
Upload your Live Photos or export video clips to the online editor. Most platforms offer drag and drop uploads for easy access.
Step 2: Generate and customize the video
Arrange your clips, cut the bad parts, create transitions and add music or captions if you wish. There are many internet applications that offer templates as well, to make the editing process faster.

Step 3: Edit, export, and share your video
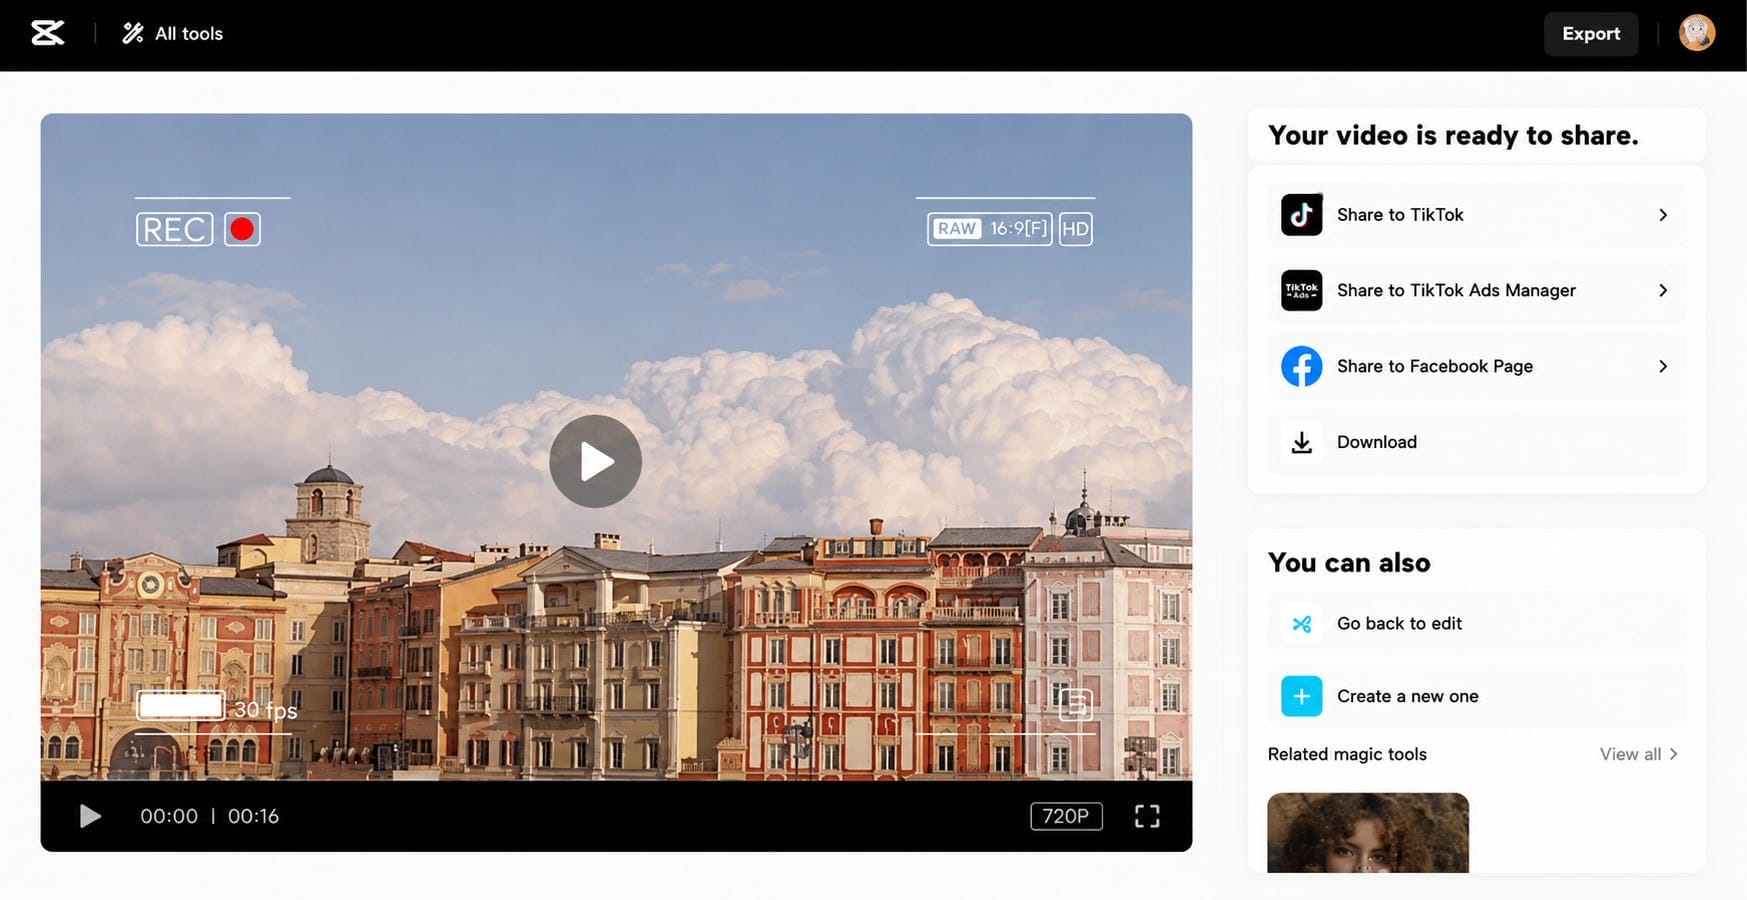
Once you're satisfied with the video, export it to your preferred resolution and share it directly to social media or save it to your device.
Method 3: Using Vmake AI Video Generator
While the built-in iPhone method focuses on converting Live Photos into standard video files, Vmake AI helps you take those moments further through AI-powered image-to-video generation. By uploading images extracted from your Live Photos, you can create more dynamic scenes with motion, effects, and cinematic camera movements.
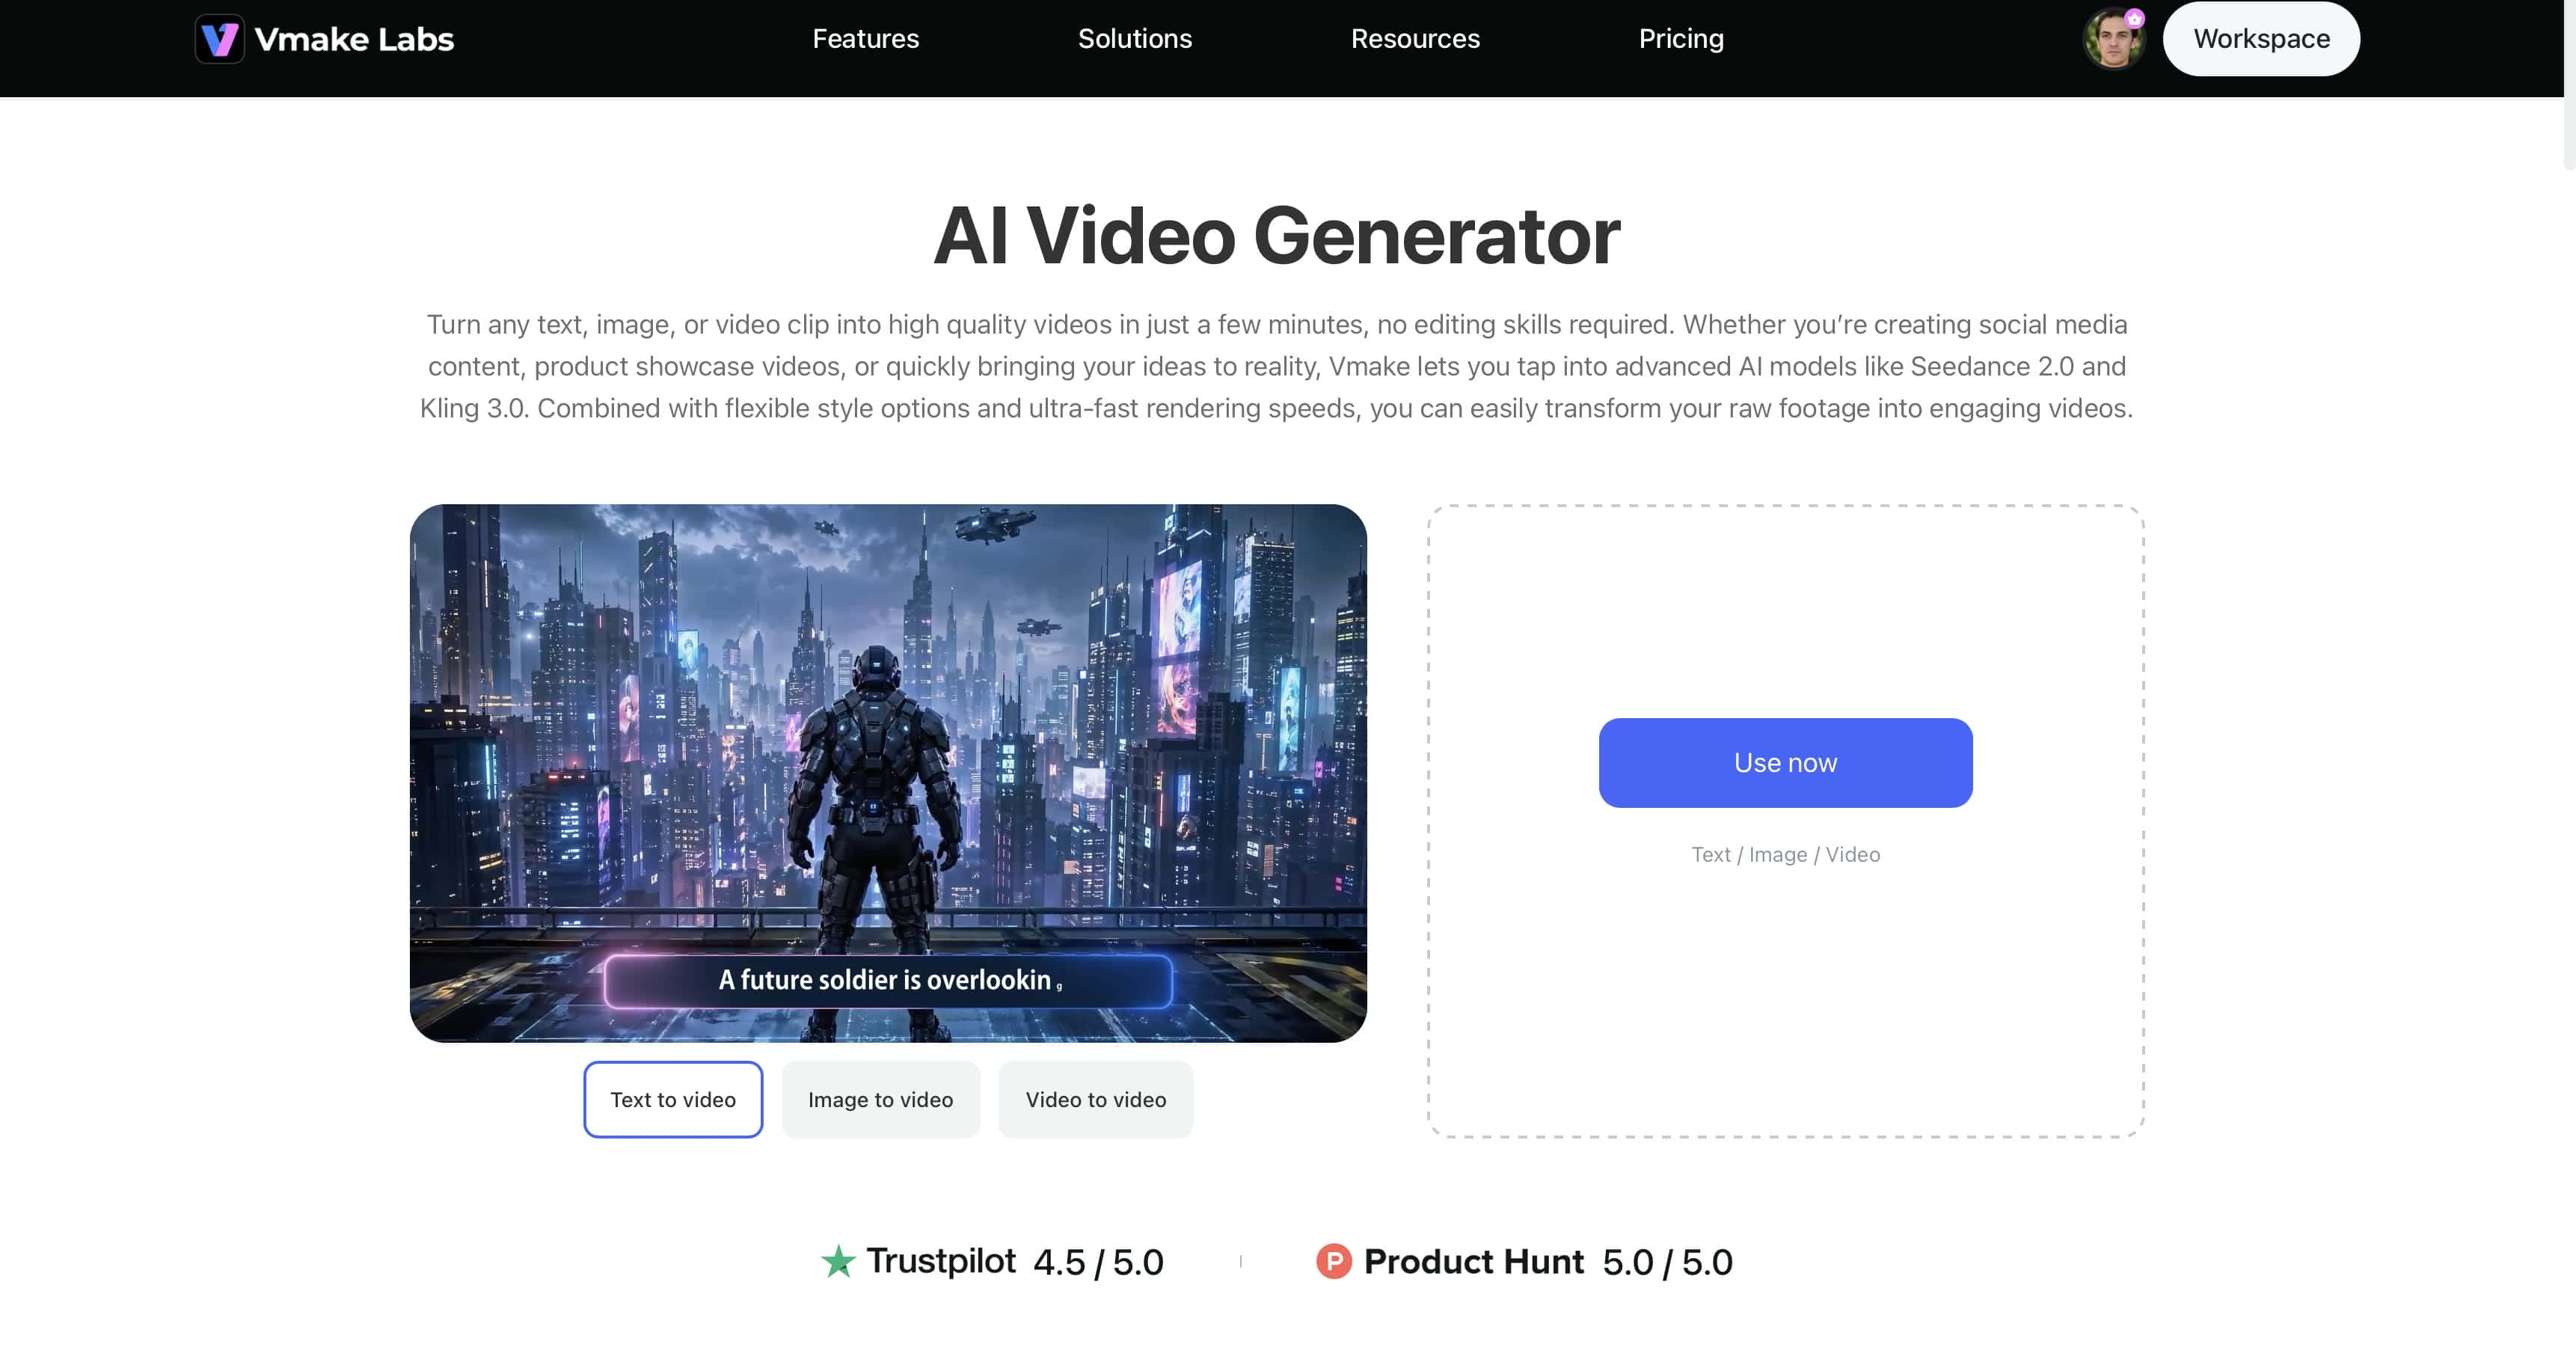
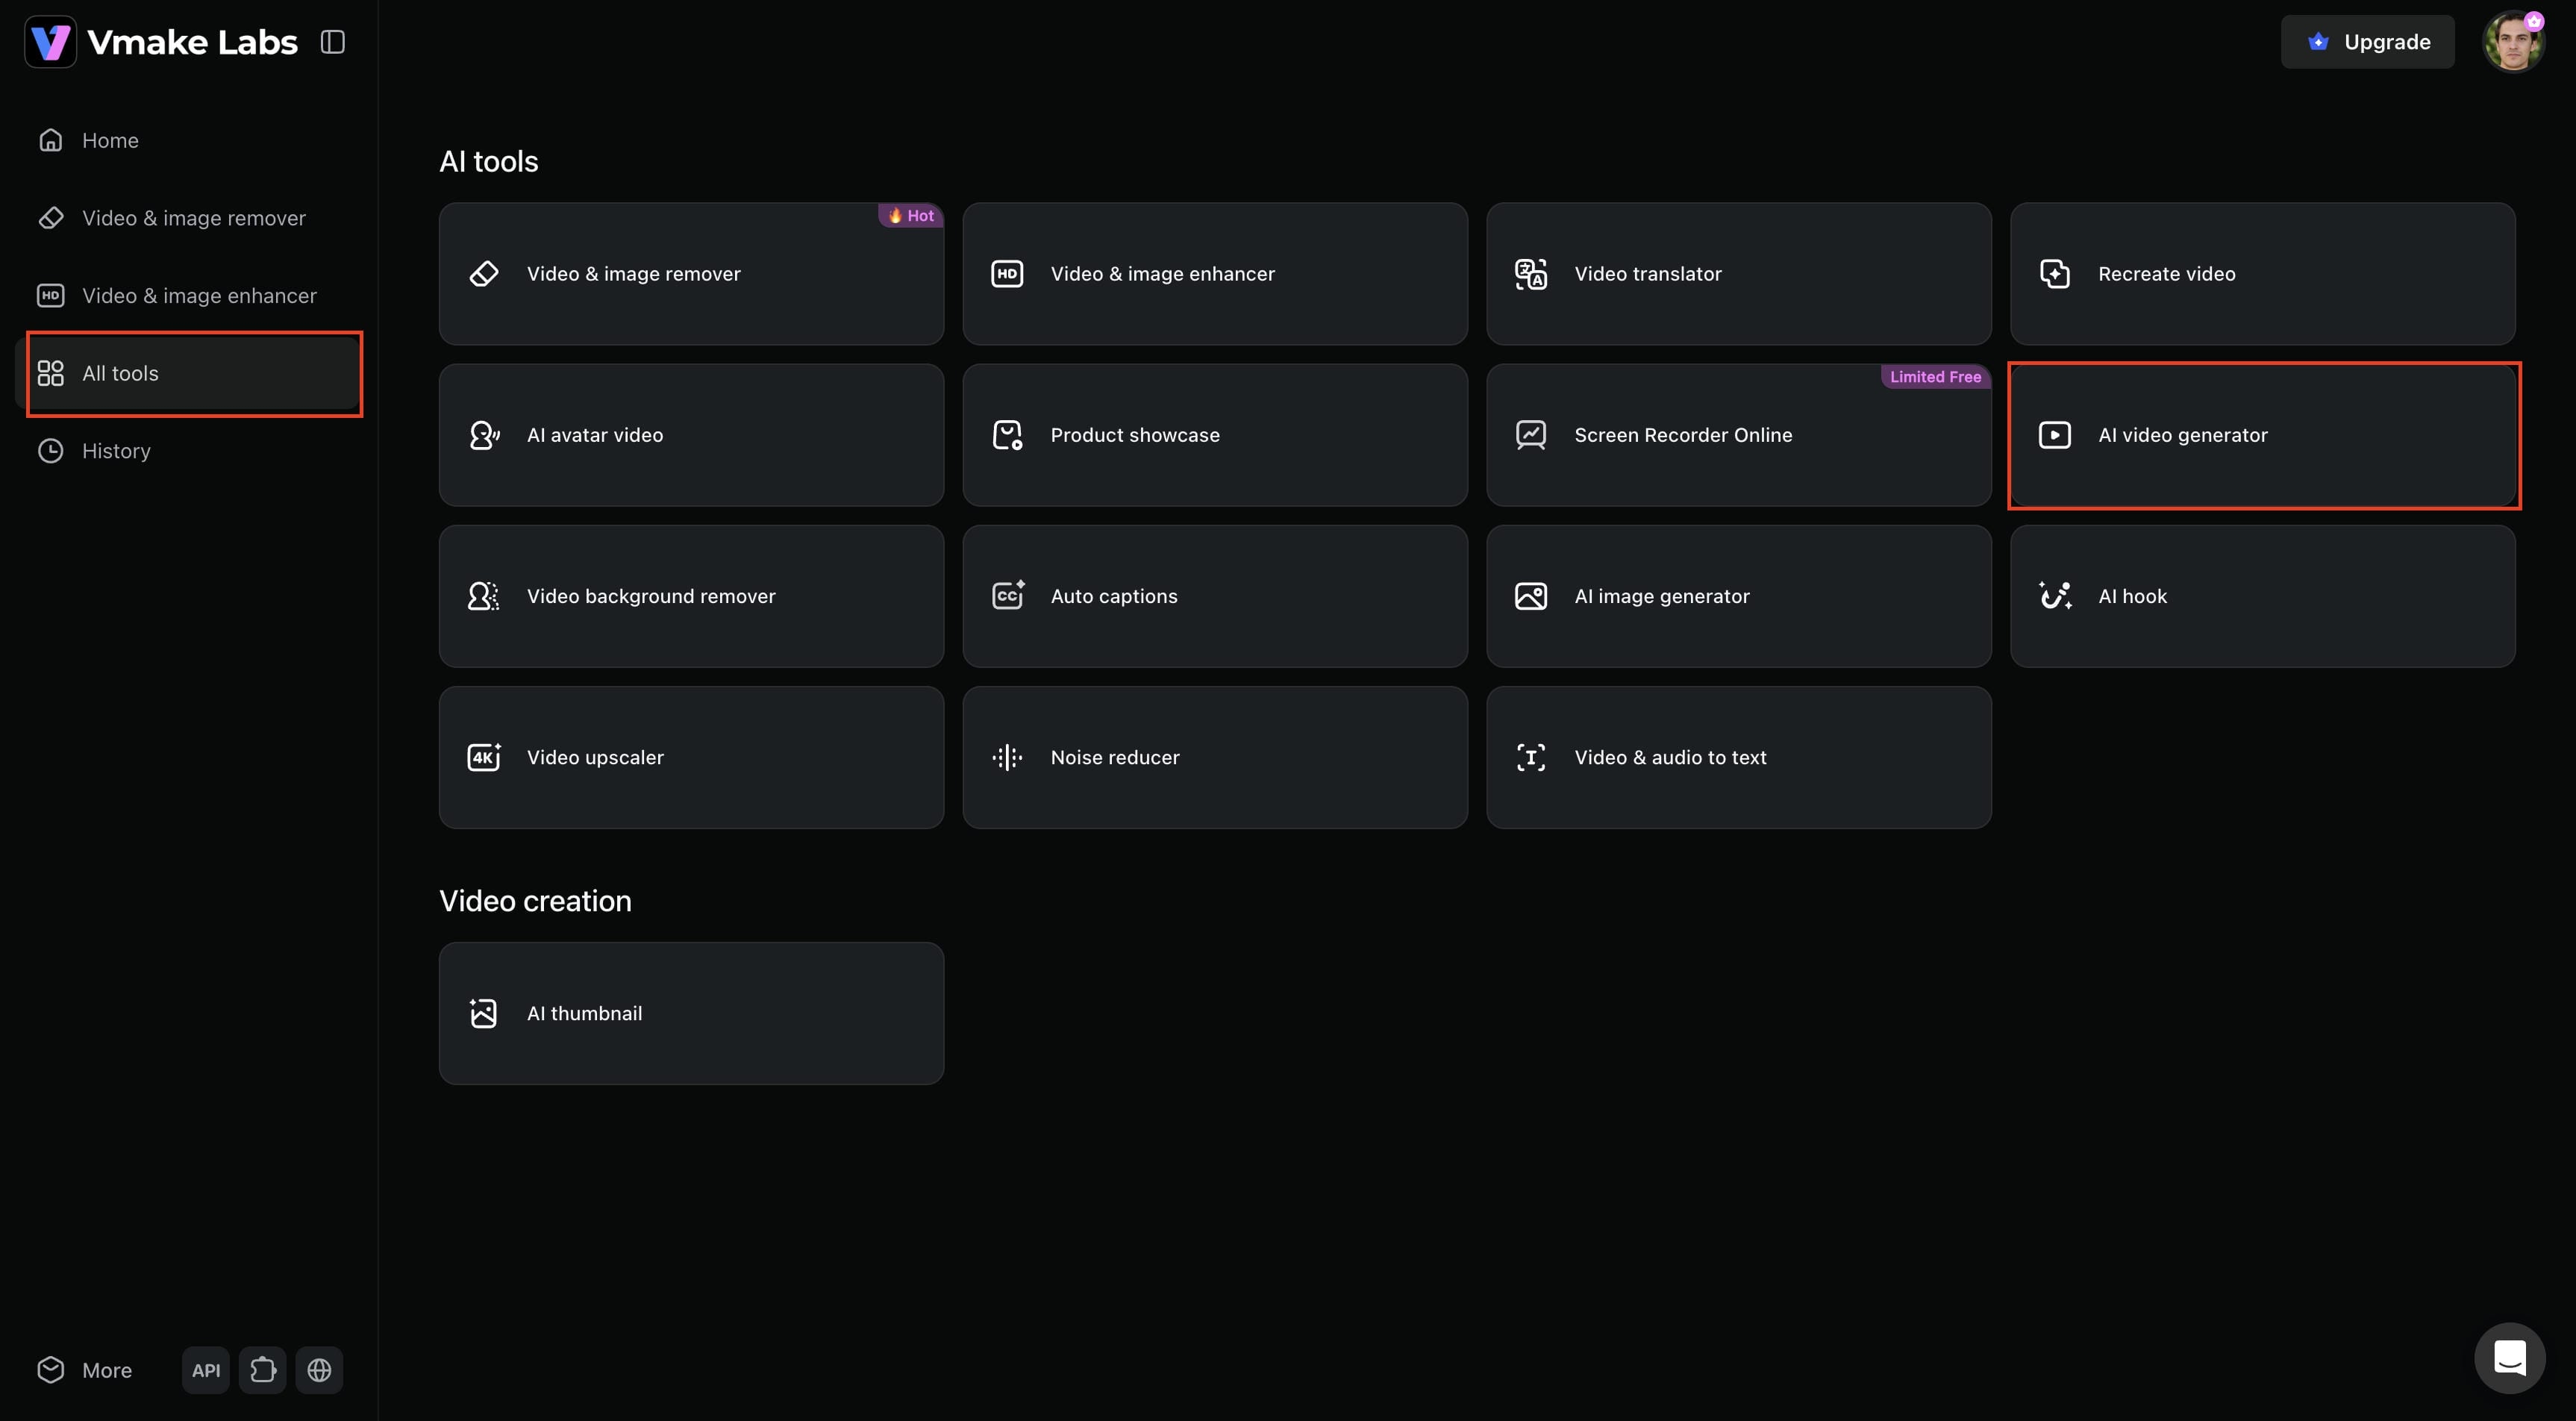
Step 1: Open Vmake AI Video Generator
Open the Vmake AI Video Generator and start a new project. Upload images extracted from your Live Photos or select the images you want to transform into dynamic video content.
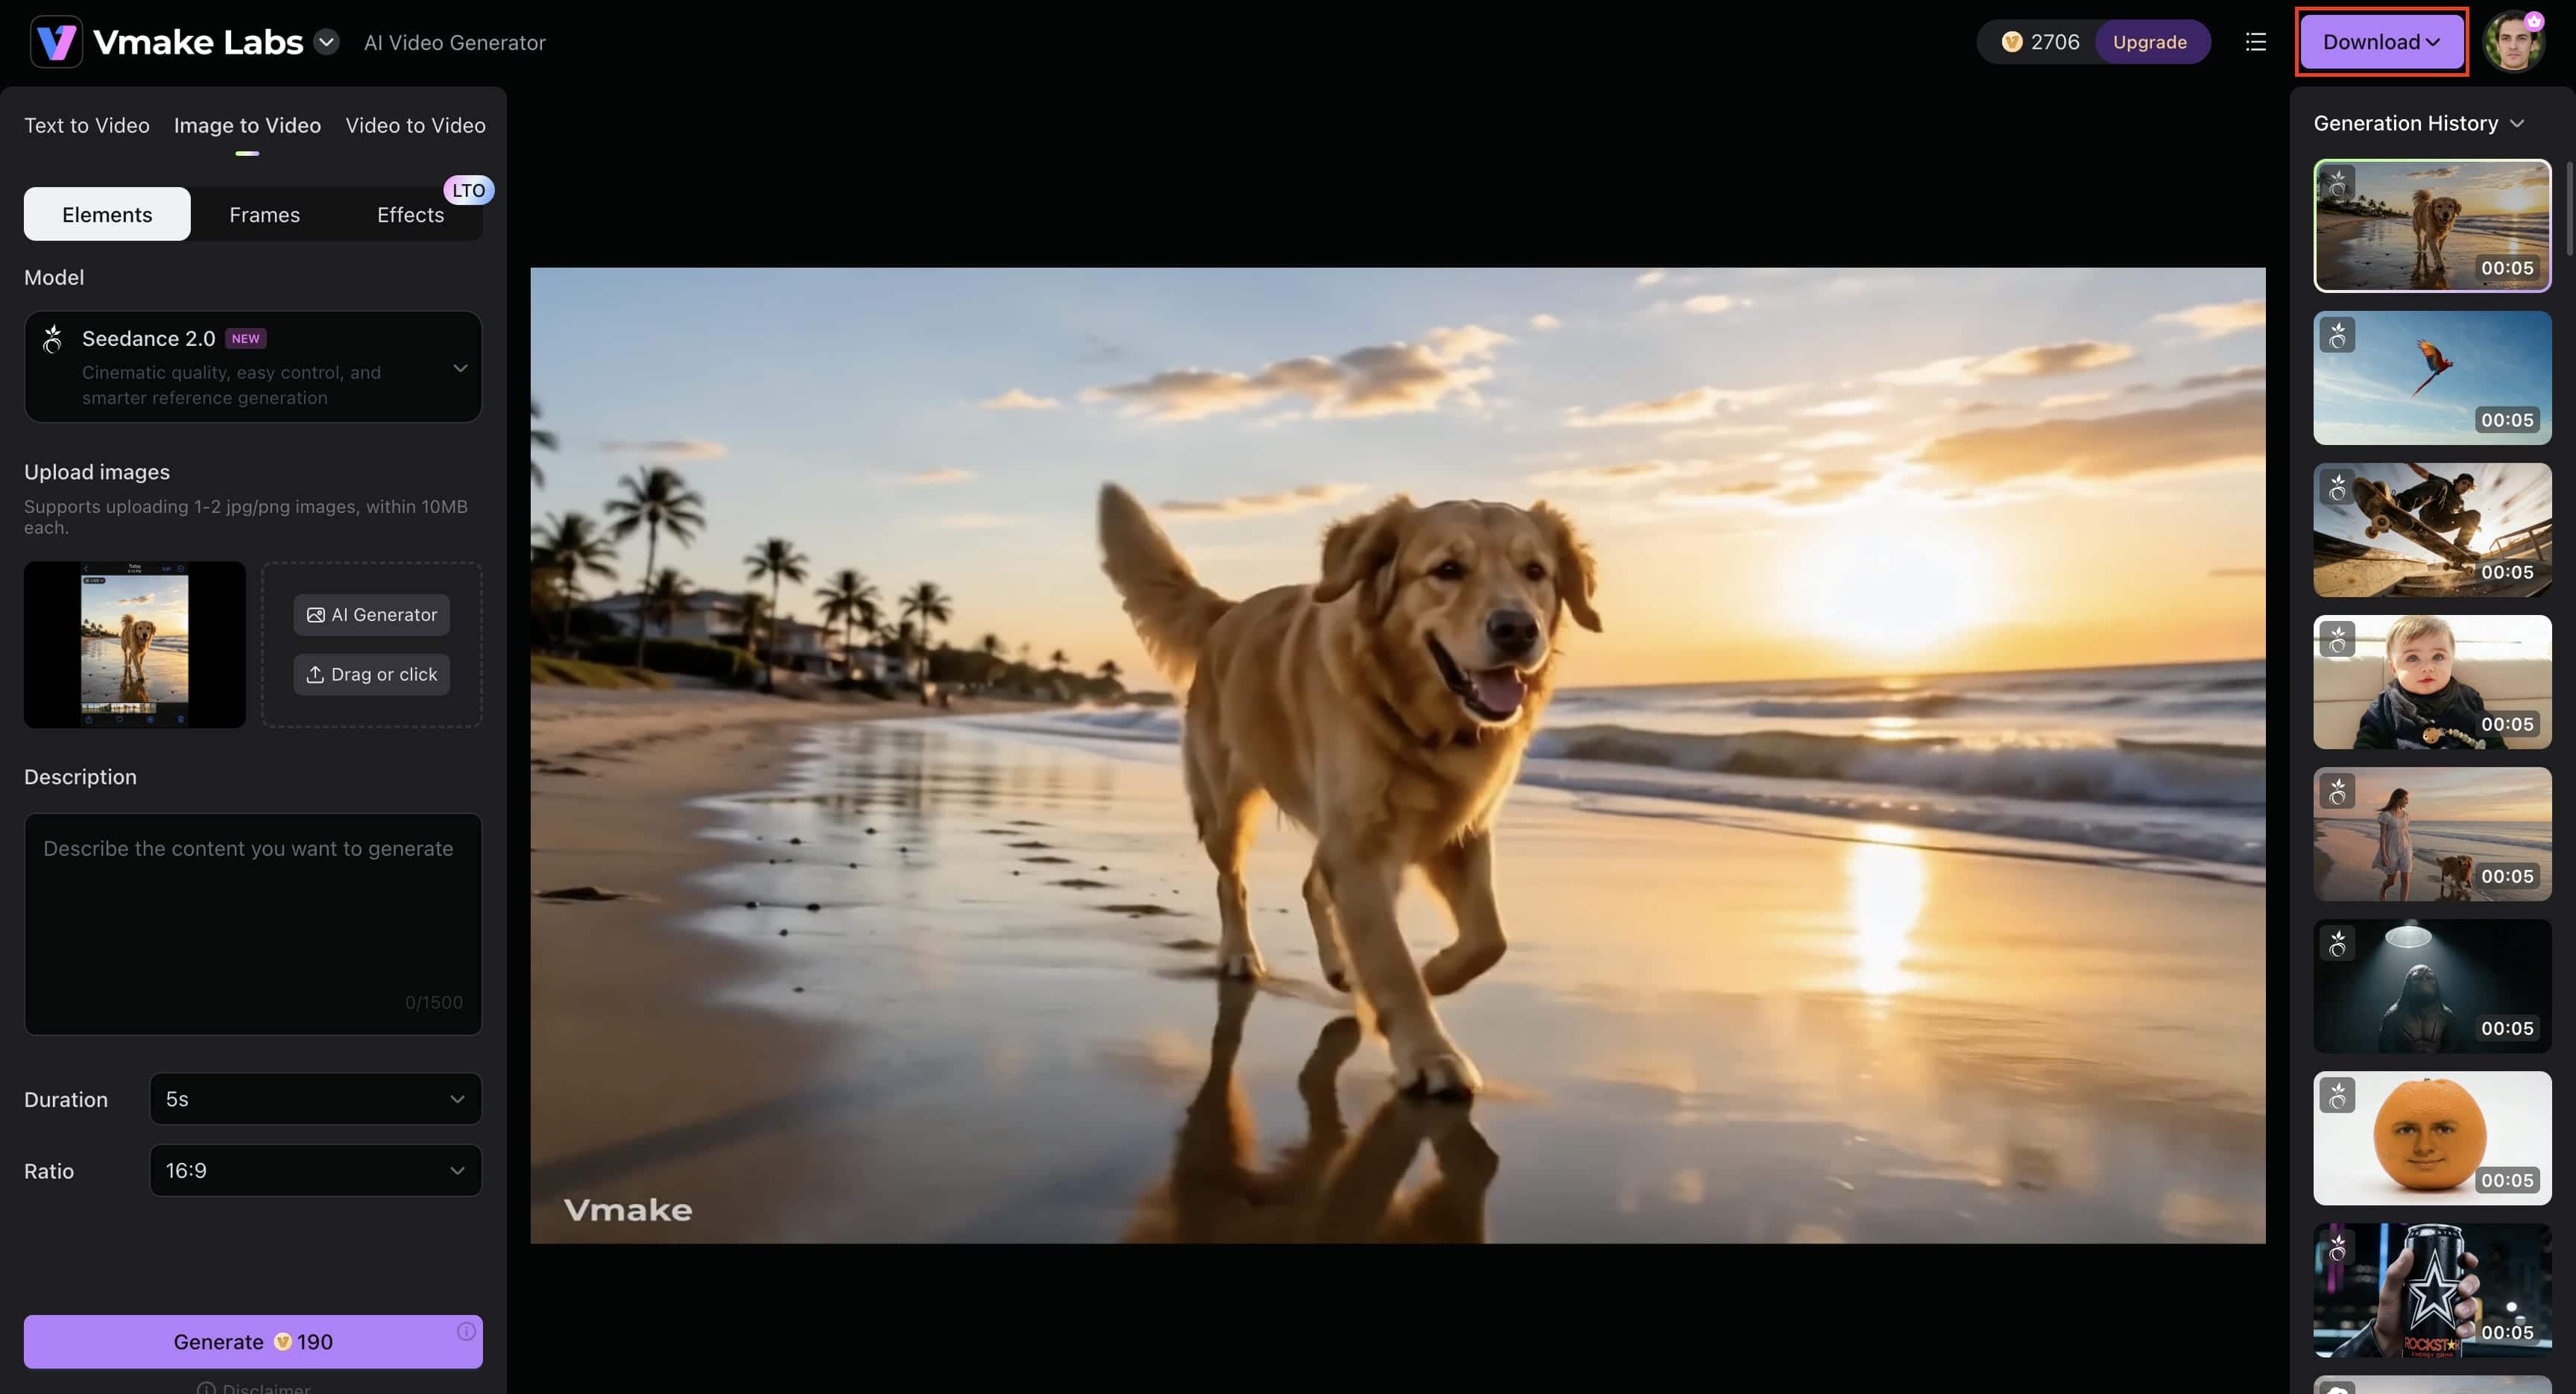
Step 2: Upload your Live Photos and generate dynamic video scenes
Upload one or multiple Live Photos and describe the type of video you want to create. You can add prompts such as cinematic camera movement, smooth zoom effects, animated backgrounds, or storytelling transitions. Vmake's AI will automatically generate dynamic video scenes from your images.

Step 3: Customize, export, and share your video
Review the generated video and make any final adjustments. You can apply different visual styles, refine motion effects, or choose your preferred output settings. Once you're satisfied, export the video in high resolution and share it directly on social media platforms.
Pro tips for perfect transitions
Smooth transitions can make the difference between a collection of clips and a polished video. Keeping your clips organized and maintaining visual consistency can help create a smoother viewing experience.
-
Arrange clips in a logical sequence: Organize your Live Photos with a clear beginning, middle, and end to make the video feel more cohesive and easier to follow.
-
Match movement between scenes: Try to place clips with similar motion next to each other. This creates a more natural flow and prevents transitions from feeling abrupt.
-
Keep transition styles consistent: Using too many different transitions can make a video look cluttered. Sticking to one or two styles often produces a cleaner and more professional result.
-
Sync transitions with music: Aligning transitions with the beat of your music can improve pacing and make the final video feel more engaging.
Common mistakes when making a video with a live photo

Even basic projects can be destroyed by editing blunders, and they can damage the final quality. Steering around these typical flaws can help give your Live Photo films a more polished and professional image.
-
Using too many clips in one project: Including every Live Photo, may make the video feel unfocused. Select only the clips that contribute to the story you want to tell.
-
Mixing different aspect ratios: Combining vertical and horizontal content can create inconsistent framing. Try to maintain the same aspect ratio throughout the video whenever possible.
-
Overusing transitions and effects: Excessive visual effects can distract viewers from the content. Use transitions and effects sparingly to enhance rather than overpower your footage.
-
Ignoring audio quality: Clear audio is just as important as visuals. Check that original sounds, voiceovers, and music are balanced and free from distracting noise.
-
Exporting in the wrong format: Different platforms have different requirements. Choosing the correct resolution, aspect ratio, and file format helps ensure your video looks its best after uploading.
Conclusion
Creating a video from Live Photos is a straightforward process that can be done using your iPhone's built-in tools, a web editor or an AI-powered solution. Live photos are now easier to share, edit and enjoy across platforms, and retain their motion and sound. The Photos app is an easy method to make videos, while AI technologies give more creative options. Vmake AI creates interesting films from unforgettable occasions with image-to-video generation, numerous AI models, and high-quality outputs, ready to share anywhere.
FAQs
How to make a video with live photos?
The easiest way is to launch the native iOS Photos app, select your Live Photo, hit the three-dot menu button, and choose Save as Video. It exports the motion clip to a normal video file right away. If you want to accomplish this on a non-Apple device or want to expand that little motion into a longer upscaled film, submitting the file to a browser-based program like Vmake AI will automatically convert and enhance the footage.
Can I combine multiple Live Photos into one video?
Yes, in the iOS Photos app, you may pick multiple Live Photos simultaneously, hit the three-dot menu, and select Save as Video to merge them. If you want more advanced control, like sewing them together with smooth transitions, adding automatic captions, or uniforming the aspect ratio for social media, processing the files through a centralized platform like Vmake AI will do the stitching and editing in one operation.
How can I make a video from a Live Photo with sound?
The native iOS Save as Video capability saves the original audio that was collected in the three-second timeframe automatically. For example, if you want to remove background noise, increase the volume, or add voiceover after conversion, tools like Vmake AI let you maintain the original sound with AI-generated subtitles or audio improvements.
Can AI create videos from Live Photos?
Yes, AI can take the three-second frame data of a Live Photo and turn it into a full-blown video. Instead of the file type conversion, the specialist AI engines evaluate the current frames, smooth out the camera shaking, and enhance the quality. Examples include Vmake AI and other similar services that analyze many frames to create 4K resolution and add the context of the image with generative templates.
What is the easiest way to make a video with a Live Photo?
The absolute easiest approach is the built-in Save as Video capability from within the Apple ecosystem. However, if you're looking to turn images into production-ready material for marketing or social media, then an online creation suite such as Vmake AI makes this simple by dropping the photo into a template, increasing the resolution and exporting a finished clip from your browser.
Can Android users create videos from Live Photos?
Android devices do not support Apple's Live Photo format natively. However, you can create similar videos from photos using video editing apps or AI image-to-video tools. Platforms like Vmake AI can animate static images and turn them into shareable video content with motion effects and transitions.

You May Be Interested
How to Make AI Baby Videos: 3 Best Tools to Make Baby Videos

Nano Banana vs Midjourney: User Reviews & True Insights
Best Photo Eraser Tools in 2026: Remove Objects, Text & People from Photos

How to Touch Up Photos in 2026: Best AI Tools to Retouch Images Easily

How to Make a Video with Transparent Background
