ComfyUI Image to Video: Best Workflows & Tutorial 2026
 Ken Dawson2026-05-31 10:30
ComfyUI image to video is a node-based workflow that animates still images into short clips. While it is renowned in the AI community, beginners often have a frustrating onboarding time. This guide simplifies that journey: we'll walk you through the main workflows (AnimateDiff, HunyuanVideo, and LTX Video) step by step. Let's go.
What is ComfyUI video generation?
ComfyUI is a powerful node-based open-source graphical user interface for AI generation that is popular for providing creators with precise control over workflow pipelines. It supports models like AnimateDiff, HunyuanVideo, LTX Video, Wan2.1, and Seedance — making ComfyUI video generation one of the most flexible options available. Idea for developers and power users, it offers granular control, high memory efficiency, and advanced prompt chaining that most standard AI tools simply can't match.
Key features of ComfyUI video generation
-
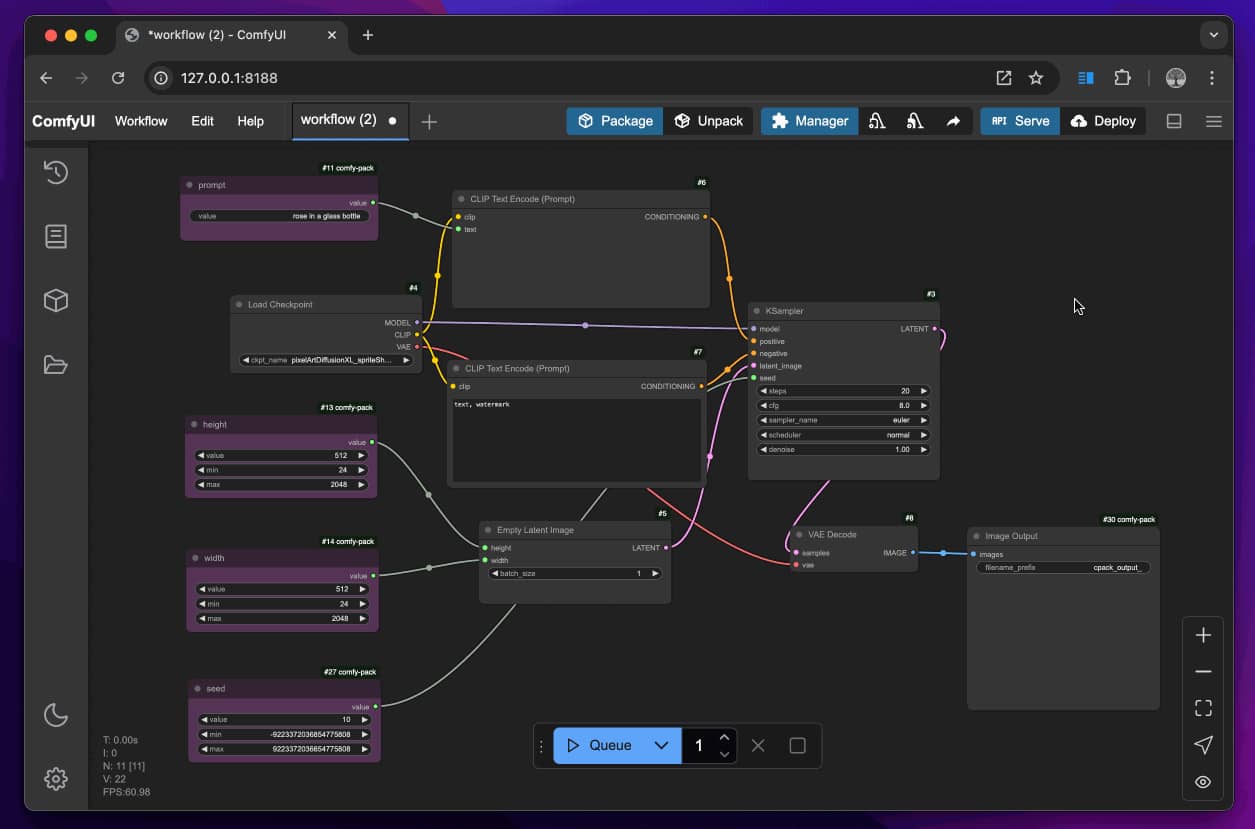
Node-based visual workflow
ComfyUI replaces command lines with visual building blocks called nodes. You connect them to create a full pipeline — loading images, running models, and exporting video. Each node does one job. This gives you precise control over every step without writing a single line of code.
-
Image to video generation
Upload a still image and ComfyUI image to video feature animates it. The model reads the visual content and adds motion — wind in hair, rippling water, a slow camera drift. Output quality depends on your model choice and settings, but the core idea is simple: one image goes in, a video comes out.
-
Text to video support
No source image? No problem. Type a prompt and ComfyUI text to video generates a video from scratch. Models like LTX Video and HunyuanVideo are especially good at this. Describe the scene, the movement, and the mood — the model handles the rest. It works best with detailed, specific prompts.
-
Multi-model support
ComfyUI works with multiple AI video models in one place. Switch between AnimateDiff for smooth loops, HunyuanVideo for cinematic output, LTX Video for fast renders, or Wan2.1 for versatile generation. You don't have to rebuild your workflow each time — just swap the model node.
-
ControlNet & motion guidance
ControlNet nodes let you direct how objects move inside a video. You can set motion direction, control speed, or reference a pose map to guide character movement. This goes beyond basic animation — it gives you frame-level influence over the final output, which most tools simply don't offer.
How to use ComfyUI image to video
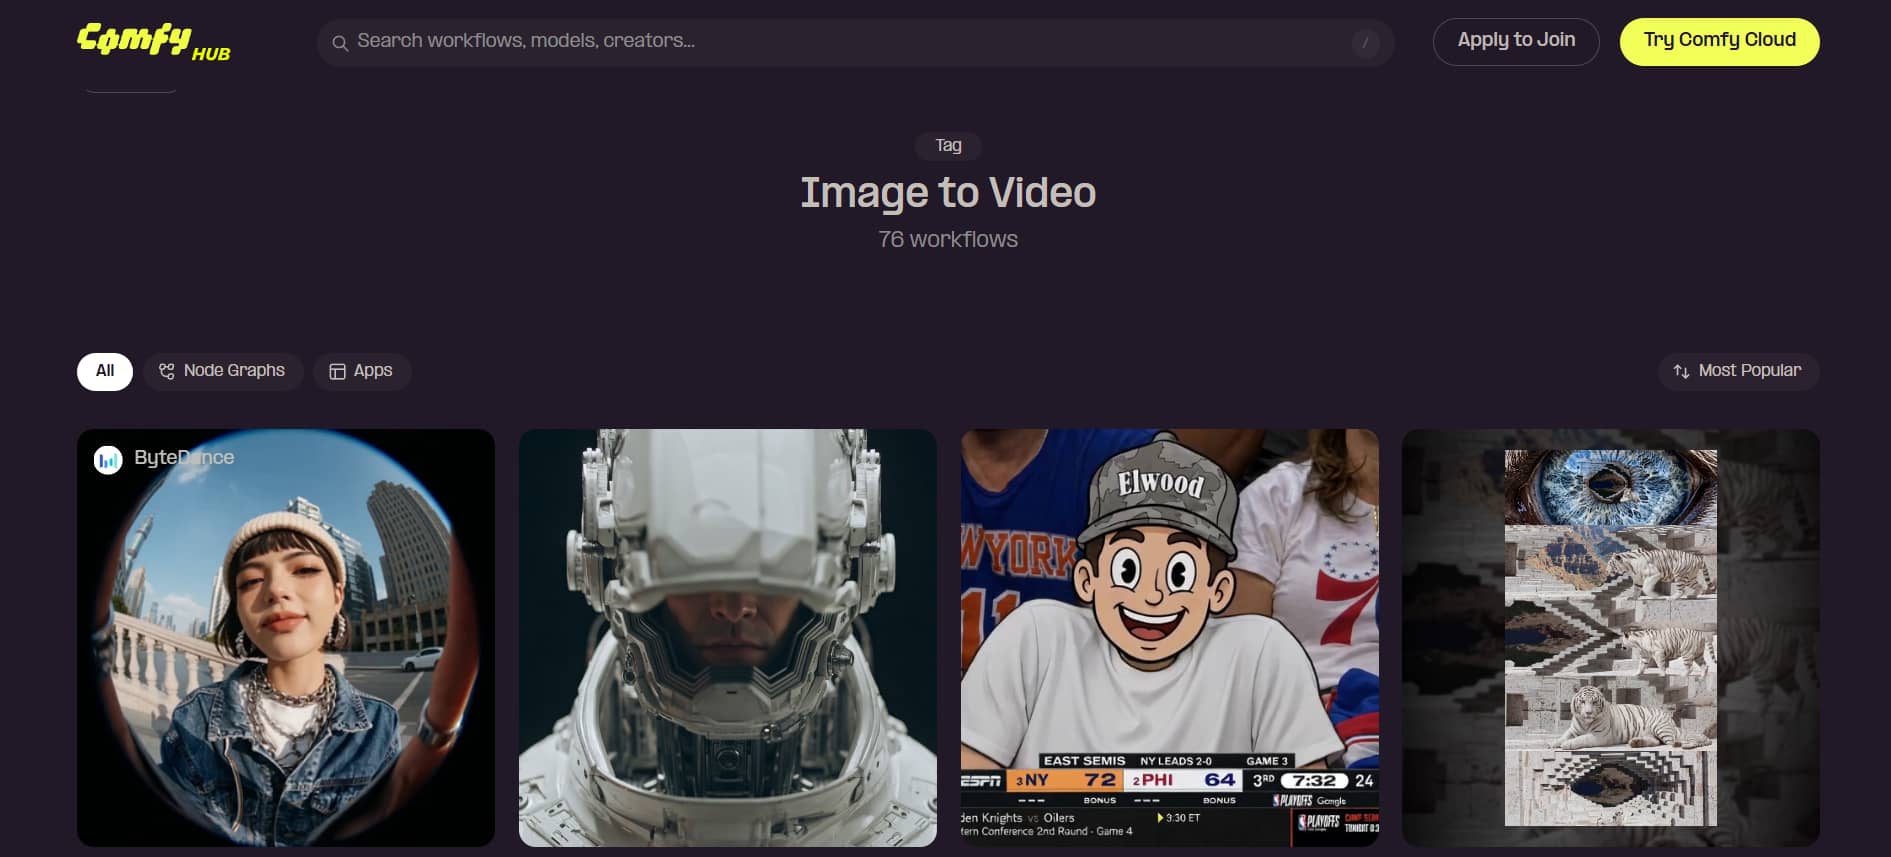
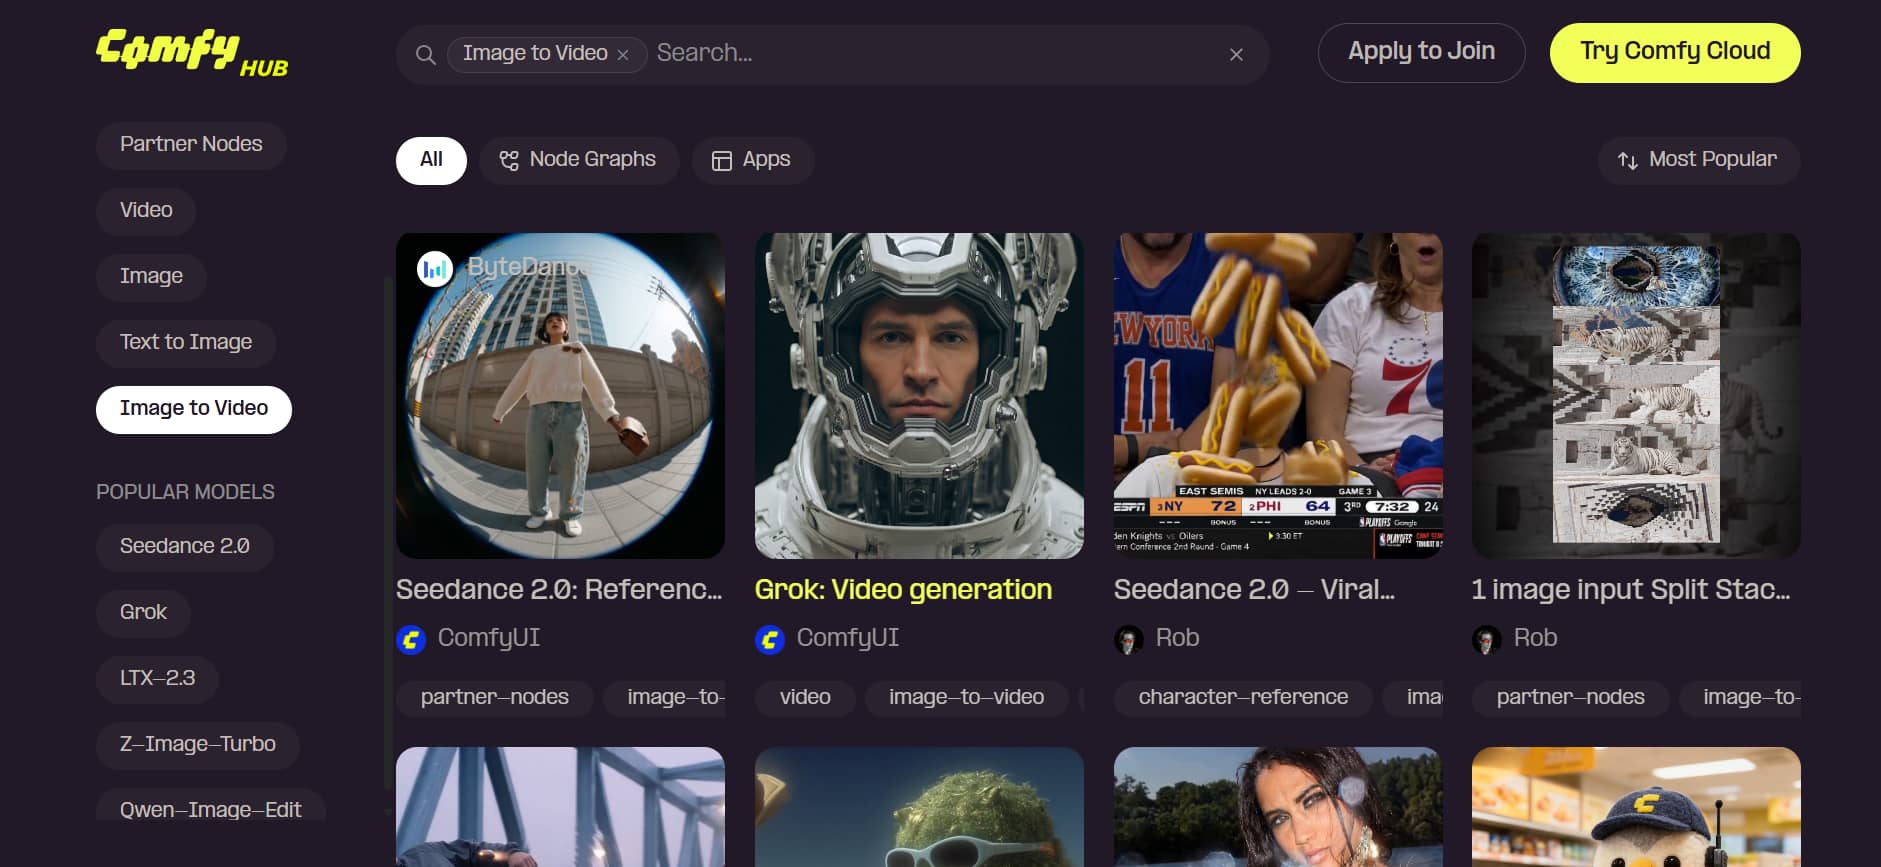
ComfyUI supports several workflows for image-to-video generation. Here are the three most widely used methods.
Method 1: AnimateDiff Workflow
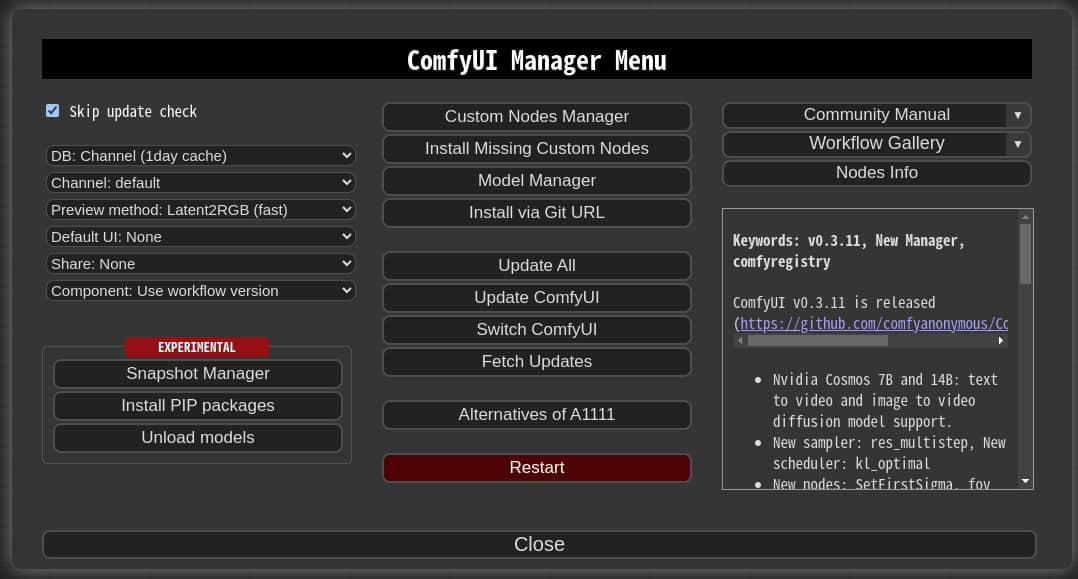
Step 1: Install ComfyUI and Required Custom Nodes
Download and install ComfyUI software from the ComfyUI Desktop or ComfyOrg GitHub page. Once you have the basic user interface up and running, jump over to the ComfyUI Manager menu. Get ComfyUI-AnimateDiff-Evolved node pack and install it to have the advanced software tools needed for smooth motion generation.
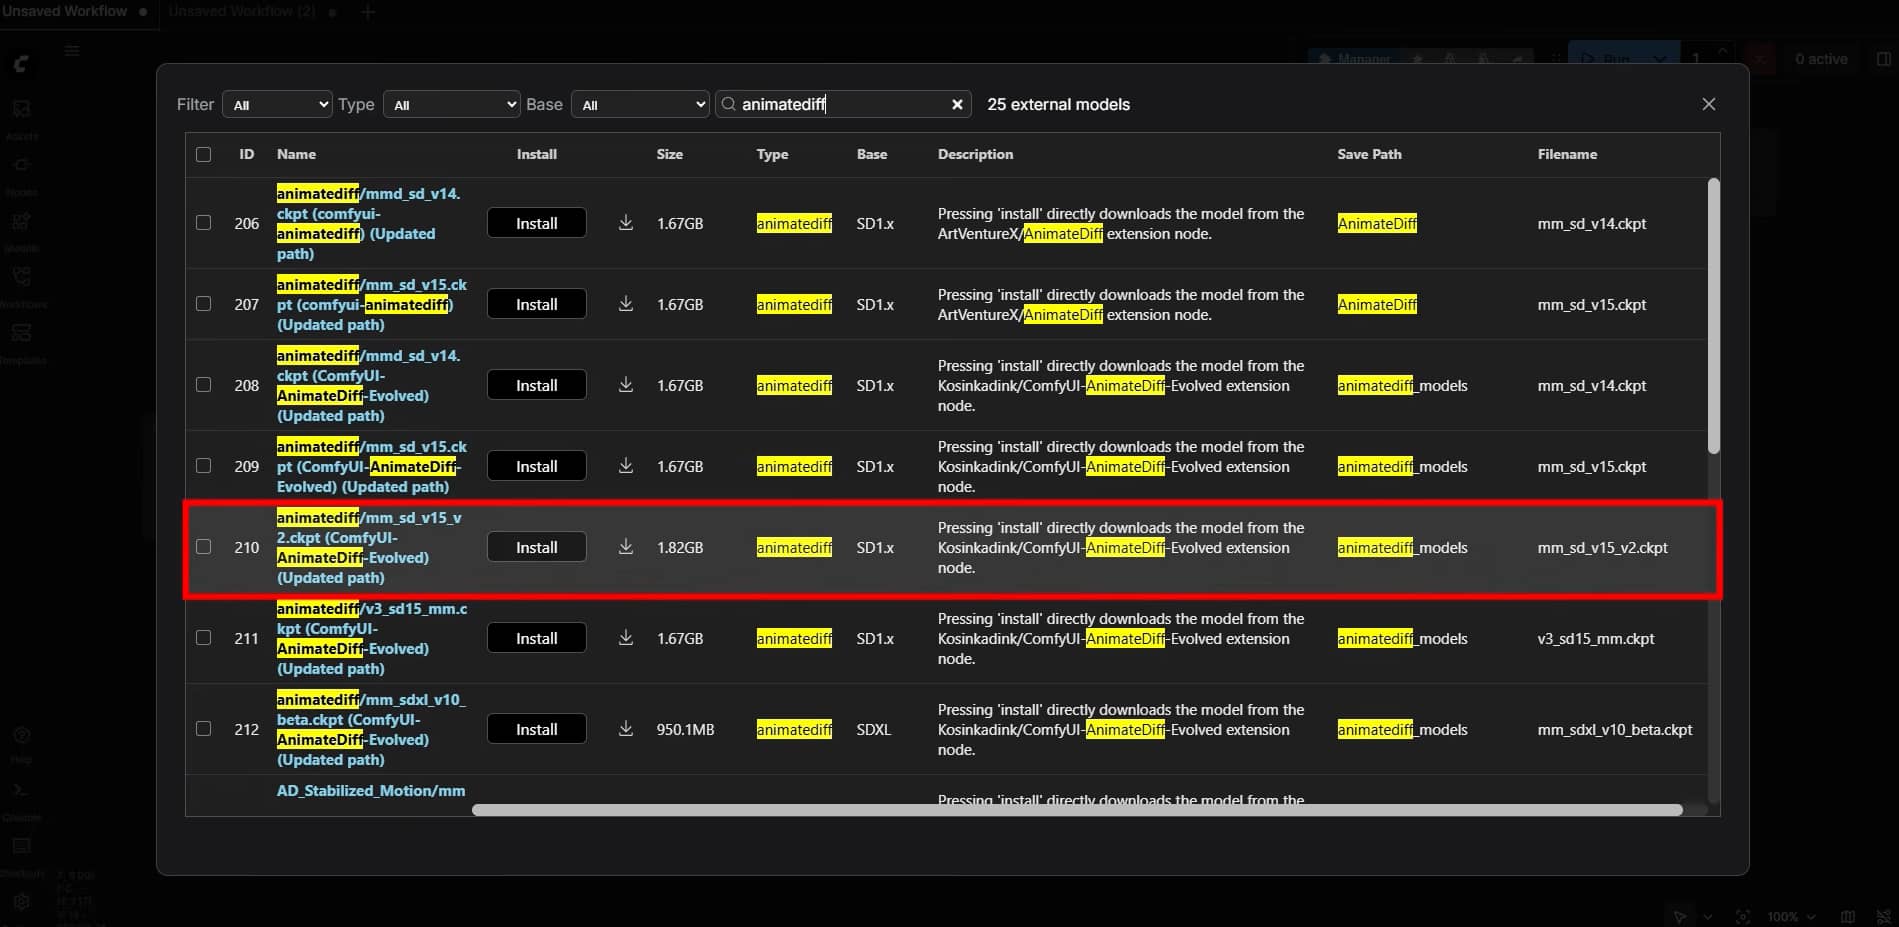
Step 2: Download Motion Models and Load Your Image
Then, download a pre-trained motion module file, such as mm_sd_v15_v2.ckpt, from a public model repository. Drop this downloaded file into your local models/animatediff_models directory to help the software find it.
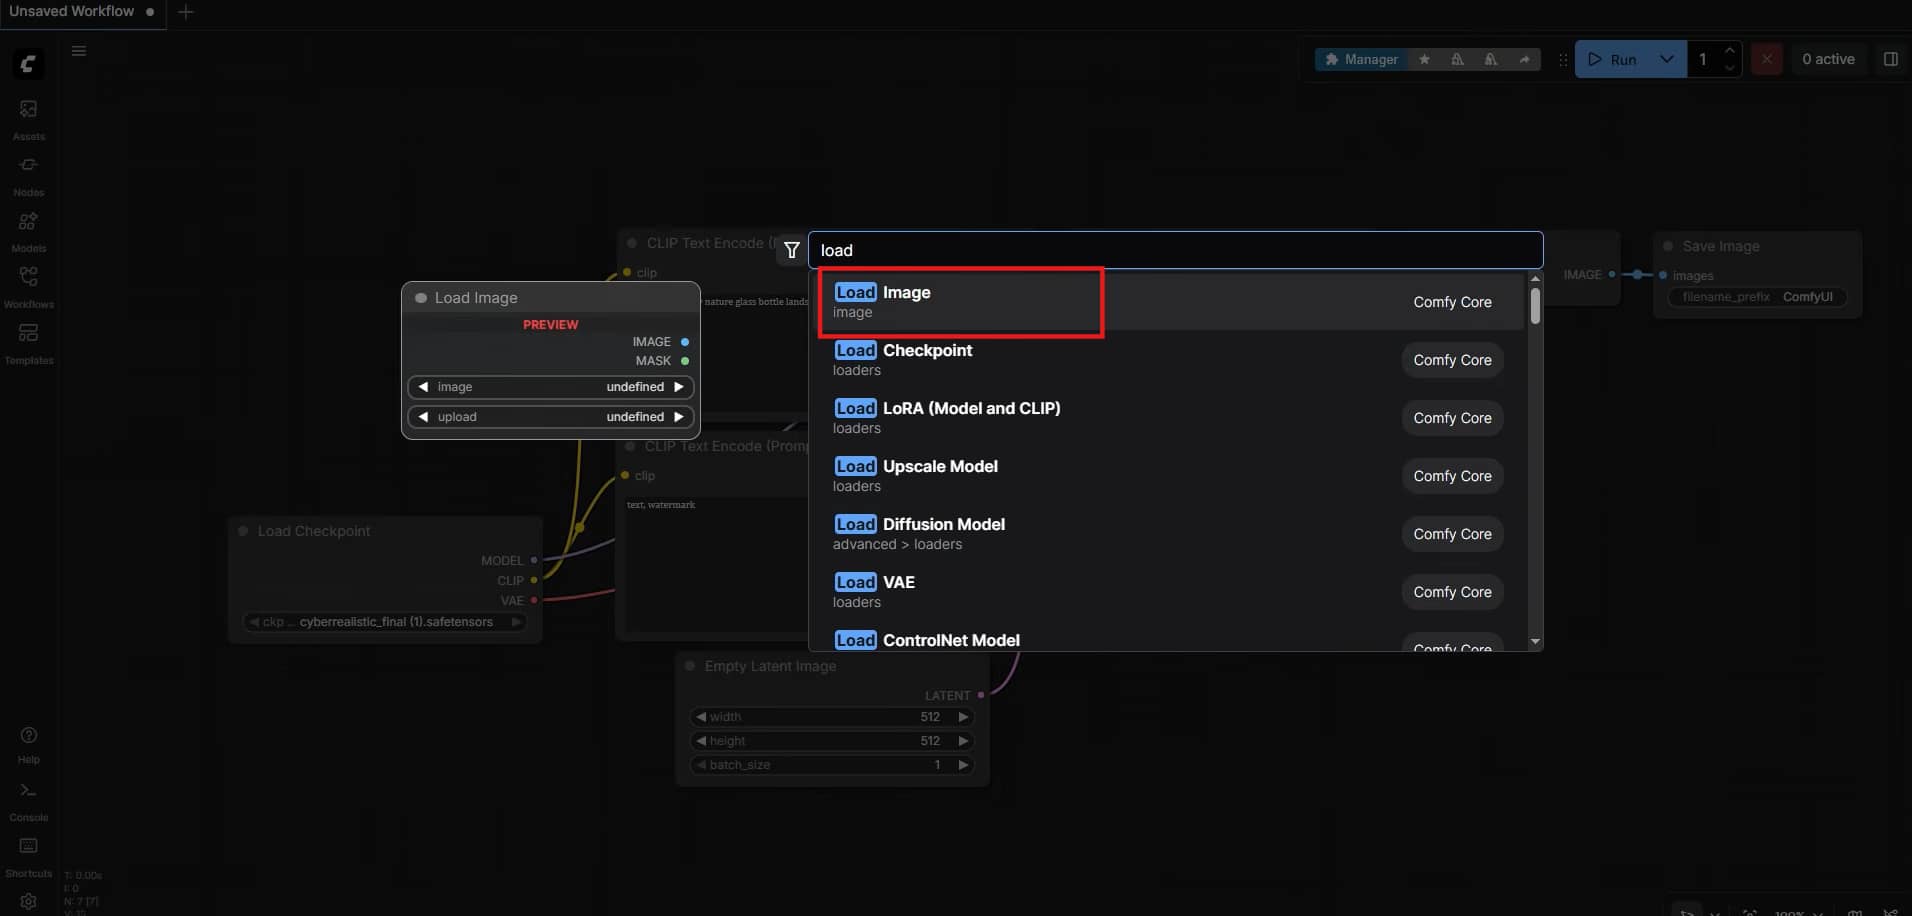
Right-click anywhere on your blank visual canvas to create a standard Load Image block to load up your starter graphic.
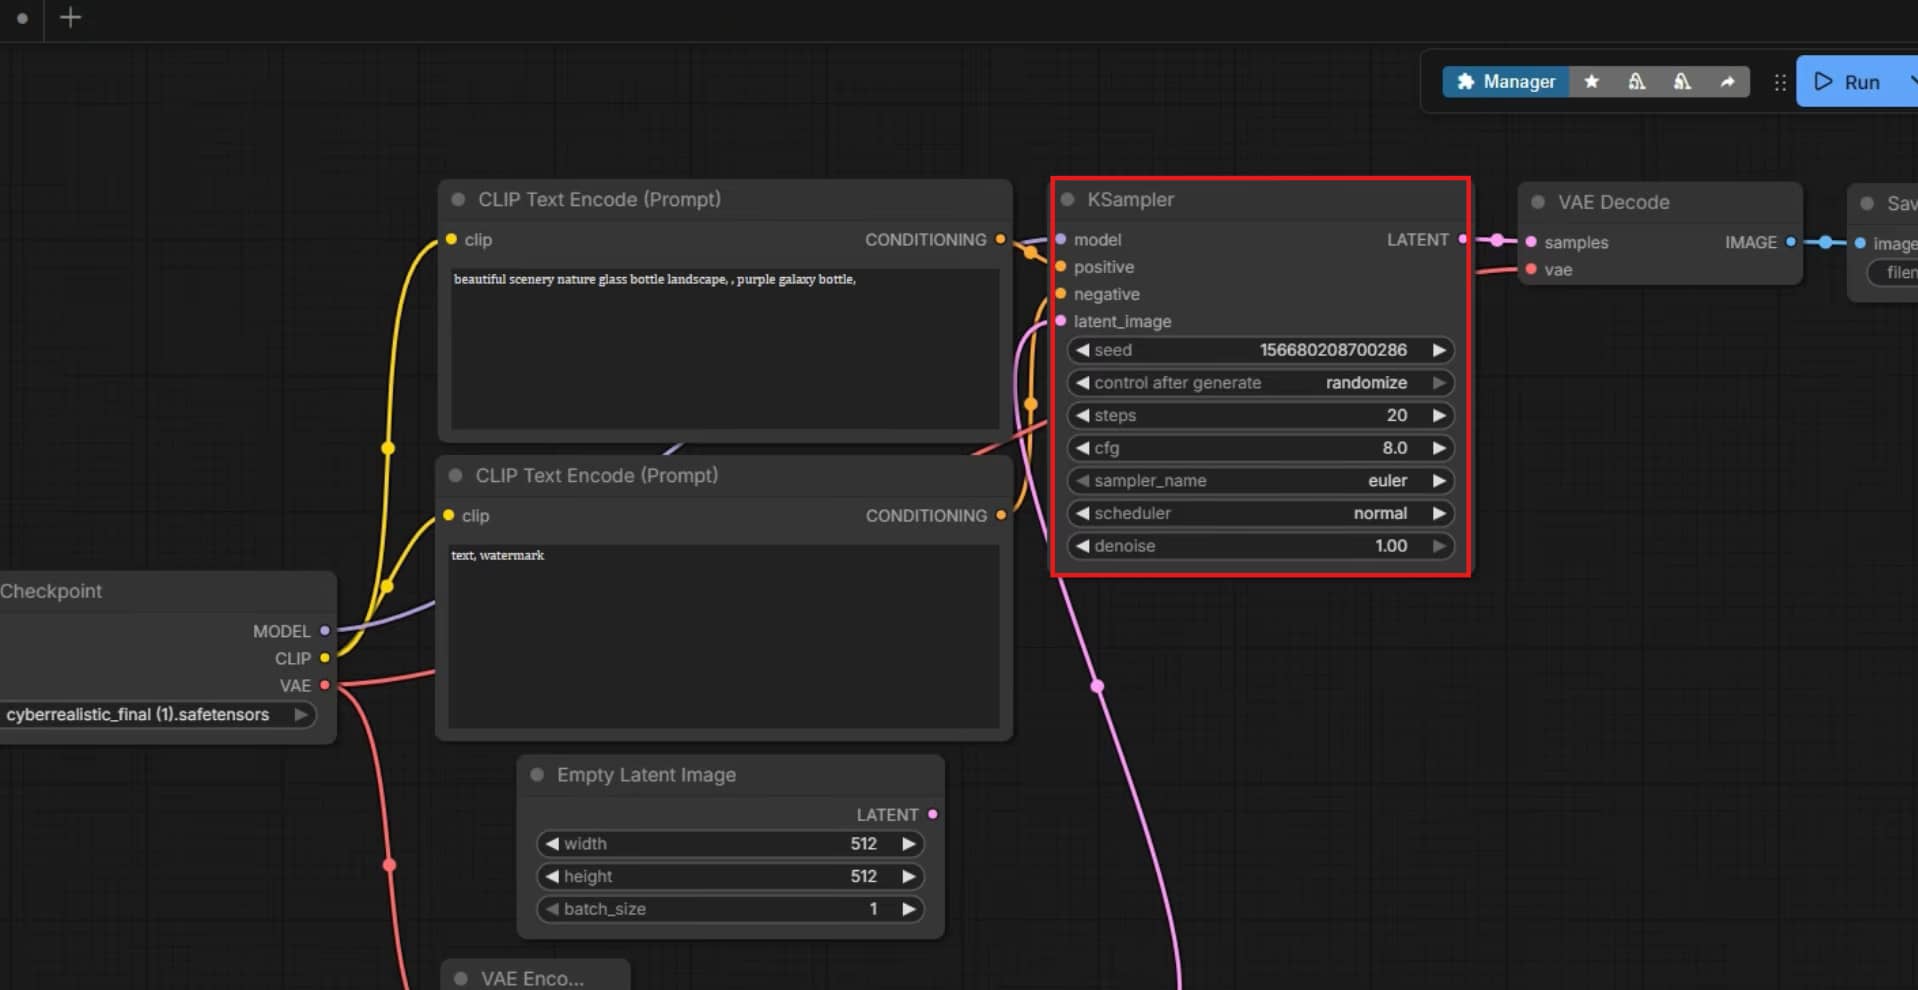
Step 3: Configure Nodes, Prompts, and Sampling Settings
Now use the drag layout lines to connect your uploaded graphic to the main latent encoding blocks. Fill out your positive and negative text conditioning fields and type a simple phrase that will guide visual transformation. Set your KSampler block steps to something like 20 to 30 generations and pick a good stable sampler like Euler.
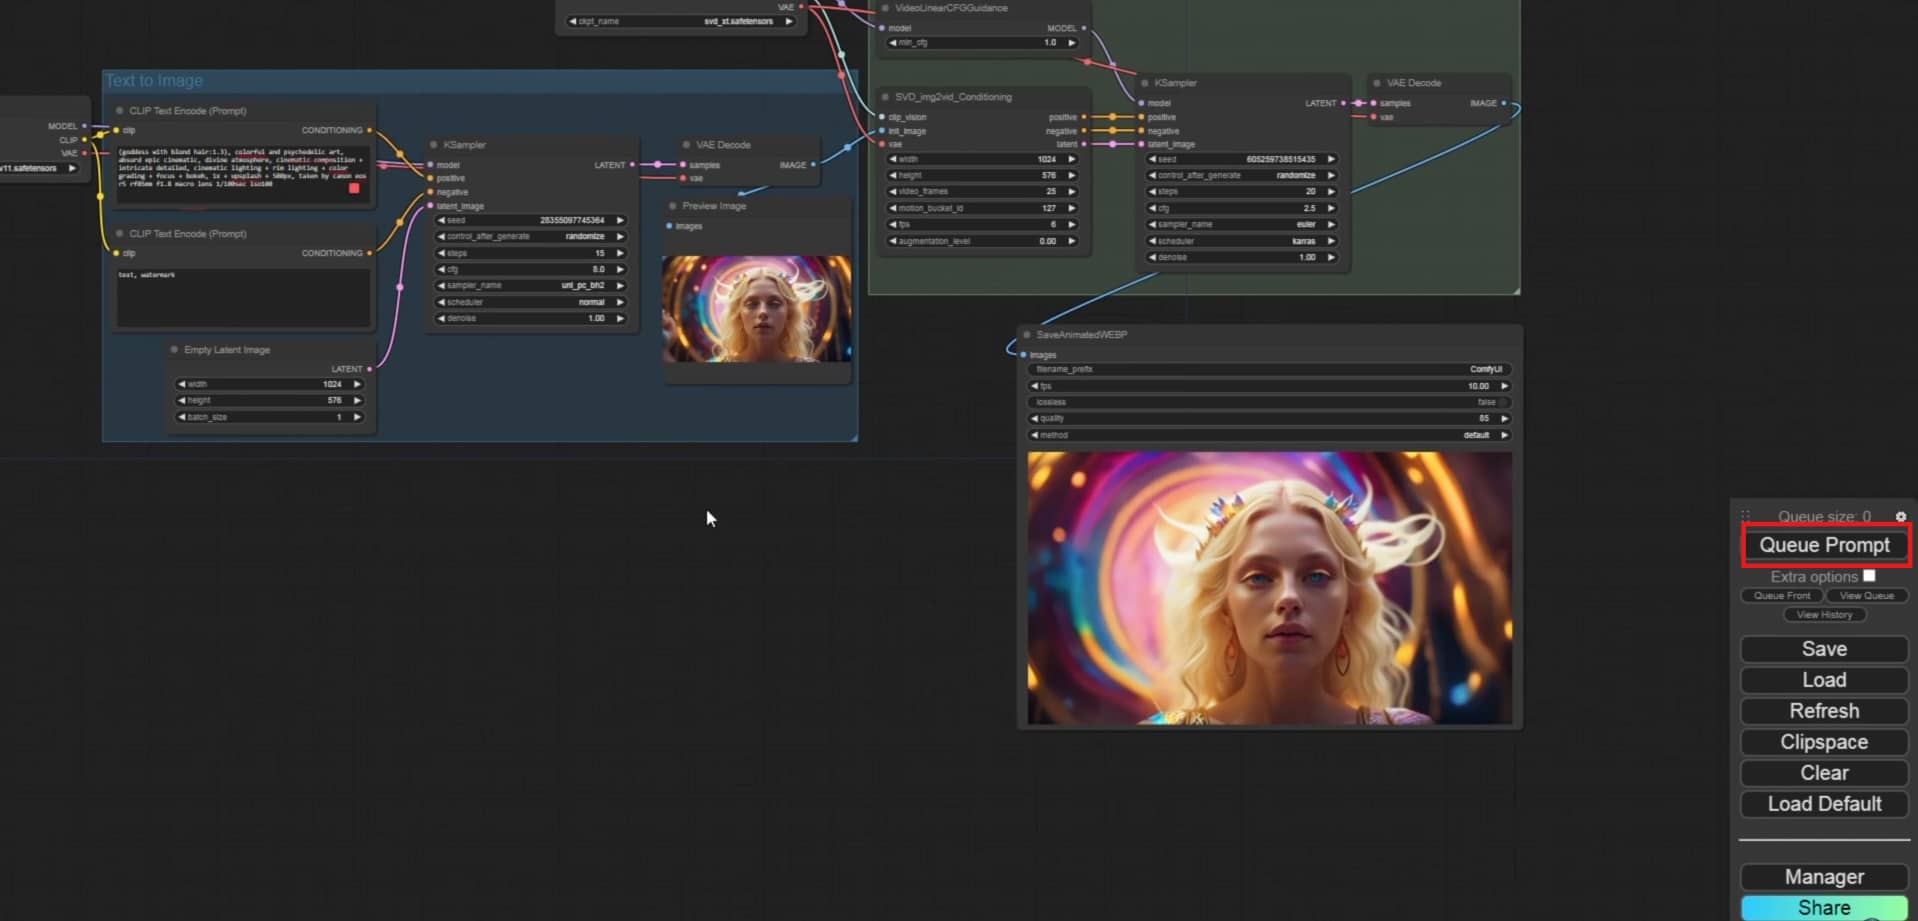
Step 4: Queue and Export the Final Video
Click Queue Prompt to start generation. ComfyUI will process each frame with the motion model and sampler settings you've set up. Then a Video Combine node joins the frames into a single MP4 file. Set your FPS between 8 and 16 for standard AnimateDiff output. The finished video is automatically saved to your ComfyUI output folder.
Method 2: HunyuanVideo Workflow
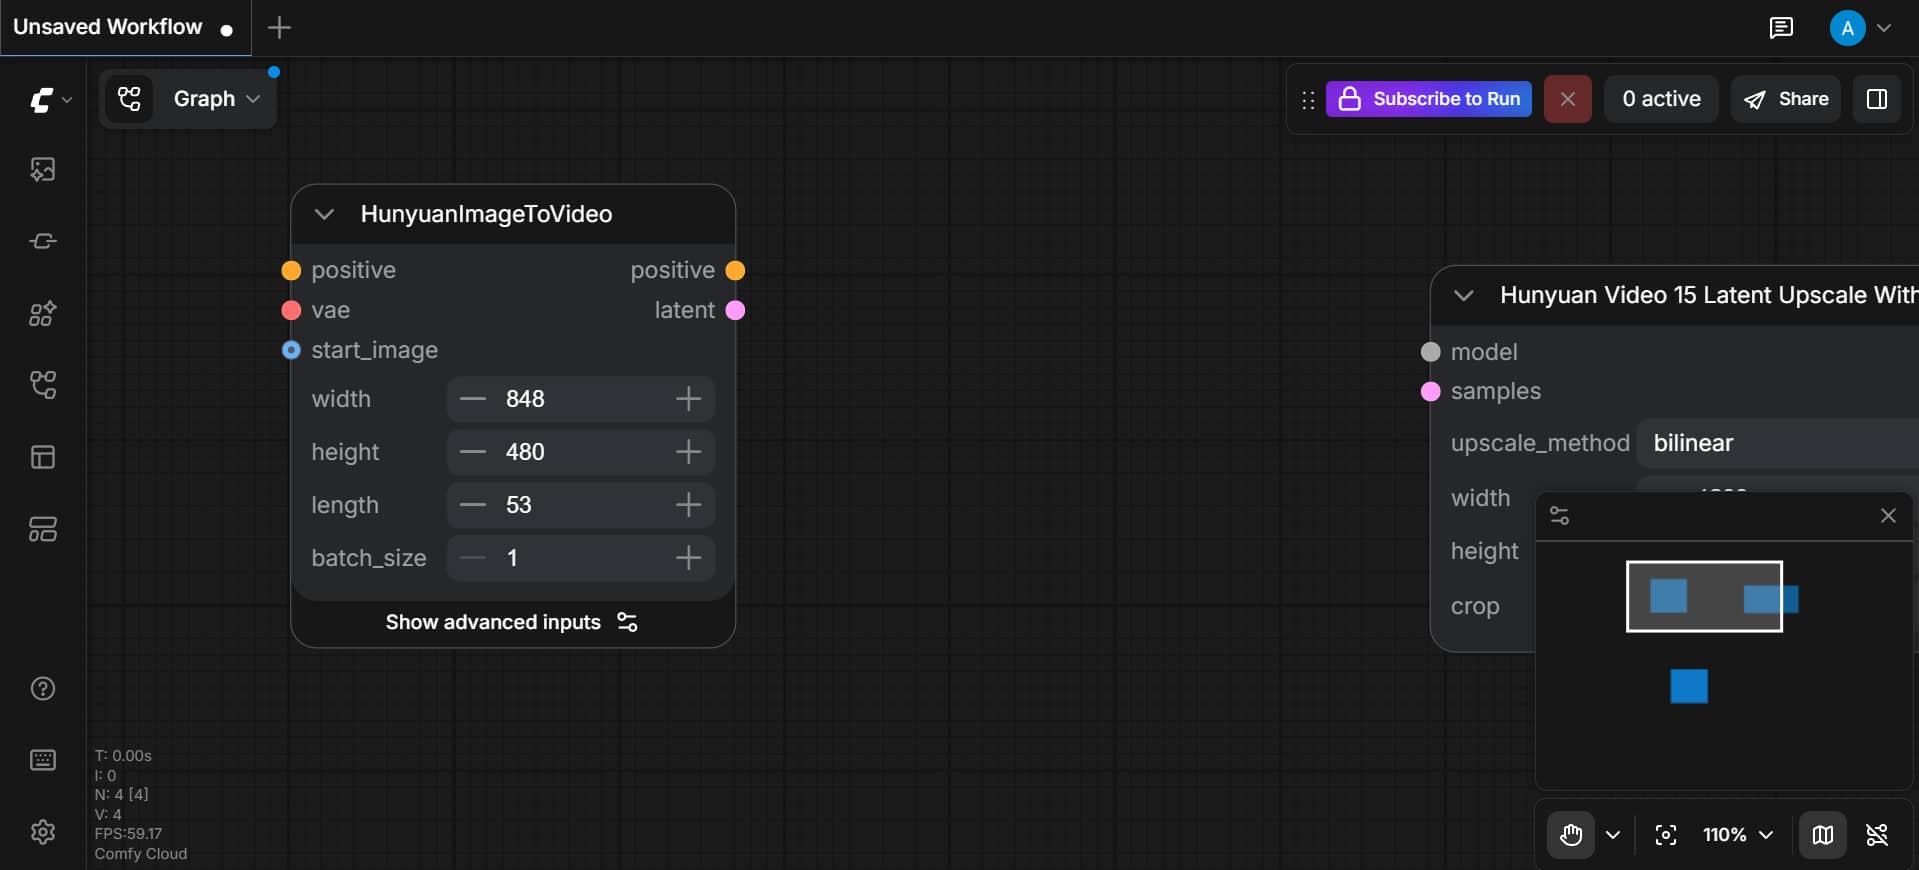
Step 1: Resize and Format Your Input Image
Start by resizing your image to the right dimensions. HunyuanVideo works best with 512x512 or 768x512 pixels. Make sure the image is clear and well-cropped. This simple step helps the AI understand your image better and creates smoother video results.
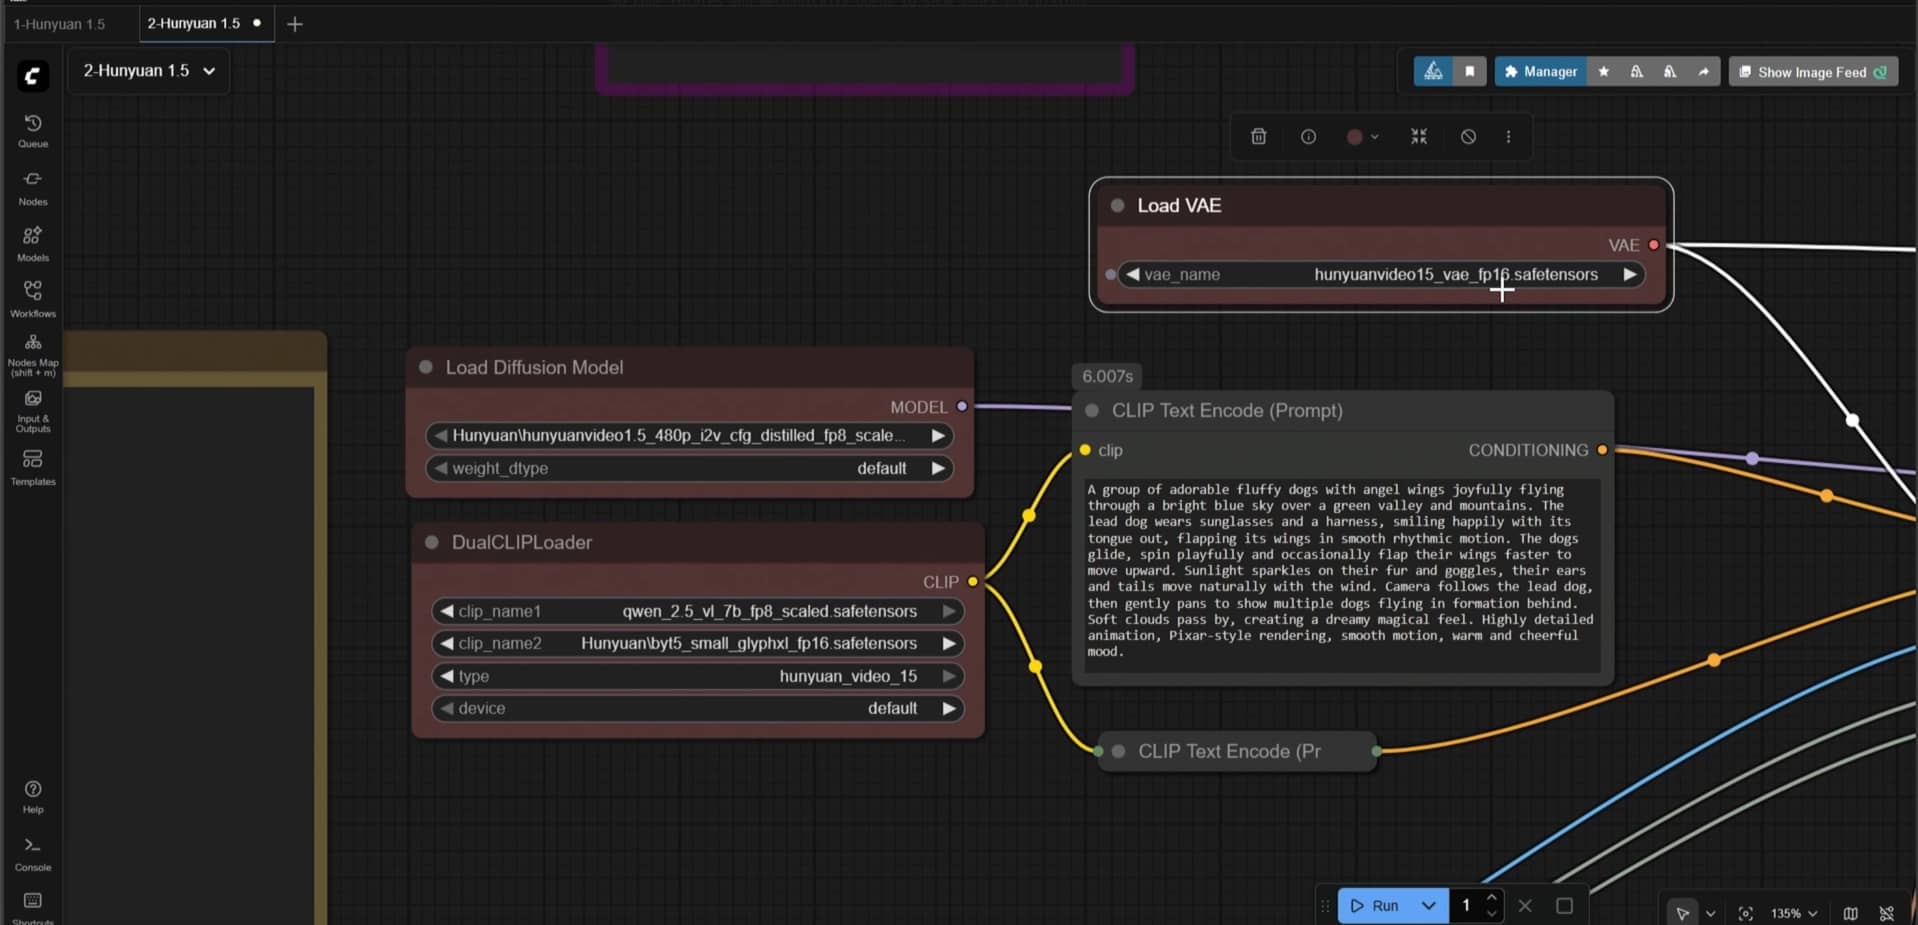
Step 2: Auto-Generate and Edit Image Captions
Add a LLaVA or WD Tagger node to auto-generate a caption for your image. Then edit it manually. Include motion cues — what should move, in which direction, and how fast. This caption acts as your conditioning prompt and directly shapes the video output.

Step 3: Encode Image into Latent Space
Connect your resized image to a VAE Encode node. This converts the pixel image into a compressed latent representation — the format HunyuanVideo actually works with. Link the encoded output directly to your sampler input. Skipping this step or connecting it incorrectly will break the entire pipeline.
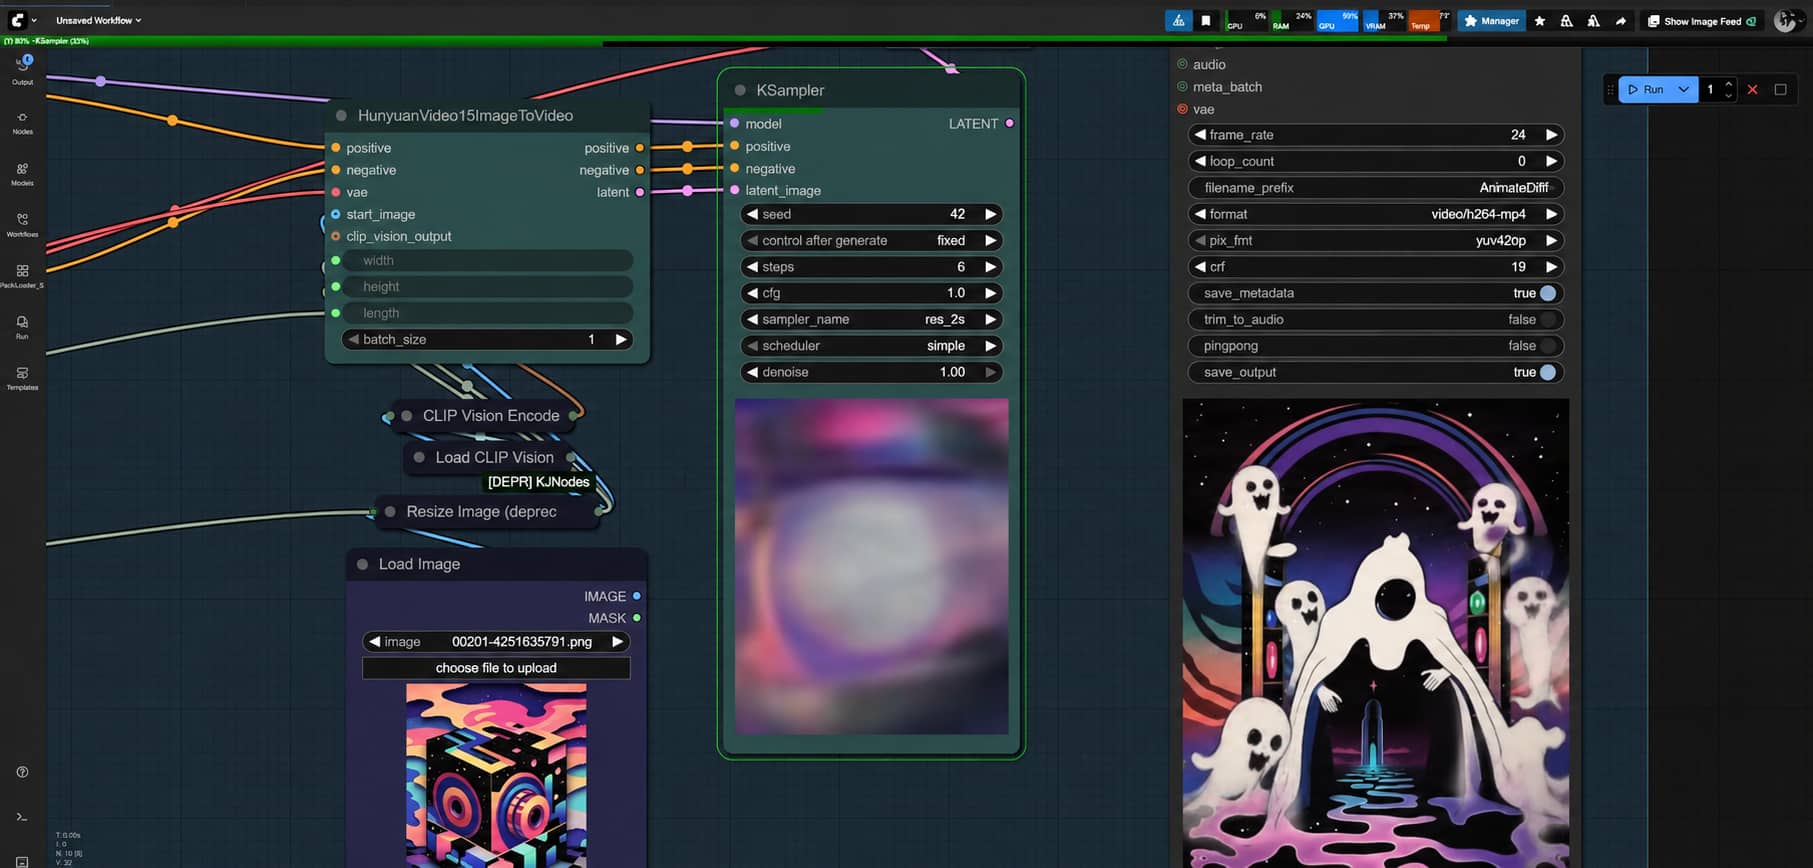
Step 4: Connect the Sampler Node and Render Video
Now connect the sampler node to bring everything together. Set your motion strength, number of frames, and steps. Hit Queue Prompt and wait for the video to render. Once finished, you can preview and save your final video.
Method 3: LTX Video Workflow
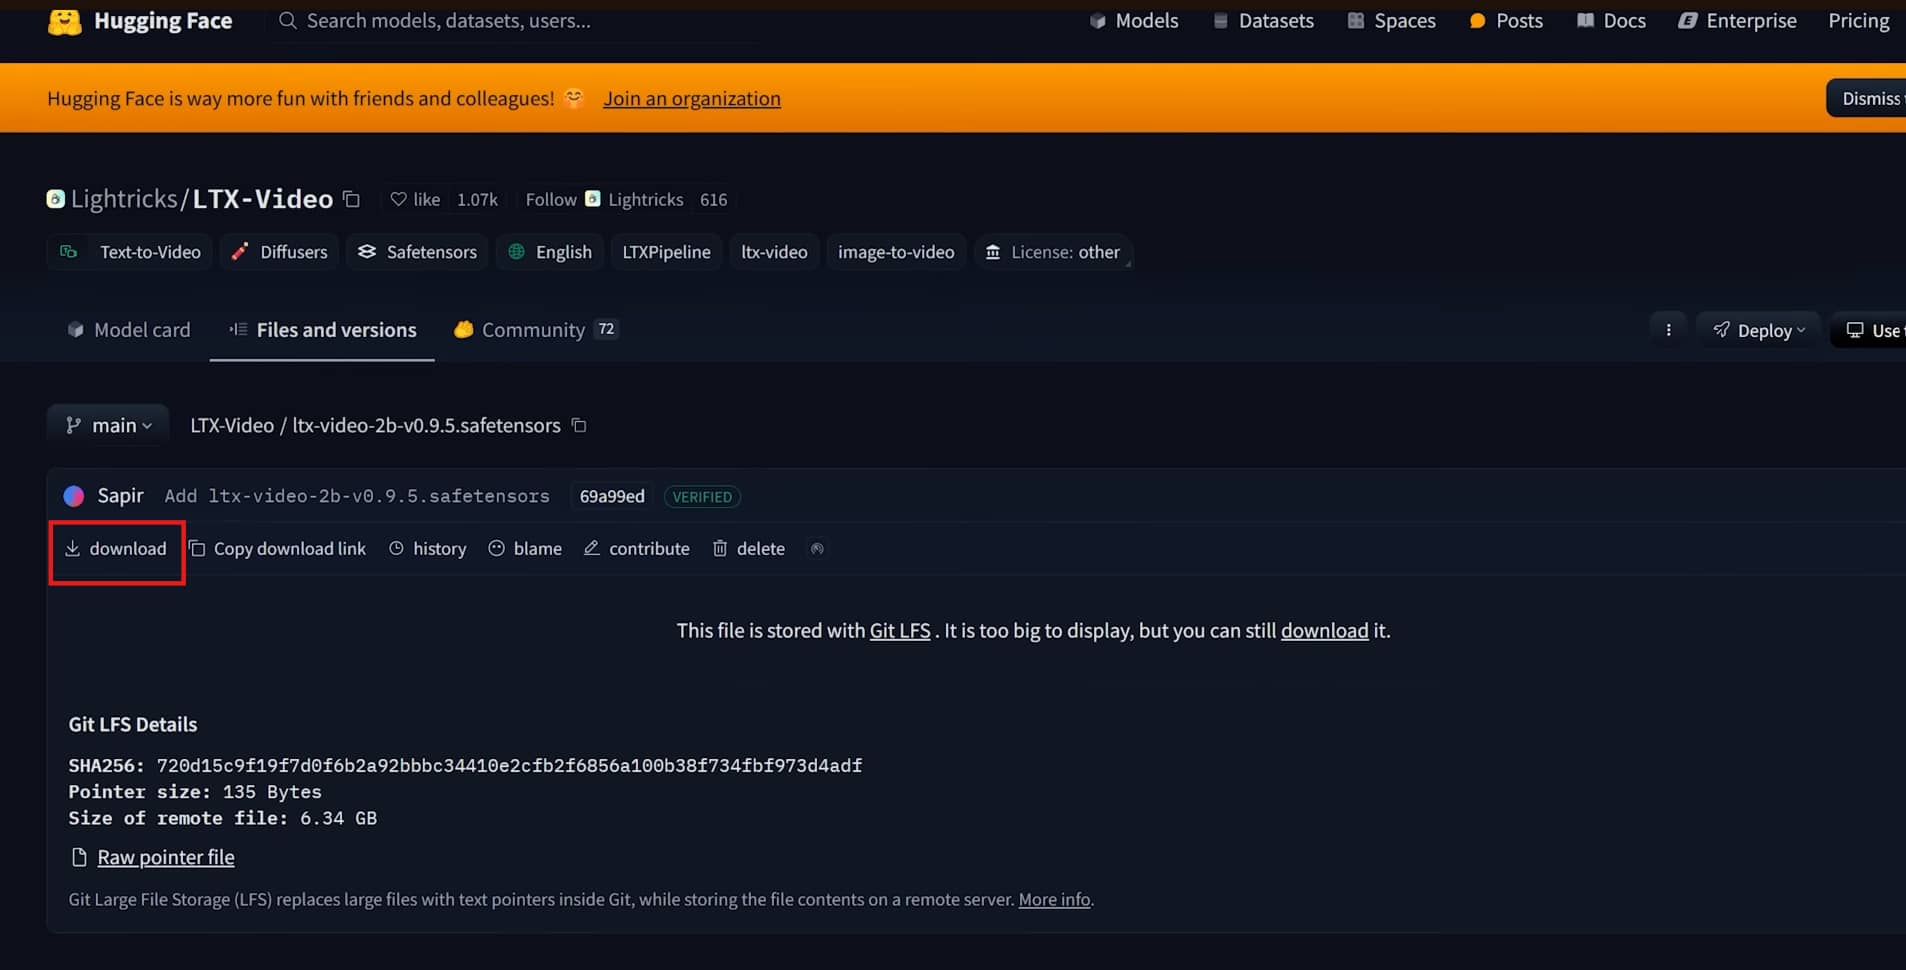
Step 1: Install LTX Nodes and Required Models
Download the latest ComfyUI release that supports LTX nodes. Then install the ComfyUI-LTXVideo custom node pack through ComfyUI-Manager — or clone it manually from GitHub if you prefer. You'll also need two model files: the main video model in Safetensors format and the text encoder from PixArt-XL.
Step 2: Enter Text Prompt and Define Output Resolution
Add a text input node and write a detailed motion prompt — LTX Video responds well to specific descriptions. Set your output resolution depending on orientation. Optionally connect a source image to guide the composition and overall visual style of the generated video.

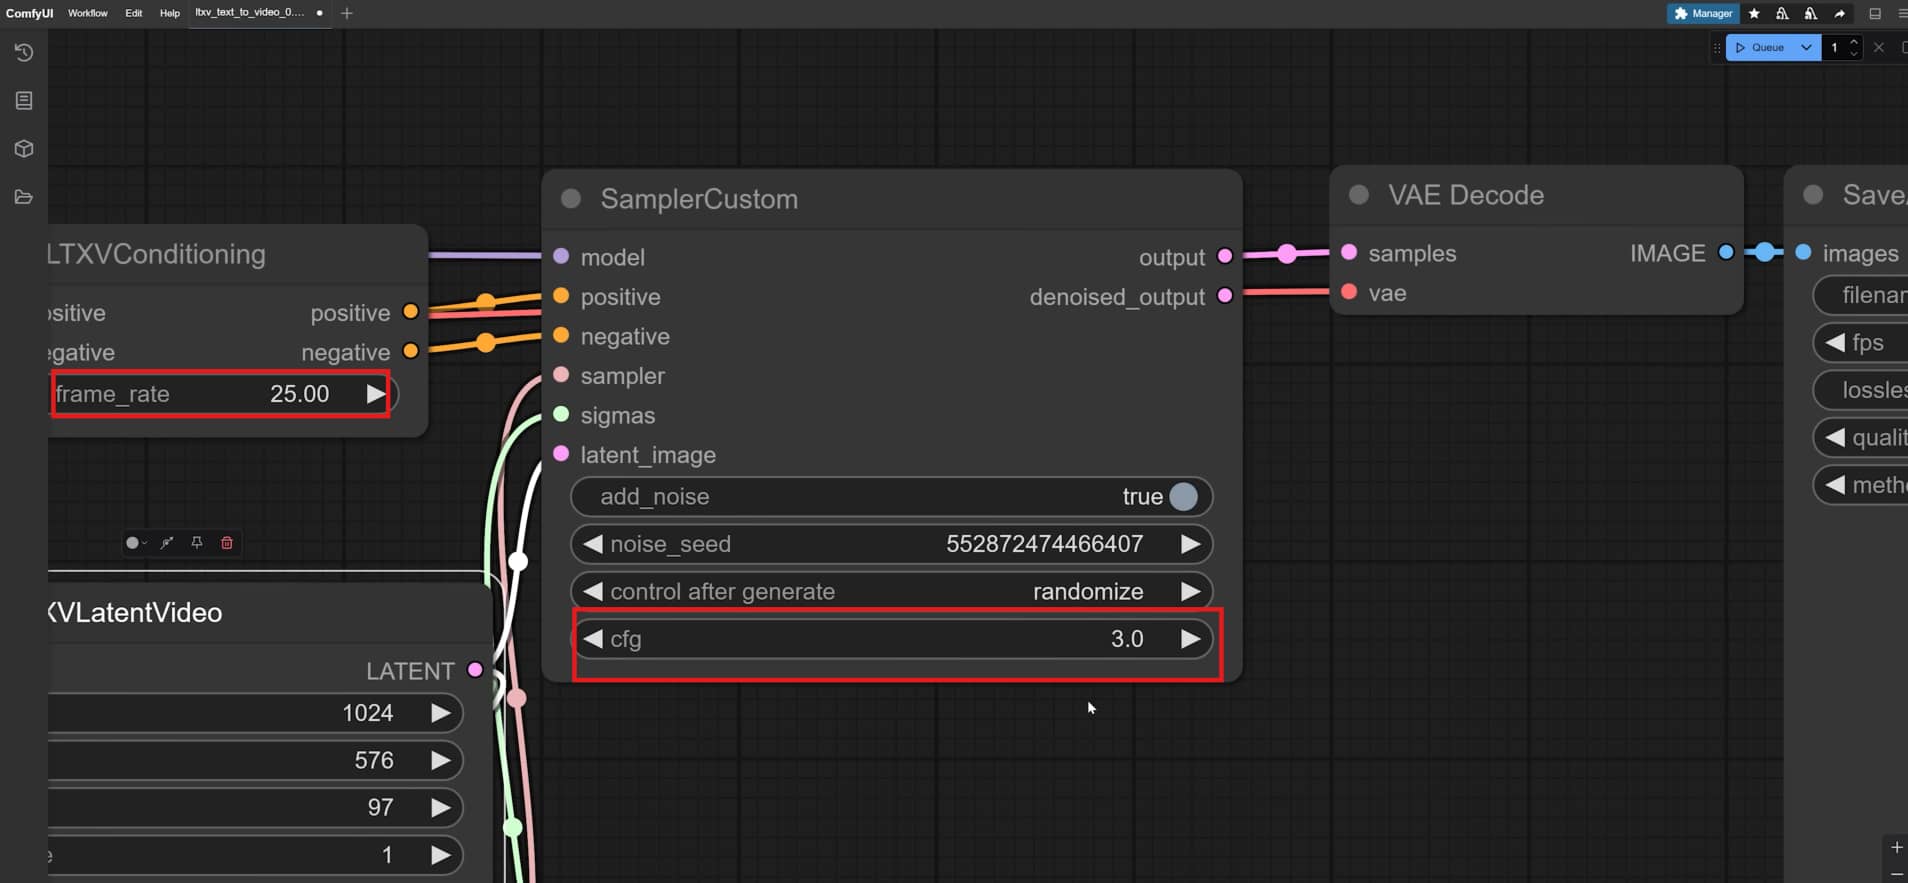
Step 3: Adjust Quality, Motion Speed, and Frame Settings
Tweak the motion scale and lower the CFG scale slider to roughly 3.0 to keep the animation consistent with your starter image. Choose an exact frame count to set your duration, and pick a reliable, stable sampler like Euler.
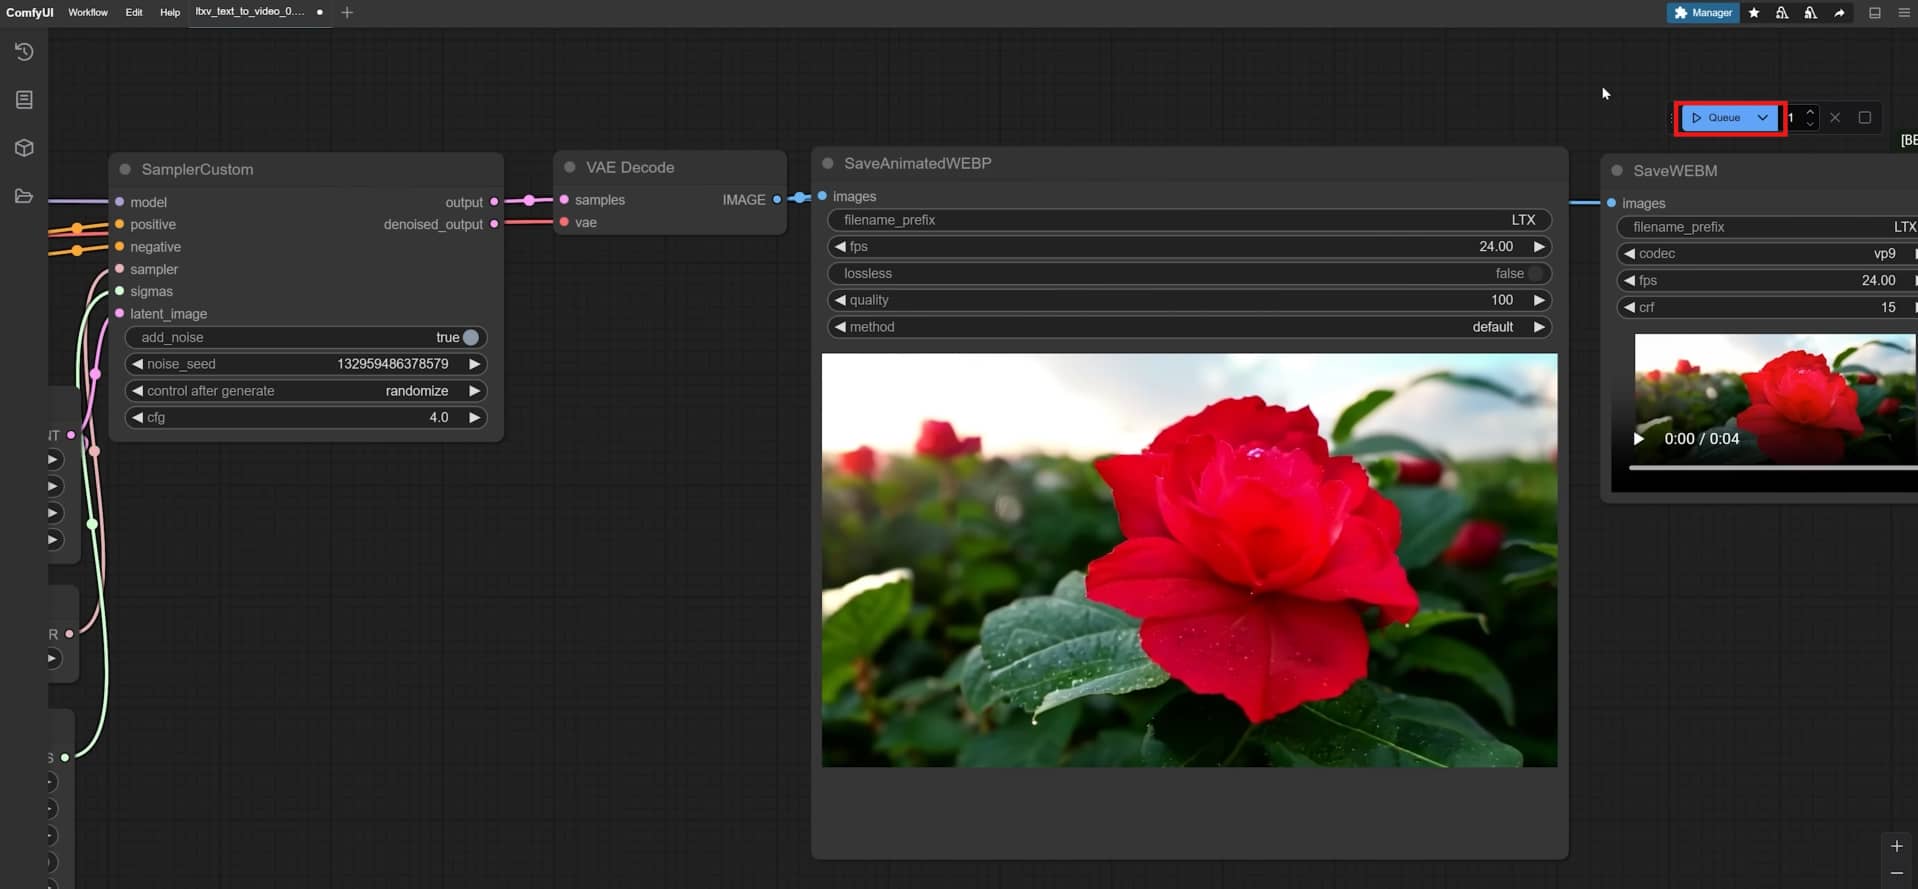
Step 4: Set Export Preferences and Generate
Route your final data stream directly into a dedicated video decode and preview output block. Choose your preferred file container format, such as an MP4 or a high-quality image sequence, for easy sharing later on. Click the queue button to watch your custom animation render frame by frame.
ComfyUI video review: Pros and cons
|
Pros |
Cons |
|---|---|
|
|
ComfyUI offers unmatched node-based customization for powerful AI video models, but its steep learning curve, heavy hardware requirements, and complex troubleshooting often lead to broken workflows. For creators looking to bypass these VRAM limits, constant debugging, and unpredictable rendering glitches, a streamlined, cloud-based platform like Vmake AI provides a reliable, hassle-free alternative.
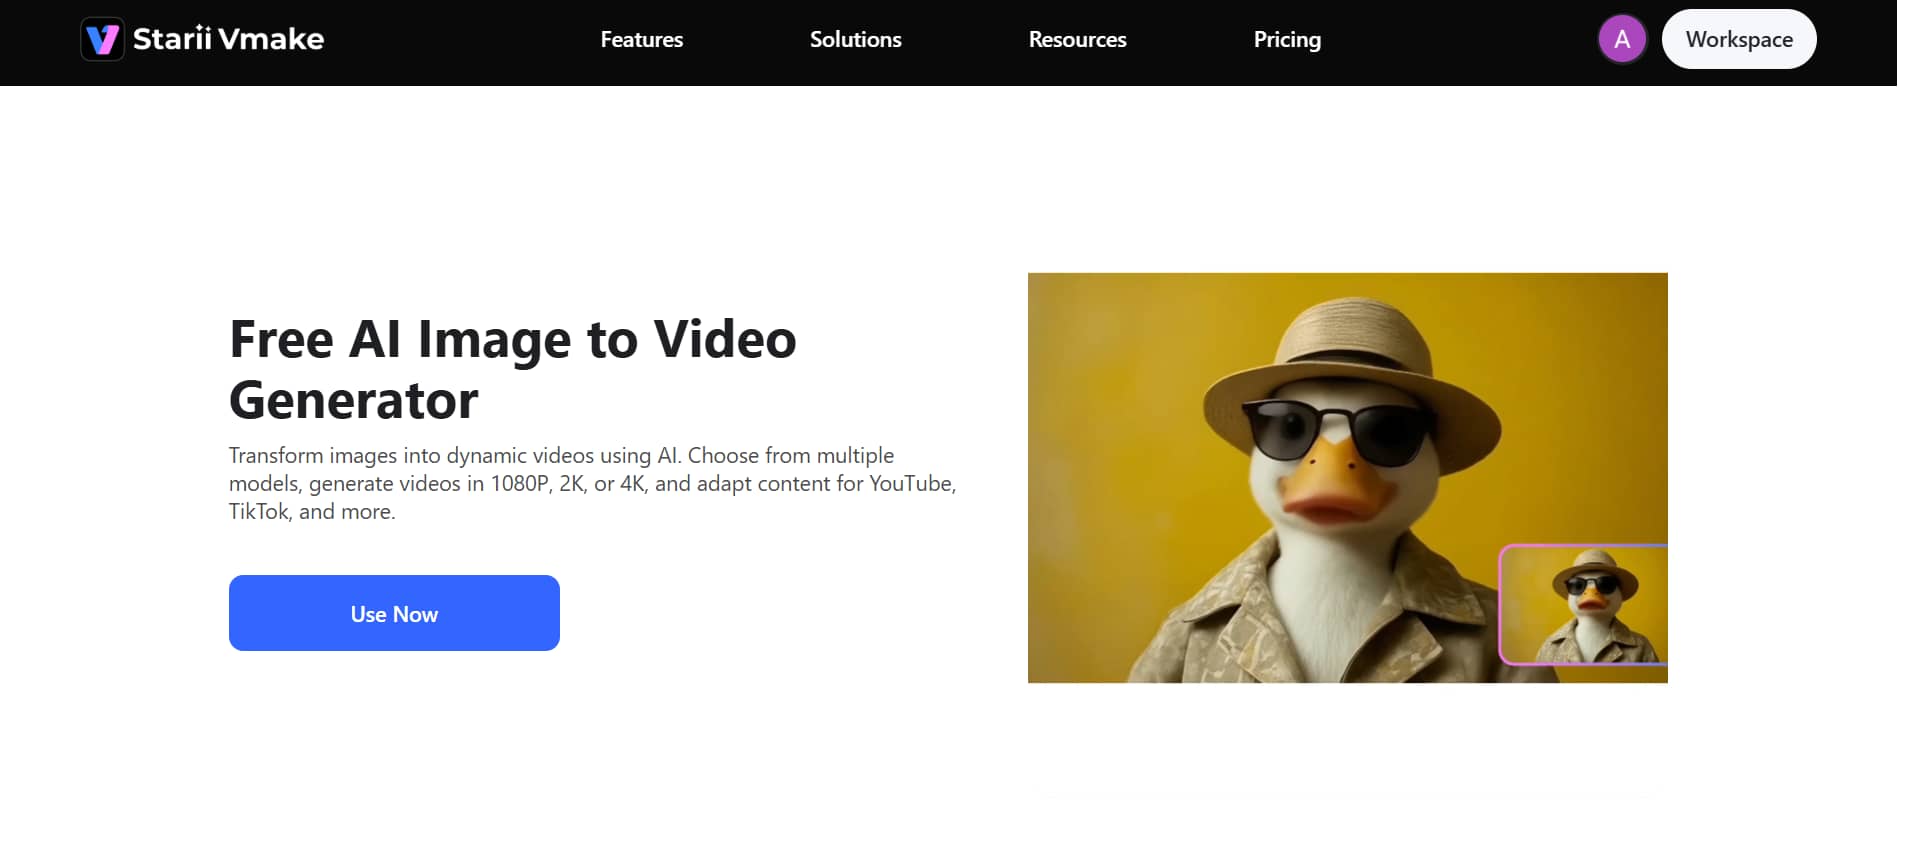
Vmake AI: A simple and powerful alternative to ComfyUI
Vmake AI is a cloud-based AI video generator designed for fast, hassle-free creation. Instead of dealing with complex workflows, installations, or GPU limitations, you can generate high-quality videos directly in your browser using simple text prompts or images. It's especially useful for beginners, marketers, and creators who want professional-looking results without the technical setup.
Key features
-
Simple image-to-video conversion
Animate any photo into a moving video by adding text prompts for desired motion with Vmake AI image-to-video generator. Retains the original image quality and details without requiring technical skills.
-
Text-to-video generation
Generate high-quality videos from scratch using text prompts that describe the scene, motion, and mood, powered by models like Seedance 2.0 and Kling 3.0.
-
High-resolution output
Export AI-generated videos in 1080p, 2K, or 4K resolution for social media, presentations, ads, and product showcase content across different screen sizes.
-
Advanced AI video enhancer
Enhance low-quality videos by improving sharpness, reducing noise, and increasing resolution. Works with older clips and compressed footage automatically.
-
Fast cloud-based processing
Renders videos on remote servers within minutes. Eliminates the need for local GPU hardware and works on any device via a standard web browser.
Step-by-step: How to generate videos with Vmake AI
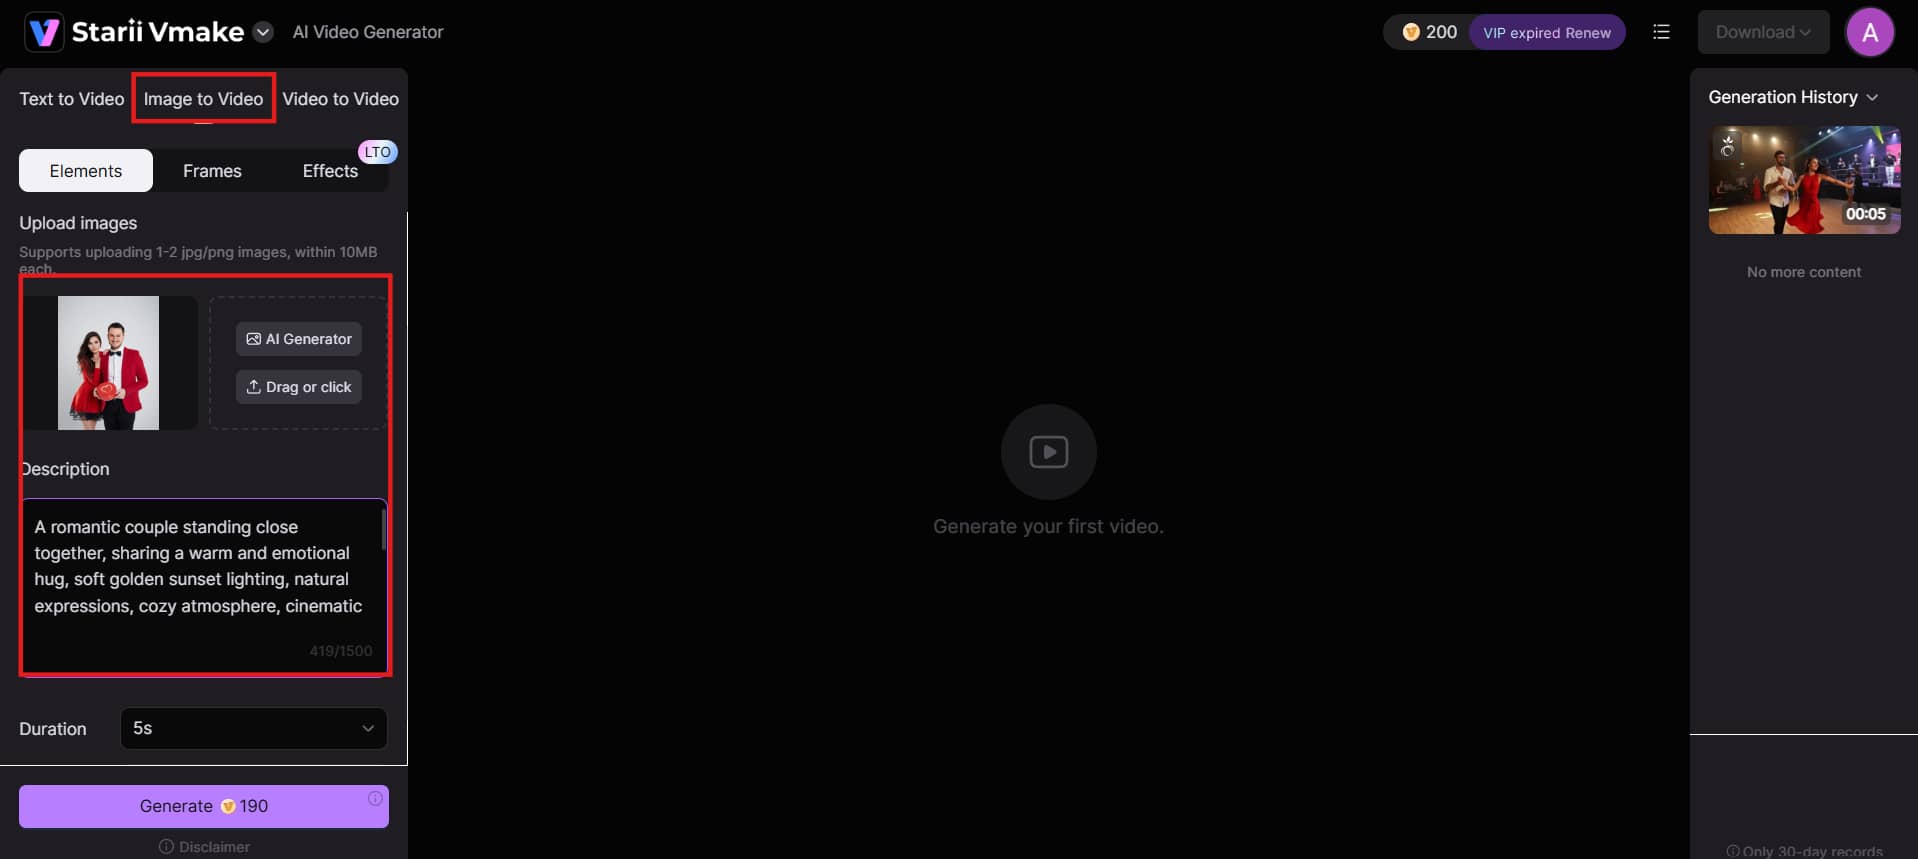
Step 1: Upload images and write prompt
Go to Vmake AI and select the image-to-video tool. Upload your still image. Then write a clear, short prompt describing the movement. For example, "The girl smiles and turns her head slowly to the right." A good prompt helps the AI create natural and accurate motion.
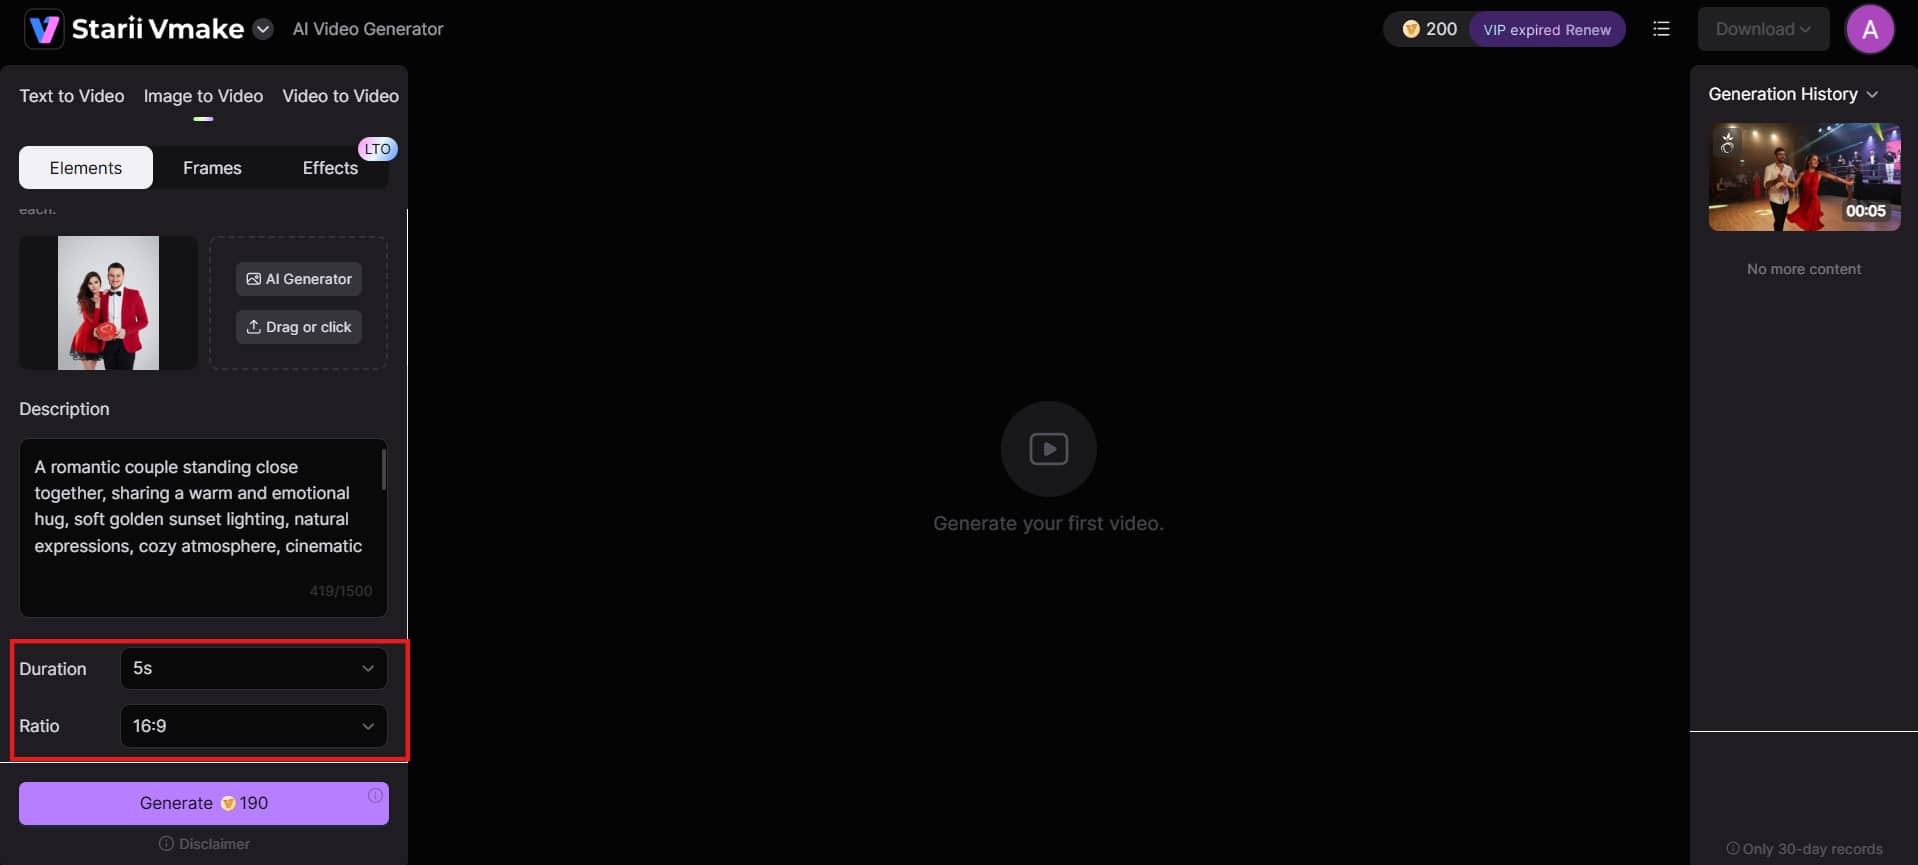
Step 2: Select model, duration & aspect ratio
Pick your preferred AI model, such as Seedance or Kling. Next, select the video duration (usually 2 to 15 seconds) and the aspect ratio, like 16:9 for YouTube or 9:16 for reels. These choices shape your final video.
Step 3: Generate and download
Review your settings and hit the "Generate" button. Vmake AI will create the video in just a few seconds to minutes. Once it's ready, preview it and hit "Download" to save the high-quality file to your device.

ComfyUI vs Vmake AI: Side-by-side comparison
Choosing between ComfyUI and Vmake AI depends on your needs. ComfyUI offers deep control for advanced users, while Vmake AI focuses on speed and simplicity. Here's a clear comparison to help you decide which tool suits you better:
|
Feature |
ComfyUI |
Vmake AI |
|---|---|---|
|
Setup required |
Yes (complex) |
No |
|
Hardware needs |
8–24GB VRAM |
Cloud-based |
|
Learning curve |
High |
Low |
|
Model options |
AnimateDiff, HunyuanVideo, LTX, Wan2.1 |
Multiple curated models |
|
Speed |
Slow to set up; varies to render |
Fast — minutes per video |
|
Cost |
Free (hardware cost) |
Subscription / credits |
|
Output quality |
Very high |
High |
|
Best for |
Developers, researchers, power users |
Creators, marketers, beginners |
|
Stability |
Can be inconsistent |
Stable and reliable |
Conclusion
ComfyUI is a powerful tool for image-to-video creation that gives advanced users detailed control through models like AnimateDiff and HunyuanVideo. However, it also comes with a steep learning curve, higher hardware requirements, and a time-consuming setup process that may not suit casual creators or beginners.
Vmake AI offers a simpler and faster alternative for generating videos from images without complex workflows or expensive equipment. It supports quick AI video creation with an easy interface, making it more practical for beginners, marketers, and creators who want fast results. Ready to create? Head over to Vmake AI, upload an image, and generate your first video in minutes.
FAQs
How much VRAM do I need for the ComfyUI image to video?
Most ComfyUI image-to-video workflows need at least 8GB of VRAM to run properly. For better quality and newer models like HunyuanVideo, 12GB to 24GB is recommended. Less VRAM often causes crashes or very slow performance. If your GPU is weak, cloud tools like Vmake AI are a much easier option.
Is ComfyUI image-to-video generation free?
Yes, ComfyUI is completely free and open-source. You don't have to pay for the software itself. However, you still need a powerful computer, which can be expensive. There may also be costs for electricity and time spent learning and troubleshooting.
How long does ComfyUI take to generate a video?
It usually takes between 10 to 30 minutes per video, depending on your settings and hardware. Simple clips are faster, while high-quality ones with complex motion take much longer. Newer models can be quicker, but overall it's slower than cloud tools like Vmake AI.
Can I do ComfyUI image to video without a GPU?
Technically yes, but it's not recommended. Running ComfyUI without a GPU makes video generation extremely slow and often unstable. You could wait several hours for even a short clip, and the final quality is usually poor. A decent GPU is almost necessary for practical, everyday use.
What is the best ComfyUI model for image to video?
For image-to-video, Wan 2.1/2.2 and LTX Video are currently the strongest open-source options. Both deliver smooth motion and stay true to your source image. Full-quality versions need 16–24GB VRAM, but smaller quantized variants are available for lower-spec GPUs — making them accessible without top-end hardware.
Does ComfyUI support text to video as well as image to video?
Yes, ComfyUI supports both text-to-video and image-to-video generation. You can create videos from text prompts alone or start with an image for better control. This flexibility makes it useful for many different creative projects and ideas.

You May Be Interested

Hailuo AI vs Luma AI: Comprehensive Reviews Roundup

Best Veed Alternatives for Captioning Videos Automatically (2025)
Viggle AI Video Generator Review & Top 2026 Alternatives
Best AI Video Generator: Top Tools Tested (2026)

OpenClaw 2026: Ultimate Guide to World-Changing Local AI
